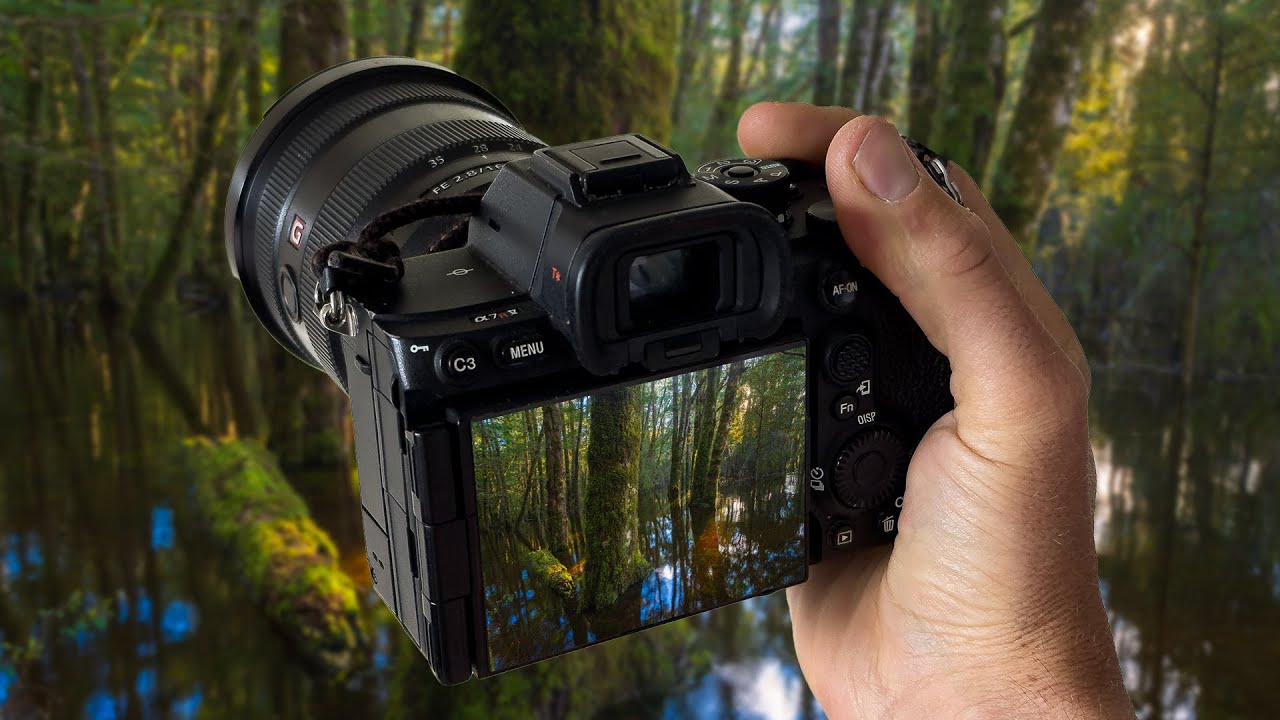
I used to treat bad weather like a closed door. Rain meant staying home, overcast meant flat light, flooding meant stay away from the gear. It took me an embarrassingly long time to flip that around and start asking: what does this weather make possible that didn’t exist yesterday? That shift in mindset is exactly what this William Patino tutorial put into words better than I’ve managed to. Watch the full tutorial on YouTube
Patino is based in Fiordland, New Zealand, one of the wettest places on earth, and after two record-breaking rainy months, he noticed something unusual: the lake level had risen so dramatically that the surrounding ancient beech forest was partially submerged. Trees standing in still water, reflections, shadow lines cutting across a flooded forest floor. A completely temporary scene that would disappear once the water receded. He made two visits, evaluated the light at different times of day, and then walked through his raw files on camera. The whole thing is a masterclass in reading an environment quickly and making deliberate choices rather than just firing away.
What I want to do here is pull out the actual decision-making process, because that’s what’s transferable to your own work, whether you’re shooting flooded forests or a fog-covered park in Seattle on a Sunday morning.
Step 1: Treat Unusual Conditions as a Scouting Alert
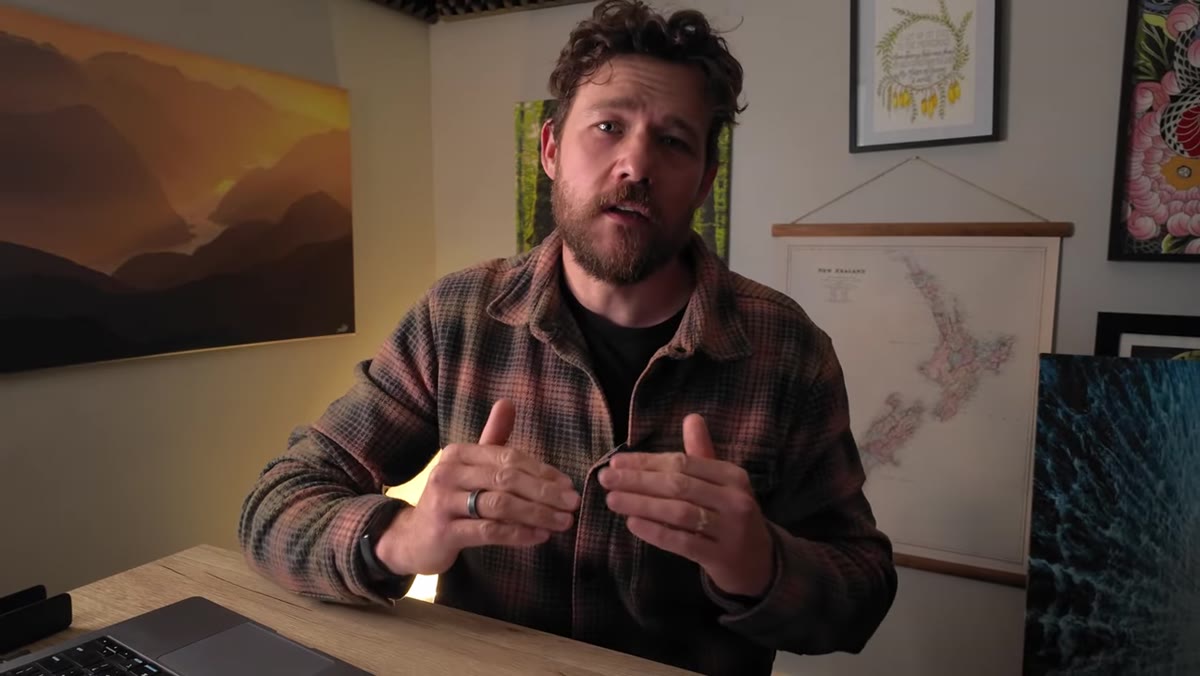 William noticing the flooded forest on a hike
The first move Patino made wasn’t to grab his camera. It was to observe. He spotted the flooded forest while hiking with his wife, noted the visual potential, and came back later with his gear. That gap between noticing and shooting is doing real work. It gives you time to think about what you actually want from the scene rather than arriving reactive and desperate.
William noticing the flooded forest on a hike
The first move Patino made wasn’t to grab his camera. It was to observe. He spotted the flooded forest while hiking with his wife, noted the visual potential, and came back later with his gear. That gap between noticing and shooting is doing real work. It gives you time to think about what you actually want from the scene rather than arriving reactive and desperate.
When something unusual happens in your regular shooting area, do a phone-camera walk first if you can. Get a feel for where the light is falling, what’s reflecting, what’s cluttered. The scouting trip is part of the process, not a delay to it.
Step 2: Identify the Core Visual Problem Before You Shoot
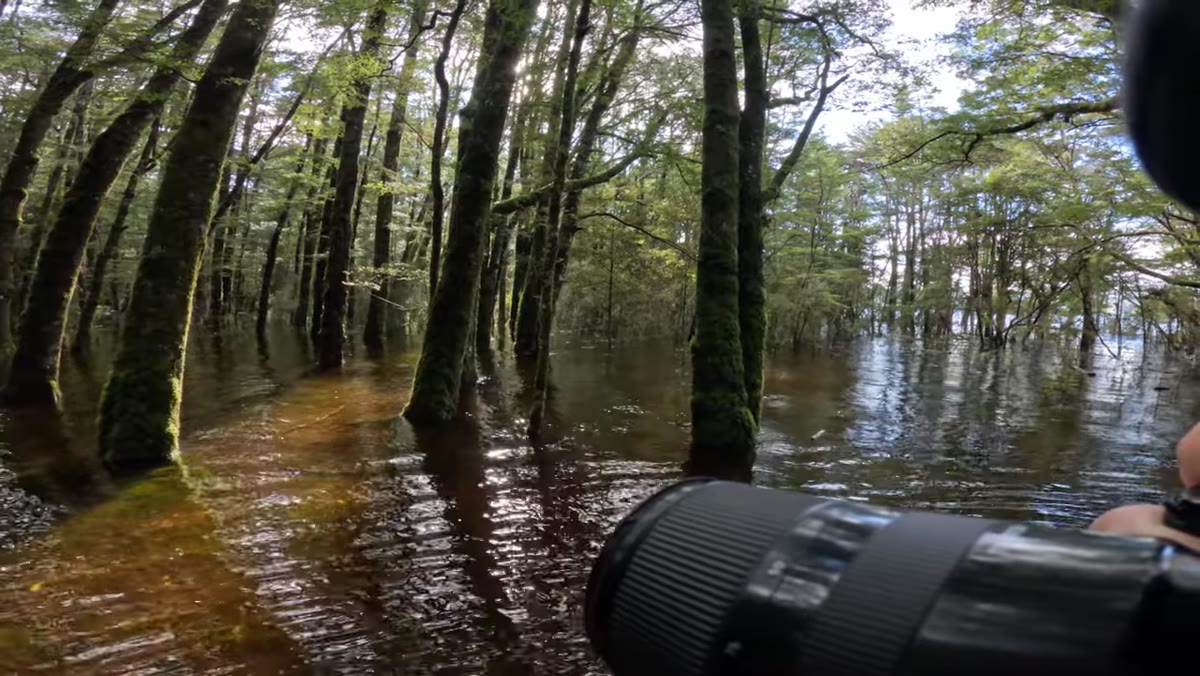 Harsh midday highlights bouncing off flooded water
On his first proper visit, Patino arrived around midday. There was interesting light, long shadows, and reflections on the water. But he immediately identified a problem: too much light hitting too many surfaces at once. Bright highlights on the water surface, patches of direct sun on foreground trees, mid-ground trees, background trees. When everything is lit equally, there’s nothing to guide the viewer’s eye. The image just sits there and nobody knows where to look.
Harsh midday highlights bouncing off flooded water
On his first proper visit, Patino arrived around midday. There was interesting light, long shadows, and reflections on the water. But he immediately identified a problem: too much light hitting too many surfaces at once. Bright highlights on the water surface, patches of direct sun on foreground trees, mid-ground trees, background trees. When everything is lit equally, there’s nothing to guide the viewer’s eye. The image just sits there and nobody knows where to look.
This is worth sitting with. Before you set up your tripod, ask yourself: where do I want the viewer to look, and is the current light helping or fighting that? If the answer is “fighting,” you have two options. Work creatively within the constraints, or come back at a different time. Patino chose both.
Step 3: Work the Scene Anyway, Then Commit to Returning
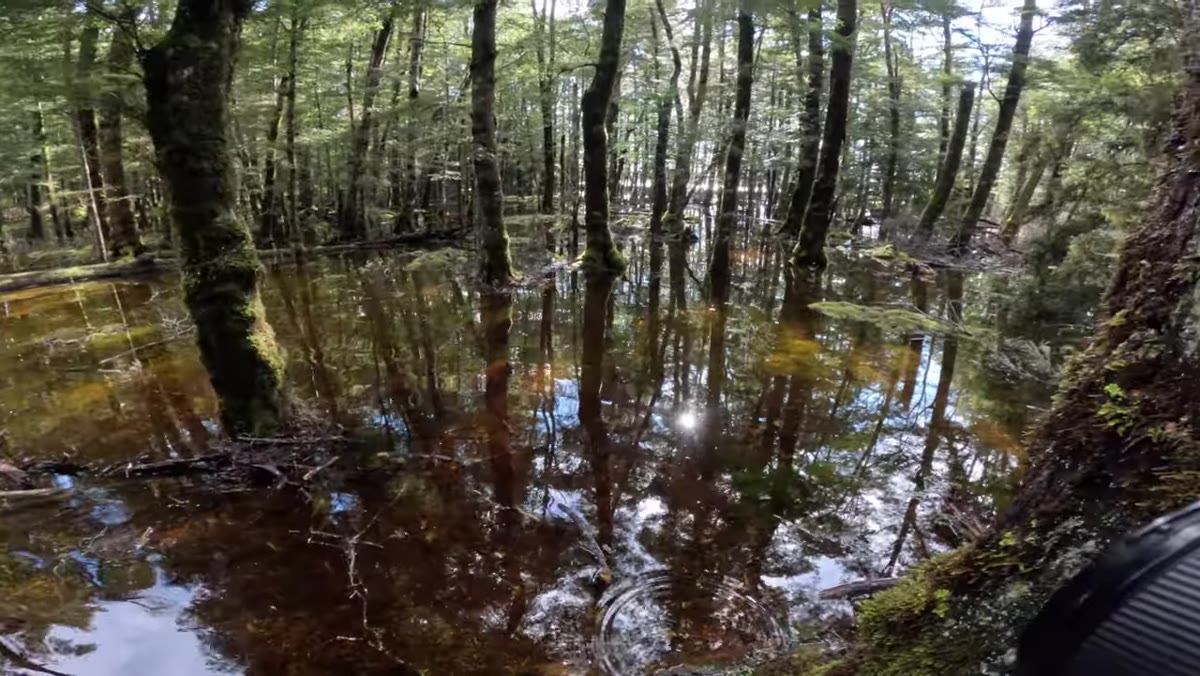 Shooting abstract reflections and light beams at midday
Even though the midday light wasn’t ideal, Patino spent about an hour working the scene. He focused on the most abstract and interesting elements available to him, particularly reflections and the geometry of shadow lines on the water. This is good discipline. You don’t abandon a location just because conditions aren’t perfect. You extract what you can, and you pay attention to what would work if the light were different.
Shooting abstract reflections and light beams at midday
Even though the midday light wasn’t ideal, Patino spent about an hour working the scene. He focused on the most abstract and interesting elements available to him, particularly reflections and the geometry of shadow lines on the water. This is good discipline. You don’t abandon a location just because conditions aren’t perfect. You extract what you can, and you pay attention to what would work if the light were different.
That hour of working in tough light is also research. By the time he left, he had a clear picture of exactly what he’d go back for: lower angled light that would create longer, more directional shadows and reduce the blown highlights on the water surface.
Step 4: Return at the Right Time of Day for Your Specific Scene
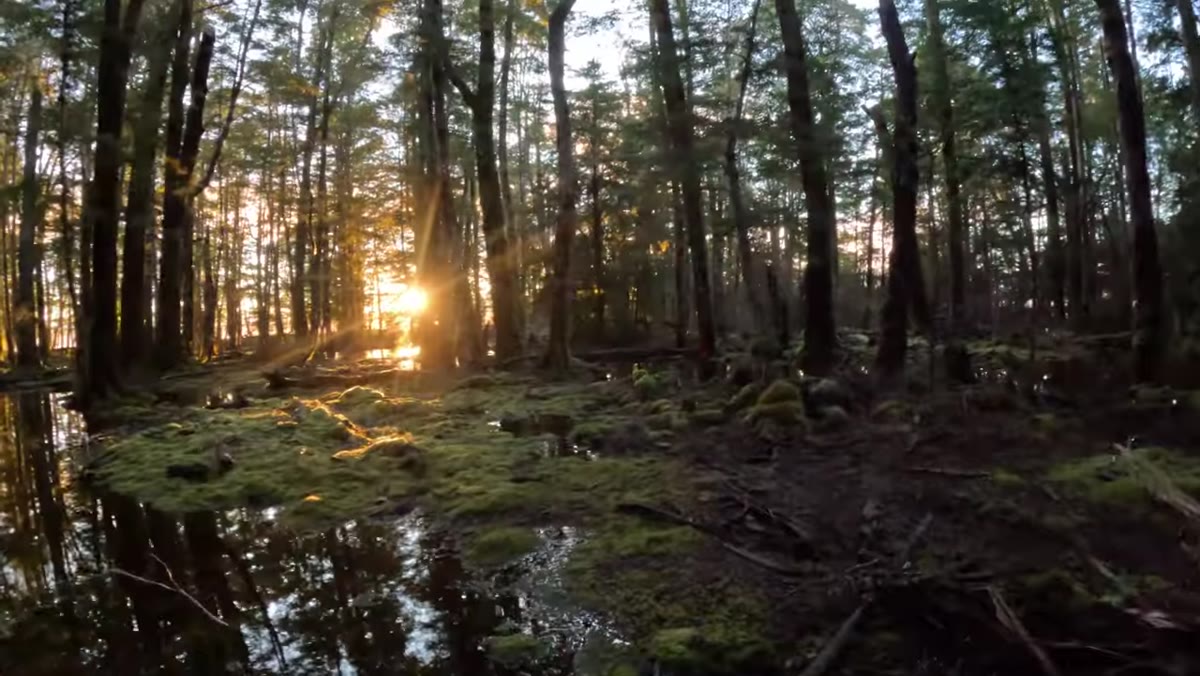 Arriving at the flooded forest at sunrise
For the second visit, Patino came back at sunrise. He noted that the water level had already dropped noticeably in just a few days, which is a reminder that temporary conditions don’t wait around. If you identify a fleeting scene, you move on it.
Arriving at the flooded forest at sunrise
For the second visit, Patino came back at sunrise. He noted that the water level had already dropped noticeably in just a few days, which is a reminder that temporary conditions don’t wait around. If you identify a fleeting scene, you move on it.
He also flagged something that surprised me: the very lowest light, right at sunrise, actually wasn’t ideal either. Too dim, not enough contrast. The sweet spot came about 30 to 45 minutes after sunrise, once the sun was high enough to rake light across the water and create those clean shadow lines without blasting highlights everywhere. For forest interiors especially, you often need the sun just high enough to reach in, but not so high that it turns everything into a patchy mess.
Step 5: Prioritize Scenes Where Light Creates a Path for the Eye
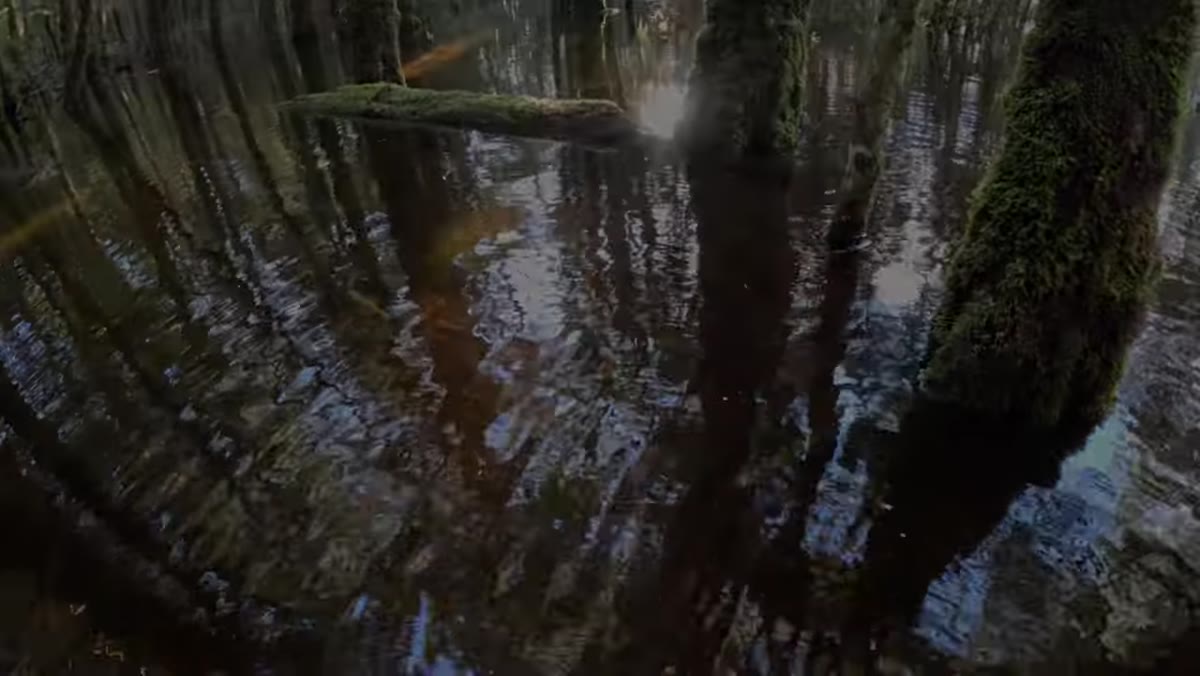 Long shadow lines and light directing through the flooded forest
The specific quality Patino was chasing, and eventually found in that post-sunrise window, was directional light that created lines leading into the frame. In a forest scene, this is critical. Trees are vertical, water is horizontal, and without something diagonal or directional moving through the image, the composition can feel static.
Long shadow lines and light directing through the flooded forest
The specific quality Patino was chasing, and eventually found in that post-sunrise window, was directional light that created lines leading into the frame. In a forest scene, this is critical. Trees are vertical, water is horizontal, and without something diagonal or directional moving through the image, the composition can feel static.
Shadow lines on water do exactly this job. They give the eye a route to travel. Combined with the reflection of the canopy above, you end up with a layered image that rewards looking at. When you’re in a similar environment, look for the angle where light creates movement rather than just illumination.
Step 6: Pull Up the Raw Files Before Deciding What to Keep
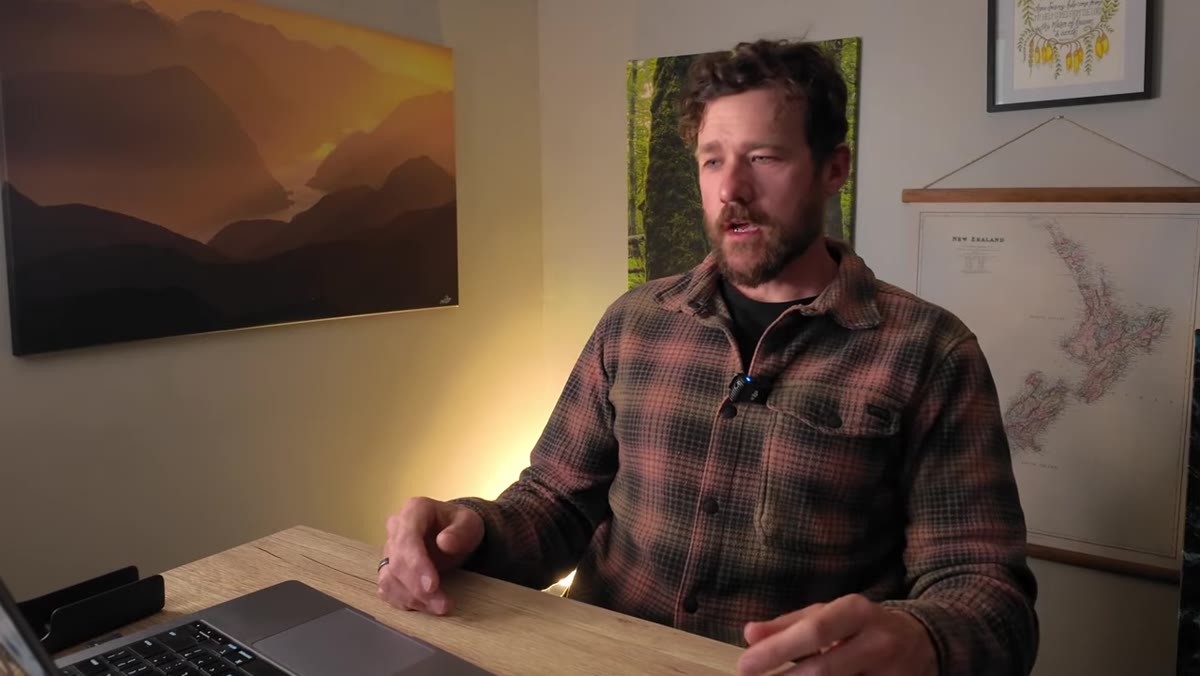 Opening raw files in post-processing software
The last part of the tutorial moves into post-processing review, and the thing I appreciated most here was Patino’s honesty: he hadn’t fully decided which files he was keeping yet. He sat down with the raws and evaluated them in real time. This is actually a healthy habit. Too many photographers decide on-location which shots worked based on the camera’s LCD screen, which is a notoriously bad judge of a raw file’s potential.
Opening raw files in post-processing software
The last part of the tutorial moves into post-processing review, and the thing I appreciated most here was Patino’s honesty: he hadn’t fully decided which files he was keeping yet. He sat down with the raws and evaluated them in real time. This is actually a healthy habit. Too many photographers decide on-location which shots worked based on the camera’s LCD screen, which is a notoriously bad judge of a raw file’s potential.
Give your raw files a proper review at your desk, at full size, with your editing software doing the heavy lifting. A flat or low-contrast raw from a tricky forest scene might open up beautifully once you start working the shadows and highlights. Don’t write off a frame until you’ve actually seen what it can do.
My Take: The Window Is the Point
The thing that stuck with me most from this tutorial is the idea that the temporary nature of the scene isn’t a problem. It’s the reason the image matters. I’ve spent whole vacations chasing one specific waterfall shot in changing conditions, and the frustration always came from treating unpredictability as an obstacle. Patino reframes it completely: the flooding happened because of weeks of miserable rain, and that miserable rain created something nobody could photograph before and possibly couldn’t photograph again for years.
In Seattle, I see this with fog rolling off Puget Sound, or after windstorms when the parks look completely different. Those windows close fast. The skill isn’t just technical. It’s staying alert enough to recognize when ordinary conditions have briefly become extraordinary, and moving quickly enough to make something of it.
The single most important takeaway from this tutorial: light quality beats light quantity. Getting up before sunrise is only worth it if you understand why that light works differently, and how to wait for the specific window inside that golden hour where everything actually clicks. Patino shows exactly what that looks like in practice, in a location most of us will never visit, using principles that apply everywhere.
Watch the full tutorial on YouTube to follow along with his raw file review, which goes into the post-processing decisions in detail.
Comments
Leave a Comment