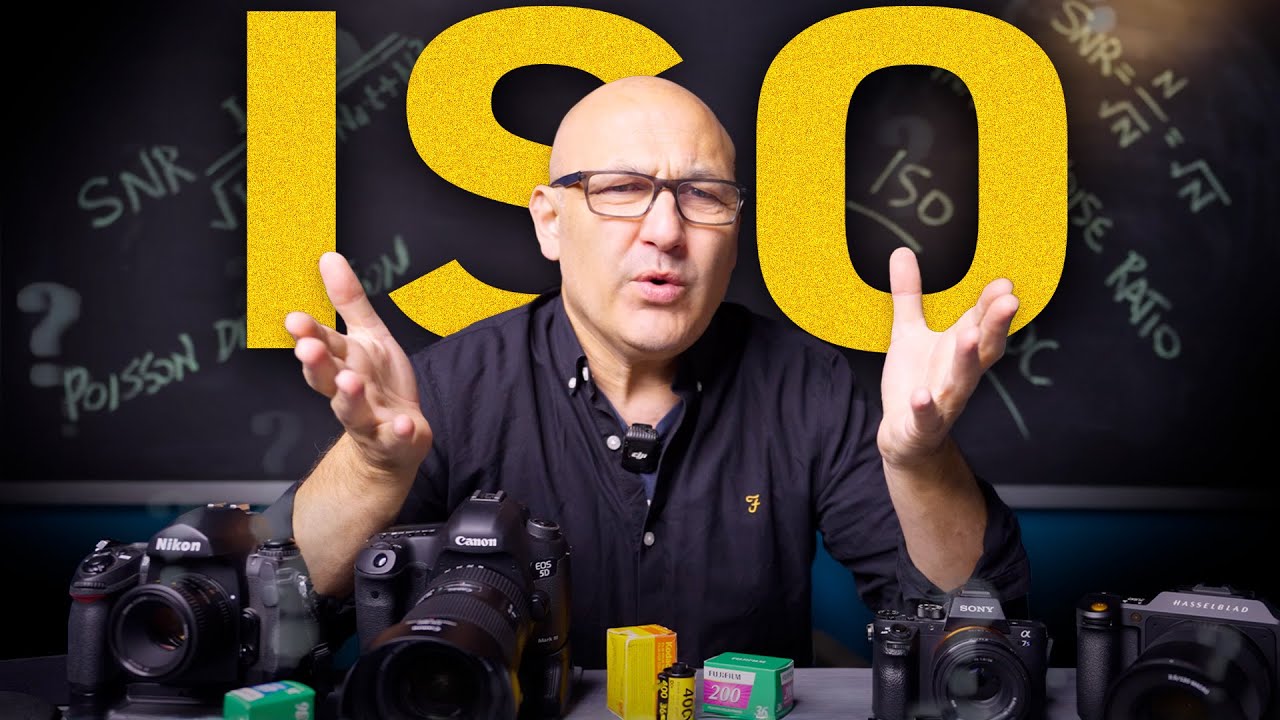
Every Sunday morning I take a photo walk through Seattle regardless of the weather. Rain, fog, the occasional miracle of actual sun. And for years, ISO was the setting I understood least confidently. I knew the numbers, I knew “higher means more noise,” but I didn’t really know why — which meant I was guessing instead of making decisions. That changed after I watched this Visual Education tutorial on ISO, which cuts through the vague explanations most beginner resources offer and gets into what is actually happening inside your camera. Watch the full tutorial on YouTube
What I appreciate most about this tutorial is that it doesn’t just tell you what ISO does. It explains the mechanism, which is the part nobody bothers with. And once you understand the mechanism, the practical decisions become much easier to make. Here is my walkthrough of the core concepts, written so you can apply them right away.
Step 1: Reconnect ISO to Its Film Origins
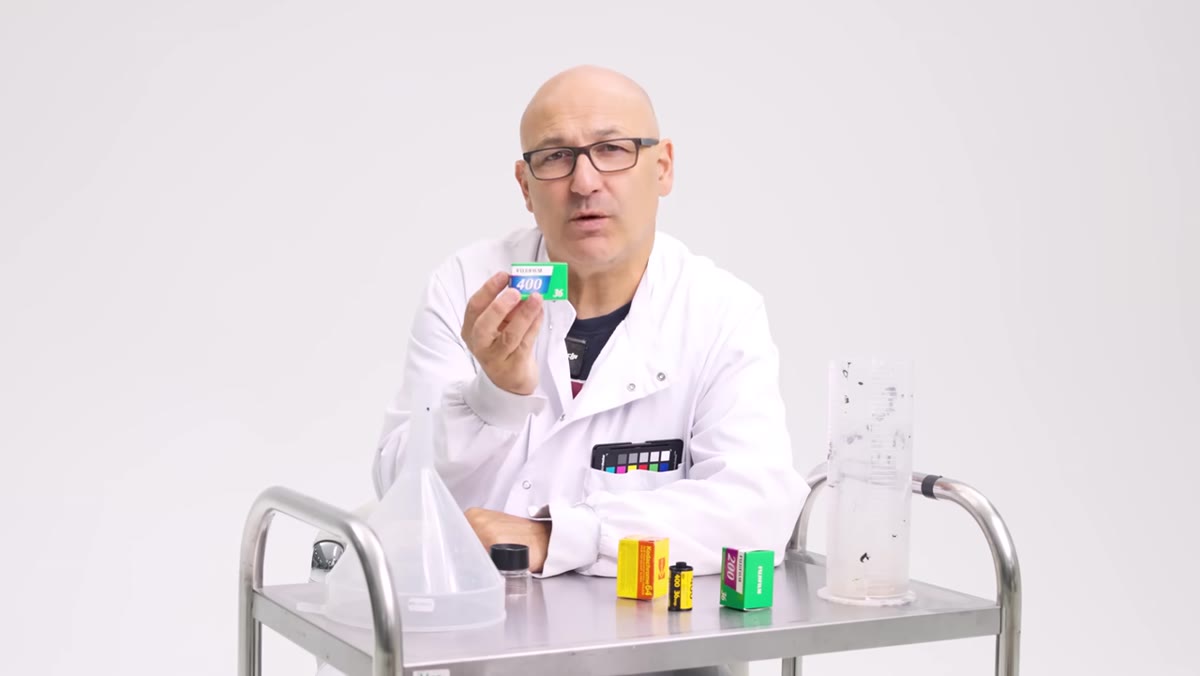 Film roll canisters showing ISO 800 and ISO 64 ratings
Before digital makes sense, film has to make sense. Back when you loaded a roll of film into your camera, the ISO number on the box described how sensitive that film was to light. A roll rated at ISO 800 was more sensitive than one rated at ISO 64, which made it useful in dim conditions. The tradeoff was grain, caused by larger silver halide crystals embedded in the film emulsion. More sensitivity meant larger crystals, and larger crystals meant a grainier image.
This is worth holding onto because digital ISO noise looks similar to film grain even though it comes from a completely different process. The analogy is imperfect, but the tradeoff (more sensitivity, more grain or noise) has carried over in a way that makes the numbering system feel intuitive once you have this foundation.
Step 2: Understand the ISO Scale as a Doubling Sequence
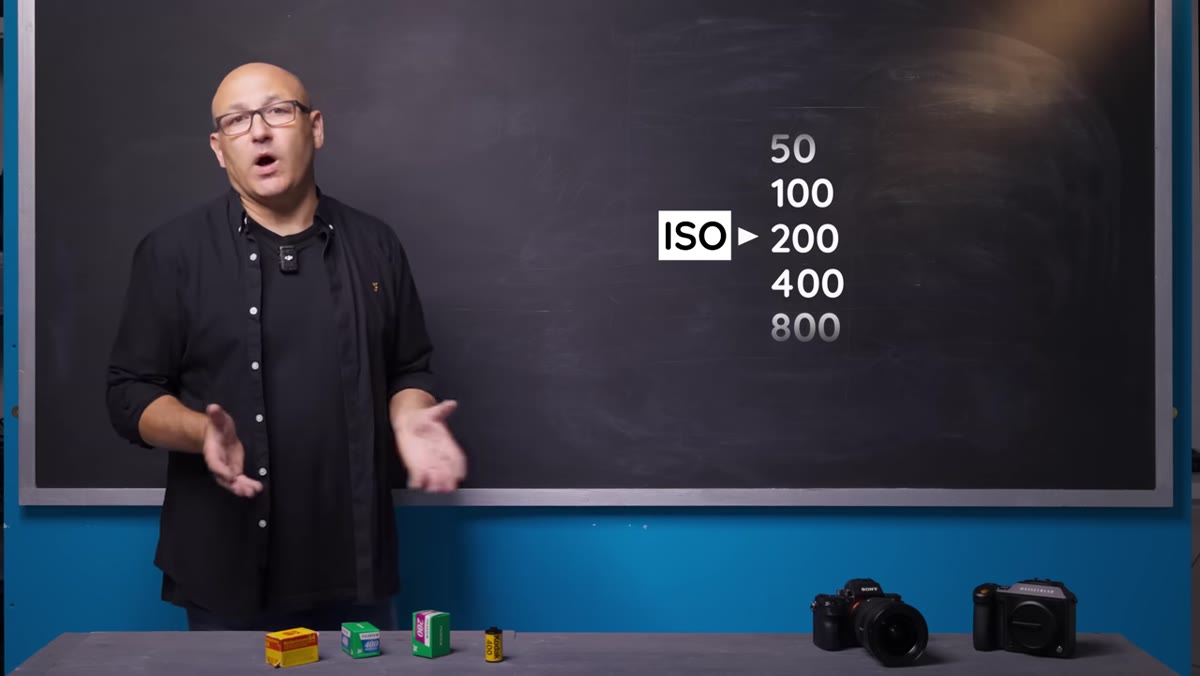
 ISO scale displayed showing 100, 200, 400, 800 doubling sequence
ISO numbers follow a strict doubling pattern. ISO 200 is twice as sensitive as ISO 100. ISO 400 is twice as sensitive as ISO 200. Each full stop up the scale doubles the sensor’s sensitivity to light, and each stop down cuts it in half. This mirrors the way aperture and shutter speed scales work, which is intentional. The three exposure controls are designed to work together in stops so that adjusting one can be offset by adjusting another.
Knowing this lets you make real-time trade-offs in the field. If you need to close your aperture by two stops for depth of field reasons, you can open ISO by two stops to compensate without recalculating anything from scratch.
Step 3: Learn What “Native ISO” Actually Means
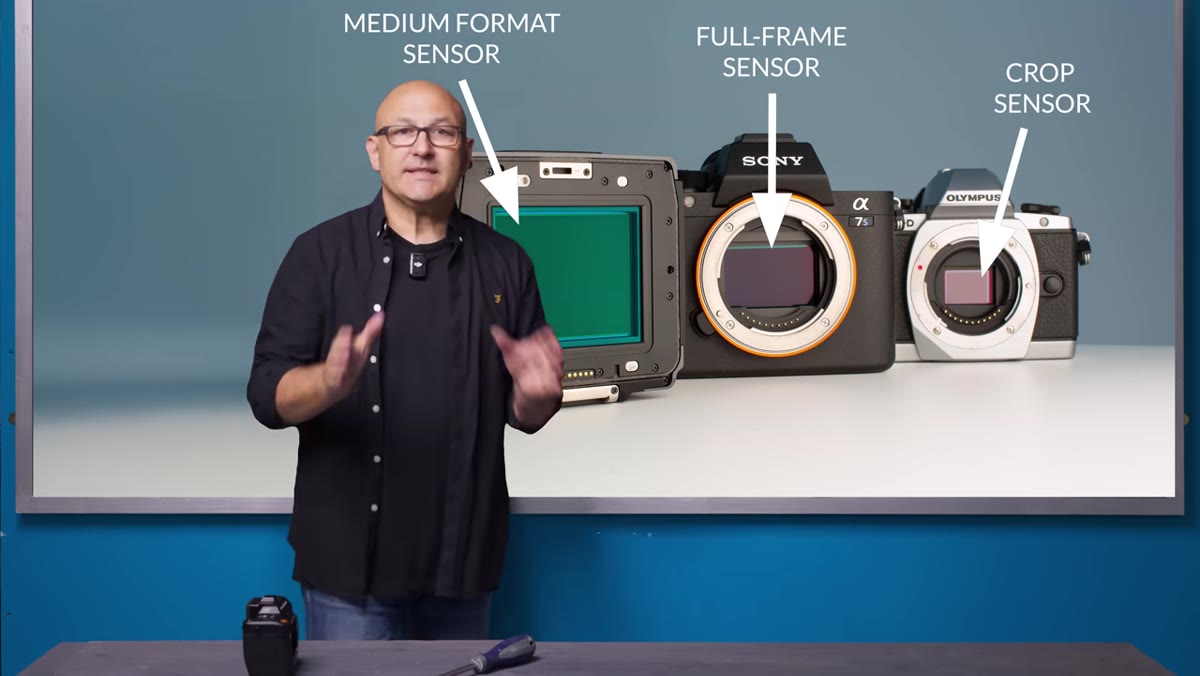 Camera sensor diagram with base ISO label highlighted
Here is where the tutorial earns its title. Your camera has one sensor. It does not physically change the way film did when you loaded a faster roll. Instead, every sensor has a native ISO, sometimes called the base ISO, which is the setting at which that sensor performs at its absolute best. This is the ISO the manufacturer determined produces the widest dynamic range and the cleanest signal during their research and development process.
For most cameras, that native ISO is 100. Nikon cameras often run at 200 as their native. Some video-focused cameras are optimized for even higher values. The important thing to understand is that this number is not arbitrary. It reflects the sensor design, the size of the photosites (the individual light-collecting points on the sensor), and the processing pipeline behind them. When you shoot at native ISO, you are working with the sensor at its natural operating point.
Step 4: Recognize That Raising ISO Is Amplification, Not Sensitivity
 Signal amplification diagram showing electronic boost from photosites
This is the concept that reframes everything. When you dial your ISO up from 100 to 800, your sensor does not become more sensitive to light. The number of photons hitting each photosite stays exactly the same. What changes is that the electronic signal those photosites produce gets amplified, boosted electronically before it is converted into image data.
The tutorial uses a speaker analogy that I think is spot on. Turning up the volume on your stereo does not change what is recorded on the record. It amplifies the signal. At moderate levels, that works fine. Push it too hard and you get distortion. That distortion is the equivalent of digital noise. The amplification introduces errors into the signal, and those errors show up as the speckled, inconsistent pixel values we recognize as noise in a high-ISO photo.
Step 5: Trace the Signal Path from Light to Image
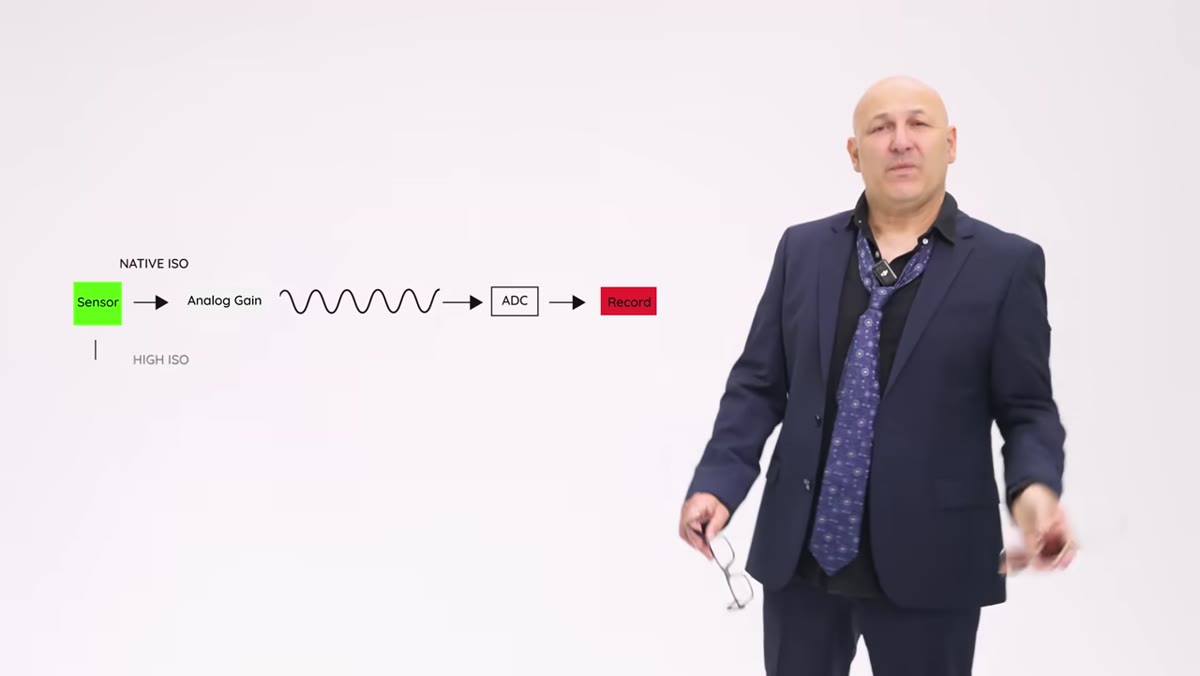 Diagram showing light to photosites to ADC to amplification to RGB values
The tutorial walks through the full chain: light hits the photosites, those photosites convert light into an electronic signal, that signal goes through an analog-to-digital converter (ADC), and then it gets amplified before being assigned the numerical RGB values that form your image. Noise can enter at multiple points in this chain, but amplification is a primary culprit.
Understanding this chain helps explain why shooting at native ISO and exposing correctly in-camera is always preferable to recovering a dark, underexposed image in post. When you underexpose and then brighten in Lightroom, you are essentially doing the same amplification job in software after the fact, with similar noise consequences. The camera’s native processing has more information to work with than any editing tool does.
Step 6: Accept That Some Noise Is Acceptable
 Split comparison of clean low-ISO image versus grainy high-ISO image
The tutorial asks directly: how much noise is good noise? And the honest answer is that it depends entirely on your output. A photo going to Instagram at 1080 pixels wide can tolerate far more noise than one being printed at 24 inches. The goal is not zero noise. The goal is acceptable noise for the final use of the image.
Practically, this means you should not refuse to raise your ISO out of fear of noise. A sharper image with visible noise is almost always preferable to a motion-blurred or underexposed image that is “clean.” Shoot at the ISO you need to get the exposure right, then manage the noise in post if necessary.
What I Would Add From My Own Experience
Modern noise reduction tools have changed the calculus significantly. When I shoot on my Sunday walks in Seattle’s gray winter light, I regularly shoot at ISO 1600 or 3200 on my mirrorless camera and clean it up in Lightroom or Photoshop’s AI noise reduction without losing meaningful detail. The tutorial covers the fundamentals of where noise comes from, and those fundamentals are essential, but the practical ceiling for acceptable noise has risen considerably in the last few years. Knowing your native ISO gives you a baseline. Knowing your editing tools gives you the ceiling.
I would also say: test your own camera. Shoot a static subject at every ISO setting in good light, then zoom in at 100% in your editing software. Find the point where the noise becomes unacceptable to you for your most common output size. That is your personal ISO limit, and it is more useful than any general rule.
The single most important thing to take away from this tutorial is that ISO is not a sensitivity switch. It is an amplification control. Your sensor has one native operating point, and everything above or below that is a trade-off. Knowing that changes how you think about every low-light situation.
Watch the full tutorial on YouTube - Visual Education goes deeper into dynamic range and noise mechanics than I covered here, and it is worth watching all the way through.
Comments
Leave a Comment