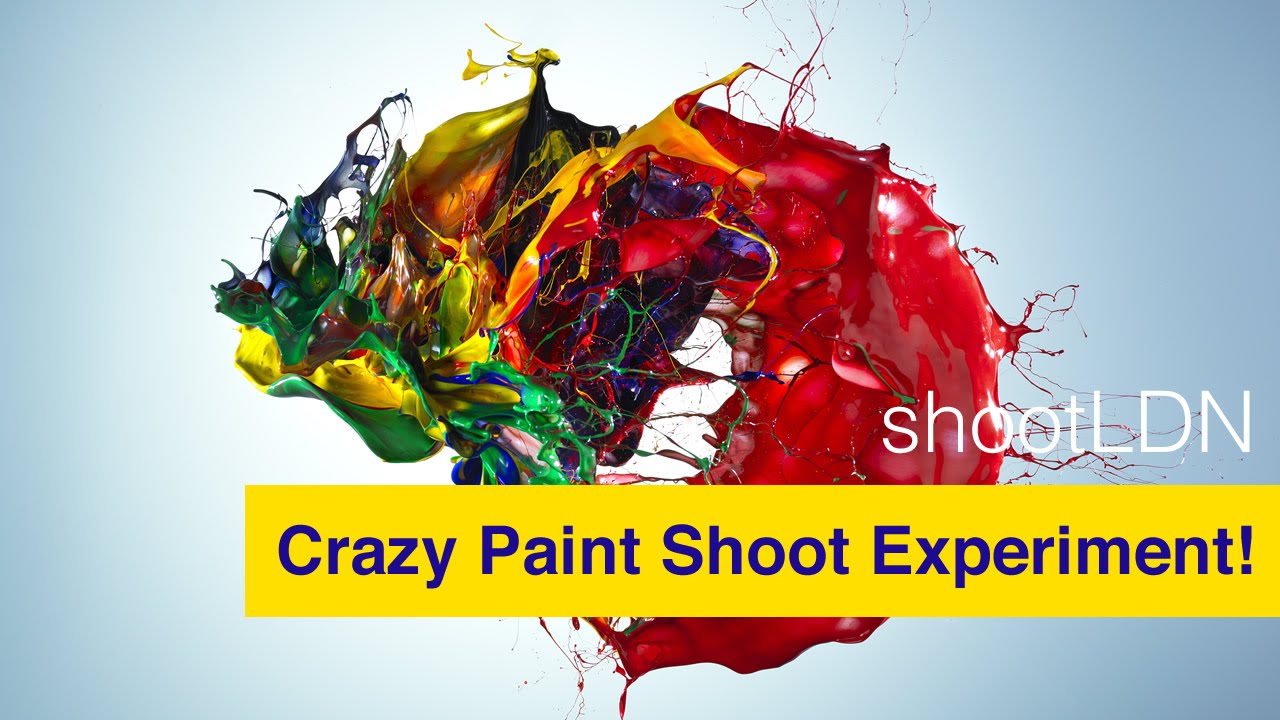
There’s a particular kind of pressure that doesn’t show up in any camera manual. It’s the pressure of shooting when people are watching you. I felt it the first time I demonstrated a shoot for a small group at a coffee shop meetup, and my hands genuinely shook while I adjusted my settings. I kept second-guessing myself, switching between modes I already knew, because suddenly every decision felt public. That’s why live photography demonstrations fascinate me so much. They strip away all the comfortable alone-time we give ourselves in our own studios or on our Sunday morning photo walks, and they show you exactly who a photographer is when the performance and the craft have to happen simultaneously.
Watch the full tutorial on YouTube
In this Visual Education overview of Karl Taylor’s 2014 shootLDN appearance, you get a front-row seat to exactly that. Karl Taylor is a working commercial photographer with a reputation for clean, technically precise work, and watching him operate in a live show environment is genuinely instructive. The video is raw, ambient, and not a polished sit-down lesson, which is actually why I keep coming back to it. You pick up things you’d never learn from a scripted tutorial: how a professional reads a scene fast, how they direct a subject while simultaneously thinking about light, and how they keep their energy steady when nothing is going quite to plan. Here’s how I’d break that down for anyone who wants to take real lessons from it.
Step 1: Treat the environment as a given, not a problem
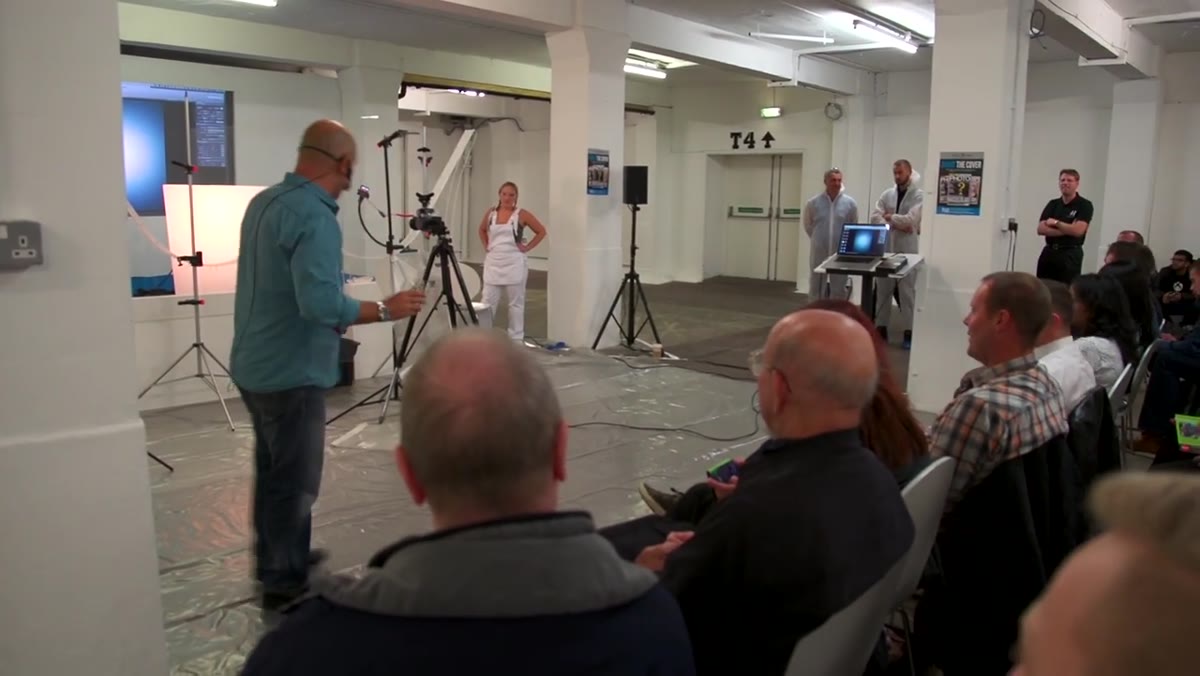 Karl Taylor assessing the live show floor setup
Before Karl fires a single frame, he’s already working. A live event floor is not a controlled studio. There are ambient lights pulling in every direction, audience noise, and a subject who may or may not be fully comfortable. The first thing to absorb from watching him is that he doesn’t fight the environment, he reads it. Walk into any location and give yourself sixty seconds to answer three questions: where is the dominant light source, where can I position my subject to either use it or block it, and what’s my background situation. Those three answers shape every technical decision that follows.
Karl Taylor assessing the live show floor setup
Before Karl fires a single frame, he’s already working. A live event floor is not a controlled studio. There are ambient lights pulling in every direction, audience noise, and a subject who may or may not be fully comfortable. The first thing to absorb from watching him is that he doesn’t fight the environment, he reads it. Walk into any location and give yourself sixty seconds to answer three questions: where is the dominant light source, where can I position my subject to either use it or block it, and what’s my background situation. Those three answers shape every technical decision that follows.
Step 2: Direct your subject before you pick up the camera
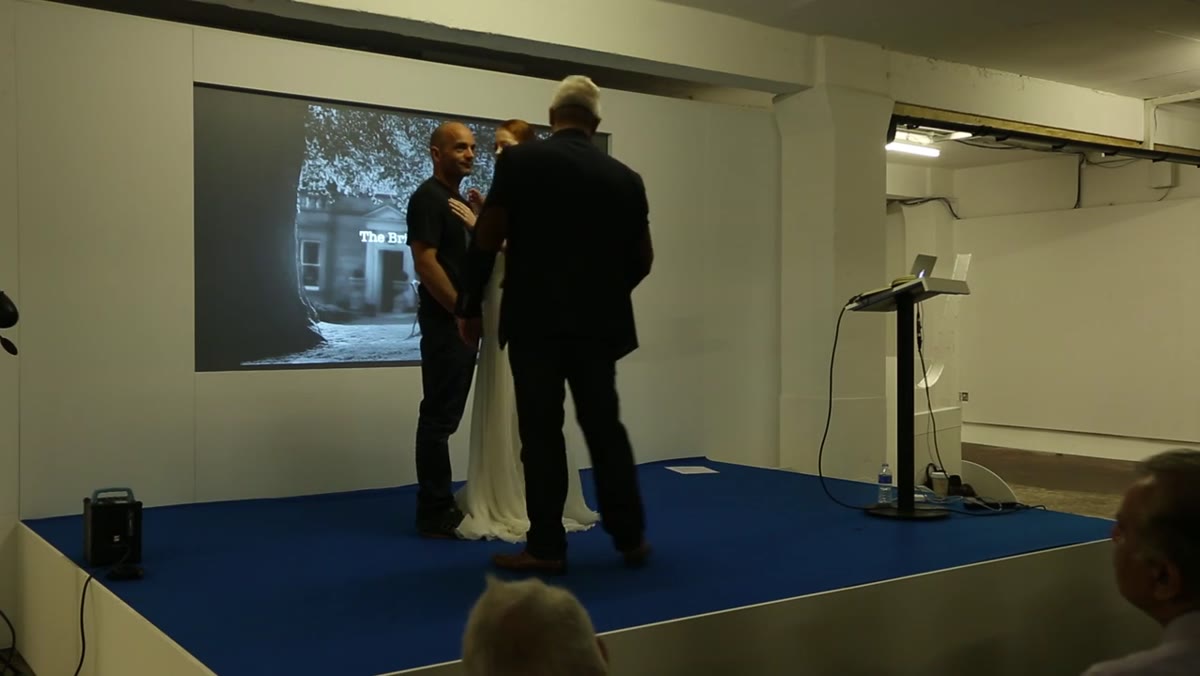
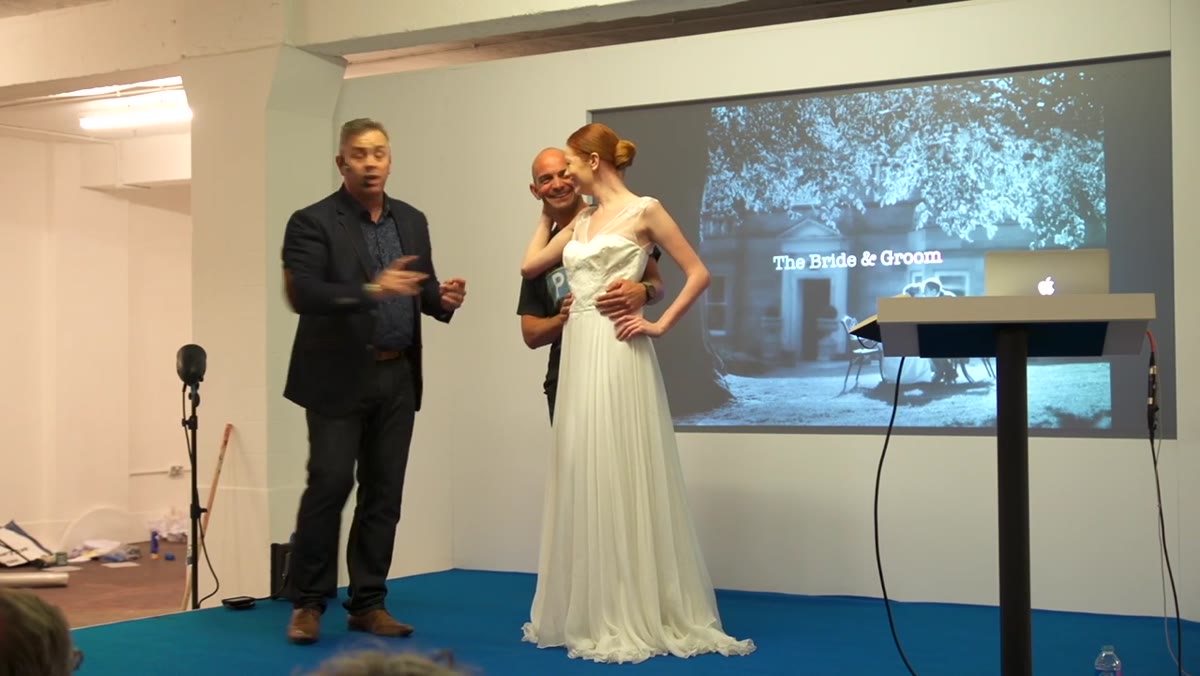 Photographer giving hand and posture direction to subject
One of the clearest moments in the video is when direction is given before any shooting happens. The instruction to bring a hand to the side, to relax a specific pose, comes early and verbally. This is a habit that separates photographers who get consistent results from those who get lucky ones. Set your subject’s body position first. Once their weight, their hands, and their chin angle are where you want them, then raise the camera. If you shoot while still sorting out the pose, you’ll take thirty frames before you get one that works, and your subject will start to feel self-conscious about why you keep stopping.
Photographer giving hand and posture direction to subject
One of the clearest moments in the video is when direction is given before any shooting happens. The instruction to bring a hand to the side, to relax a specific pose, comes early and verbally. This is a habit that separates photographers who get consistent results from those who get lucky ones. Set your subject’s body position first. Once their weight, their hands, and their chin angle are where you want them, then raise the camera. If you shoot while still sorting out the pose, you’ll take thirty frames before you get one that works, and your subject will start to feel self-conscious about why you keep stopping.
Step 3: Keep your framing decisions simple under pressure
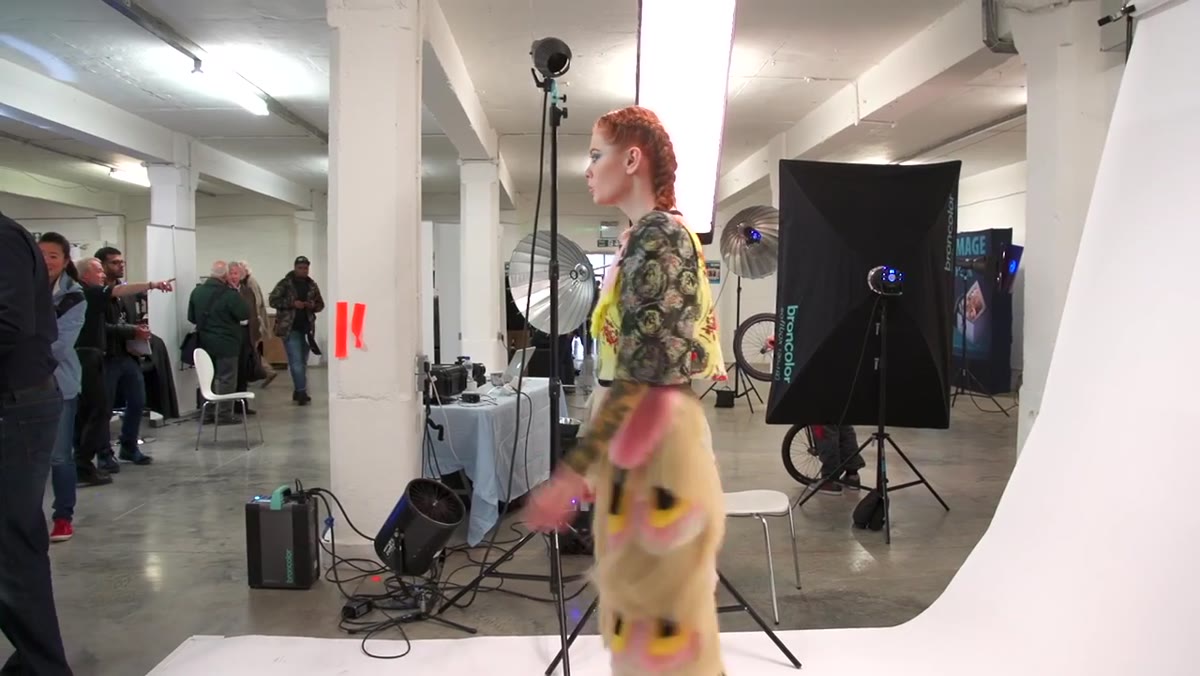 Wide view of shooting area with audience visible
A live environment tempts you to overcomplicate things because you feel like you need to perform creativity. Resist that. Karl’s setup at shootLDN is deliberately clean. One subject, a clear background separation, and a lighting configuration he clearly understands inside out. When you’re shooting under any kind of pressure, whether it’s a live audience, a client watching over your shoulder, or a tight time window, narrow your variables. Pick one focal length, one light position, and one posing approach. Get that right before you start adding layers. Simplicity looks confident. Scrambling with gear changes looks the opposite.
Wide view of shooting area with audience visible
A live environment tempts you to overcomplicate things because you feel like you need to perform creativity. Resist that. Karl’s setup at shootLDN is deliberately clean. One subject, a clear background separation, and a lighting configuration he clearly understands inside out. When you’re shooting under any kind of pressure, whether it’s a live audience, a client watching over your shoulder, or a tight time window, narrow your variables. Pick one focal length, one light position, and one posing approach. Get that right before you start adding layers. Simplicity looks confident. Scrambling with gear changes looks the opposite.
Step 4: Use verbal energy to shape the shot
 Karl Taylor speaking to subject mid-direction
Something you notice when watching live shooting is how much of the photographer’s job is conversational. Karl’s interaction with his subject is calm and specific. He’s not saying “great, amazing, beautiful” on a loop like a photographer who’s lost control of the session. He’s giving actual direction tied to actual adjustments. Tell your subject exactly what you want: “drop your left shoulder,” “look just past my right ear,” “hold that.” Vague encouragement produces vague results. Specific direction produces specific results. And a subject who feels clearly guided relaxes faster than one who feels like you’re figuring it out as you go.
Karl Taylor speaking to subject mid-direction
Something you notice when watching live shooting is how much of the photographer’s job is conversational. Karl’s interaction with his subject is calm and specific. He’s not saying “great, amazing, beautiful” on a loop like a photographer who’s lost control of the session. He’s giving actual direction tied to actual adjustments. Tell your subject exactly what you want: “drop your left shoulder,” “look just past my right ear,” “hold that.” Vague encouragement produces vague results. Specific direction produces specific results. And a subject who feels clearly guided relaxes faster than one who feels like you’re figuring it out as you go.
Step 5: Maintain your pace even when the room is loud
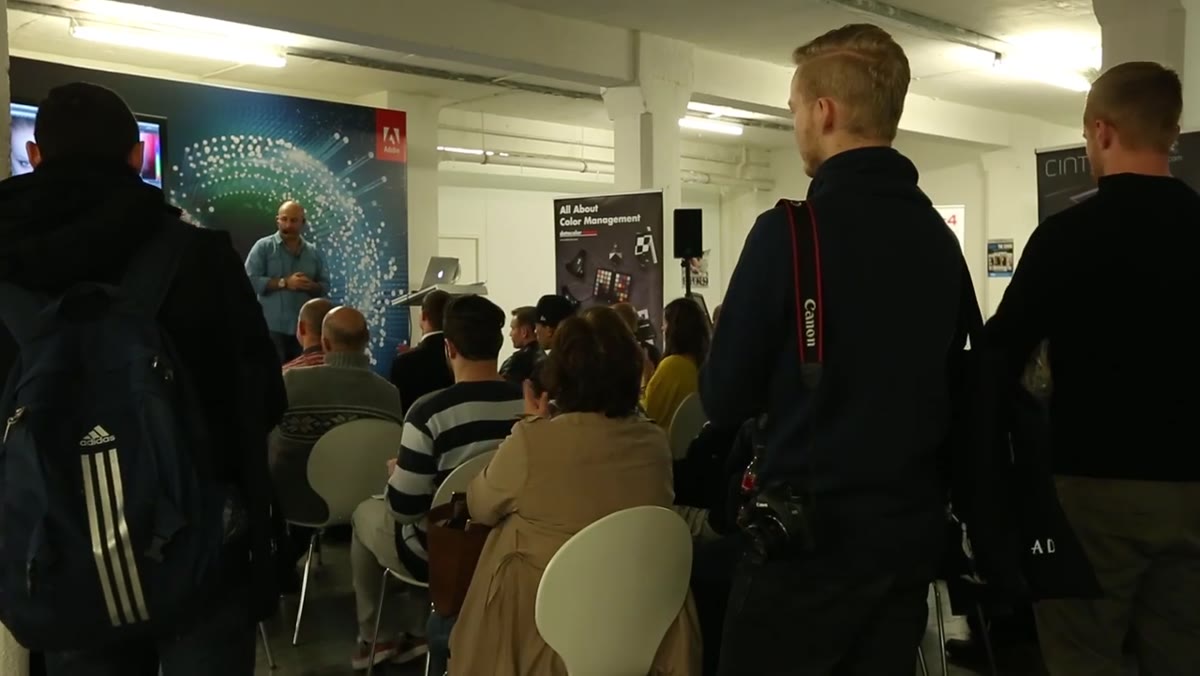 Busy live event atmosphere with audience and applause
A live show floor is genuinely chaotic. There’s applause, announcements, other demonstrations competing for attention. The instinct is to rush because you feel the noise as pressure. Don’t. Your shooting rhythm should stay consistent regardless of what’s happening around you. Take the frame when you’re ready, not when the room quiets down. Subjects feel your pace and mirror it. If you speed up nervously, they tense up. If you stay measured and deliberate, they settle into that rhythm with you. This applies everywhere, not just live events. A confident, unhurried pace is one of the most underrated tools in portrait photography.
Busy live event atmosphere with audience and applause
A live show floor is genuinely chaotic. There’s applause, announcements, other demonstrations competing for attention. The instinct is to rush because you feel the noise as pressure. Don’t. Your shooting rhythm should stay consistent regardless of what’s happening around you. Take the frame when you’re ready, not when the room quiets down. Subjects feel your pace and mirror it. If you speed up nervously, they tense up. If you stay measured and deliberate, they settle into that rhythm with you. This applies everywhere, not just live events. A confident, unhurried pace is one of the most underrated tools in portrait photography.
Step 6: Finish clean
 End of shooting segment, activity wrapping on stage
The end of a live demonstration tells you a lot about a photographer’s professionalism. There’s no dramatic final shot announced with fanfare. It wraps, the work is done, the session closes. That’s intentional. The goal was never performance for its own sake. It was results. When you finish a shoot, resist the urge to keep shooting past the point where you already have what you need. Know when you’re done. Review, confirm you have your selects, and stop. Continuing to shoot past your best frame usually produces nothing useful and occasionally produces something that contradicts the good work you already did.
End of shooting segment, activity wrapping on stage
The end of a live demonstration tells you a lot about a photographer’s professionalism. There’s no dramatic final shot announced with fanfare. It wraps, the work is done, the session closes. That’s intentional. The goal was never performance for its own sake. It was results. When you finish a shoot, resist the urge to keep shooting past the point where you already have what you need. Know when you’re done. Review, confirm you have your selects, and stop. Continuing to shoot past your best frame usually produces nothing useful and occasionally produces something that contradicts the good work you already did.
What I’d add from my own experience
The biggest thing live shooting taught me is that your preparation before the shoot is what actually determines your success during it. Karl can look calm on a live floor because his technical decisions are already made before he walks up to the subject. He’s not choosing aperture in real time. That’s all settled. I started doing this for client shoots: before the session starts, I pick my base exposure for the light I’ve assessed, I decide on my focal length, and I mentally rehearse my first three posing directions. By the time the subject is in front of me, I’m only thinking about them, not about my gear. That shift alone improved my portrait consistency more than any equipment upgrade ever did.
The single most transferable lesson from watching Karl Taylor work live is this: confidence in photography is mostly just preparation made invisible. The photographer who looks natural and unhurried under pressure isn’t talented in some mysterious way. They’ve done the thinking early so they don’t have to do it in front of everyone.
Watch the full tutorial on YouTube and pay attention to the moments between the shots. That’s where the real technique lives.
Comments
Leave a Comment