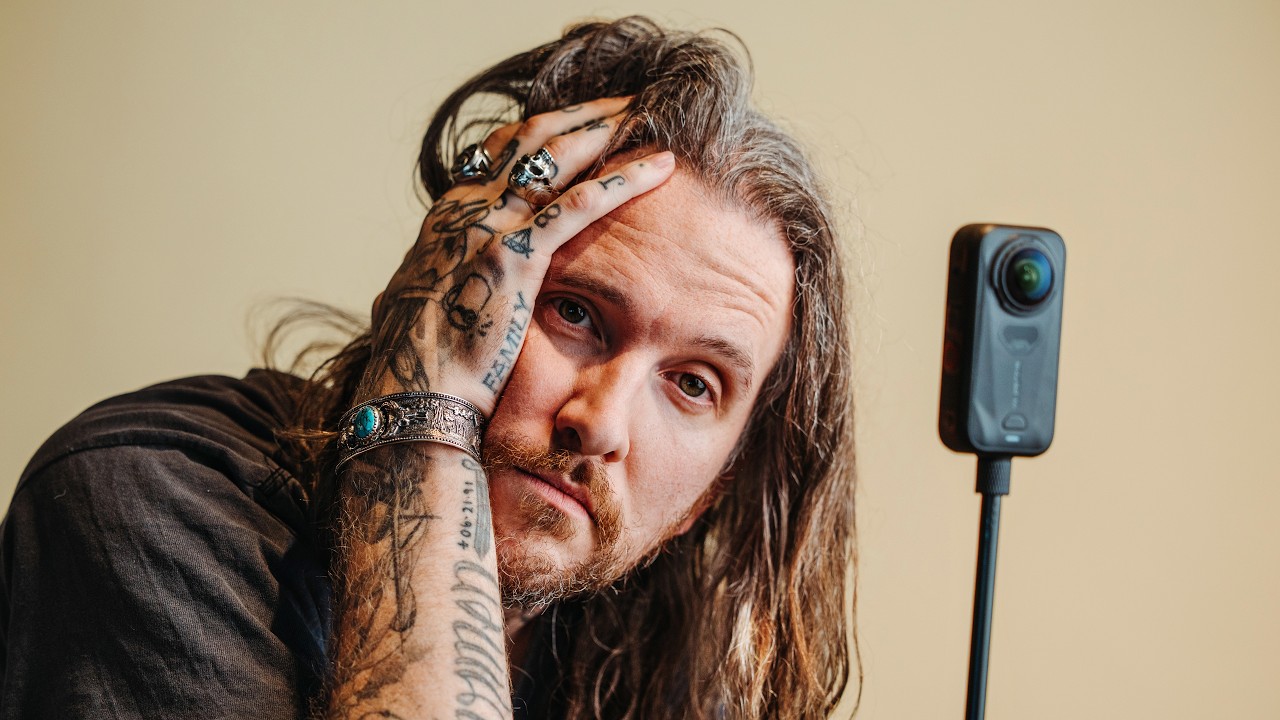
I have a complicated relationship with packing light. I own a beautiful, considered camera bag that I have carefully optimized over years of travel. I have also, more than once, left it in a hotel room and shot an entire afternoon on my phone just to avoid carrying it. So when Peter McKinnon, one of the photographers I actually trust to tell the truth about gear, released a hands-on field test of the new Insta360 X6, I paid close attention. Not because I needed another camera, but because the question he kept circling back to is one I ask myself constantly: can a single, compact device actually replace a dedicated kit for a day of shooting?
Watch the full tutorial on YouTube
In this Peter McKinnon tutorial, he takes the X6 out into the real world, no controlled studio, no perfect lighting, just a cab, a boat, a breezy waterfront, and some honest skepticism. What he’s really testing is something more useful than specs: whether this camera can handle the unpredictable, slightly chaotic conditions that most of us actually shoot in. Here’s how the test unfolds, and what I think it means for your kit.
Step 1: Understand the Core Concept Before You Touch the Camera
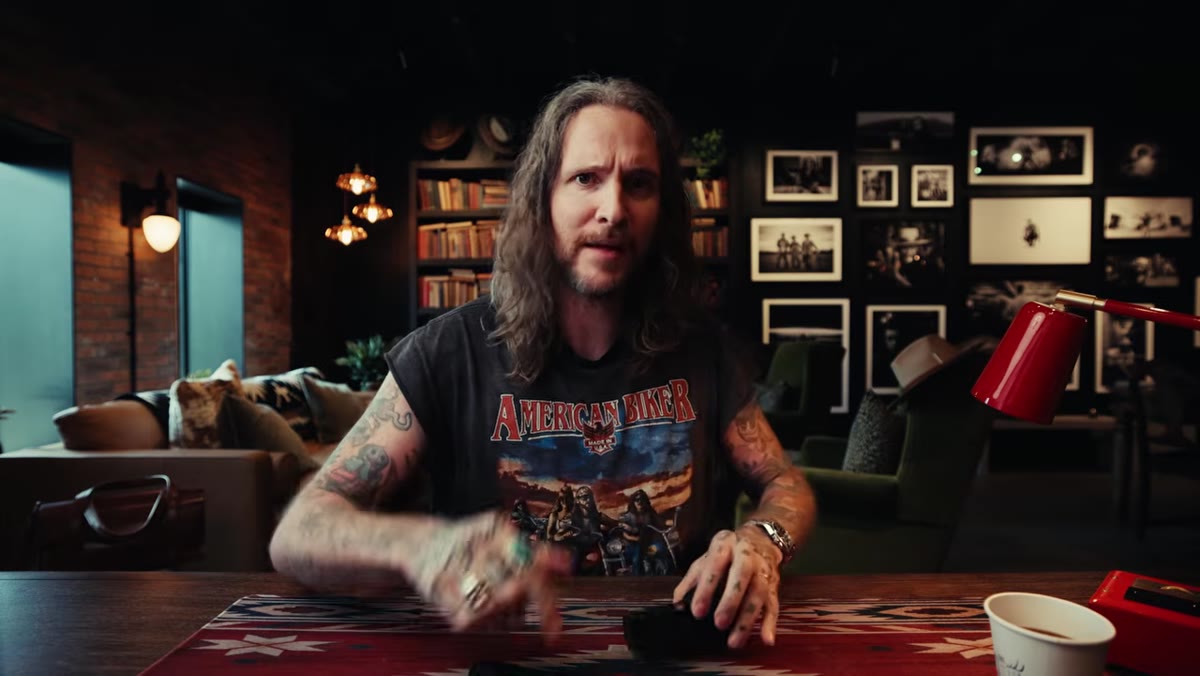 Peter holding X6 on selfie stick, explaining 360 capture
Before any field test is useful, you need a clear mental model of what you’re actually working with. The X6 captures footage from every direction simultaneously. Every angle, in front, behind, above, is recorded the moment you hit record. The selfie stick that ships with it isn’t just an accessory, it’s part of the system. The camera’s software identifies the stick in the frame and removes it in post, which means your finished shot looks like the camera is floating freely in space. That’s a fundamentally different workflow than anything you’re used to if you shoot with a DSLR or mirrorless setup. Stop thinking about “pointing” the camera. You’re dropping it into a scene and letting it capture everything.
Peter holding X6 on selfie stick, explaining 360 capture
Before any field test is useful, you need a clear mental model of what you’re actually working with. The X6 captures footage from every direction simultaneously. Every angle, in front, behind, above, is recorded the moment you hit record. The selfie stick that ships with it isn’t just an accessory, it’s part of the system. The camera’s software identifies the stick in the frame and removes it in post, which means your finished shot looks like the camera is floating freely in space. That’s a fundamentally different workflow than anything you’re used to if you shoot with a DSLR or mirrorless setup. Stop thinking about “pointing” the camera. You’re dropping it into a scene and letting it capture everything.
Step 2: Test Audio Early, Before You’re Somewhere Important
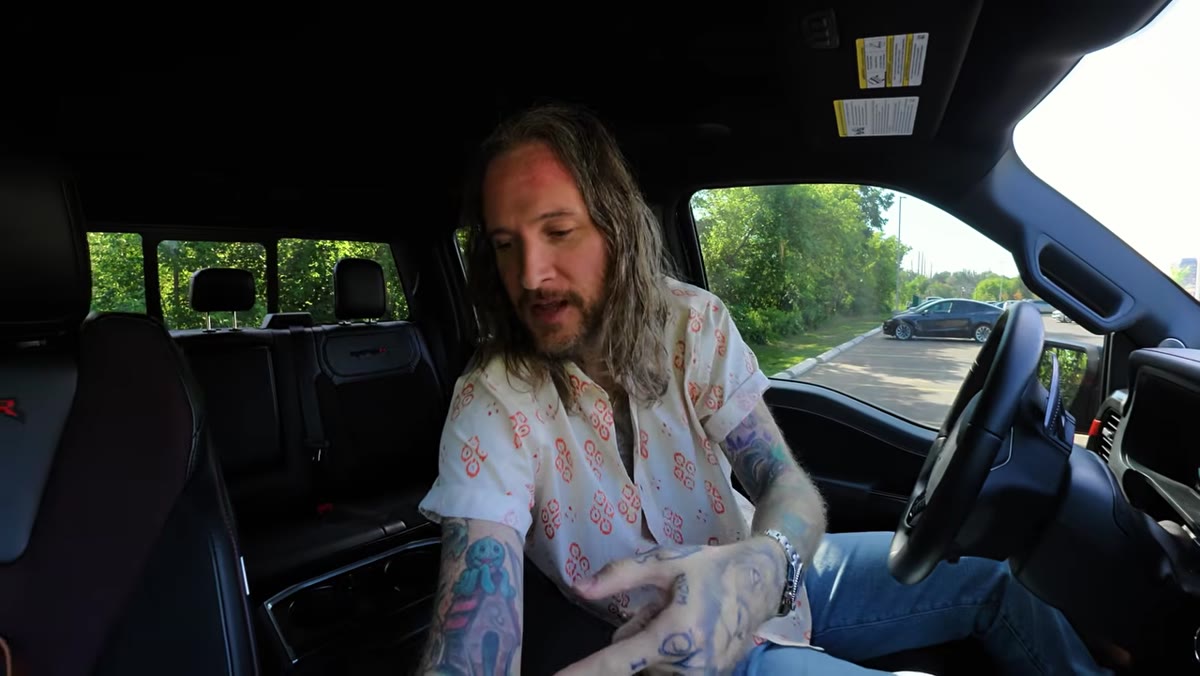 Peter in cab, holding camera up and speaking into it
McKinnon does something smart here that a lot of gear reviewers skip: he tests the built-in microphone in a real, imperfect environment, specifically inside a moving cab. The question he’s asking is practical. If you left your external microphone at home, could you actually use this thing to vlog? Could the built-in mic carry a whole shoot? The honest answer he gets is: sort of. The audio is serviceable in a controlled interior space, but it gets complicated fast. He notes he brought Insta360’s Bluetooth microphones along as a backup, the same ones he’d used successfully on a Canon R5, which tells you something important. Even when you’re going light, audio is the thing that will quietly ruin your footage if you don’t plan for it.
Peter in cab, holding camera up and speaking into it
McKinnon does something smart here that a lot of gear reviewers skip: he tests the built-in microphone in a real, imperfect environment, specifically inside a moving cab. The question he’s asking is practical. If you left your external microphone at home, could you actually use this thing to vlog? Could the built-in mic carry a whole shoot? The honest answer he gets is: sort of. The audio is serviceable in a controlled interior space, but it gets complicated fast. He notes he brought Insta360’s Bluetooth microphones along as a backup, the same ones he’d used successfully on a Canon R5, which tells you something important. Even when you’re going light, audio is the thing that will quietly ruin your footage if you don’t plan for it.
Step 3: Don’t Fight the Weirdness, Use It as a Social Experiment
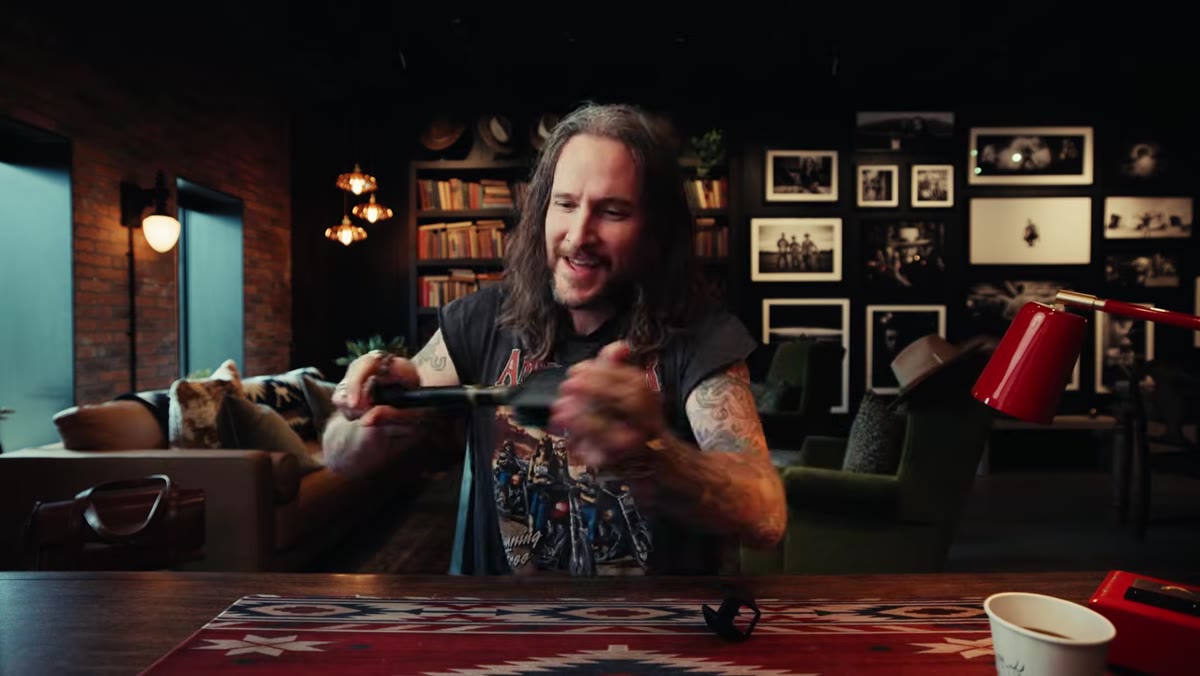 Peter walking outside holding camera on extended stick
Here’s something McKinnon is refreshingly honest about: holding a 360 camera on a selfie stick in public still feels strange, even for someone who makes videos for a living. And that feeling matters practically, because if you’re uncomfortable, you’ll hesitate, and hesitation shows up in your footage as stilted, self-conscious movement. His observation is worth sitting with. Filming yourself in public is more socially normalized now than it has ever been. People see someone talking to a camera and they understand what’s happening. The psychological barrier is the real obstacle, not the gear. Practice walking with it before your actual shoot day so the mechanics feel natural.
Peter walking outside holding camera on extended stick
Here’s something McKinnon is refreshingly honest about: holding a 360 camera on a selfie stick in public still feels strange, even for someone who makes videos for a living. And that feeling matters practically, because if you’re uncomfortable, you’ll hesitate, and hesitation shows up in your footage as stilted, self-conscious movement. His observation is worth sitting with. Filming yourself in public is more socially normalized now than it has ever been. People see someone talking to a camera and they understand what’s happening. The psychological barrier is the real obstacle, not the gear. Practice walking with it before your actual shoot day so the mechanics feel natural.
Step 4: Shoot in Wind and Test the Audio Filter Before You Need It
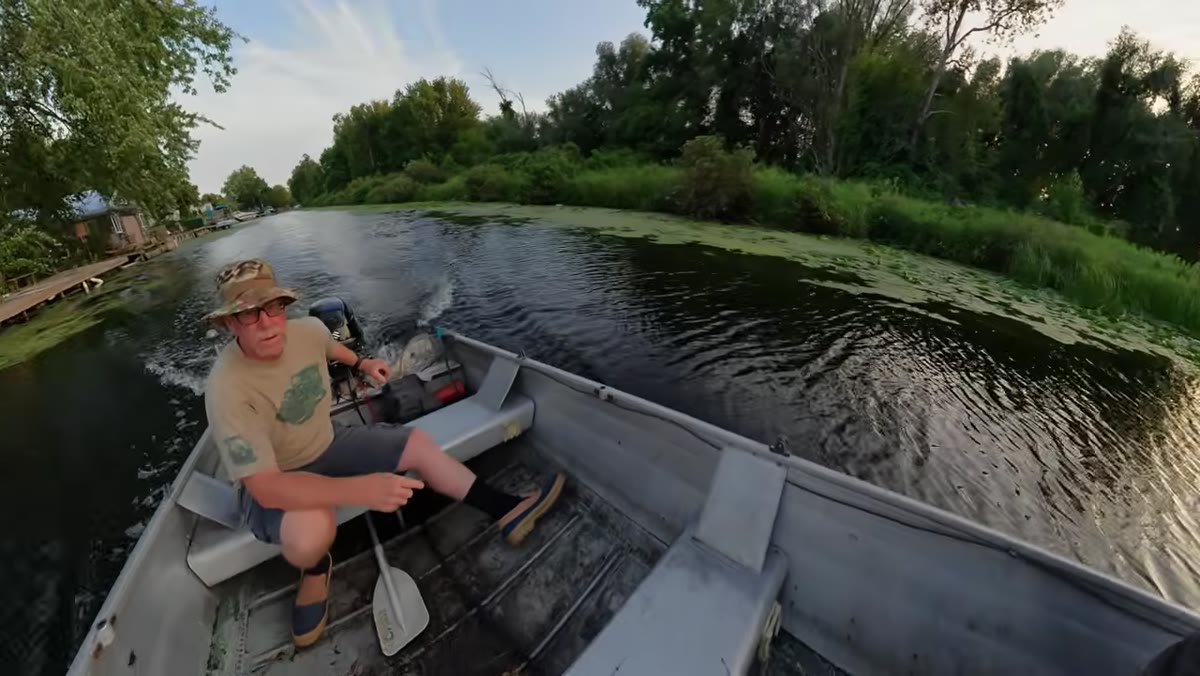 On a boat, visibly breezy, discussing wind filter feature
Once McKinnon gets out onto the water, the conditions shift immediately. It’s windy, which is exactly the kind of thing that destroys audio on smaller cameras. This is where he deliberately puts the camera’s wind filter feature to work. The practical lesson: don’t wait for a perfect, calm day to test a new piece of gear. Take it somewhere uncomfortable. Shoot in wind, in shade, in direct sun. The X6 has a wind noise reduction filter built in, and testing it in actual breezy conditions on a boat gives you genuinely useful data about whether it holds up. Spoiler: he’s cautiously impressed, which is more meaningful than a rave review from a controlled environment.
On a boat, visibly breezy, discussing wind filter feature
Once McKinnon gets out onto the water, the conditions shift immediately. It’s windy, which is exactly the kind of thing that destroys audio on smaller cameras. This is where he deliberately puts the camera’s wind filter feature to work. The practical lesson: don’t wait for a perfect, calm day to test a new piece of gear. Take it somewhere uncomfortable. Shoot in wind, in shade, in direct sun. The X6 has a wind noise reduction filter built in, and testing it in actual breezy conditions on a boat gives you genuinely useful data about whether it holds up. Spoiler: he’s cautiously impressed, which is more meaningful than a rave review from a controlled environment.
Step 5: Evaluate ND Filter Needs for Outdoor Shooting
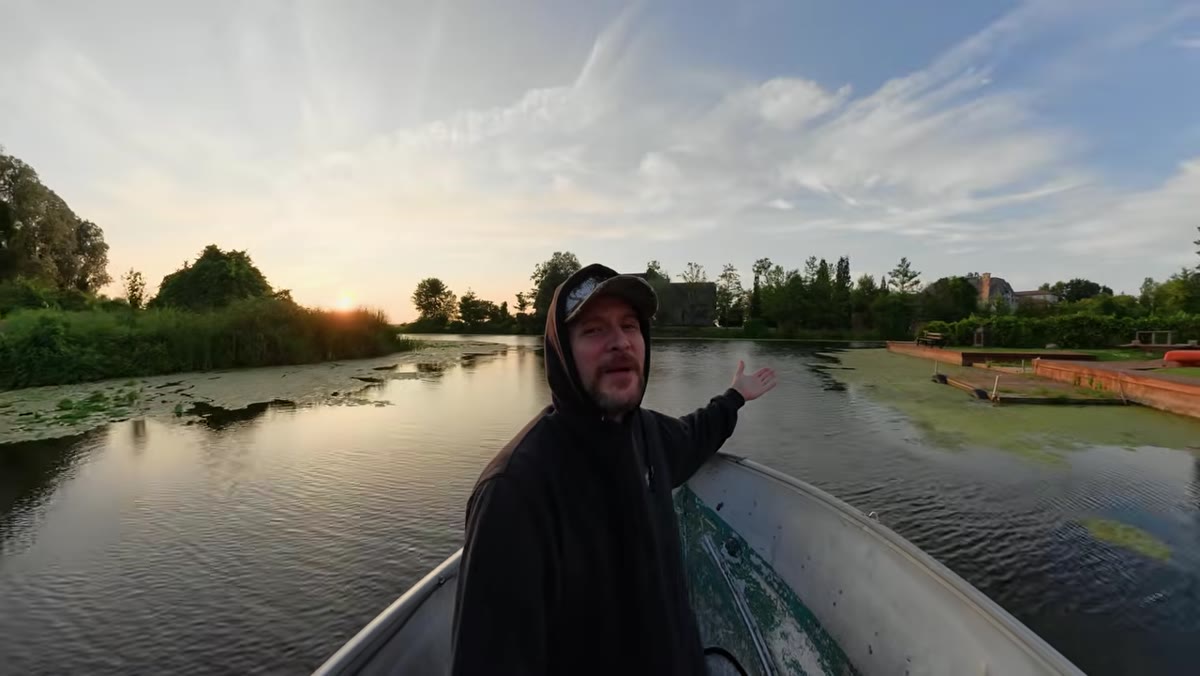 Checking sky, pulling ND filters from pocket on the water
Natural light on the water is notoriously brutal, and McKinnon pulls out the X6’s compatible ND filters to assess whether they’re actually necessary. This step matters for any photographer moving from indoor or shaded shooting into full sun. ND filters reduce the amount of light hitting the sensor without changing your aperture, which lets you keep your shutter speed in a cinematic range rather than cranking it up to compensate for brightness. He’s testing whether the supplied filters are enough for midday outdoor conditions. The takeaway for your own practice: always have NDs accessible when you’re shooting near water or in open sun, even if you’re not sure you’ll need them. Reaching into a pocket is faster than realizing you needed them ten minutes after the shot is gone.
Checking sky, pulling ND filters from pocket on the water
Natural light on the water is notoriously brutal, and McKinnon pulls out the X6’s compatible ND filters to assess whether they’re actually necessary. This step matters for any photographer moving from indoor or shaded shooting into full sun. ND filters reduce the amount of light hitting the sensor without changing your aperture, which lets you keep your shutter speed in a cinematic range rather than cranking it up to compensate for brightness. He’s testing whether the supplied filters are enough for midday outdoor conditions. The takeaway for your own practice: always have NDs accessible when you’re shooting near water or in open sun, even if you’re not sure you’ll need them. Reaching into a pocket is faster than realizing you needed them ten minutes after the shot is gone.
Step 6: Let the Camera Run and Review What It Actually Captured
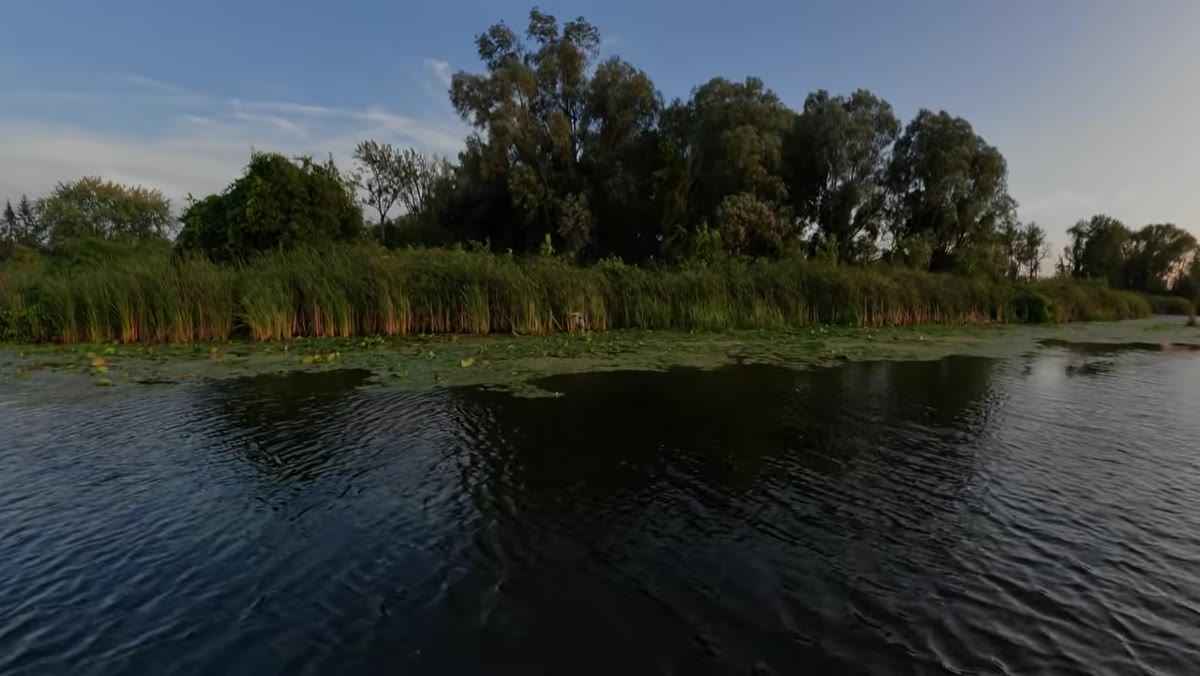 Camera rolling on the boat, capturing surrounding scenery
One of the genuinely different things about 360 shooting is that you spend less time directing and more time reviewing. McKinnon lets the camera run while they’re on the boat, partially because that’s the point of the format, and partially because that’s how you discover what the camera actually sees versus what you thought it was seeing. A bird flies past. The light shifts. Things happen in the background that you weren’t planning for. In traditional shooting, you’d miss those moments. With a 360 camera, you often get them by default. Build in review time after your shoot specifically to look at the full sphere of what was captured, not just the angles you intended.
Camera rolling on the boat, capturing surrounding scenery
One of the genuinely different things about 360 shooting is that you spend less time directing and more time reviewing. McKinnon lets the camera run while they’re on the boat, partially because that’s the point of the format, and partially because that’s how you discover what the camera actually sees versus what you thought it was seeing. A bird flies past. The light shifts. Things happen in the background that you weren’t planning for. In traditional shooting, you’d miss those moments. With a 360 camera, you often get them by default. Build in review time after your shoot specifically to look at the full sphere of what was captured, not just the angles you intended.
From My Own Bag: A Note on Commitment
I want to add one thing McKinnon touches on but doesn’t fully resolve, which is the question of commitment. The X6 works best when you go all in on the format. Use the stick, let the software do its thing, trust the sphere. Where I’ve seen people get frustrated with 360 cameras, including myself on a trip to Iceland two years ago, is when they try to use it like a traditional camera. You end up with footage that’s neither here nor there. If you’re taking this out for a day, leave the mirrorless at home. Committing to the constraint is what actually produces interesting results.
The single most important takeaway from McKinnon’s field test is this: the Insta360 X6 is not a replacement for intentional, directed photography. It’s a different tool that rewards a different mindset, one where capturing everything matters more than controlling exactly what you see. If you can make that mental shift, the camera becomes genuinely useful for travel and documentary-style shooting. If you can’t, it’ll frustrate you regardless of how good the specs are.
Watch the full tutorial on YouTube to see the footage results and hear McKinnon’s full take on whether the X6 earns a permanent spot in a working photographer’s bag.
Comments
Leave a Comment