Every few years, a camera comes along that genuinely changes the conversation. I remember where I was when I first started hearing serious chatter about the Canon EOS R5 - sitting in a coffee shop in Capitol Hill, scrolling through forums on my phone, watching the photography community slowly lose its collective mind over specs that seemed almost too good to be true. For those of us who shoot professionally, upgrading bodies is never a casual decision. You need to know how something actually handles before you commit - not just the spec sheet, but the feel, the workflow, the little ergonomic details that either make your day easier or quietly drive you insane.
In this Peter McKinnon tutorial, Watch the full tutorial on YouTube, McKinnon shares several months of real shooting experience with the R5, including footage captured during the pandemic. He’s upfront that he’s a Canon ambassador, which is worth knowing, but he also commits to calling out anything that falls short. What I found most useful wasn’t the specs themselves, it was the physical walkthrough. Watching someone who actually shoots for a living move through a new camera body tells you more than a bullet-point list ever could. Here’s what stood out, broken down step by step.
Step 1: Understand Why This Release Is a Landmark Moment
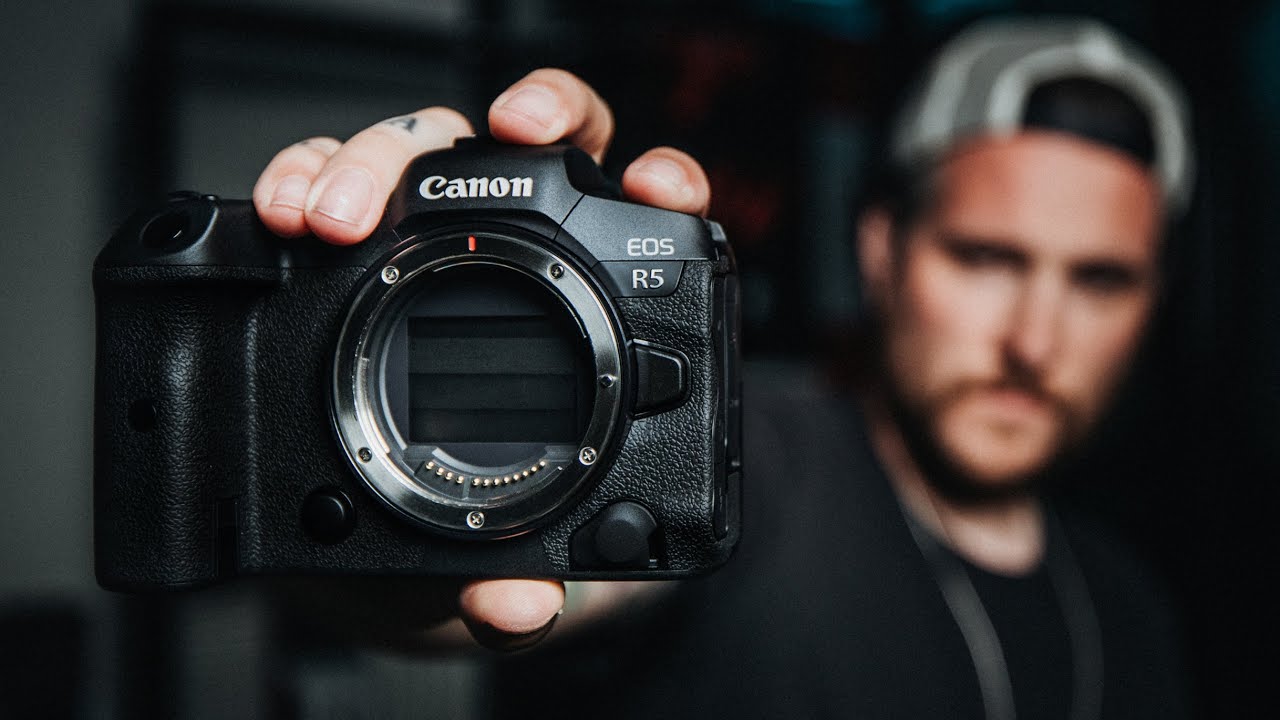
 McKinnon holding the R5, introducing it as highly anticipated
Before you even touch the camera, it helps to understand the context McKinnon places around it. He draws a direct line back to the Canon 5D Mark II and the short film “Reverie” by Vincent Laforay in 2008, which was one of the first times audiences saw cinematic, shallow depth-of-field footage shot on a DSLR. That moment shifted how photographers and filmmakers thought about what a stills camera could do.
McKinnon holding the R5, introducing it as highly anticipated
Before you even touch the camera, it helps to understand the context McKinnon places around it. He draws a direct line back to the Canon 5D Mark II and the short film “Reverie” by Vincent Laforay in 2008, which was one of the first times audiences saw cinematic, shallow depth-of-field footage shot on a DSLR. That moment shifted how photographers and filmmakers thought about what a stills camera could do.
McKinnon argues the R5 carries the same weight for this generation. It is not just an incremental upgrade - it represents a shift in what Canon’s mirrorless lineup is capable of. If you are evaluating whether this camera belongs in your bag, start by asking what your 5D Mark II equivalent moment was, and whether the R5 could be the next one.
Step 2: Get Familiar with the Physical Layout Before You Shoot
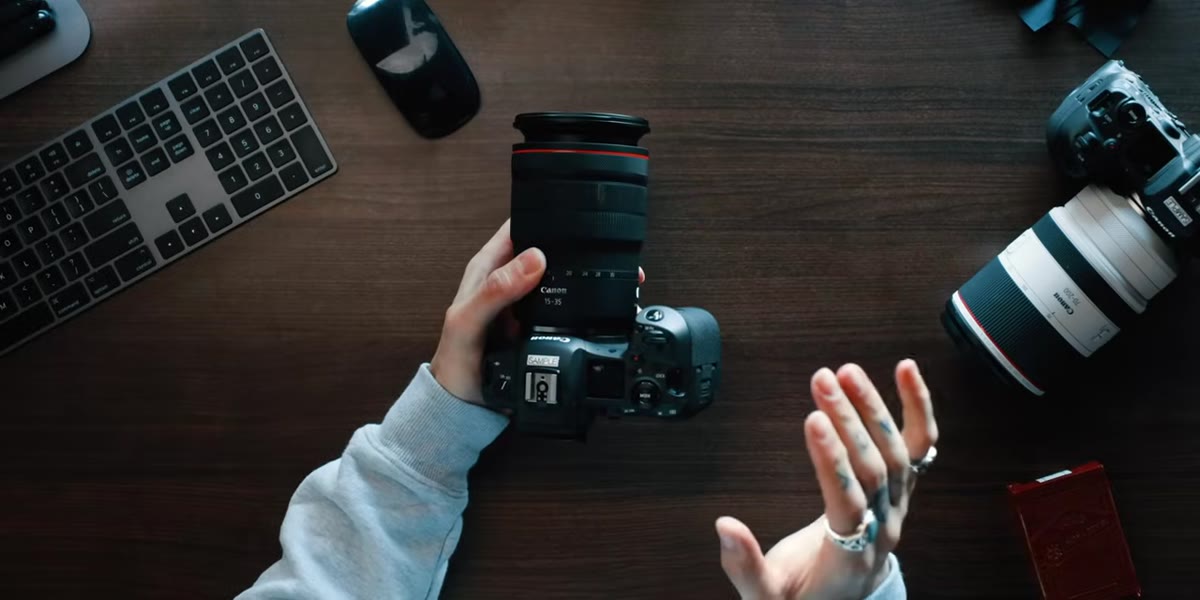
 Top-down view of the R5 body showing the flip screen and controls
McKinnon starts his hands-on evaluation from the outside in, which is actually smart advice for any new body. The R5 brings back two controls that were missing or awkward on the original EOS R: the joystick and the top-dial wheel. Both return here in positions that will feel immediately natural to anyone coming from a Canon DSLR background.
Top-down view of the R5 body showing the flip screen and controls
McKinnon starts his hands-on evaluation from the outside in, which is actually smart advice for any new body. The R5 brings back two controls that were missing or awkward on the original EOS R: the joystick and the top-dial wheel. Both return here in positions that will feel immediately natural to anyone coming from a Canon DSLR background.
The flip-out touchscreen is also present, and if you do any self-shooting, vlogging, or shooting from awkward angles on a tripod, this is one of those features you don’t appreciate until it’s gone. Spend ten minutes with the camera before you attach a lens. Just navigate menus, move the joystick, spin the dials. Muscle memory matters, and building it before you’re in the field saves you fumbling when the light is changing.
Step 3: Evaluate the Grip and Ergonomics Against Your Current Body
 Side-by-side comparison of the R5 and the original EOS R body
McKinnon holds the R5 and the original EOS R side by side, and the size difference is noticeable but not dramatic. The R5 is thicker through the body, and the grip is slightly larger. The reason for the extra bulk is important: in-body image stabilization (IBIS) requires physical space inside the chassis for the sensor-shift mechanism.
Side-by-side comparison of the R5 and the original EOS R body
McKinnon holds the R5 and the original EOS R side by side, and the size difference is noticeable but not dramatic. The R5 is thicker through the body, and the grip is slightly larger. The reason for the extra bulk is important: in-body image stabilization (IBIS) requires physical space inside the chassis for the sensor-shift mechanism.
If you are currently shooting with a mirrorless body that lacks IBIS, this comparison is worth taking seriously. A thicker grip often means better balance with heavier lenses, and that extra stability translates directly to sharper handheld images. When you are comparing bodies in a store or watching a review, look at the grip depth specifically. That is where you feel the difference after four hours of shooting.
Step 4: Check the Card Slot Configuration for Your Workflow
 Card slot door open showing CFexpress and SD card slots
The R5 ships with dual card slots: one for CFexpress cards and one for standard SD. This matters more than it might seem at first glance. CFexpress is a high-speed format designed to handle the data rates required when you are shooting high-resolution burst sequences or high-bitrate video. If you are dropping into the R5 from a camera that only used SD cards, budget for at least one CFexpress card upfront.
Card slot door open showing CFexpress and SD card slots
The R5 ships with dual card slots: one for CFexpress cards and one for standard SD. This matters more than it might seem at first glance. CFexpress is a high-speed format designed to handle the data rates required when you are shooting high-resolution burst sequences or high-bitrate video. If you are dropping into the R5 from a camera that only used SD cards, budget for at least one CFexpress card upfront.
The SD slot gives you a practical backup option and lets you use cards you already own for lower-demand work. A common workflow is to set the camera to record raw files to CFexpress and JPEGs or proxies to SD simultaneously. You get a fast working copy and an immediate backup without any extra steps.
Step 5: Sort Out Your Battery Situation Before Day One
 New LP-E6 batteries with differentiating sticker shown on camera top
McKinnon flags something that will save Canon shooters real money: the R5 uses the LP-E6 battery form factor that has been a Canon standard for years. If you are coming from a 5D, 6D, or 90D, there is a very good chance you already have a small collection of these.
New LP-E6 batteries with differentiating sticker shown on camera top
McKinnon flags something that will save Canon shooters real money: the R5 uses the LP-E6 battery form factor that has been a Canon standard for years. If you are coming from a 5D, 6D, or 90D, there is a very good chance you already have a small collection of these.
There is a catch worth knowing. Canon released updated LP-E6 batteries alongside the R5, identifiable by a small sticker on the cell. The improvement is not in raw capacity - the physical battery is the same size. The difference is in how the camera’s software communicates with the newer cell to distribute power more efficiently. The old batteries still work, but if you are shooting all-day events or video-heavy jobs, investing in a few of the updated cells is worth it. The chargers are unchanged, so you won’t need new accessories there.
What I’d Add From My Own Experience
The comparison McKinnon makes between the R5 and the 5D Mark II launch is the part of this tutorial I keep coming back to. I started teaching photography after a stranger at a coffee shop asked me how I got a particular shot - and what I told her then is still what I tell students now: the camera that changes things is not always the most powerful one. It is the one that removes enough friction that you stop thinking about the tool and start thinking about the image.
The IBIS alone is the feature I would point beginners toward first. Not the 45 megapixels, not the 8K video spec. The ability to shoot handheld in lower light without leaning on a tripod changes where you can go and how fast you can react. For travel shooters especially, that is the feature worth understanding before any other.
The single most important thing this tutorial reinforced for me: before you evaluate any new camera body, know what problem you are actually trying to solve. The R5 is exceptional hardware, but McKinnon is most useful when he walks you through the physical controls and the practical workflow decisions - card slots, batteries, ergonomics - because those are the things that affect every single shoot.
Watch the full tutorial on YouTube to see the footage McKinnon captured with the R5 and hear his extended thoughts on what this camera means for Canon’s lineup.
Comments (2)
Wow, I had no idea you could do this. Mind blown.
Shared this with my photography group. Everyone loved it.
Leave a Comment