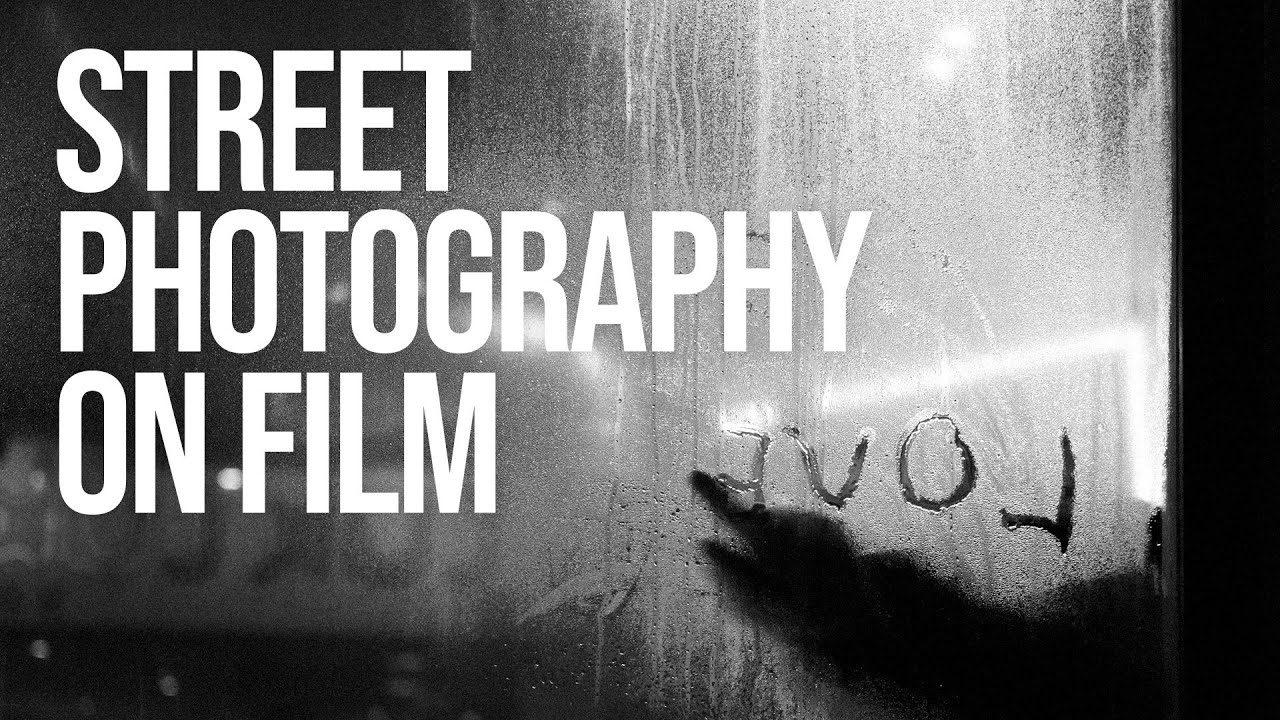
Every Sunday morning I take a photo walk through my neighborhood in Seattle. No agenda, no client, no assignment. Just me and whatever camera I feel like carrying. For the longest time I treated it as a warm-up, a way to shake the rust off before a “real” shoot. I’d come home with 200 frames and maybe feel good about three of them. Fast and loose, spray and pray.
Then I watched Watch the full tutorial on YouTube, where Sean Tucker introduces Hong Kong-based film street photographer Mavis CW and spends time unpacking why her approach to film changes the entire relationship a photographer has with a scene. I don’t shoot much film myself, but this video hit me hard, not because it made me want to ditch my digital setup, but because it identified an exact bad habit I had built into my workflow.
The lesson isn’t really about film. It’s about what happens to your decision-making when every single frame costs you something.
Step 1: Understand Why the Medium Shapes the Mindset
Sean opens by being refreshingly honest: he has a complicated history with film, and he’s skeptical of the “film has soul” crowd who use it more as a personality trait than a tool. But he comes back to film for a specific reason. He believes the process itself has something to teach him. That framing matters.
Before you pick up a film camera for street work, get clear on your reason. If it’s nostalgia or aesthetics, fine, but don’t expect it to make you a better photographer automatically. The real benefit is mechanical: film forces constraint. A 36-exposure roll means you will think harder before pressing the shutter. That thinking is the actual skill you’re building.
Step 2: Accept the True Cost of Every Frame
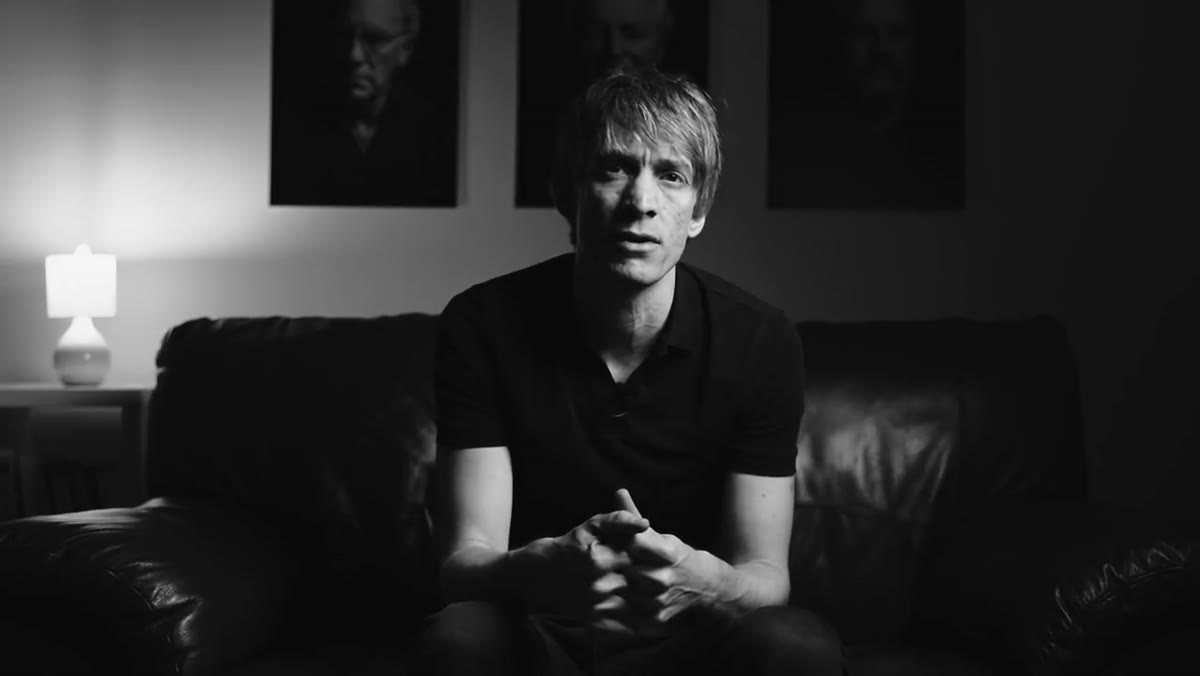 Sean describing the full film development workflow
Sean walks through the full chain of effort behind a single roll: purchasing film, shooting it, developing it, drying the negatives, scanning each frame, and then processing the scans. He points out that even with a reasonable hit rate on a street shoot, maybe two or three keepers from 50 to 70 frames, the cost in time and money is significant.
Sean describing the full film development workflow
Sean walks through the full chain of effort behind a single roll: purchasing film, shooting it, developing it, drying the negatives, scanning each frame, and then processing the scans. He points out that even with a reasonable hit rate on a street shoot, maybe two or three keepers from 50 to 70 frames, the cost in time and money is significant.
Write that out for yourself before your first roll. Calculate what one frame costs you in real terms. When you know a bad shot isn’t just “one of many” but is literally a piece of a finite roll plus your development time, you start to read a scene before raising the camera. You wait for the light to shift. You consider whether the background is clean. You ask whether this moment is actually worth capturing. That pre-shutter checklist is where better photos are built.
Step 3: Watch How Mavis Approaches the Street
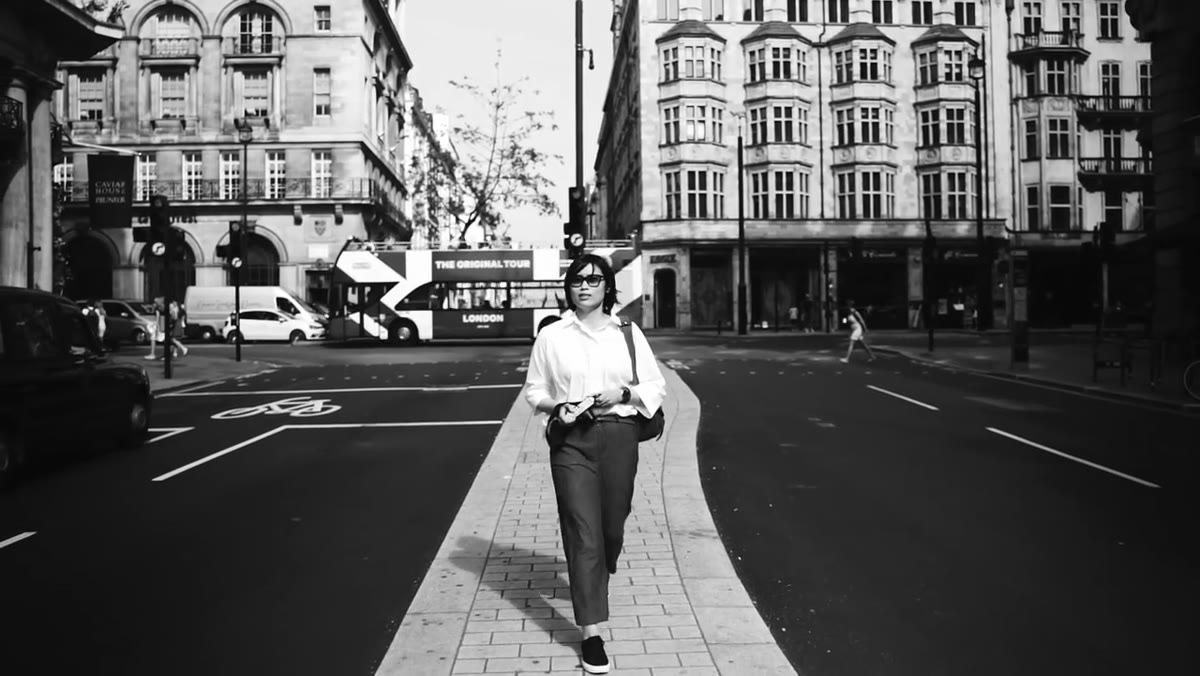 Mavis CW speaking about her early film memories
Mavis traces her connection to film back to watching her mother load a point-and-shoot before family trips. Her first solo experience with film came at age 13, and she describes the nervousness of loading a precious roll and the weight of knowing she needed to be careful with each shot. That early relationship with care and intention carried into her adult work.
Mavis CW speaking about her early film memories
Mavis traces her connection to film back to watching her mother load a point-and-shoot before family trips. Her first solo experience with film came at age 13, and she describes the nervousness of loading a precious roll and the weight of knowing she needed to be careful with each shot. That early relationship with care and intention carried into her adult work.
When you study a photographer whose work you admire, look for the root of their intentionality. Mavis didn’t develop her measured street style from a YouTube course. It came from a memory of scarcity and the emotional reward of photographs that brought back real experiences. Connect your own photography to moments that mattered to you. That emotional anchor makes you more selective about what’s worth capturing.
Step 4: Choose a Camera That Matches Your Commitment Level
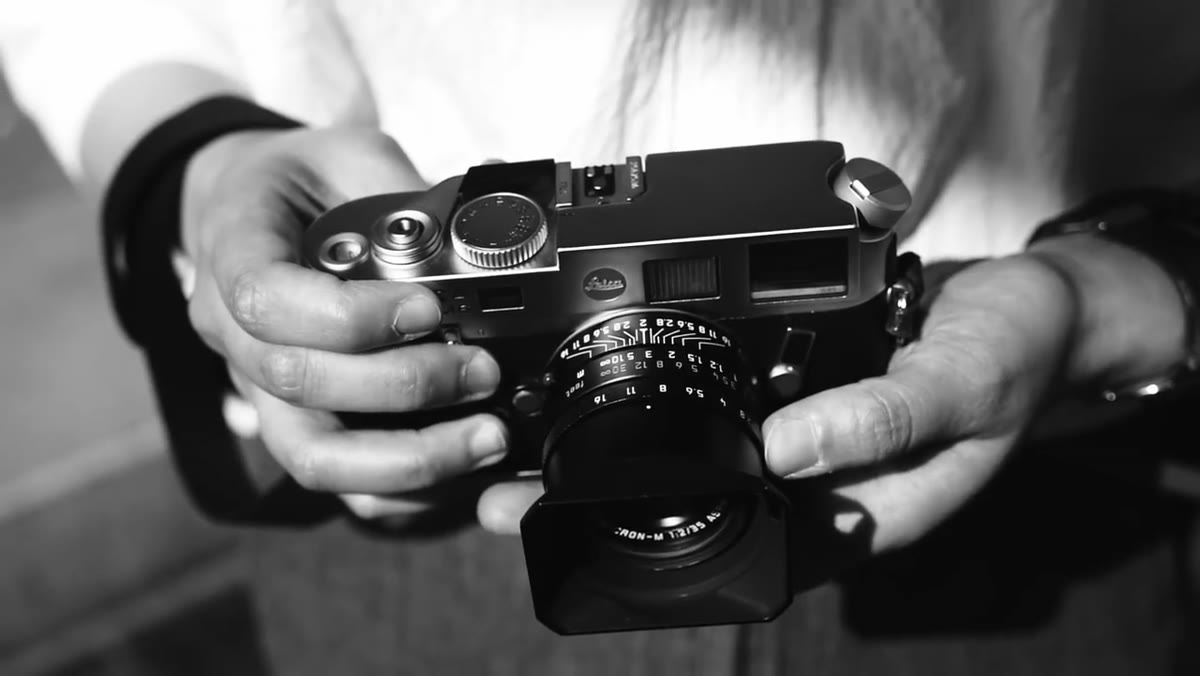 Mavis holding and describing the Leica M6
Mavis shoots with a Leica M6, a fully manual rangefinder. No auto-exposure, no autofocus, no safety net. She sets everything herself. This is a significant choice for street photography, where situations change quickly and a fully manual camera demands that you pre-set your exposure before the moment arrives.
Mavis holding and describing the Leica M6
Mavis shoots with a Leica M6, a fully manual rangefinder. No auto-exposure, no autofocus, no safety net. She sets everything herself. This is a significant choice for street photography, where situations change quickly and a fully manual camera demands that you pre-set your exposure before the moment arrives.
You don’t need a Leica. But you do need to know your camera well enough that you’re not fumbling with settings when something is happening in front of you. If you’re starting out with film street work, try this: before you leave the house, set your exposure for the light conditions you expect, and then commit to it for the first hour. Don’t chimp, don’t adjust constantly. Pre-visualize, pre-expose, and trust yourself. That practice transfers directly to digital work too.
Step 5: Let the Images Stand Without Explanation
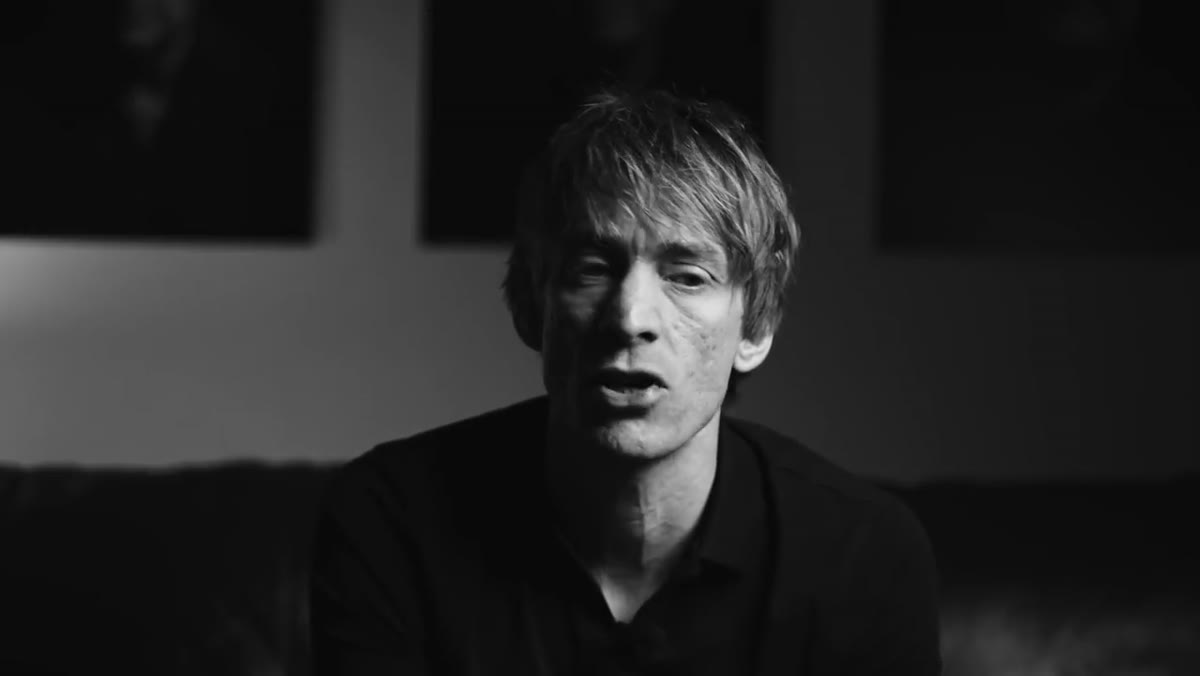 Sean noting Mavis rarely mentions film in her captions
One of the most interesting observations Sean makes is that Mavis rarely mentions in her Instagram captions that she shoots on film. She doesn’t frame her images as “film photography,” doesn’t use it as a qualifier for why the images look the way they do. The photos exist on their own terms.
Sean noting Mavis rarely mentions film in her captions
One of the most interesting observations Sean makes is that Mavis rarely mentions in her Instagram captions that she shoots on film. She doesn’t frame her images as “film photography,” doesn’t use it as a qualifier for why the images look the way they do. The photos exist on their own terms.
This is a discipline worth adopting regardless of what you shoot on. Resist the urge to explain your process in a caption as a way of managing expectations. If you feel like you need to tell people a photo was shot on film so they appreciate it more, the image might not be doing enough work on its own yet. Let the photograph make the argument. Post it, step back, and see what it communicates without a paragraph of context.
Step 6: Earn the Image Through the Full Process
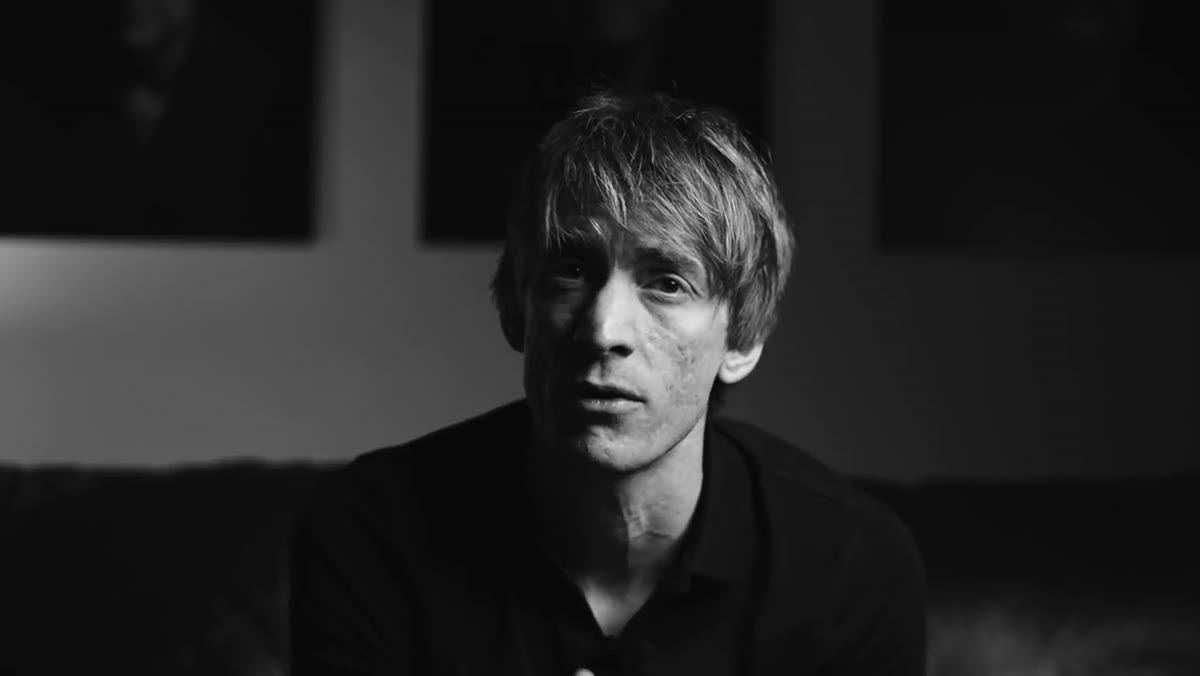 Sean reflecting on what film street photographers sacrifice
Sean makes a point that stuck with me: people who shoot street photography on film “earn every image.” The time investment from shot to final scan is not small, and there’s no instant feedback loop. You shoot, you wait, you develop, you discover.
Sean reflecting on what film street photographers sacrifice
Sean makes a point that stuck with me: people who shoot street photography on film “earn every image.” The time investment from shot to final scan is not small, and there’s no instant feedback loop. You shoot, you wait, you develop, you discover.
Build a version of this into your digital practice. After a shoot, wait 24 hours before culling. Don’t look at your images the second you get home. That gap creates a little of the same distance and perspective that the development process gives film shooters. You’ll look at your frames differently when you’re not still riding the adrenaline of the shoot.
My Own Take: Constraint Works on Any Camera
I still shoot with my phone sometimes, honestly. My most-engaged Instagram post ever came from a $200 phone on a cloudy Tuesday. But what I took from this tutorial isn’t that film is better or that digital is lazy. It’s that constraint produces clarity. Whether that constraint comes from a 36-exposure roll, a manual-only camera, or a self-imposed rule that you only get 10 frames per walk, it forces the same question every time: is this worth it?
On my Sunday walks now, I give myself a limit. Thirty frames maximum. It sounds small, but it changed how I move through a scene entirely. I stop more. I wait longer. I come home with fewer photos and like more of them.
The single most important takeaway from this tutorial is this: the value of film street photography isn’t in the grain or the color rendering. It’s in the cost of each frame, and how that cost changes your behavior before you ever press the shutter. You can manufacture that cost for yourself without buying a single roll of film.
Watch the full tutorial on YouTube to see Mavis CW’s work for yourself. The images speak louder than anything I could describe here.
Comments (1)
This should be required reading for anyone starting out.
Leave a Comment