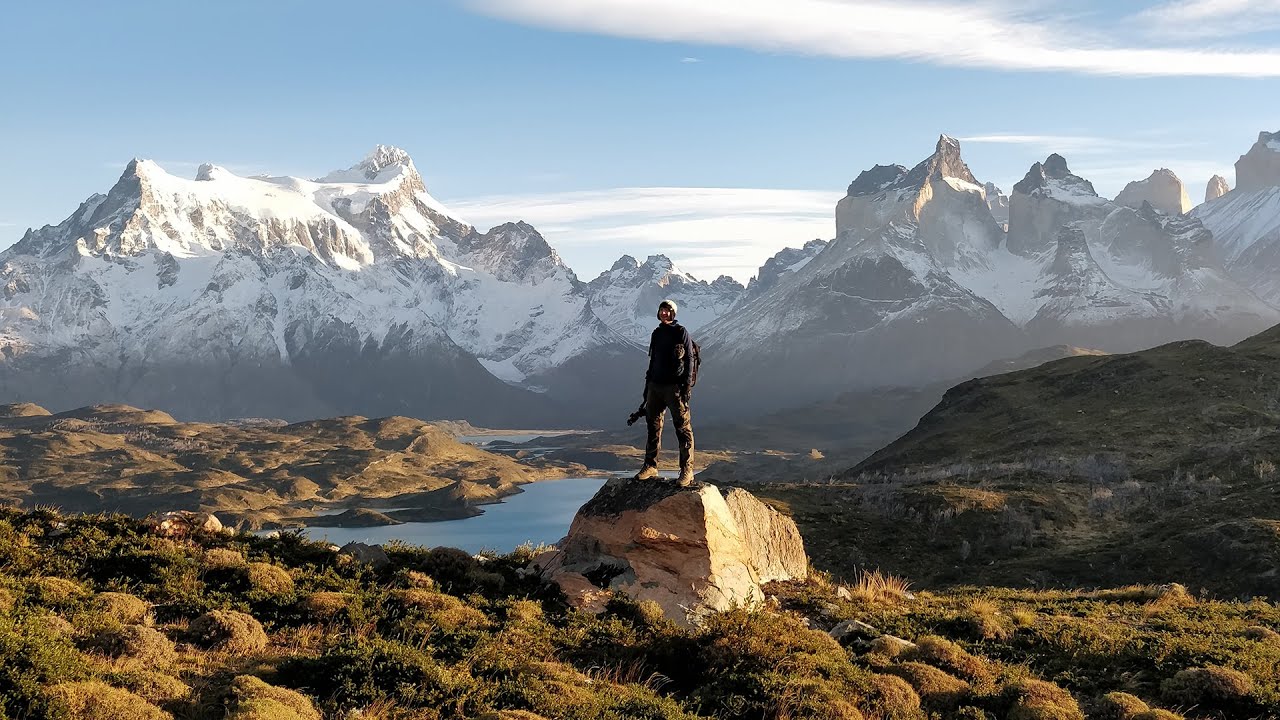
There’s a particular kind of frustration that comes from arriving at a beautiful location and walking away with nothing usable. You saw the light. You were standing right there. But something about the image just didn’t land. I’ve had that happen more times than I’d like to admit, usually because I skipped the slower, more deliberate steps that separate a good frame from a forgettable one. What helped me rethink some of those habits was watching a Patagonia field shoot by landscape photographer Thomas Heaton. Watch the full tutorial on YouTube before or after reading this, but either way, keep reading, because I want to unpack what’s actually happening technically and creatively at each stage.
Heaton shoots in Torres del Paine and Los Glaciares national parks, two of the most dramatic landscapes on the planet. But what makes this tutorial valuable isn’t the location. It’s that he keeps returning to the same ideas: patience, deliberate composition, and knowing when the light is doing the work for you. Those ideas travel. Whether you’re in Patagonia or a state park an hour from your house, the process he shows is repeatable.
Step 1: Prioritize Being There Over Getting the Settings Right
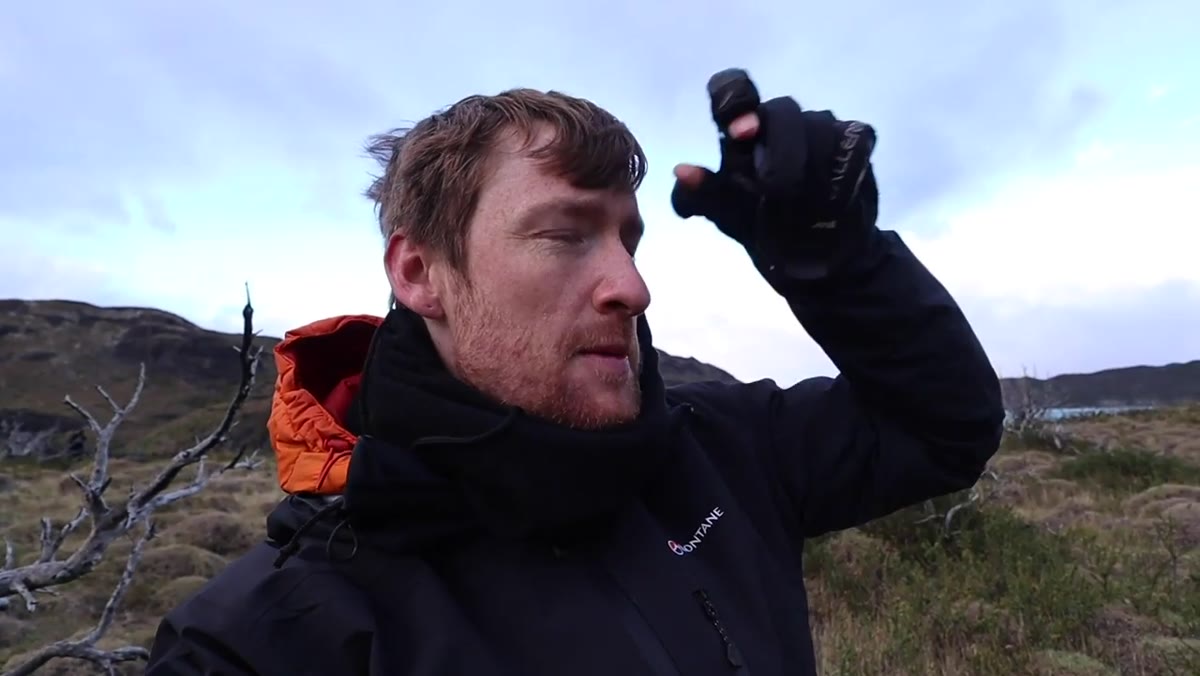
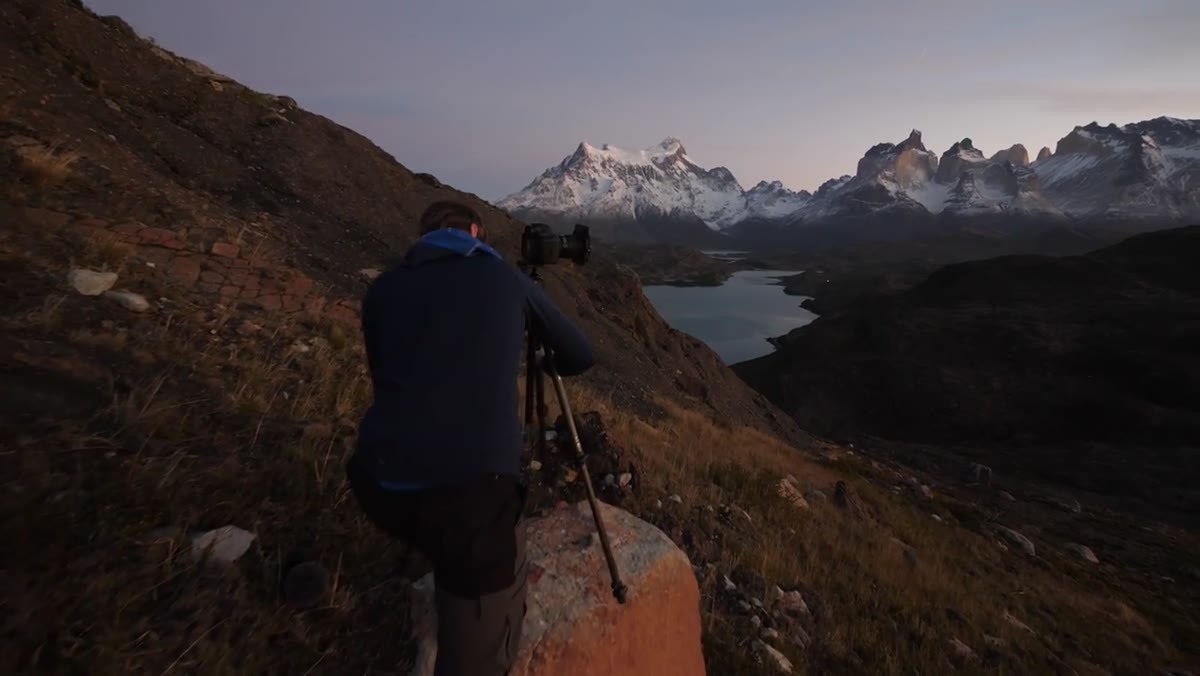 Heaton adjusting exposure settings at dawn in Torres del Paine
Heaton opens the shoot at dawn in Torres del Paine, and one of the first things he says is that the technical side is the easy part. Getting yourself to the location, hiking up before light, being physically present when the moment happens. That’s the hard part. He’s working with exposures around one to two seconds at this stage, which is a reasonable starting point for early morning landscape work when you want some motion smoothed out but not fully erased.
Heaton adjusting exposure settings at dawn in Torres del Paine
Heaton opens the shoot at dawn in Torres del Paine, and one of the first things he says is that the technical side is the easy part. Getting yourself to the location, hiking up before light, being physically present when the moment happens. That’s the hard part. He’s working with exposures around one to two seconds at this stage, which is a reasonable starting point for early morning landscape work when you want some motion smoothed out but not fully erased.
The practical lesson here is to stop over-preparing your gear and under-preparing your logistics. Know your hike. Know when the light hits. Set a rough exposure range before you arrive so you’re not fumbling in the dark. For most blue-hour and early golden-hour landscape work, start at ISO 100, f/8 to f/11, and let your shutter speed float based on a test exposure. Adjust from there.
Step 2: Read the Light Before You Shoot
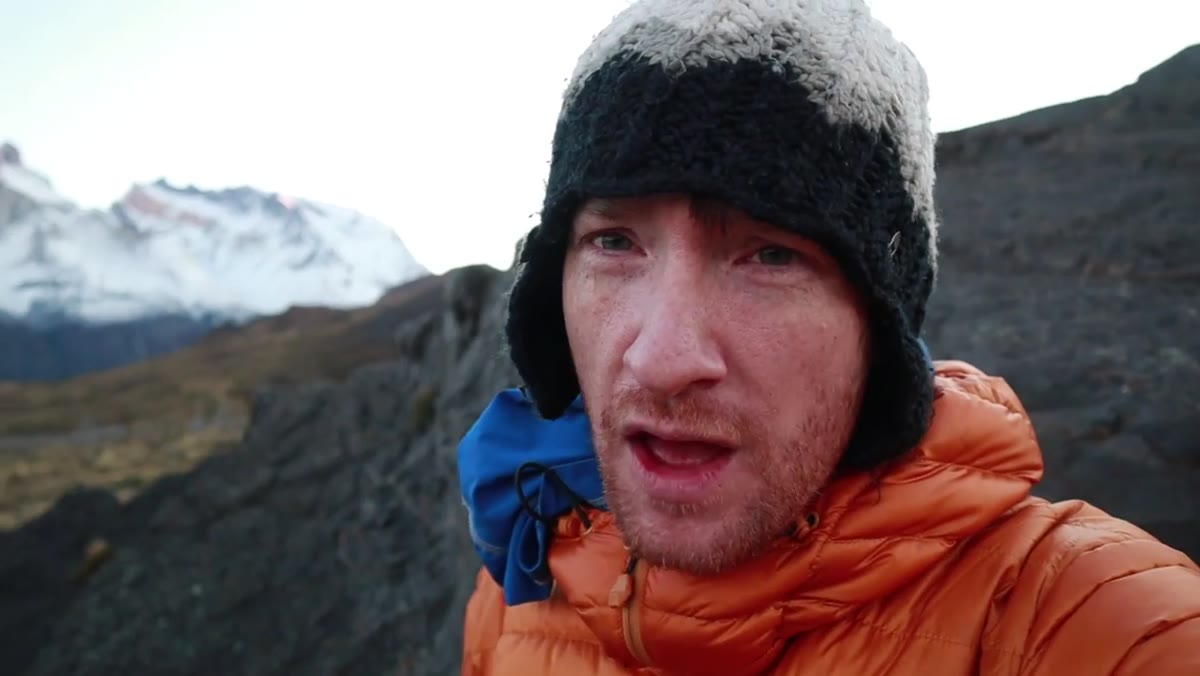 Pink alpenglow touching the peaks of Torres del Paine
What transforms Heaton’s first shot isn’t a filter or a technique. It’s a small amount of pink alpenglow catching the peaks of the Torres. He recognizes it immediately and reacts, settling on f/11 at one and a half seconds. The image only works because he’s watching the light actively, not just pointed at a static scene.
Pink alpenglow touching the peaks of Torres del Paine
What transforms Heaton’s first shot isn’t a filter or a technique. It’s a small amount of pink alpenglow catching the peaks of the Torres. He recognizes it immediately and reacts, settling on f/11 at one and a half seconds. The image only works because he’s watching the light actively, not just pointed at a static scene.
This is a habit worth building deliberately. Before you press the shutter, ask yourself what the light is actually doing right now. Where is it landing? Is there color? Is it moving? Alpenglow and golden hour light change fast, sometimes in under two minutes. If you’re still fussing with your tripod when it peaks, you’ll miss it. Get stable early, get your composition locked in, and then just watch.
Step 3: Search Longer Than Feels Reasonable for Your Subject
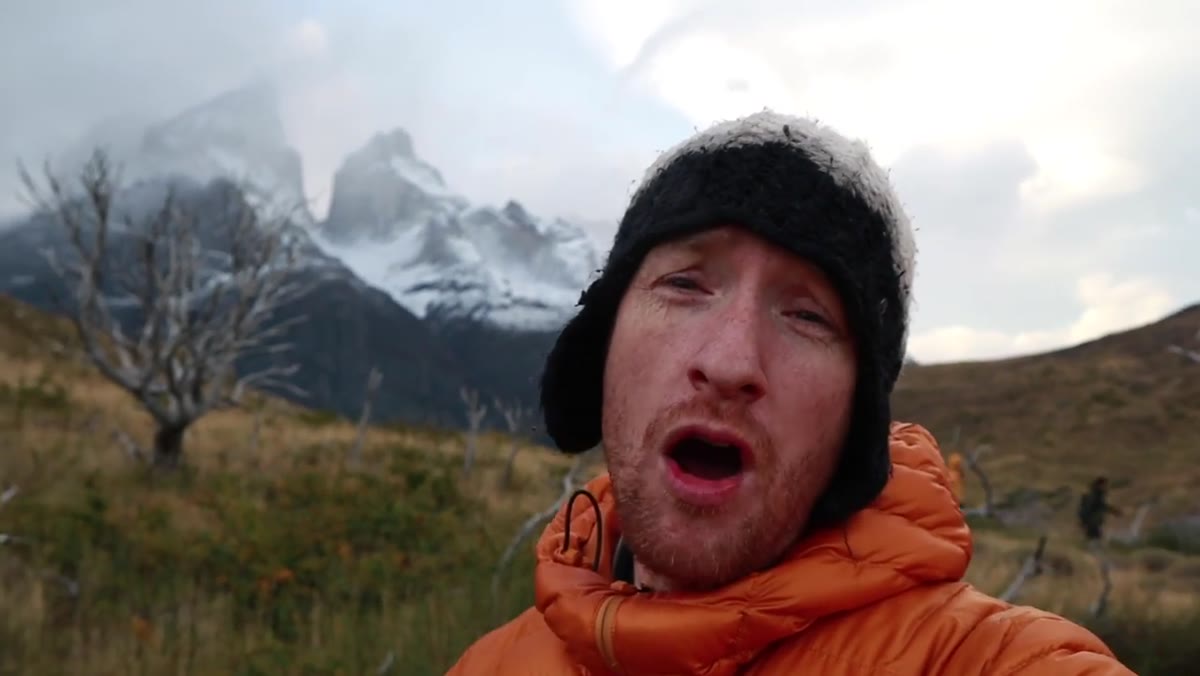 Heaton walking through devastated forest searching for the right tree
After the mountain sequence, Heaton shifts to the burned forests inside the park, and this section is where a lot of photographers would have given up. He and his group walk for thirty minutes through chaotic, cluttered terrain looking for a single tree worth photographing. He’s explicit about how frustrating it is: nothing, nothing, nothing, and then one last push over a ridge and there it is.
Heaton walking through devastated forest searching for the right tree
After the mountain sequence, Heaton shifts to the burned forests inside the park, and this section is where a lot of photographers would have given up. He and his group walk for thirty minutes through chaotic, cluttered terrain looking for a single tree worth photographing. He’s explicit about how frustrating it is: nothing, nothing, nothing, and then one last push over a ridge and there it is.
The lesson is that great foreground subjects don’t announce themselves. You have to commit to the search. On my Sunday morning photo walks around Seattle, I’ve learned to budget at least twice the time I think I need just for location scouting within a scene. If you find your subject in five minutes, great, use the extra time to refine. If it takes thirty, you’ll be glad you didn’t quit at fifteen.
Step 4: Use a Wide Aperture to Isolate a Subject Against a Complex Background
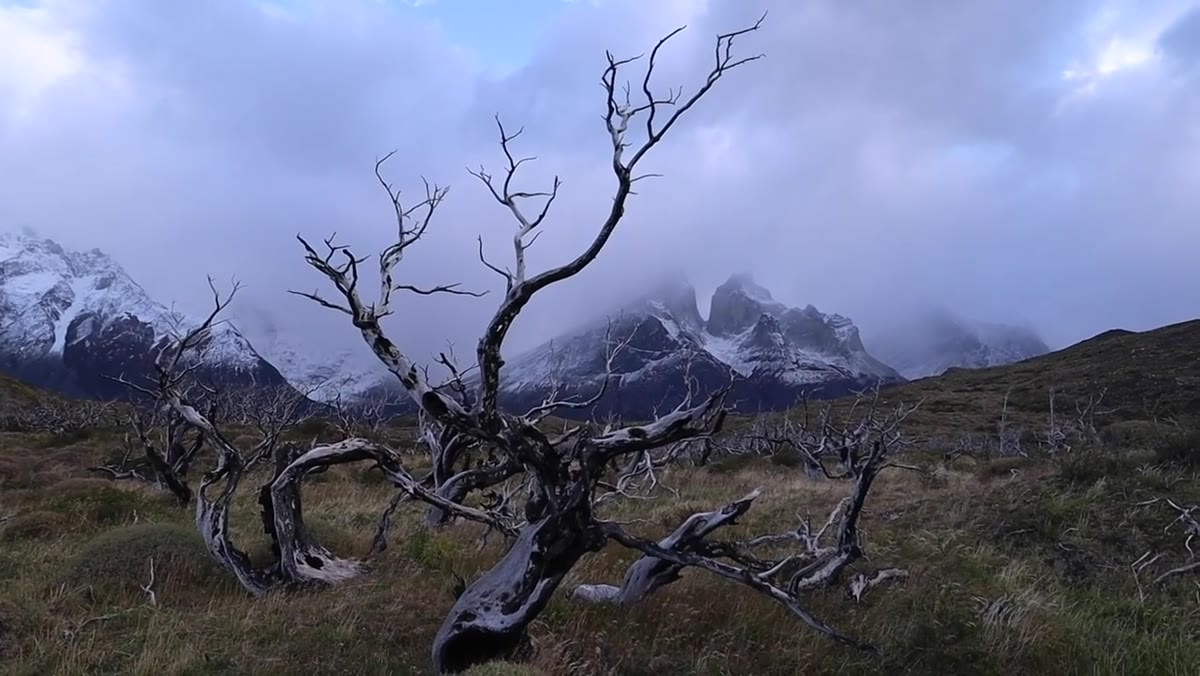
 Camera set to f/5.6 focused on lone tree with mountains behind
Once Heaton finds his tree, he shoots at f/5.6. This is a deliberate choice. The background is mountains and sky, which could easily compete with the tree for visual attention. A wider aperture softens that background just enough to keep it present without making it dominant. He describes wanting something “painterly,” which is a useful way to think about selective focus in landscapes.
Camera set to f/5.6 focused on lone tree with mountains behind
Once Heaton finds his tree, he shoots at f/5.6. This is a deliberate choice. The background is mountains and sky, which could easily compete with the tree for visual attention. A wider aperture softens that background just enough to keep it present without making it dominant. He describes wanting something “painterly,” which is a useful way to think about selective focus in landscapes.
This approach works especially well when your subject has strong graphic shape, like a bare tree, a lone rock, an isolated structure. Focus on the subject, let the background go slightly soft, and the viewer’s eye has no choice but to land where you want it. Use your lens’s sharpest aperture for the subject itself, which is usually one or two stops down from wide open. At f/5.6 on most lenses, sharpness at the focal point is solid while background blur is still noticeable.
Step 5: Do Edge Patrol Before Every Single Shot
 Heaton checking frame edges for distracting elements and overlaps
This is the step most beginners skip entirely and experienced photographers sometimes rush. Heaton calls it “edge patrol.” Before he fires the shutter, he scans every corner and edge of his frame to make sure nothing is awkwardly cropping in or out, and that elements aren’t visually colliding with each other in distracting ways. Specifically, he checks that the tree’s branches don’t overlap the mountain ridgeline in a way that merges two subjects into visual noise.
Heaton checking frame edges for distracting elements and overlaps
This is the step most beginners skip entirely and experienced photographers sometimes rush. Heaton calls it “edge patrol.” Before he fires the shutter, he scans every corner and edge of his frame to make sure nothing is awkwardly cropping in or out, and that elements aren’t visually colliding with each other in distracting ways. Specifically, he checks that the tree’s branches don’t overlap the mountain ridgeline in a way that merges two subjects into visual noise.
Do this on every composition before you shoot. Look at each corner. Look at where your subject intersects the horizon or the background. Ask whether any element is entering the frame unnaturally. This takes about ten seconds and it saves you from that moment in Lightroom where you love the light but can’t use the shot because something’s wrong at the edge.
Step 6: Shoot Blue Hour in Urban Locations with Long Exposures and Multiple Panels
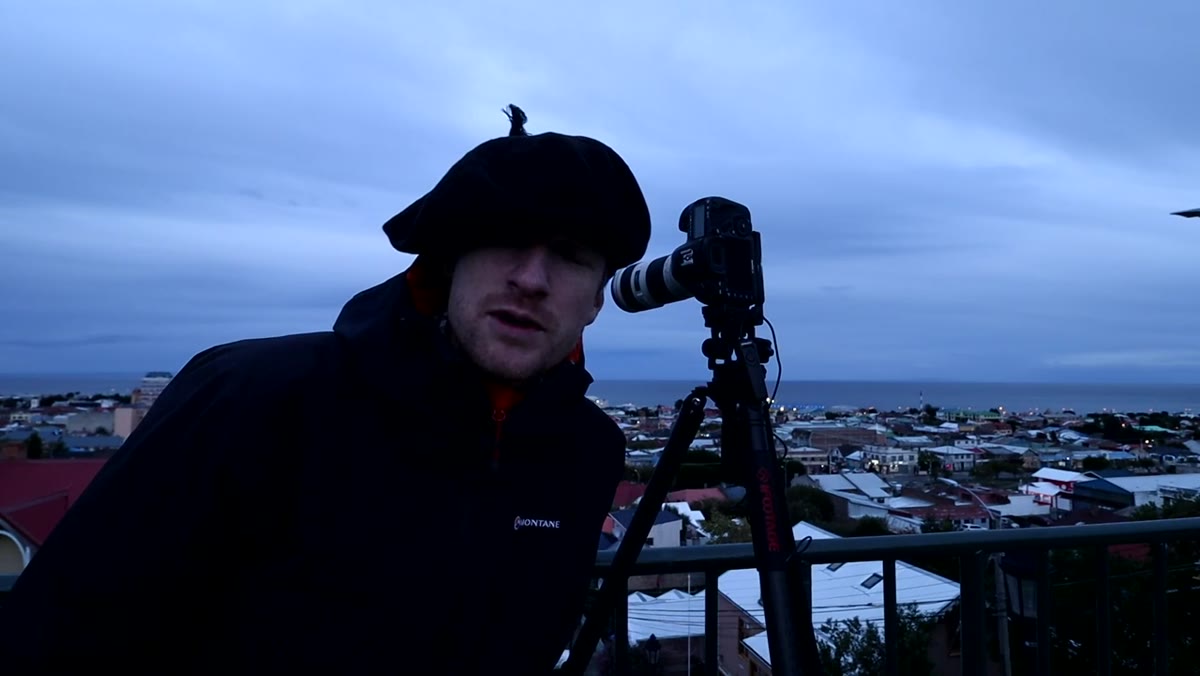 Blue hour cityscape with ambient light from streetlights and buildings
Later in the video, Heaton moves into a Patagonian town and shoots a blue-hour cityscape from a pier. He waits for the window between sunset and full dark when ambient artificial light and fading natural light balance each other, which produces that even, glowing look you can’t quite replicate in post. He’s using long exposures to smooth car tail lights into streaks and shooting multiple panels to cover a wider field of view than his lens allows in a single frame.
Blue hour cityscape with ambient light from streetlights and buildings
Later in the video, Heaton moves into a Patagonian town and shoots a blue-hour cityscape from a pier. He waits for the window between sunset and full dark when ambient artificial light and fading natural light balance each other, which produces that even, glowing look you can’t quite replicate in post. He’s using long exposures to smooth car tail lights into streaks and shooting multiple panels to cover a wider field of view than his lens allows in a single frame.
For this kind of shooting, use a remote shutter release or your camera’s timer to avoid camera shake. Keep ISO low, aperture between f/8 and f/11 for sharpness across the scene, and let the exposure length do the creative work. Blue hour is short, usually fifteen to twenty minutes depending on your latitude, so scout your position before the sun sets.
Step 7: Let the Moment Come to You
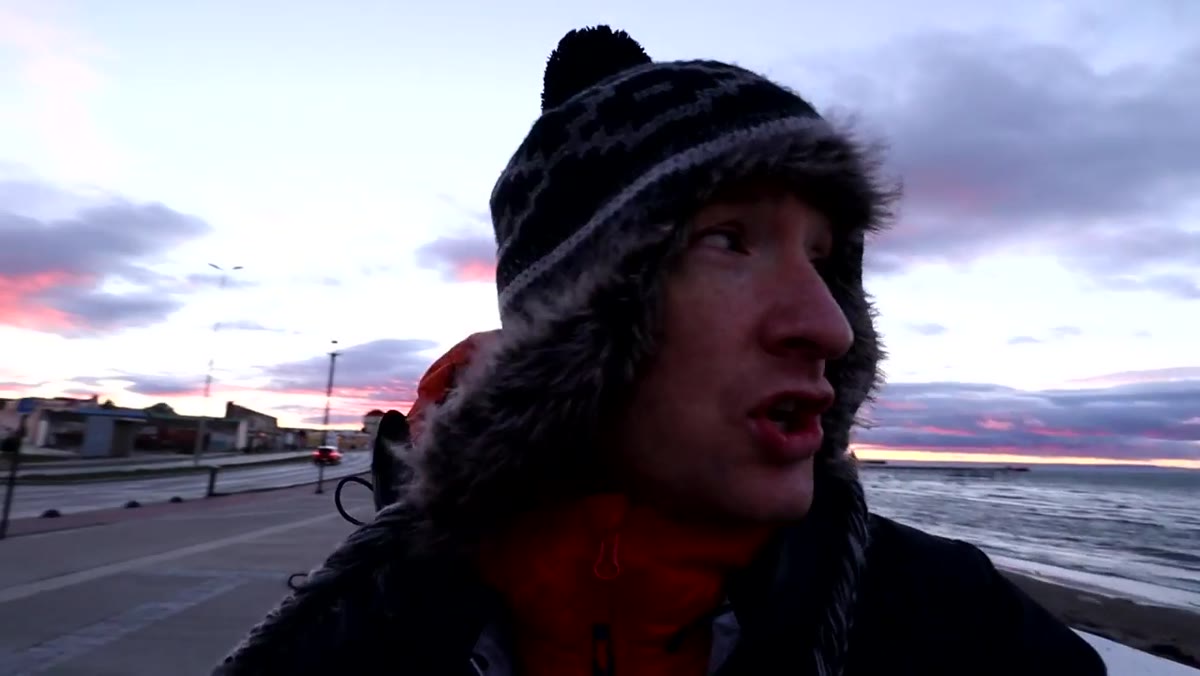 Heaton waiting as sunrise light hits the dilapidated pier
One of the quieter lessons in this video is how much time Heaton spends waiting. He finds his pier composition, locks it in, and then waits for sunrise light to hit it. The image he’s after requires a specific quality of light at a specific angle. He already knows this before the sun rises. So he waits.
Heaton waiting as sunrise light hits the dilapidated pier
One of the quieter lessons in this video is how much time Heaton spends waiting. He finds his pier composition, locks it in, and then waits for sunrise light to hit it. The image he’s after requires a specific quality of light at a specific angle. He already knows this before the sun rises. So he waits.
Patience is not passive. Knowing what you’re waiting for is a skill. If you can visualize the image before the light arrives, you’ll be ready when it does.
When Location Pressure Pushes You to Rush
I once spent four days at a waterfall in Iceland trying to get one specific shot. I had the composition. I had the right lens. What I didn’t have, most mornings, was the light I needed. I kept jumping to a backup shot out of impatience. The one morning I waited it out, I got exactly what I came for. Heaton’s process reminded me of that trip: the work is mostly showing up correctly and resisting the urge to settle.
If you’re shooting somewhere with limited time, pick your one or two most important shots and protect time for them. Let everything else be a bonus. Pressure and patience are genuinely in conflict, and the only way to manage that tension is to make intentional decisions ahead of time about what actually matters.
The single biggest thing I took from this tutorial is that the technical work is a small fraction of the process. The real craft is in reading light, searching longer, and composing carefully enough that when the moment arrives, you’re ready. Watch the full tutorial on YouTube and pay attention to how much of Heaton’s time on camera is just looking, walking, and waiting. That’s not downtime. That’s the job.
Comments
Leave a Comment