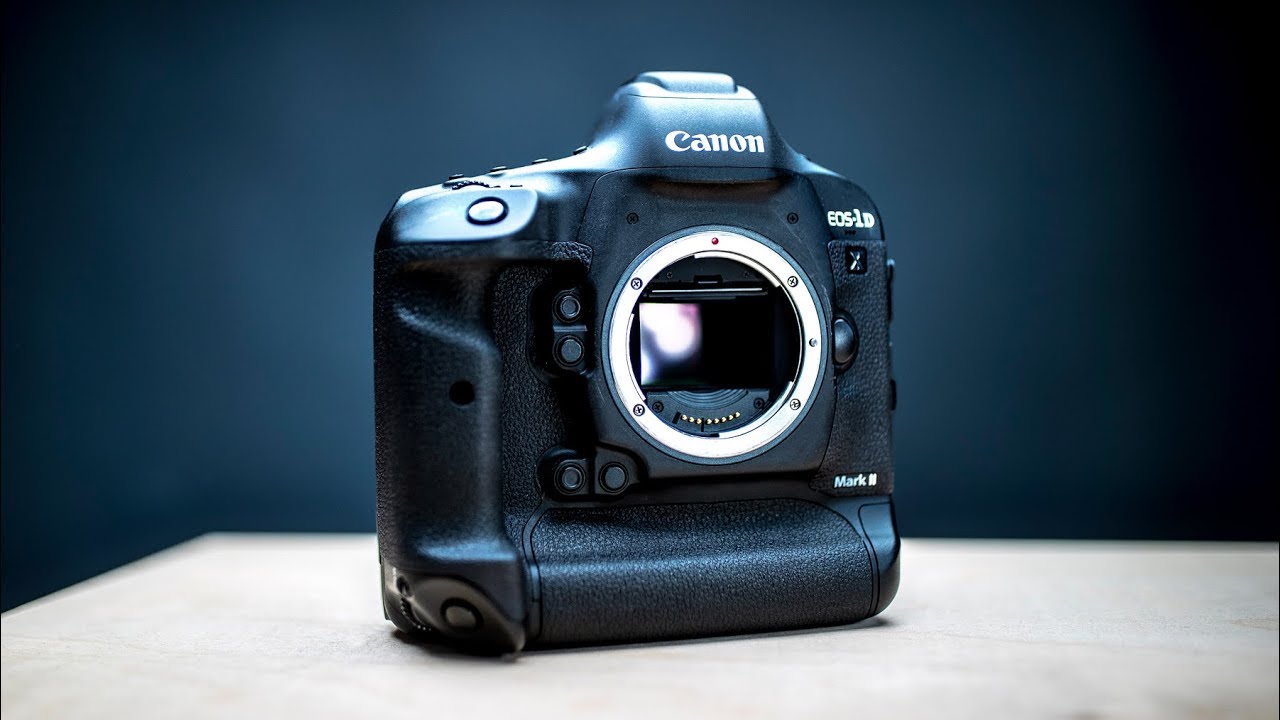
I’ve been shooting and teaching photography long enough to know that gear conversations can go sideways fast. Someone always wants to argue that the camera doesn’t matter, and someone else is convinced they’ll finally get the shot they want if they just upgrade. The truth, as usual, lives somewhere in the middle. So when a milestone video from one of YouTube’s most recognizable photography educators landed in my feed, I didn’t just watch it for the giveaway details. I watched it to see what a photographer at that level actually says when he stops to reflect on the work.
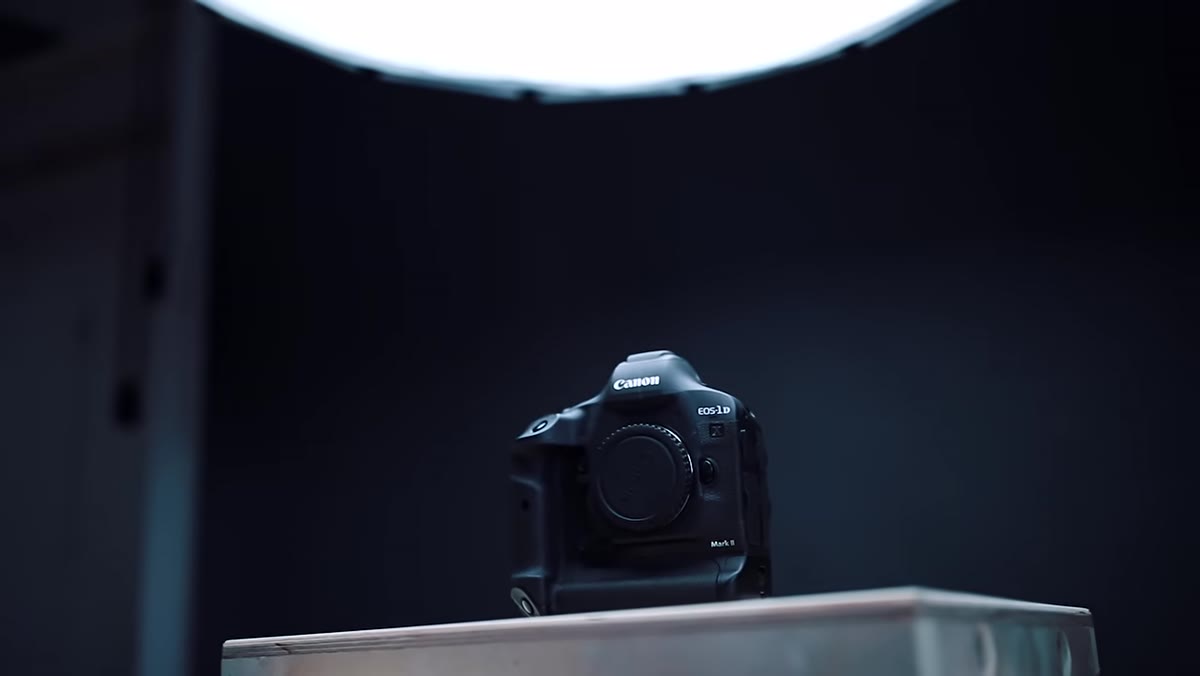
In this Peter McKinnon tutorial-style celebration video, shot to mark hitting 2 million YouTube subscribers, McKinnon walks viewers through a Canon 1DX Mark II camera giveaway while pulling back the curtain on how he lights and sets up his own filming space. It’s a short video, but it’s packed with real production details that most creators gloss over. If you pay attention, there’s a lot here that applies directly to how you present yourself and your work, whether you’re a YouTuber, a portrait photographer, or someone who just wants to shoot better video for clients.
Watch the full tutorial on YouTube
Step 1: Use Negative Fill to Shape Your Light
 Filmmaker explaining negative fill panel beside camera subject
McKinnon opens by casually mentioning something his filmmaker friend Matty pointed out on set: negative fill. If you’ve never heard this term, it sounds complicated, but it’s one of the simplest lighting tools you can add to any setup. Negative fill means placing a dark surface, often black foam board or a black V-flat, on the opposite side of your light source. Instead of bouncing light back onto your subject, that dark surface absorbs it, creating deeper shadows and giving your subject more dimension and contrast.
Filmmaker explaining negative fill panel beside camera subject
McKinnon opens by casually mentioning something his filmmaker friend Matty pointed out on set: negative fill. If you’ve never heard this term, it sounds complicated, but it’s one of the simplest lighting tools you can add to any setup. Negative fill means placing a dark surface, often black foam board or a black V-flat, on the opposite side of your light source. Instead of bouncing light back onto your subject, that dark surface absorbs it, creating deeper shadows and giving your subject more dimension and contrast.
Most beginner photographers and videographers obsess over adding more light. The real shift in quality often comes from learning to control where light isn’t. I started experimenting with this in my own home studio setup in Seattle, and the difference in how my face reads on camera was immediately noticeable. Your subject looks sculpted rather than flat. Try placing a piece of black foam core about two to three feet from your subject on the shadow side, and adjust the distance until the shadow depth feels natural for your style.
Step 2: Acknowledge What Your Setup Looks Like on Camera Before You Press Record
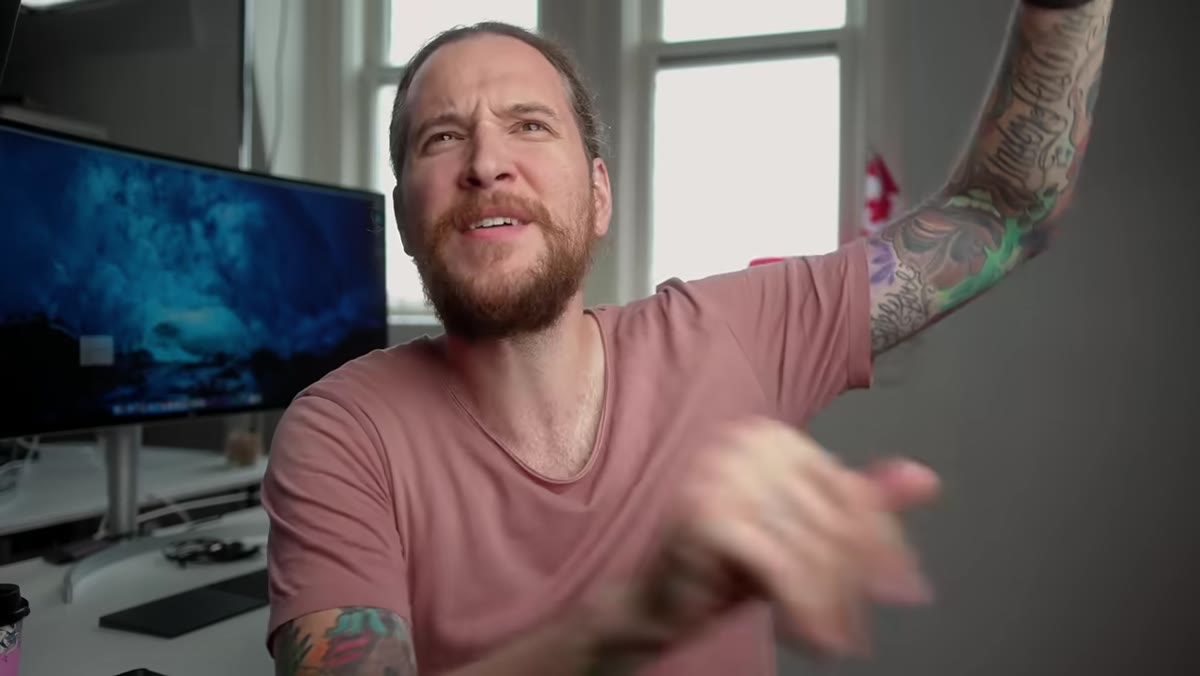 Creator checking light and microphone before beginning recording
Before McKinnon says anything of substance, he runs through a quick verbal checklist: light is on, mic is on, negative fill is in place. It sounds like throwaway commentary, but it’s actually a useful pre-shoot habit. Going through your technical setup out loud, even just to yourself, forces you to actively confirm each element rather than assuming everything is ready.
Creator checking light and microphone before beginning recording
Before McKinnon says anything of substance, he runs through a quick verbal checklist: light is on, mic is on, negative fill is in place. It sounds like throwaway commentary, but it’s actually a useful pre-shoot habit. Going through your technical setup out loud, even just to yourself, forces you to actively confirm each element rather than assuming everything is ready.
I do a version of this every Sunday morning before my photo walks. I check my battery, card, lens, and whether my camera is still set from the last session (it almost always is, and almost always at the wrong settings for the new light). Building a spoken or written checklist into your routine takes about 30 seconds and saves you from discovering a dead battery 45 minutes into a shoot.
Step 3: Separate Your Hero Prop From Your Working Gear
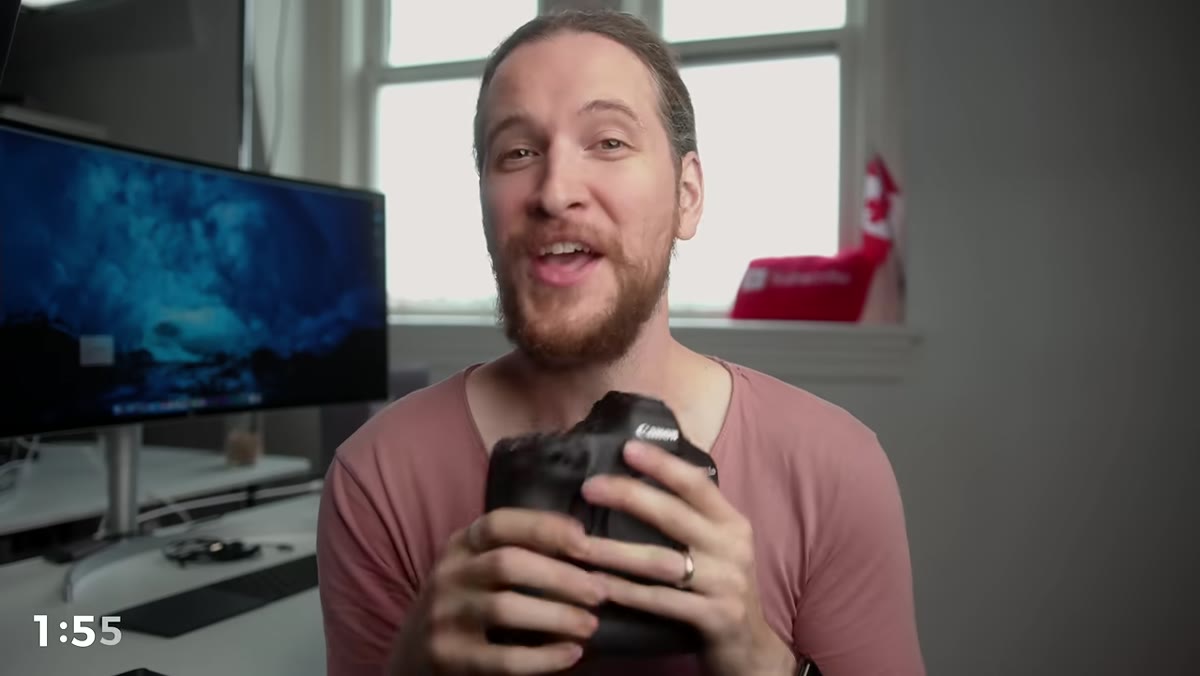 Creator distinguishing between used personal camera and brand new boxed giveaway unit
One of the most practical things McKinnon does in this video is hold up his own beat-up 1DX Mark II, the one he uses daily and openly admits to abusing, and then pivot to the brand-new boxed unit that the winner will actually receive. He draws a clear line between working gear and showcase gear, and jokes that sending his personal camera would actually be doing the winner a disservice.
Creator distinguishing between used personal camera and brand new boxed giveaway unit
One of the most practical things McKinnon does in this video is hold up his own beat-up 1DX Mark II, the one he uses daily and openly admits to abusing, and then pivot to the brand-new boxed unit that the winner will actually receive. He draws a clear line between working gear and showcase gear, and jokes that sending his personal camera would actually be doing the winner a disservice.
This is worth thinking about if you ever photograph products, create unboxing content, or shoot for clients who need product images. The gear you use to do the work and the gear you present to an audience serve different functions. Keep your hero unit, whether that’s a product sample or a display item, protected and pristine. Your working body takes the abuse so the presentation piece doesn’t have to. It also builds trust with your audience when you’re transparent about which is which.
Step 4: Let Platform Mechanics Work for You Without Making Them the Point
 Creator explaining subscription and giveaway entry requirements
McKinnon walks through the giveaway entry requirements, which are hosted on the platform Gleam and involve following him on social media to earn additional entries. He explains it straightforwardly without being pushy about it. The framing is important here: he positions the subscription and social follows as things that increase your chances, not as gates that punish you for not already being a follower.
Creator explaining subscription and giveaway entry requirements
McKinnon walks through the giveaway entry requirements, which are hosted on the platform Gleam and involve following him on social media to earn additional entries. He explains it straightforwardly without being pushy about it. The framing is important here: he positions the subscription and social follows as things that increase your chances, not as gates that punish you for not already being a follower.
If you run contests or giveaways as part of your photography business or social media strategy, this framing matters. Audiences respond better to opportunity language than to obligation language. “Follow for more chances to win” lands differently than “you must follow to enter.” Both might technically mean the same thing mechanically, but one feels like an invitation and the other feels like a toll booth.
Step 5: Express Gratitude With Specificity, Not Just Volume
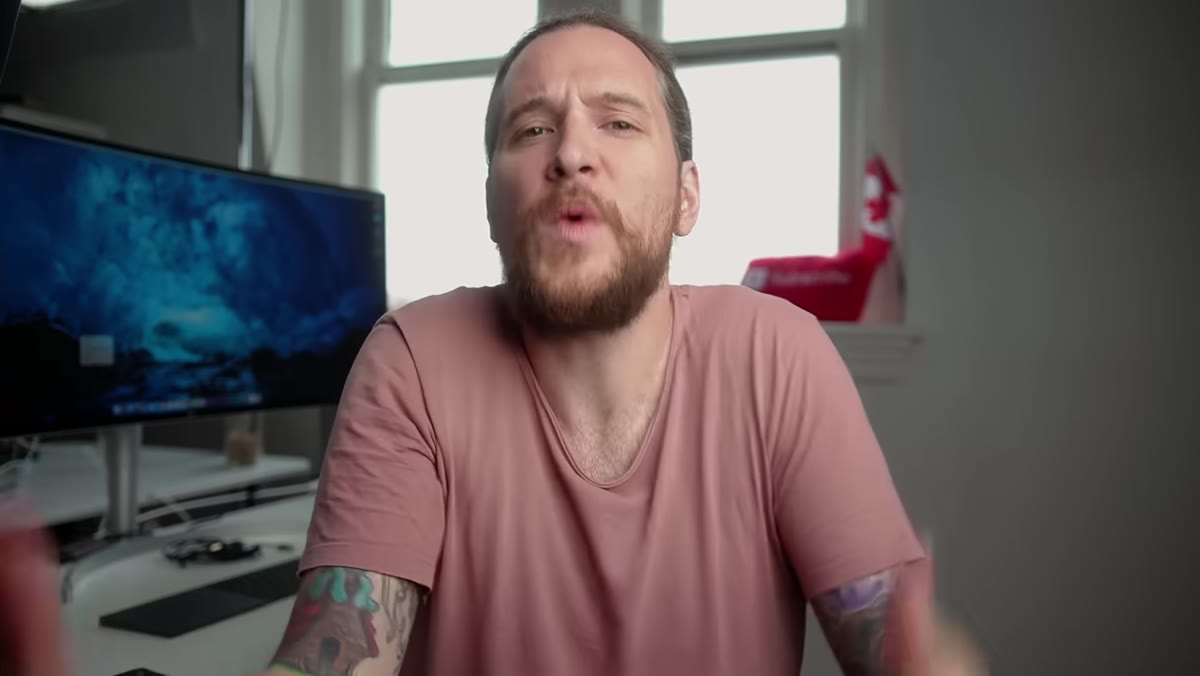 Creator speaking directly to camera with sincere thank-you to subscribers
The emotional core of this video is McKinnon’s thank-you to his audience. What makes it land is that he doesn’t just say “thank you for two million subscribers.” He names specifically what he makes and why: tutorials to help people learn, vlogs to entertain, a community to belong to. He ties the milestone back to purpose rather than just numbers.
Creator speaking directly to camera with sincere thank-you to subscribers
The emotional core of this video is McKinnon’s thank-you to his audience. What makes it land is that he doesn’t just say “thank you for two million subscribers.” He names specifically what he makes and why: tutorials to help people learn, vlogs to entertain, a community to belong to. He ties the milestone back to purpose rather than just numbers.
When you’re communicating with your own audience, clients, or students, specificity builds more connection than scale. “Thank you for trusting me with your wedding day” hits harder than “thanks for booking.” Naming what you do and why it matters to you invites the other person into the relationship rather than just acknowledging a transaction.
What I’d Add From My Own Experience
The production setup McKinnon describes, especially the negative fill detail, is something I wish someone had told me when I was filming my first beginner tutorials in my apartment. I spent months thinking my videos looked flat because my camera wasn’t good enough. It wasn’t the camera. It was the light. Once I started treating lighting like a two-sided equation, adding AND subtracting, the quality jumped in a way that no lens upgrade had ever delivered.
Gear matters, but less than how you use the gear you already have. McKinnon’s own abused daily-driver 1DX Mark II sitting next to a brand-new boxed unit is a pretty good visual metaphor for that idea. The camera that gets used, that takes the hits and keeps shooting, is the one doing the actual work.
The single most important thing this video reinforces is that milestones should point outward, not inward. When you hit a goal, the most meaningful thing you can do is use it to give something back. Whether that’s a giveaway, a free tutorial, or just a genuine thank-you that names what your community has meant to you, pointing the gratitude outward is what turns a number into a moment.
Watch the full tutorial on YouTube to see the lighting setup and giveaway breakdown in McKinnon’s own words.
Comments (2)
Would love to see a follow-up going deeper into this topic.
The before and after really sells it. Incredible difference.
Leave a Comment