
Every few months I’ll look back at a batch of portraits and feel like something is technically correct but emotionally flat. The exposure is good, the focus is sharp, the background is clean. And yet. There’s a version of this problem I spent years trying to name before I finally landed on it: I was making photographs the way I was taught to make photographs, not the way I actually saw things. That tension is exactly what Joel Grimes digs into in this tutorial on Irving Penn, one of the most influential portrait photographers of the 20th century. Watch the full tutorial on YouTube before or after reading this, but either way, I want to walk you through the core ideas in a way you can apply this weekend.
Grimes uses Penn’s work as a case study not just in lighting or composition, but in what it means to have a point of view. Penn, who worked well into his nineties, built a body of work that still looks modern. That doesn’t happen by following the rules of your era. It happens by asking different questions than everyone else around you. Here’s how to start asking them yourself.
Step 1: Recognize the “photographer brain” problem
 Joel Grimes speaking to camera about thinking like an artist
Grimes makes a distinction early in the video that I wish someone had handed me on a card when I was starting out: there is a difference between thinking like a photographer and thinking like an artist. Photographers who come up through formal training, including Grimes himself at the University of Arizona, often absorb a set of invisible rules about what a “correct” photograph looks like. Lens choices, subject distance, how much of the frame to fill. These rules feel like craft but they can quietly become a ceiling.
Joel Grimes speaking to camera about thinking like an artist
Grimes makes a distinction early in the video that I wish someone had handed me on a card when I was starting out: there is a difference between thinking like a photographer and thinking like an artist. Photographers who come up through formal training, including Grimes himself at the University of Arizona, often absorb a set of invisible rules about what a “correct” photograph looks like. Lens choices, subject distance, how much of the frame to fill. These rules feel like craft but they can quietly become a ceiling.
The practical exercise here is uncomfortable but useful. Pull up ten of your recent portraits and ask honestly: which of these choices did I make because I believed in them, and which did I make because I assumed that’s what you’re supposed to do? That audit alone can reframe how you approach your next shoot.
Step 2: Study a master’s work with intention, not admiration
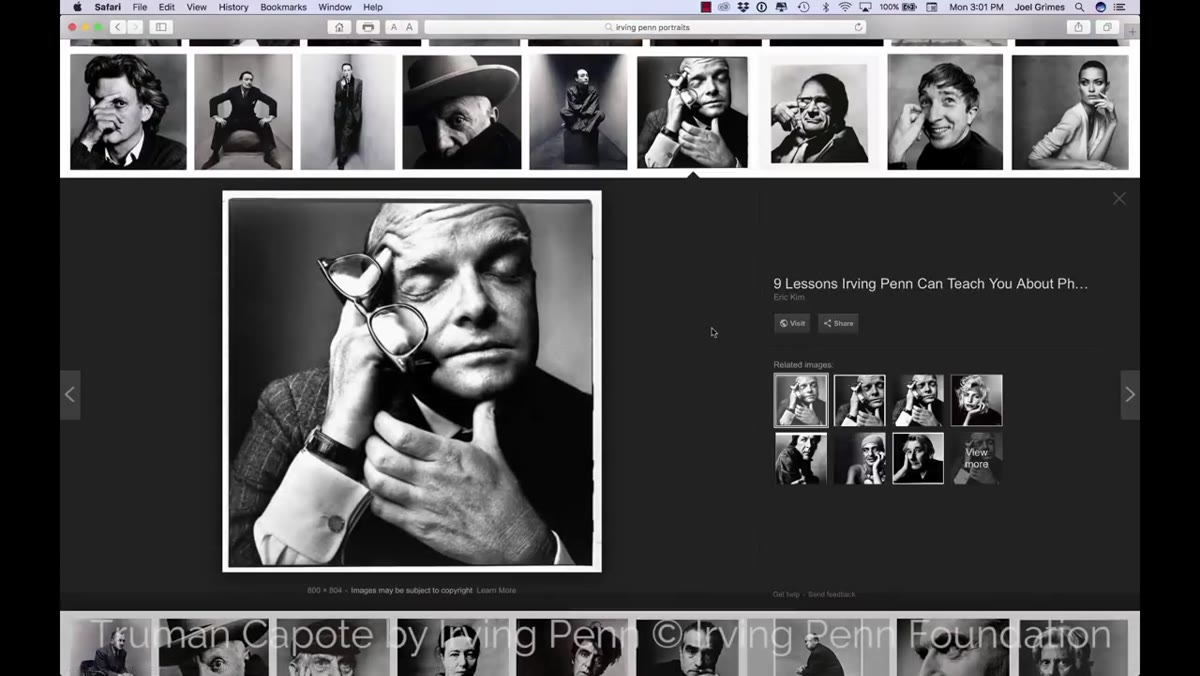 Screen showing Irving Penn portrait photographs
Grimes doesn’t just mention Penn as a name to respect. He goes to the work and points to specific choices: tight framing, a signature background setup called the wedge wall, a willingness to fill the frame with a face in ways that weren’t considered flattering by conventional standards. When you study photographers you admire, the goal isn’t to feel inspired in a vague sense. The goal is to identify one or two concrete decisions they made repeatedly and understand why.
Screen showing Irving Penn portrait photographs
Grimes doesn’t just mention Penn as a name to respect. He goes to the work and points to specific choices: tight framing, a signature background setup called the wedge wall, a willingness to fill the frame with a face in ways that weren’t considered flattering by conventional standards. When you study photographers you admire, the goal isn’t to feel inspired in a vague sense. The goal is to identify one or two concrete decisions they made repeatedly and understand why.
Pick one photographer whose portraits you love. Spend twenty minutes looking only at their subject-to-frame ratio. How much of the frame is face? How much negative space do they leave? Write down what you notice. You’re not looking for rules to copy. You’re looking for intentional patterns that you can consciously borrow and then make your own.
Step 3: Experiment with wider lenses for portraits
 Joel Grimes discussing lens choice and focal length for portraits
This is the technique tip that surprised me most the first time I heard Grimes talk about it. Penn used lenses on the wider end of what portrait photographers typically reach for, and the slight facial distortion that results was not an accident or a flaw. It was a choice. Grimes himself used the equivalent of a 20-to-28mm field of view when photographing portraits for his Navajo book in the late 1980s, work he says was directly influenced by Penn’s approach.
Joel Grimes discussing lens choice and focal length for portraits
This is the technique tip that surprised me most the first time I heard Grimes talk about it. Penn used lenses on the wider end of what portrait photographers typically reach for, and the slight facial distortion that results was not an accident or a flaw. It was a choice. Grimes himself used the equivalent of a 20-to-28mm field of view when photographing portraits for his Navajo book in the late 1980s, work he says was directly influenced by Penn’s approach.
Standard portrait advice tells you to use 85mm or longer to “flatter” the face by compressing features. That advice is worth knowing. It is not worth being enslaved to. Try shooting a portrait series at 35mm and then at 50mm, both closer to your subject than you normally stand. Notice what changes in the energy of the image. The face reads differently. The relationship between subject and background shifts. Some of those frames will look wrong. A few might look alive in a way your 85mm shots don’t.
Step 4: Use a defined, repeatable background system
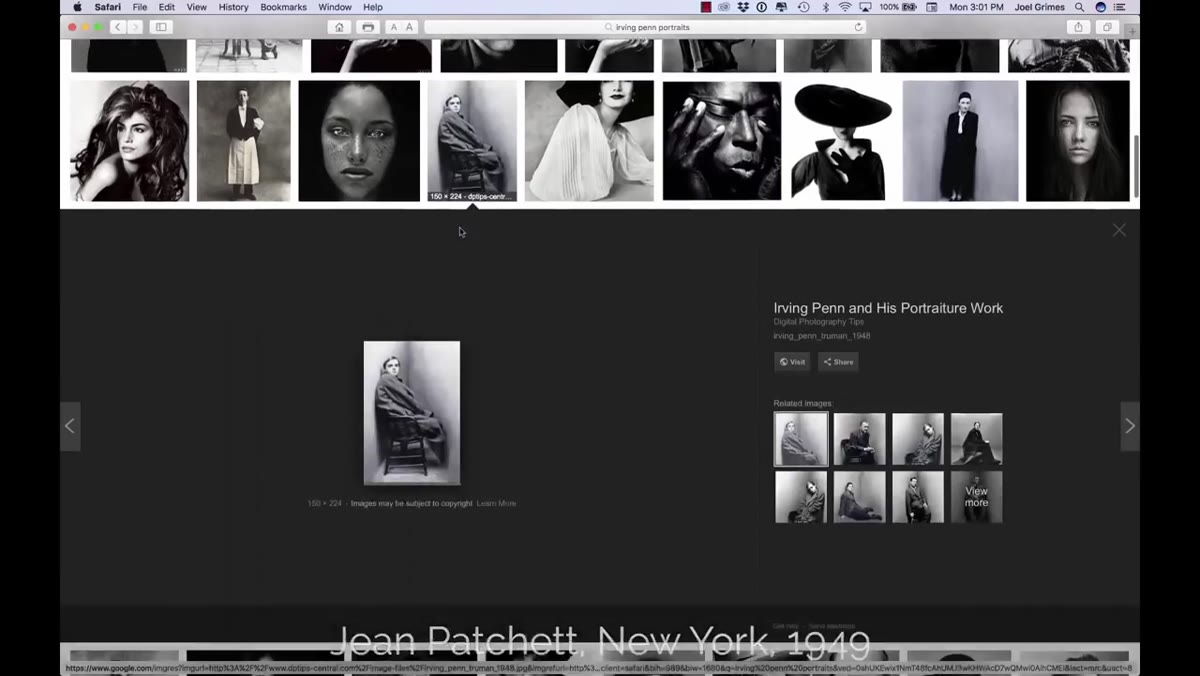 Penn’s wedge wall portrait setup visible on screen
Penn’s wedge wall is probably his most recognizable setup. Two flat panels angled together to form a shallow corner, creating a plain but textured backdrop that pushed the subject forward visually and eliminated any sense of a specific location. It made his subjects feel universal rather than contextual. More practically, it gave him a consistent starting point for every session so he could focus entirely on the person in front of him.
Penn’s wedge wall portrait setup visible on screen
Penn’s wedge wall is probably his most recognizable setup. Two flat panels angled together to form a shallow corner, creating a plain but textured backdrop that pushed the subject forward visually and eliminated any sense of a specific location. It made his subjects feel universal rather than contextual. More practically, it gave him a consistent starting point for every session so he could focus entirely on the person in front of him.
You don’t need Penn’s exact setup. What you need is your own version of a default. A seamless paper color you return to, a specific wall in your city, a window-and-reflector combination that you know cold. Having a home base for your lighting and background frees up your mental bandwidth on set. Instead of problem-solving the environment, you’re reading the subject.
Step 5: Let lighting shape emotion, not just exposure
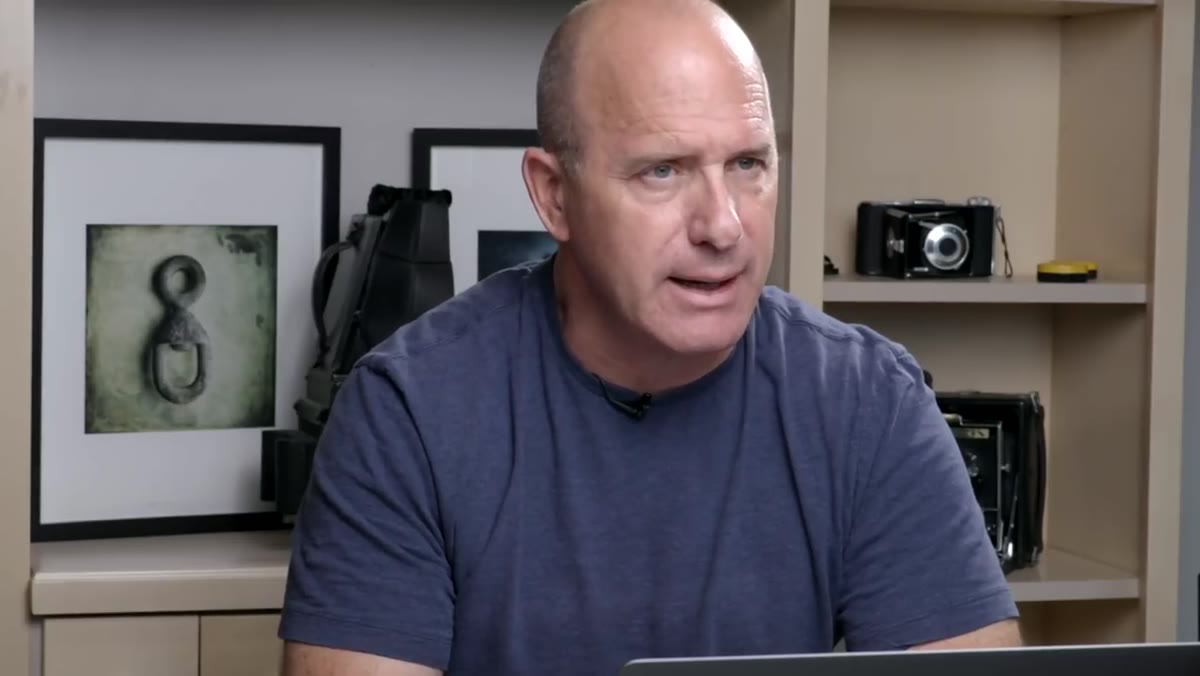 Joel Grimes describing Penn’s distinctive lighting style
Grimes says clearly that what drew him to Penn was the lighting. Not because it was technically complex, but because it had a personality. Penn often worked with soft, directional north light, either from a window or simulated in studio. The result is a kind of quiet authority in his portraits. Nothing is dramatic for drama’s sake. Everything is in service of revealing the person.
Joel Grimes describing Penn’s distinctive lighting style
Grimes says clearly that what drew him to Penn was the lighting. Not because it was technically complex, but because it had a personality. Penn often worked with soft, directional north light, either from a window or simulated in studio. The result is a kind of quiet authority in his portraits. Nothing is dramatic for drama’s sake. Everything is in service of revealing the person.
When you set up your next portrait, ask what feeling you want the light to carry before you ask where to put your key light. Mood first, mechanics second. If you want warmth and intimacy, a large soft source close to the subject will get you there. If you want something more austere and graphic, pull the light back and let more shadow build. The technical steps are the same either way. The intention behind them is what separates a photograph from a portrait.
My own extension: don’t wait for the “right” gear to try this
I shot my most-shared portrait to date on a phone camera standing in a parking garage in Capitol Hill. The light was coming from one open end of the structure, soft and directional, and I just put my subject near it. The image got more engagement than work I’d made with several thousand dollars worth of glass, which prompted a whole conversation I’d been avoiding about what actually makes a portrait work.
Penn did some of his most iconic work with medium format film in conditions that required serious technical problem-solving. But the decisions he made, wider lenses, tight framing, simple backgrounds, intentional light, those are all available to you right now with whatever you’re holding. The mindset shift Grimes is pointing at is free.
The single biggest thing I took from this tutorial is that style is not something you develop by adding more to your work. It is something you develop by making deliberate choices and sticking with them long enough to know what they mean. Penn didn’t stumble into a recognizable body of work. He built one choice at a time, over decades.
Watch the full tutorial on YouTube to see Grimes walk through Penn’s actual images and hear him talk about how this influence shaped his own commercial portrait career.
Comments (2)
I keep coming back to this article. It's that useful.
Applied this to my portfolio shots and the improvement is noticeable.
Leave a Comment