
I’ve said it before and I’ll keep saying it: the most useful photography education doesn’t always come from photography. Some of the biggest shifts in how I think about framing, movement, and problem-solving on a shoot have come from watching how filmmakers work. Not because I’m trying to make movies, but because the constraints they deal with, and the creative solutions they invent, are directly transferable to any visual medium.
That’s exactly why I keep coming back to reaction and breakdown videos from creators like Peter McKinnon. In this Peter McKinnon tutorial, he reacts to a compilation of Hollywood behind-the-scenes footage showing how some of the most iconic camera moves and visual effects were actually pulled off. What looks like magic on screen is almost always a surprisingly mechanical, problem-solving-forward process. Watching him unpack that in real time is a masterclass in how to think about visual storytelling from the ground up.
Whether you shoot portraits, travel content, or video on your phone, there are lessons in here that will change how you approach your next shoot. Here’s what I took away.
Step 1: Understand That “Simple” Shots Are Never Simple
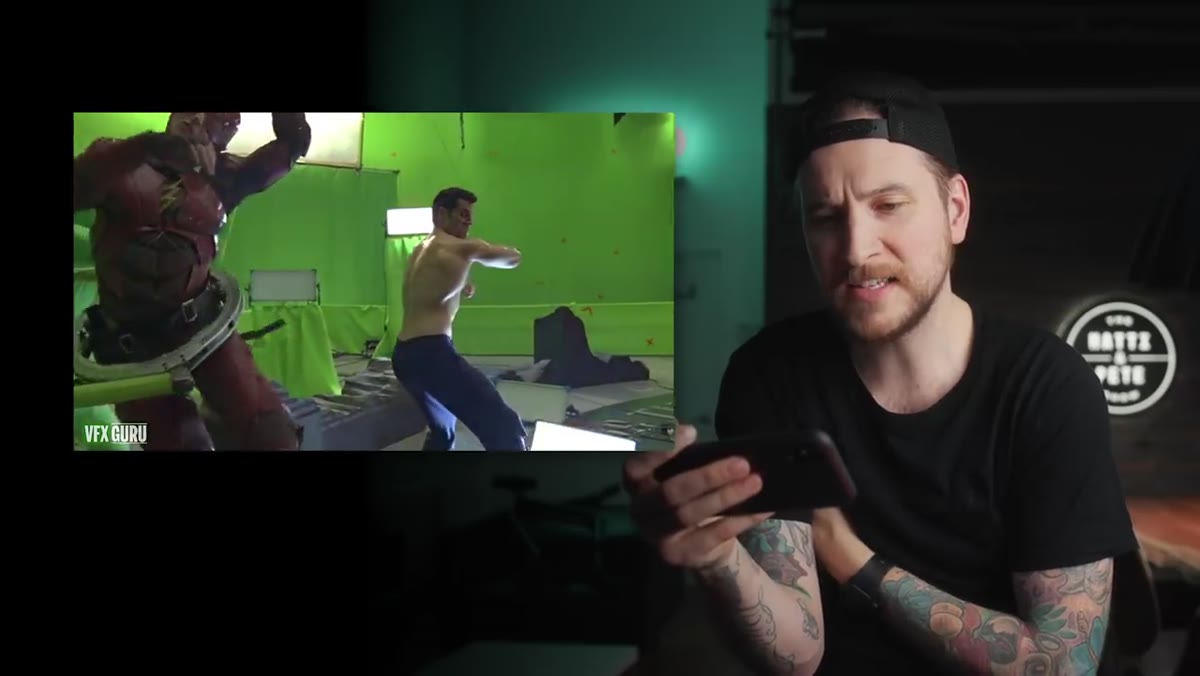 Green screen performers moving in choreographed fight sequence
The first clip McKinnon reacts to shows what appears to be a straightforward action scene, and his immediate response is curiosity, not assumption. He notices the green-screen performers, the choreography, the physical rigs holding actors in place, all happening simultaneously. His point, even if unstated directly, is that what reads as clean and simple on screen required an enormous amount of layered planning behind it.
Green screen performers moving in choreographed fight sequence
The first clip McKinnon reacts to shows what appears to be a straightforward action scene, and his immediate response is curiosity, not assumption. He notices the green-screen performers, the choreography, the physical rigs holding actors in place, all happening simultaneously. His point, even if unstated directly, is that what reads as clean and simple on screen required an enormous amount of layered planning behind it.
The takeaway for your own work: before you even pick up a camera, break down what your final image needs to communicate, then work backwards. If you want a subject that looks effortlessly lit and relaxed, plan for the three or four steps it actually takes to get there. Simple-looking results require deliberate setup.
Step 2: Use Counter-Movement to Create Natural Motion
 Two dolly systems moving in opposite directions on a set
McKinnon gets genuinely excited breaking down a technique where two separate dolly rigs move in coordinated but opposing directions at the same time. The idea is that when the camera moves one way, the subject (or elements of the set) move in a carefully calibrated counter-direction so the final shot looks completely natural and continuous.
Two dolly systems moving in opposite directions on a set
McKinnon gets genuinely excited breaking down a technique where two separate dolly rigs move in coordinated but opposing directions at the same time. The idea is that when the camera moves one way, the subject (or elements of the set) move in a carefully calibrated counter-direction so the final shot looks completely natural and continuous.
You can apply this principle even without a dolly. If you’re moving your camera left during a handheld shot, try having your subject shift slightly to the right at the same moment. The motion feels grounded rather than drifting. In video work especially, this kind of choreography between camera operator and subject is what separates polished footage from shaky, disorienting clips.
Step 3: Scale Tricks Create Forced Perspective Without CGI
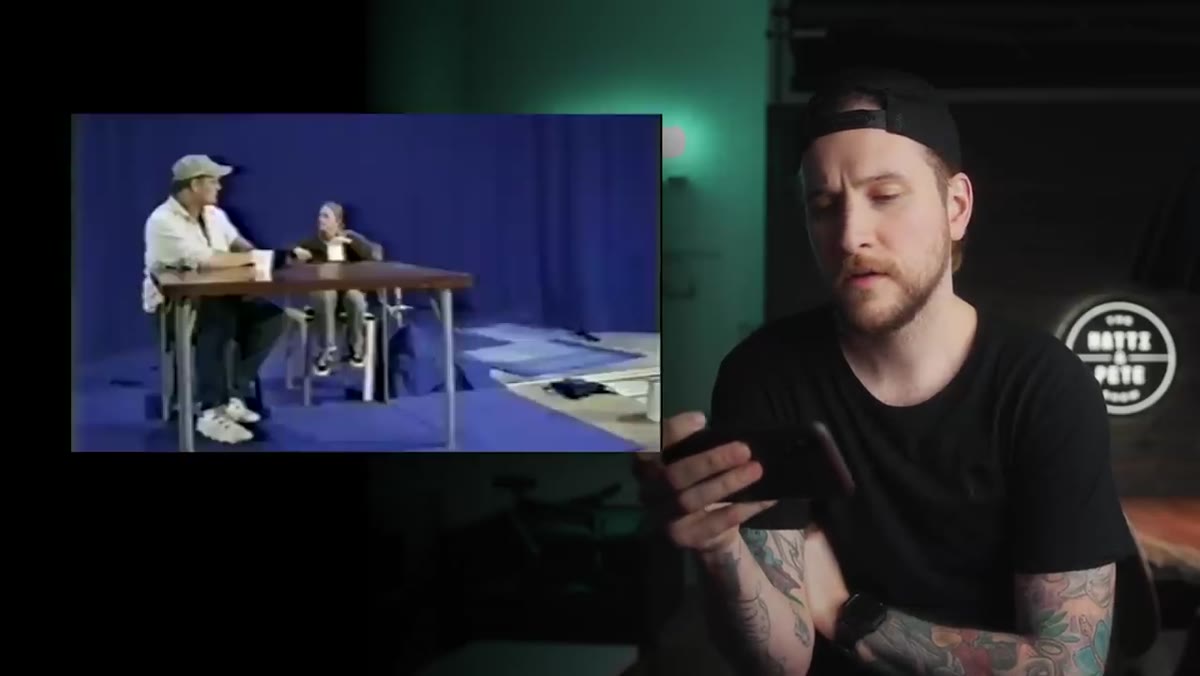
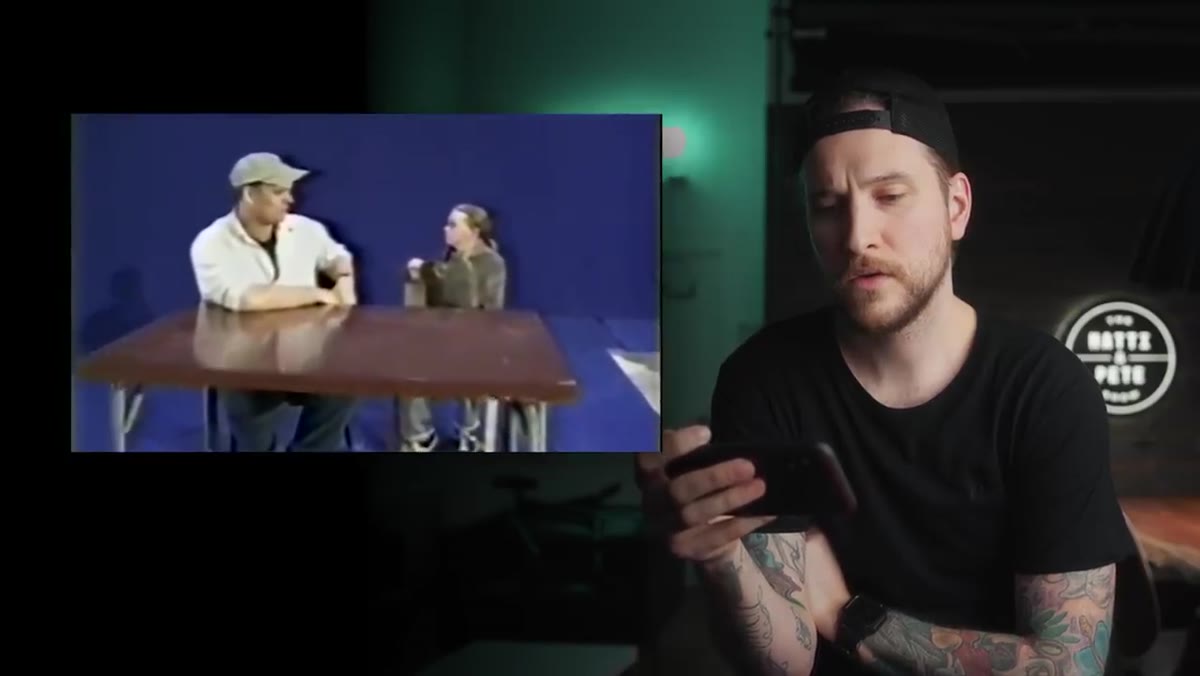 Ian McKellen seated at a miniature table on a separate dolly
This is the moment in the video that stopped me cold. McKinnon describes how the filmmakers behind Lord of the Rings physically moved Ian McKellen on a separate dolly alongside a smaller-scale table with smaller props, all while the camera tracked past on its own rail. The result is a seamless illusion of a very tall Gandalf sitting across from a much smaller Frodo.
Ian McKellen seated at a miniature table on a separate dolly
This is the moment in the video that stopped me cold. McKinnon describes how the filmmakers behind Lord of the Rings physically moved Ian McKellen on a separate dolly alongside a smaller-scale table with smaller props, all while the camera tracked past on its own rail. The result is a seamless illusion of a very tall Gandalf sitting across from a much smaller Frodo.
McKinnon admits he never noticed it while watching the film, which is exactly the point. Effective forced perspective is invisible. For portrait or editorial photographers, this translates directly: adjusting your shooting angle, your camera height, and the physical distance between subjects can completely reshape how their relative sizes read in frame. You don’t need CGI. You need intentionality and a willingness to move around until the geometry works.
Step 4: Cables and Rigs Are Tools, Not Cheats
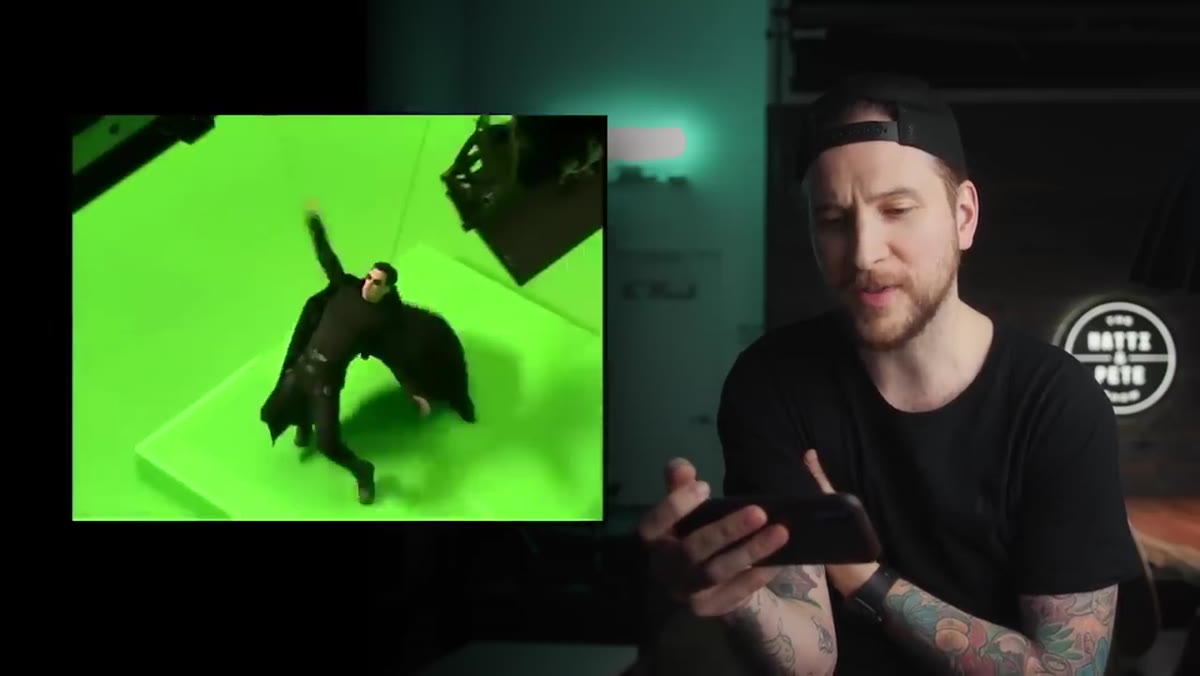 Actor suspended on cables bending dramatically on a rooftop set
The Matrix bullet-dodge reaction is a good gut-check moment. McKinnon sees cables and wind rigs and immediately recognizes what’s happening technically, but he also acknowledges his first impression watching it was that the actor was on a real rooftop doing something physically impossible. That’s the whole job.
Actor suspended on cables bending dramatically on a rooftop set
The Matrix bullet-dodge reaction is a good gut-check moment. McKinnon sees cables and wind rigs and immediately recognizes what’s happening technically, but he also acknowledges his first impression watching it was that the actor was on a real rooftop doing something physically impossible. That’s the whole job.
There’s a lesson here for anyone who has ever felt like using a tripod, a reflector, or a flash was somehow “cheating.” Tools exist to solve problems. Hollywood uses cables and green screens because those tools produce the result the story requires. Whatever tool helps you get the shot you see in your head is the right tool.
Step 5: Confusion in BTS Is a Green Flag
 Chaotic behind-the-scenes footage of cars and unidentifiable rigs
One of the most relatable moments in McKinnon’s reaction is when he’s completely lost watching a behind-the-scenes clip of what looks like cars, cameras, and rigs all moving at once. He has no idea what’s being made. Then the finished shot appears, and everything clicks into place.
Chaotic behind-the-scenes footage of cars and unidentifiable rigs
One of the most relatable moments in McKinnon’s reaction is when he’s completely lost watching a behind-the-scenes clip of what looks like cars, cameras, and rigs all moving at once. He has no idea what’s being made. Then the finished shot appears, and everything clicks into place.
This happens on almost every ambitious shoot. The process looks messy and unclear until it doesn’t. If you’re working on a more complex setup, whether it’s a multi-light portrait or a video sequence with moving elements, the chaos in the middle of a shoot is not a sign that you’re failing. It’s usually a sign that you’re building something that couldn’t be done simply.
Step 6: Food and Product Photography Is Its Own Special Effects Department
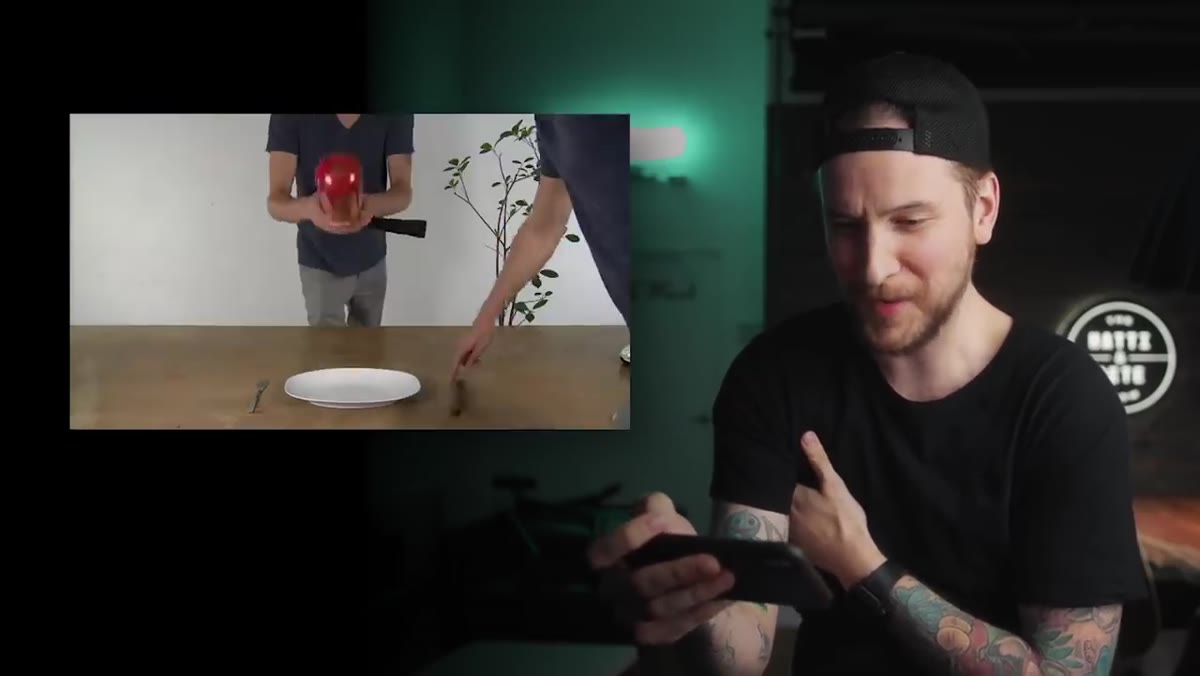
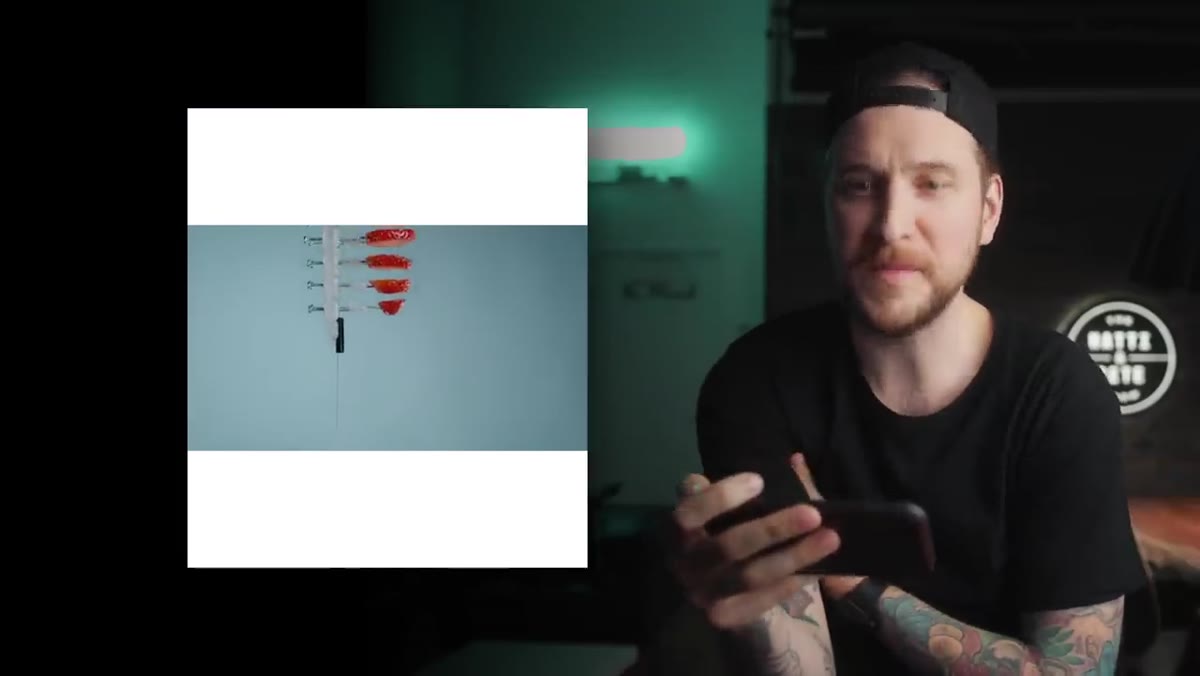 Behind-the-scenes rig dropping food for high-speed photography
The food photography segment genuinely delighted me. McKinnon watches behind-the-scenes clips of elaborate rigs built specifically to drop, toss, and splatter food at precise moments for product shots. Motor oil used in place of syrup. Carefully timed drops caught with high shutter speeds. Custom contraptions that exist to make a pancake look perfect.
Behind-the-scenes rig dropping food for high-speed photography
The food photography segment genuinely delighted me. McKinnon watches behind-the-scenes clips of elaborate rigs built specifically to drop, toss, and splatter food at precise moments for product shots. Motor oil used in place of syrup. Carefully timed drops caught with high shutter speeds. Custom contraptions that exist to make a pancake look perfect.
For photographers who shoot product or food work, this is a reminder that your “set” is never just the subject on a surface. The angle, the timing, the stand-ins and substitutes for real materials, these are all valid parts of the craft. If your syrup looks dull in frame, that’s a problem worth engineering a solution for.
Step 7: Reaction Time and Instinct Come From Watching a Lot of Work
 Finished composite shot revealing the full effect of the car sequence
Throughout the video, McKinnon’s reactions move fast. He spots what’s happening, names it, and connects it to technique almost instantly. That kind of visual literacy doesn’t appear from nowhere. It’s built by watching a huge volume of work, finished and behind-the-scenes, and training yourself to ask “how did they do that?” every single time.
Finished composite shot revealing the full effect of the car sequence
Throughout the video, McKinnon’s reactions move fast. He spots what’s happening, names it, and connects it to technique almost instantly. That kind of visual literacy doesn’t appear from nowhere. It’s built by watching a huge volume of work, finished and behind-the-scenes, and training yourself to ask “how did they do that?” every single time.
I do this on my Sunday morning photo walks. I look at other photographers’ work during the week and spend part of the walk trying to recreate the lighting or framing I noticed. Not to copy anyone, but to build up the instinct. The more you train your eye, the faster your problem-solving gets on an actual shoot.
One Thing I’d Add From My Own Experience
McKinnon focuses mostly on big-budget, multi-crew productions, which makes sense given the clips he’s reacting to. But the principles scale down beautifully. The counter-movement technique? I’ve done a version of that with my phone and a friend walking alongside me. The forced perspective scale trick? I’ve faked it with careful posing and a wide-angle lens. You don’t need a dolly budget to think like someone who uses one.
The real skill being demonstrated throughout this video isn’t access to expensive gear. It’s the habit of asking “what does this shot actually need, and what’s the most creative path to get there?”
That question is free, and it works at every budget level.
The single most transferable idea from this breakdown is this: every polished result has a mechanical, problem-solving process behind it. Start reverse-engineering the images and videos you admire, and your own work will start leveling up in ways that have nothing to do with buying new equipment. Watch the full tutorial on YouTube and pay attention to which moments make you say “I never would have thought of that.” Those are exactly the techniques worth borrowing.
Comments (1)
Applied this to my portfolio shots and the improvement is noticeable.
Leave a Comment