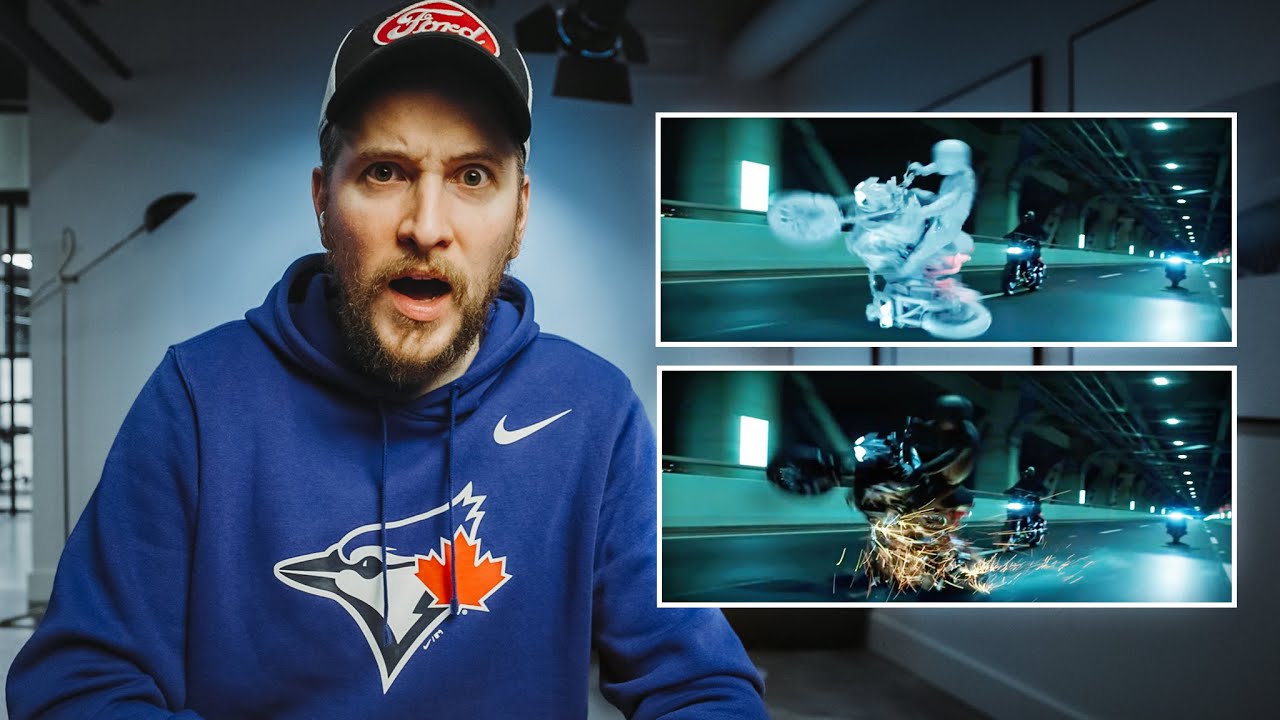
There’s a moment in every photographer’s growth where technical skill stops being the bottleneck. You know your settings. You understand light. But something about your images still feels flat compared to the work you admire most. For me, that gap started closing when I stopped studying only photographers and started paying close attention to how filmmakers solve visual problems. The constraints are different, but the creativity is contagious.
In this Peter McKinnon tutorial, Watch the full tutorial on YouTube, McKinnon reacts to behind-the-scenes footage from major Hollywood productions, breaking down the practical and technical setups behind shots that look impossible. What I love about this format is that you’re not just seeing the polished final product. You’re seeing the scaffolding. The green suits, the mirror rigs, the camera operators on Segways. And once you see that scaffolding, you start asking better questions about your own work.
I’ve been doing Sunday morning photo walks around Seattle for years, and the thing that most reliably shakes me out of a creative rut is asking “how would a film crew solve this?” This video gave me three or four genuinely useful answers, and I want to walk you through them.
Step 1: Appreciate What Green Screen Actually Demands (and Borrow the Mindset)
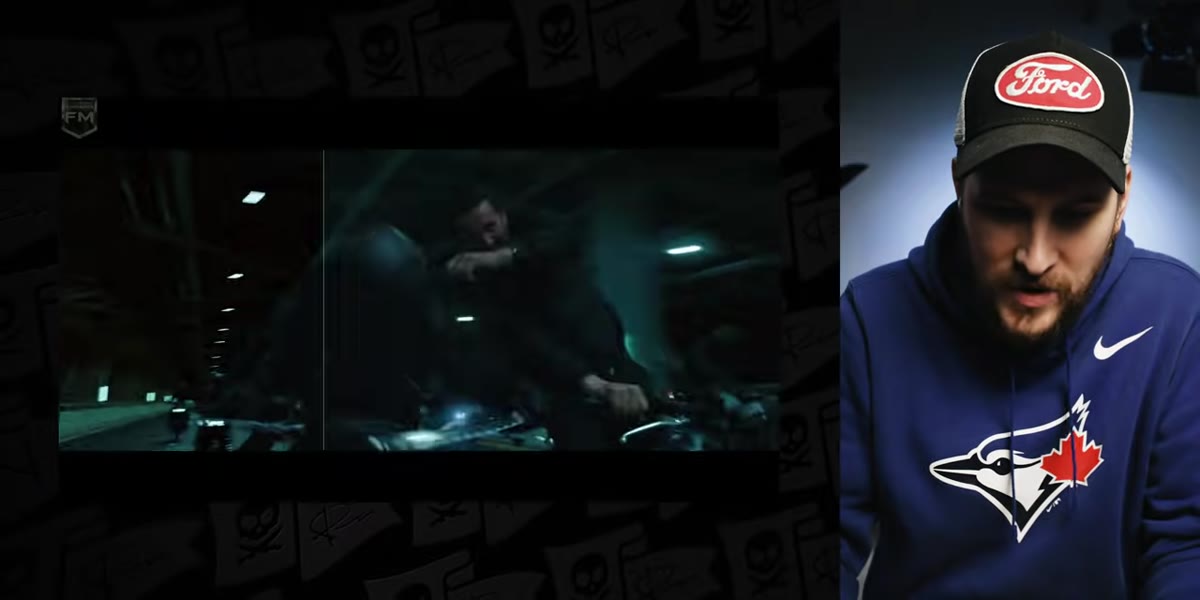 Green-suited performers working against a green screen backdrop
The first clip McKinnon reacts to is behind-the-scenes footage from what appears to be a major action production featuring Keanu Reeves. What’s striking isn’t the technology itself. It’s the sheer number of moving pieces working in coordination. Performers in full green suits, wind machines, a relatively modest physical set, and everything else handled in post.
Green-suited performers working against a green screen backdrop
The first clip McKinnon reacts to is behind-the-scenes footage from what appears to be a major action production featuring Keanu Reeves. What’s striking isn’t the technology itself. It’s the sheer number of moving pieces working in coordination. Performers in full green suits, wind machines, a relatively modest physical set, and everything else handled in post.
For photographers, the lesson isn’t “go buy green screen gear.” It’s this: professional results often come from solving the right problem, not from having an elaborate setup. The actual set in this clip is minimal. The magic is in knowing exactly which part of the image needs to be controlled versus which part can be created later. Next time you’re planning a shoot, ask yourself which elements truly need to be physically present and which can be solved another way.
Step 2: Study Camera Movement as a Storytelling Tool
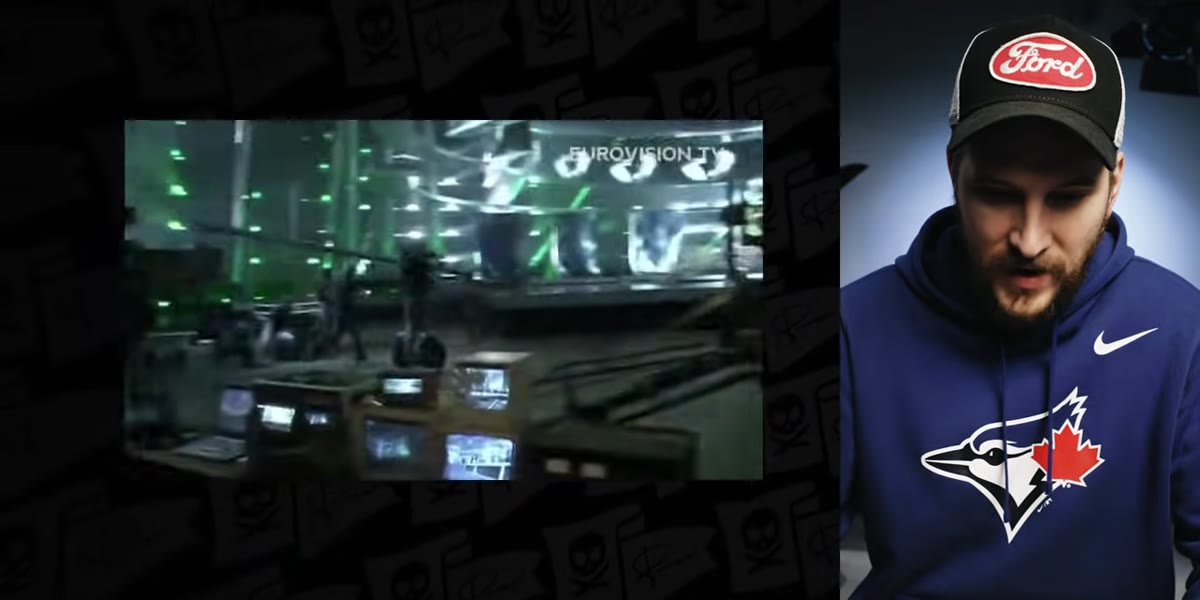 Camera operator on a Segway tracking a subject across a stage
McKinnon pauses on a clip showing a camera operator moving through a space on a Segway, tracking a performer onto a stage with a fluid, continuous shot. His point is sharp: the camera movement itself is more impressive than what’s happening on stage. The operator’s ability to match speed, maintain framing, and hit a precise end point is a skill built through repetition, not gear.
Camera operator on a Segway tracking a subject across a stage
McKinnon pauses on a clip showing a camera operator moving through a space on a Segway, tracking a performer onto a stage with a fluid, continuous shot. His point is sharp: the camera movement itself is more impressive than what’s happening on stage. The operator’s ability to match speed, maintain framing, and hit a precise end point is a skill built through repetition, not gear.
For those of us shooting stills, this translates directly to how we think about our own movement. Walking with a subject during a portrait session, pacing alongside someone on a city street, physically lowering yourself to change perspective mid-shoot. These are all versions of the same instinct. Your feet are your gimbal. Practice moving intentionally rather than just repositioning between static shots.
Step 3: Let the Set Do the Work By Building Adaptable Environments
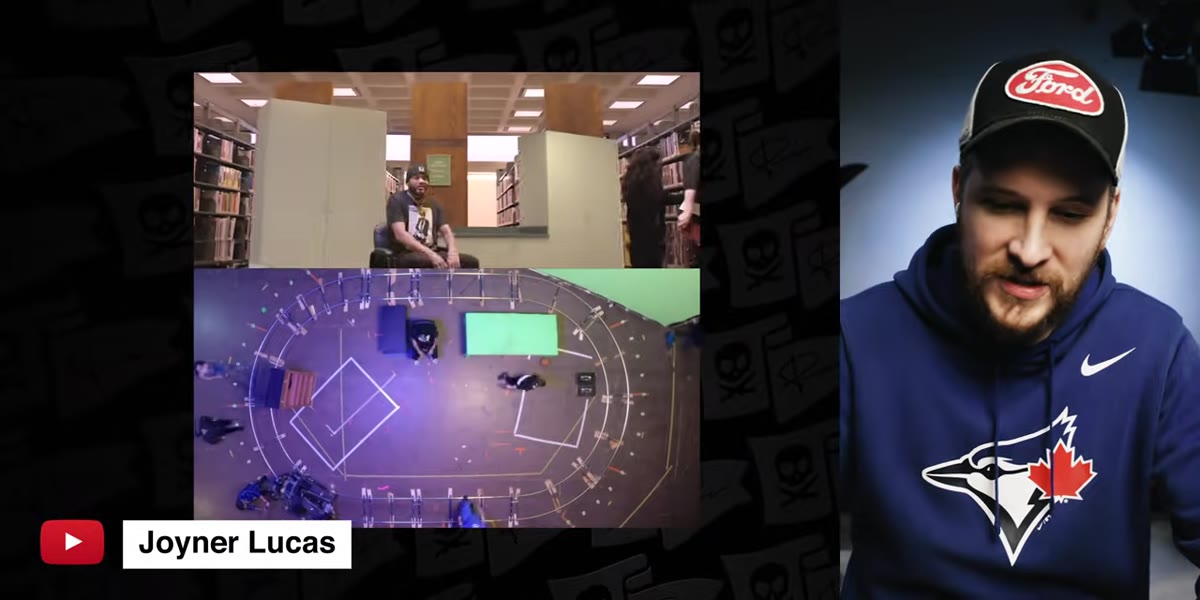 Green screen panel rotating on a track around a central set
This is the clip I keep thinking about. It shows a production where a green screen panel on a curved track rotates continuously around a fixed set piece. The camera orbits the subject, and the background behind the subject is always covered by the moving screen, giving the compositing team a clean plate regardless of angle.
Green screen panel rotating on a track around a central set
This is the clip I keep thinking about. It shows a production where a green screen panel on a curved track rotates continuously around a fixed set piece. The camera orbits the subject, and the background behind the subject is always covered by the moving screen, giving the compositing team a clean plate regardless of angle.
The principle here is elegant: instead of building a set that works from one angle, they built a system that works from every angle. Photographers can apply this by thinking more carefully about how their shooting environment scales. If you’re setting up a small product photography space or a portrait backdrop, can you position it so it works from a 90-degree range of angles rather than just one sweet spot? That kind of environmental thinking saves time and opens up options you didn’t know you had.
Step 4: Understand High-Speed Tracking Rigs and What They Teach About Timing
 Computer-controlled mirror rig attached to a high-speed Phantom camera
The most technically dense segment of the video covers a Phantom high-speed camera setup used to track a bullet in flight. The key detail McKinnon highlights is that the camera itself doesn’t pan. Instead, a computer-controlled mirror redirects the lens. Because a mirror has almost no inertia compared to a full camera body, it can track at speeds reaching thousands of degrees per second, fast enough to follow a projectile.
Computer-controlled mirror rig attached to a high-speed Phantom camera
The most technically dense segment of the video covers a Phantom high-speed camera setup used to track a bullet in flight. The key detail McKinnon highlights is that the camera itself doesn’t pan. Instead, a computer-controlled mirror redirects the lens. Because a mirror has almost no inertia compared to a full camera body, it can track at speeds reaching thousands of degrees per second, fast enough to follow a projectile.
For photographers, this is a masterclass in understanding your physical constraints and engineering around them. You can’t always move your camera fast enough, but you might be able to position a reflector, change your focal length, or pre-focus on a zone to capture fast motion. The broader principle is that when brute force doesn’t work, lateral thinking usually does. The engineers on this shoot didn’t try to make a faster camera. They made a faster component inside the system.
Step 5: Use Optical Triggers and Precise Timing for Action Shots
 Optical trigger system positioned to fire the camera at a precise moment
The Phantom rig segment also mentions the use of optical trigger systems, sensors that detect when a subject enters the frame and fire the camera at exactly the right millisecond. This eliminates the human reaction time variable entirely.
Optical trigger system positioned to fire the camera at a precise moment
The Phantom rig segment also mentions the use of optical trigger systems, sensors that detect when a subject enters the frame and fire the camera at exactly the right millisecond. This eliminates the human reaction time variable entirely.
You don’t need Hollywood-grade triggers to adopt this thinking. Many entry-level camera systems support interval shooting, external triggers, or smartphone remotes. The real lesson is about identifying which variable in your shot is hardest to control manually and finding a way to automate it. If you’re photographing water droplets, fast-moving athletes, or birds in flight, even a basic external trigger or a burst mode combined with careful culling will get you closer to the decisive moment than hoping your reflexes are fast enough.
What I’d Add From My Own Experience
McKinnon is reacting to Hollywood-level productions, which can make this feel aspirational in a discouraging way. Here’s the reframe I’d offer: every single technique in this video started as someone solving a specific, concrete problem on a specific shoot. The rotating green screen track wasn’t invented for fun. Someone needed a solution and built one.
I shoot with my phone sometimes, not ironically, but to remind myself that constraints drive creativity. When I can’t rely on a wide aperture or a long lens or perfect light, I have to think like those film crews. What’s the one element I can control? Build from there. That mindset has produced some of my favorite images, and it came directly from studying how professionals operate at the edges of what’s possible.
The single most useful thing this video teaches is that great cinematography is almost always a problem-solving exercise disguised as an aesthetic choice. The next time you look at an image or a shot and think “how did they do that,” your instinct to ask the question is already half the answer. Keep pulling on that thread.
Watch the full tutorial on YouTube and pay attention to the moments where McKinnon’s jaw drops. Those are the frames worth pausing on.
Comments
Leave a Comment