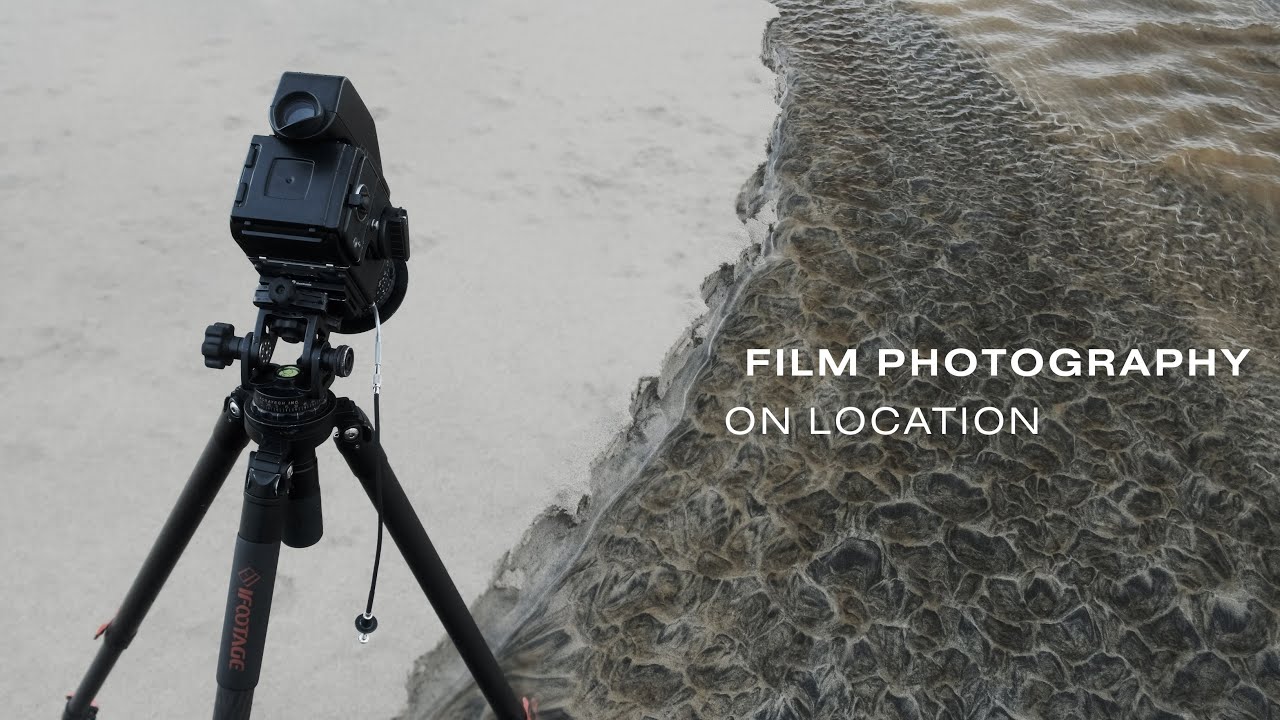
There’s a specific kind of anxiety that hits when you realize you can’t rely on your usual tools. I know it well. I once spent an entire vacation trying to nail one waterfall shot, missing dinner every night, convinced that if I just got the settings right I’d finally have the image. What I actually needed was to stop fussing and start seeing. That tension between gear dependency and genuine vision is exactly what Thomas Heaton explores in his recent trip to the Outer Hebrides, a rugged cluster of islands off the coast of Scotland. He left his digital camera at home, packed only film cameras, and documented what that forced clarity actually looks like in practice.
Watch the full tutorial on YouTube
In this Thomas Heaton tutorial, the lessons aren’t delivered as a lecture. They unfold the way good field experience does: through weather delays, gear choices made in a parking lot, and a moment where the best image of the day was found by looking down at his own feet. Whether you shoot film or not, the decision-making process he walks through is directly transferable to any camera you pick up.
Step 1: Accept the Conditions and Wait Them Out
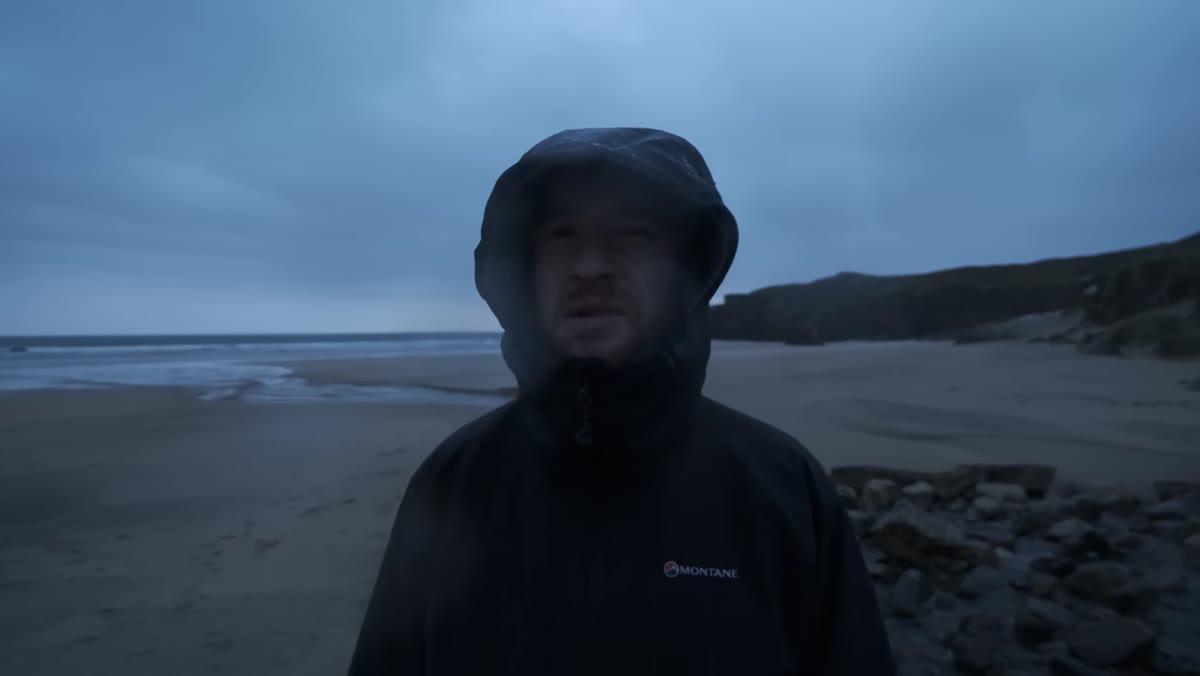 Thomas standing on a beach in heavy rain, scouting
When Heaton arrives at a stunning beach on Harris and Lewis, his first move is not to shoot. The light is flat, the sea is chaotic, and the beach is covered in dog prints. His read of the situation is clean and honest: the location is beautiful but currently unshootable. So he waits.
Thomas standing on a beach in heavy rain, scouting
When Heaton arrives at a stunning beach on Harris and Lewis, his first move is not to shoot. The light is flat, the sea is chaotic, and the beach is covered in dog prints. His read of the situation is clean and honest: the location is beautiful but currently unshootable. So he waits.
This is harder than it sounds. The instinct when you’ve traveled somewhere remarkable is to justify the effort by making images immediately. Resist that. Scouting a location in bad conditions is still useful work. You’re memorizing the shapes, noting where the river meets the sand, watching how the weather moves. Heaton sets up his van awning, stays dry, and treats the downtime as part of the process rather than wasted time.
Step 2: Choose Your Film Stock to Match the Scene Before You Arrive
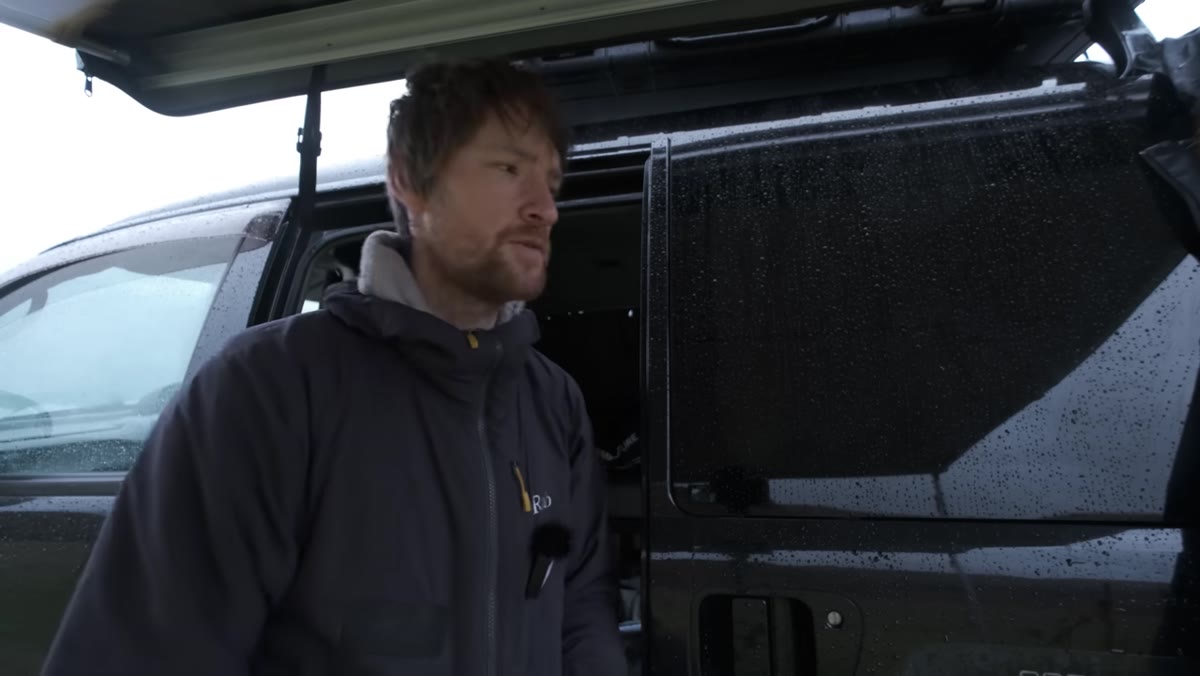 Heaton describing film stocks from his fridge in the van
Heaton brings a deliberately varied film selection and knows exactly what each stock does before the trip begins. He’s carrying Ilford Delta 100 for high-contrast black and white work, Kodak Portra 400 for its wide dynamic range and muted color palette suited to open beaches, and Fuji Provia 100F for high-saturation scenes like sunrise and sunset light.
Heaton describing film stocks from his fridge in the van
Heaton brings a deliberately varied film selection and knows exactly what each stock does before the trip begins. He’s carrying Ilford Delta 100 for high-contrast black and white work, Kodak Portra 400 for its wide dynamic range and muted color palette suited to open beaches, and Fuji Provia 100F for high-saturation scenes like sunrise and sunset light.
Think of this the way you’d think about lens selection. Portra behaves like a wide-angle in terms of latitude - forgiving, flexible, generous. Provia behaves like a telephoto - precise, unforgiving, punchy. Knowing these personalities ahead of time means you’re not guessing in the field. If you shoot digitally, you can apply this same logic to your picture profiles or your editing presets. Decide the emotional register of your image before you press the shutter.
Step 3: Bring Cameras That Force Different Compositional Thinking
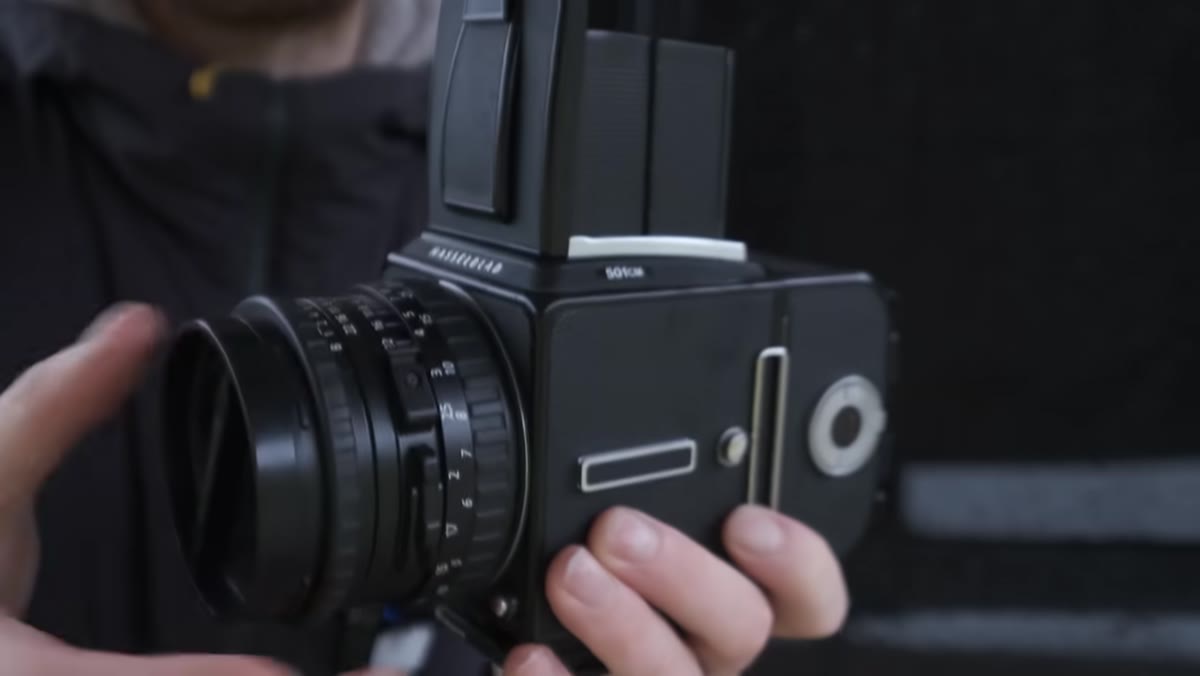 Heaton holding the Hasselblad 501CM and describing the square format
Heaton travels with two cameras that shoot fundamentally different aspect ratios: a Hasselblad 501CM producing square 6x6 images, and a Fuji GX617 panoramic camera producing long, wide frames. This isn’t showing off. It’s a compositional discipline tool.
Heaton holding the Hasselblad 501CM and describing the square format
Heaton travels with two cameras that shoot fundamentally different aspect ratios: a Hasselblad 501CM producing square 6x6 images, and a Fuji GX617 panoramic camera producing long, wide frames. This isn’t showing off. It’s a compositional discipline tool.
When you know you have a square format loaded, you stop thinking in widescreen. You start looking for centered subjects, circular forms, symmetry. When the panoramic is loaded, you’re scanning the horizon and thinking about layered depth across a long field of view. Switching between them mid-trip shakes you out of autopilot. If you only shoot one camera, try cropping your review thumbnails to different aspect ratios occasionally. It changes what you notice.
Step 4: Look Down When the Big View Isn’t Working
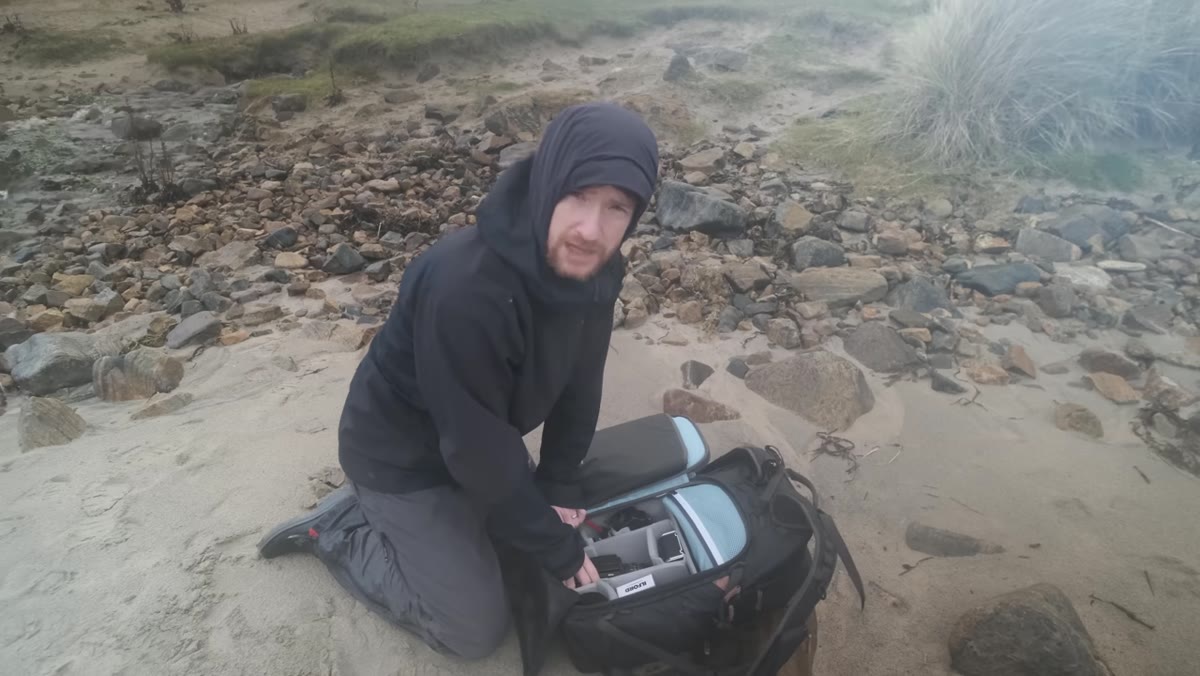 Heaton looking at his feet on the beach, searching for texture
This is the most practically useful moment in the video. Heaton is walking a river that runs out to the beach, viewfinder up, hunting for the grand composition. It isn’t there. The light is wrong, the water is messy. So he drops his gaze to the ground and starts reading the texture, detail, and pattern directly beneath him.
Heaton looking at his feet on the beach, searching for texture
This is the most practically useful moment in the video. Heaton is walking a river that runs out to the beach, viewfinder up, hunting for the grand composition. It isn’t there. The light is wrong, the water is messy. So he drops his gaze to the ground and starts reading the texture, detail, and pattern directly beneath him.
He finds a potential image in the sand at his feet. This small pivot, from landscape to macro detail, is a technique worth building into your regular scouting habit. Before you give up on a location, spend five minutes looking at things within a meter of where you’re standing. Ripple patterns in sand, wet stones, reflections in shallow puddles, compressed grass. These images often carry more intimacy than the sweeping view you originally came for.
Step 5: Load Film Deliberately, Away From the Scene
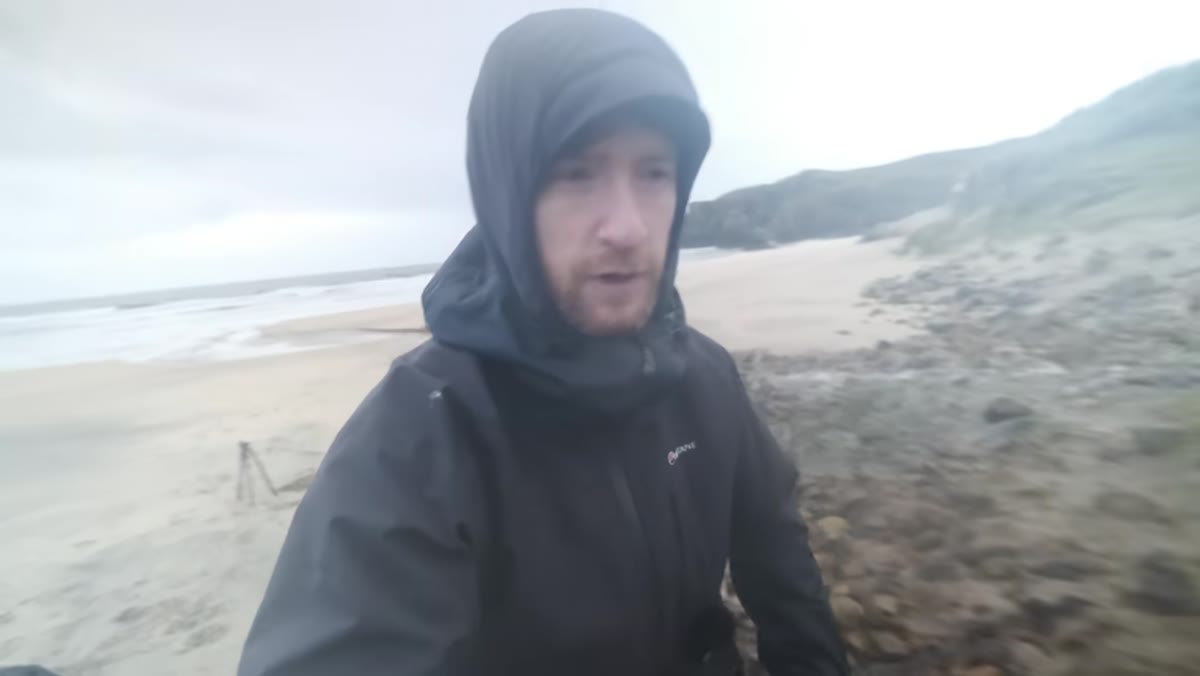 Heaton returning to the van to load Ilford Delta 100 out of the rain
Heaton goes back to his van to load the Ilford Delta 100 rather than wrestling with it on the beach in the rain. This is worth noting because it reflects a broader principle: preparation and execution are separate phases. He’s not loading film in a panic while the light changes. He made the film choice before walking out, and now he’s completing the mechanical task in a controlled environment.
Heaton returning to the van to load Ilford Delta 100 out of the rain
Heaton goes back to his van to load the Ilford Delta 100 rather than wrestling with it on the beach in the rain. This is worth noting because it reflects a broader principle: preparation and execution are separate phases. He’s not loading film in a panic while the light changes. He made the film choice before walking out, and now he’s completing the mechanical task in a controlled environment.
With digital cameras, this equivalent is your pre-shoot setup routine. Check your memory cards before you leave the car. Set your white balance, your drive mode, your metering mode. Get the admin done before the scene demands your full attention.
What I’d Add From My Own Experience
The single thing I’d layer onto everything Heaton demonstrates here is the value of making a shooting playlist. I know that sounds odd, but I genuinely make playlists for different moods and locations before I go out, and what they actually do is slow my breathing down and set my pace before I even pick up the camera. Heaton achieves something similar by camping at the location, living inside the weather, letting the place settle into him before he starts making images. If you can’t sleep on location, even fifteen minutes of sitting quietly with no phone before you start shooting will shift your work. You stop reacting and start composing.
The single biggest takeaway from Heaton’s approach is this: constraint produces clarity. Leaving the digital camera at home wasn’t a loss. It removed a decision layer and forced him to commit. Every frame costs something with film, and that cost changes how carefully you look. You don’t need to shoot film to apply this. Give yourself a roll’s worth of exposures on your next shoot, 36 frames, no more. Then see how differently you work.
Watch the full tutorial on YouTube to follow Heaton across the Hebrides and see how the trip unfolds when the weather finally clears.
Comments (2)
The tip about what happens when you leave yo was the missing piece for me. Thank you.
Would love to see a follow-up going deeper into this topic.
Leave a Comment