I used to think that if two photographers stood in the same spot with the same gear, they’d come back with more or less the same photo. I held onto that assumption for longer than I’d like to admit. It wasn’t until I started shooting with other photographers on my Sunday morning photo walks that I realized how wrong I was. Same light, same street corner, sometimes the same focal length, and we’d come back with images that looked like they were taken on different days by different people.
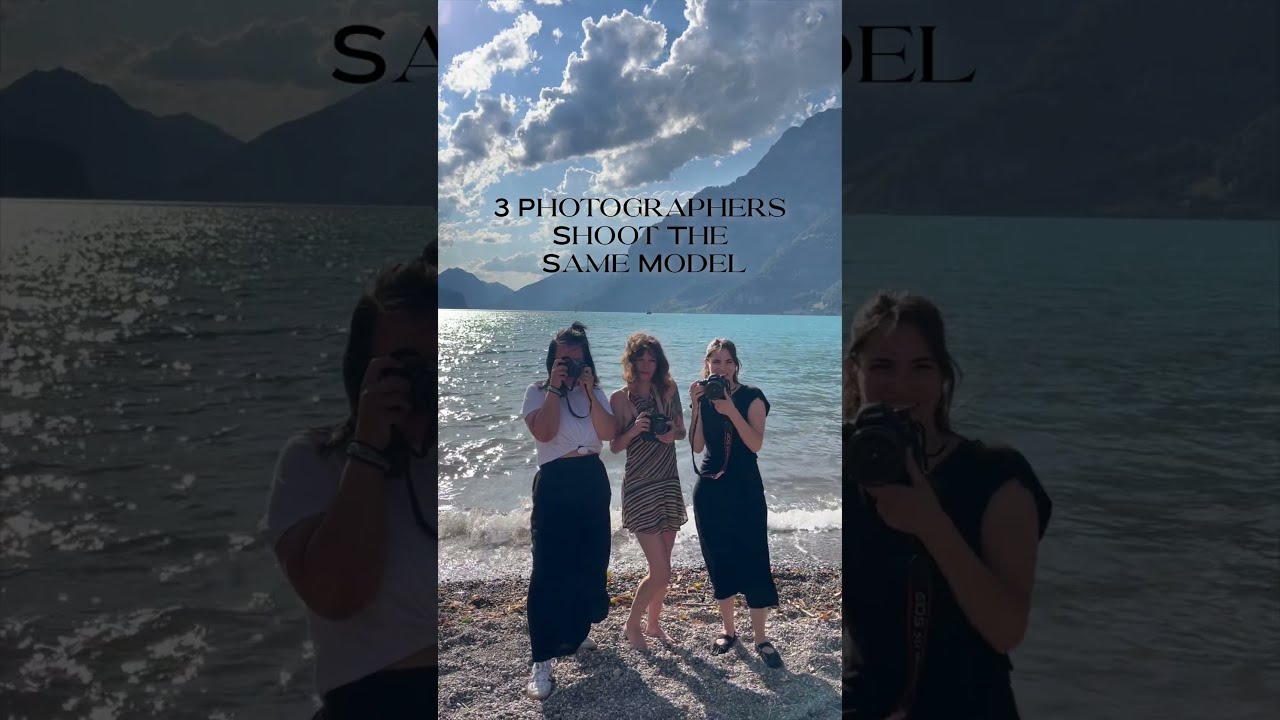
That experience is exactly why I keep returning to this kind of side-by-side photographer comparison content. In this Jessica Kobeissi tutorial, three photographers, including Jessica herself, take turns shooting the same model in the same location. The results are genuinely different in ways that go beyond “one used a warmer preset.” Watch the full tutorial on YouTube to see what I mean visually, but let me break down what’s actually happening technically and creatively so you can apply it to your own work.
How Each Photographer Built Their Shot Before Pressing the Shutter
The first thing that stands out in the video is how differently each photographer approaches the model before they even raise the camera. Jessica moves quickly, communicates directly, and adjusts the model’s position in small, deliberate increments. She’s not guessing. She has a visual target in mind and she’s steering toward it.
Jasmin, shooting under the handle @jasmins.kamera, takes a slower, more collaborative approach. She talks more, builds rapport, and lets the model settle into the energy before shooting. Peggy (@swissforestelf) leans into natural movement and tends to shoot more frames, using the model’s motion as part of the composition rather than something to control.
None of these approaches is wrong. But they produce different images because the model responds differently to each one. That connection, or the lack of it, shows up in the final photo every single time.
The Technical Choices That Actually Separate the Images
Each photographer makes distinct decisions about light and distance, and those decisions compound. Shooting tighter with a longer focal length flattens the background and isolates the subject. Stepping back and using the environment as a frame adds context but can reduce intimacy. These aren’t accidents. They reflect each photographer’s instinct about what a portrait is supposed to communicate.
Pay attention to how they use available light differently. One photographer positions the model so the light wraps around the face. Another uses more directional light that creates shadow and structure. Same overcast sky, same location, different results, because they’re each reading the light and making a choice rather than just accepting whatever exists.
If you’re newer to portraits, here’s the practical takeaway: before you shoot, look at where the light is coming from and physically walk your subject around until you see something change on their face. That’s your starting point.
Direction as a Creative Tool, Not Just a Logistics Step
This is where I think the video earns its runtime. Watching three different people direct the same model shows you that direction is a style choice, not just a production necessity. The way you talk to a subject, how much stillness you ask for versus how much you encourage movement, whether you demonstrate poses yourself or describe them verbally, all of it shapes the image before any technical setting matters.
I’ve shot sessions where I barely said a word and got great frames because the model was experienced and I stayed out of the way. I’ve also shot sessions where I talked the whole time, kept the energy high, and got photos that looked completely different from my quiet sessions, even with identical camera settings. Your personality on set is part of your photographic style. Most people don’t realize that until they see it compared side by side like this video does.
Where I’d Push This Concept Further (And Where It Has Limits)
The one thing I’d add if I were doing this exercise myself is a debrief segment, where each photographer explains the one thing they were going for and whether they got it. Because the images in the video speak for themselves visually, but the reasoning behind each choice is where the real learning lives.
The exercise also works best in a controlled location with consistent light. If you tried this in a rapidly changing environment, like golden hour on a moving shoot, some of the differences would be luck rather than intention. I’ve learned this the hard way on travel shoots where the light shifted faster than I could adapt and whatever I got was as much circumstance as craft. This kind of comparison is most instructive when the variables are held steady, so the only thing changing is the photographer’s eye.
The Single Question This Video Will Make You Ask Yourself
Here’s what I keep thinking about after watching this. If someone handed your camera to two other photographers and sent you all to the same location, would your images be recognizable as yours?
That’s the real question this video is asking. Not which photographer is best, but whether each photographer has something distinct enough to show up consistently. Developing that distinctiveness takes time and intentional practice, but watching how three people diverge from identical conditions is one of the fastest ways to understand what “photographic style” actually means in practical terms.
Start here: next time you’re shooting with anyone, compare your approach in the moment. Notice where you diverge. That gap is your style, still forming or already formed.
Watch the full tutorial on YouTube to see the actual images and Jessica’s commentary, because the visual side of this experiment is something a written breakdown can only get you halfway to understanding.
Comments (2)
Great breakdown. The step-by-step approach really helps.
The tip about what happens when three photog was the missing piece for me. Thank you.
Leave a Comment