
I’ll be honest: for a long time, I chased the obvious shots. Waterfalls, golden hour light on a mountain, that one iconic viewpoint everyone tags on Instagram. And there’s nothing wrong with any of that. But there’s a certain creative restlessness that kicks in when the postcard view isn’t enough anymore. You want something that made you think, not just react. That’s the feeling Thomas Heaton captures perfectly in this tutorial filmed on location in Patagonia, where he deliberately turns away from the rivers and peaks and spends a morning working with a grove of dead, gnarled trees in brutal wind. The results are stunning, and the process is something any photographer can apply anywhere.
Watch the full tutorial on YouTube
What makes this tutorial worth studying isn’t the location. It’s the decision-making. Thomas walks through how he identifies a subject, positions himself relative to it, chooses his exposure settings, and waits for the right moment, all in real time and in genuinely difficult conditions. This is the kind of field thinking I try to teach on my Sunday morning photo walks, and seeing it narrated out loud by a working pro is incredibly useful. Here’s how he does it, step by step.
Step 1: Choose a Subject That Creates Visual Tension
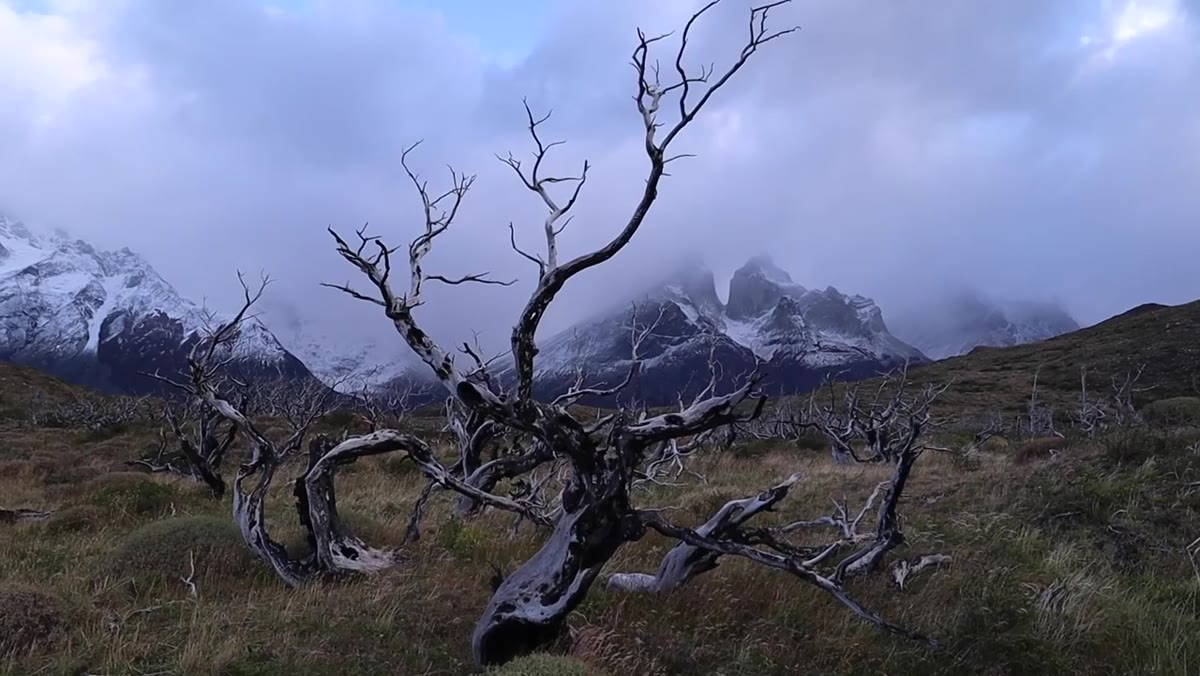
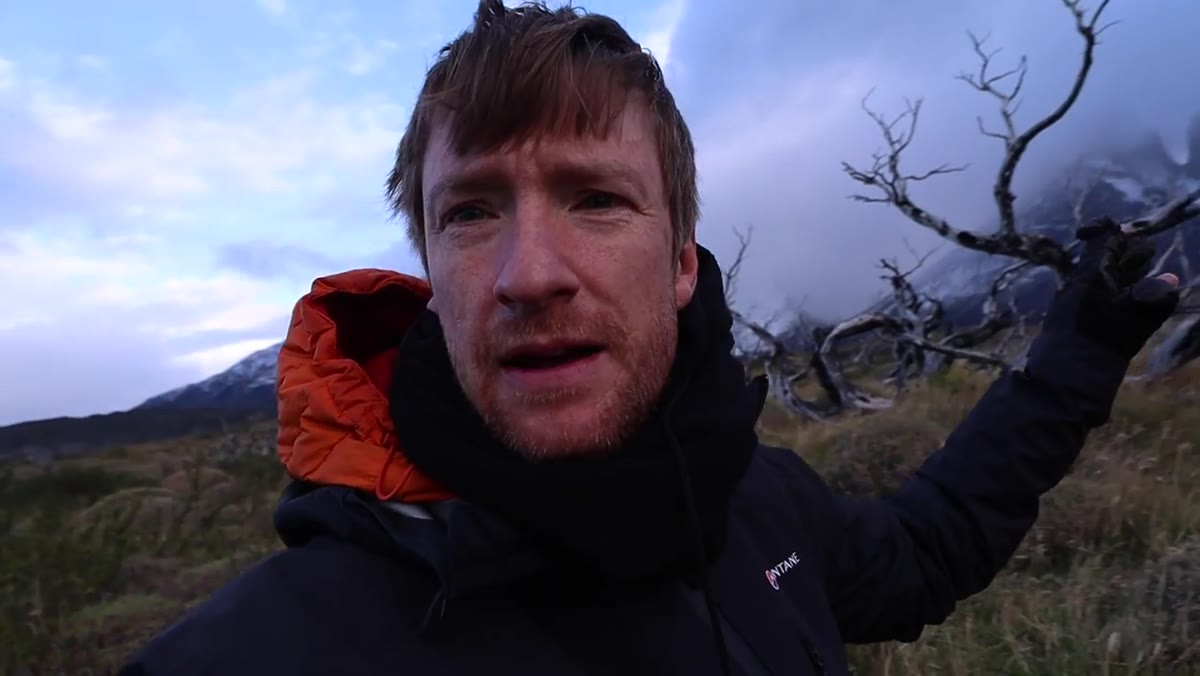 Dead trees with mountain visible over the photographer’s shoulder
The whole session starts with a deliberate choice to ignore the grand scenery and zero in on something smaller and stranger. The trees Thomas finds are leafless, contorted, and visually complex against a flat sky. That contrast, between the organic chaos of bare branches and the clean geometric lines of a mountain ridge, is exactly what creates tension in a frame. When you’re on location, train yourself to look away from the obvious. Ask what’s nearby that has shape, texture, or structure, and then ask how it relates to the bigger elements behind it.
This works in any environment. I’ve done versions of this with dead ferns in front of fog-covered hills in the Cascades. The subject doesn’t need to be conventionally pretty. It needs to be visually interesting in relationship to something else.
Step 2: Scout First, Shoot Second
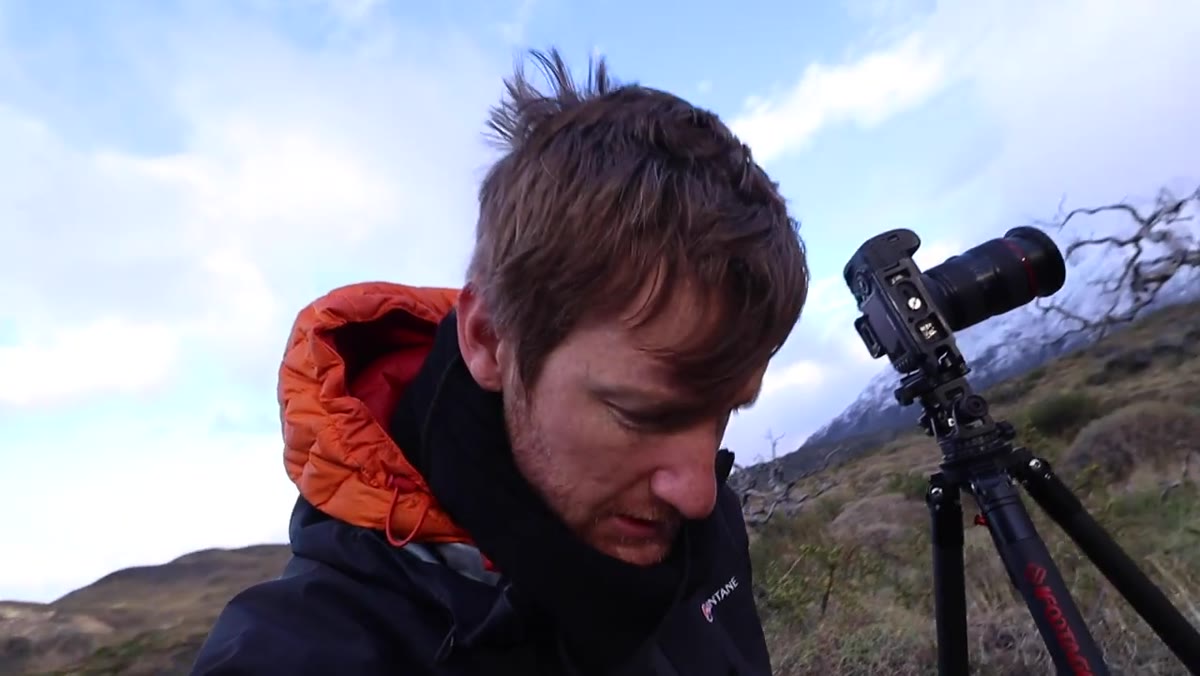 Photographer pointing back toward a specific tree in the landscape
One of the quietest but most useful things Thomas mentions is that he spotted his second tree the day before and came back for it. He saw the potential, filed it away, and returned when conditions were better. This is a habit that separates photographers who consistently get strong images from those who rely on luck. Location scouting doesn’t have to be elaborate. Even a quick mental note or a phone photo of a spot you want to revisit is enough.
On my photo walks, I keep a running note on my phone of compositions I’ve seen but not shot yet. Some of them have been on the list for months. That patience usually pays off.
Step 3: Work the Millimeters - Fine-Tune Your Position
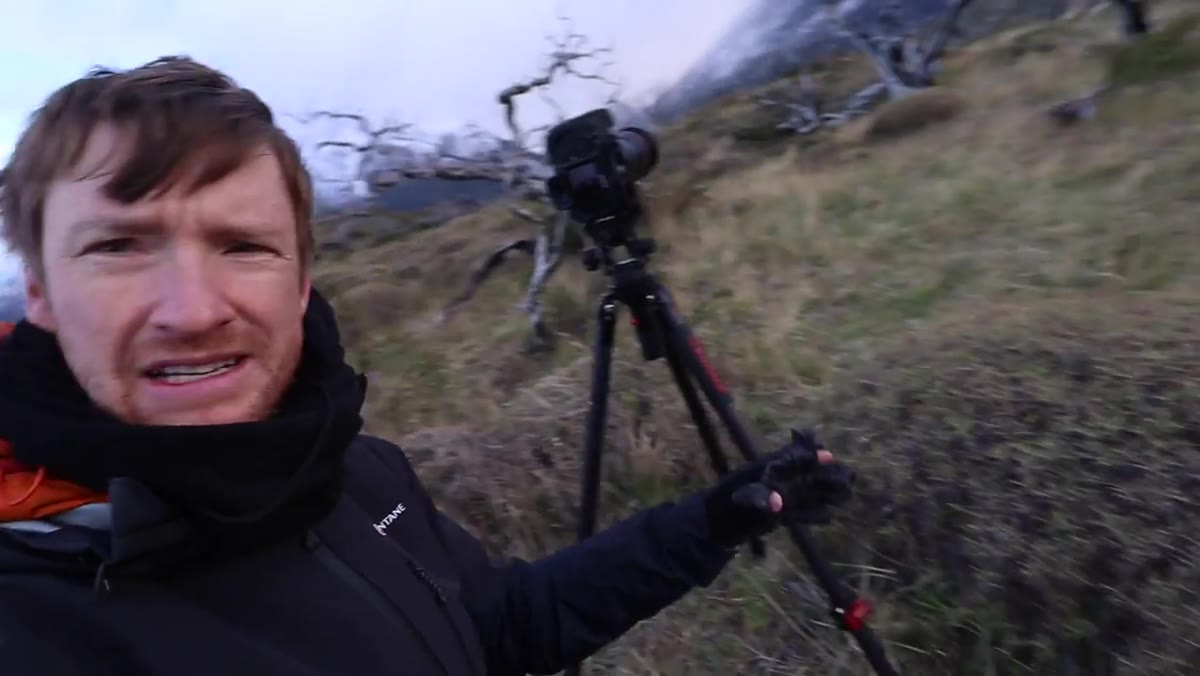 Photographer on knees adjusting position beside a spiky bush
This is the step most beginners skip entirely. Thomas describes being on his knees, pressed up against a spiky bush, shifting left and right, up and down, by tiny amounts. Those millimeter adjustments determine whether the tree branches cross over the mountain ridge into the sky, or fall cleanly below it. That distinction changes everything about how the image reads.
Before you even look at your settings, spend time moving around your subject. Crouch down. Step sideways. Lean in. The relationship between foreground and background shifts dramatically with even small changes in your position. This is free, it costs no gear, and it’s one of the highest-leverage things you can do in the field.
Step 4: Use Aperture to Separate Subject from Background
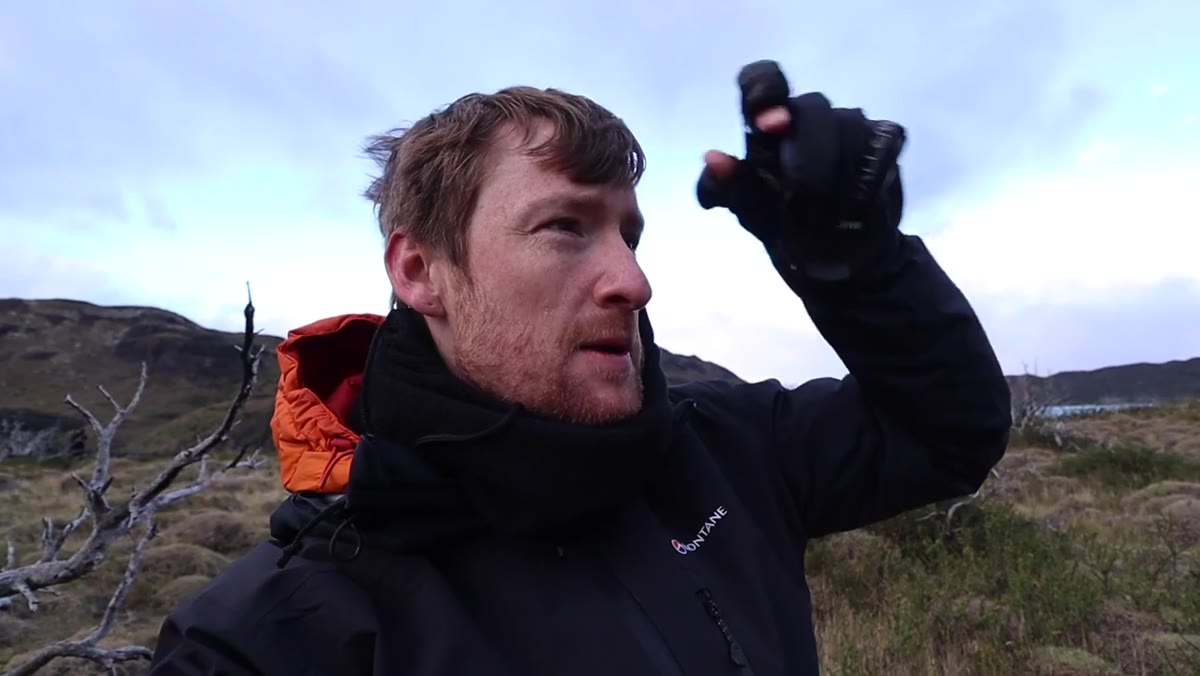 Camera settings visible, f5.6 shown while photographer talks to camera
Thomas shoots at f/5.6 throughout this session, and the reason is specific. He wants the background mountains to be soft and painterly, almost like a wash behind the sharp, detailed tree in the foreground. At f/5.6 on a telephoto or standard lens, there’s enough depth of field to keep the main tree crisp while the distance blurs into something impressionistic.
This is not a “shoot wide open for bokeh” situation. He’s not trying to obliterate the background. He wants it recognizable but soft, so it supports the subject rather than competing with it. If you’re shooting landscapes and always defaulting to f/8 or f/11 for maximum sharpness throughout, try pulling back to f/5.6 and focusing on a strong foreground subject. The results can feel much more like a painting than a document.
Step 5: Focus on Your Primary Subject and Commit to It
 Photographer focused on the main foreground tree in the frame
Thomas is explicit here: he focuses on the tree, not the mountain, not the sky. The tree is the subject. Everything else is context. This sounds obvious until you realize how often photographers split their attention across a frame and end up with a composition that doesn’t have a clear entry point for the viewer.
Pick your subject before you pick your settings. Know what you want the viewer to look at first. Then build your exposure, your position, and your framing around that anchor.
Step 6: Time Your Shutter for Calm Moments in Wind
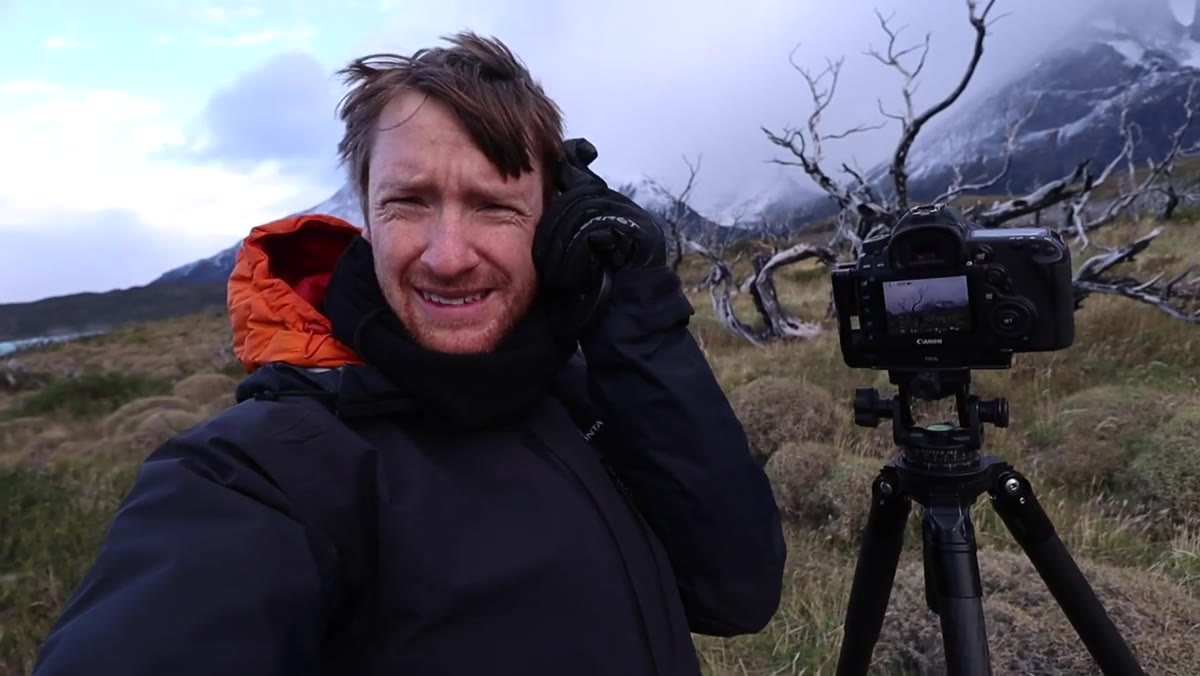 Photographer crouching behind tripod waiting for wind to drop
Patagonia wind is famous, and Thomas deals with it practically. He sets a 2-second timer on his camera to avoid any camera shake from pressing the shutter button, then waits for a lull between gusts to actually trip the shutter. He describes one moment of stillness being enough to get the shot. His camera actually blew over at one point, which is a good reminder to keep a hand on your gear in exposed conditions.
In windy situations, patience is part of the technique. Use mirror lockup or a remote shutter if you have one. If you don’t, the 2-second timer built into almost every camera does the job. Watch the grass or the branches and release during a natural pause.
What I’d Add: Don’t Wait for Dramatic Locations
The dead-tree-as-subject approach works just as well in unglamorous places. I’ve applied this exact logic, strong foreground subject, soft background, careful positioning, to a scraggly tree in a Seattle park at 7 a.m. with flat winter light. The resulting image is one of my favorites from this year. The technique is location-agnostic. What Thomas is really teaching is a way of seeing: look for structure, look for relationships between elements, and let weather and mood be assets rather than obstacles.
The single most important takeaway from this tutorial is the idea that bad weather and unconventional subjects are not problems to work around. They’re the whole point. A dead tree in wind and flat light challenged Thomas to think harder than any waterfall would have, and that’s exactly what makes the images compelling.
Watch the full tutorial on YouTube to see the actual images and the brief processing segment Thomas walks through at the end. It’s worth seeing how much of the final look is built in-camera versus in post.
Comments
Leave a Comment