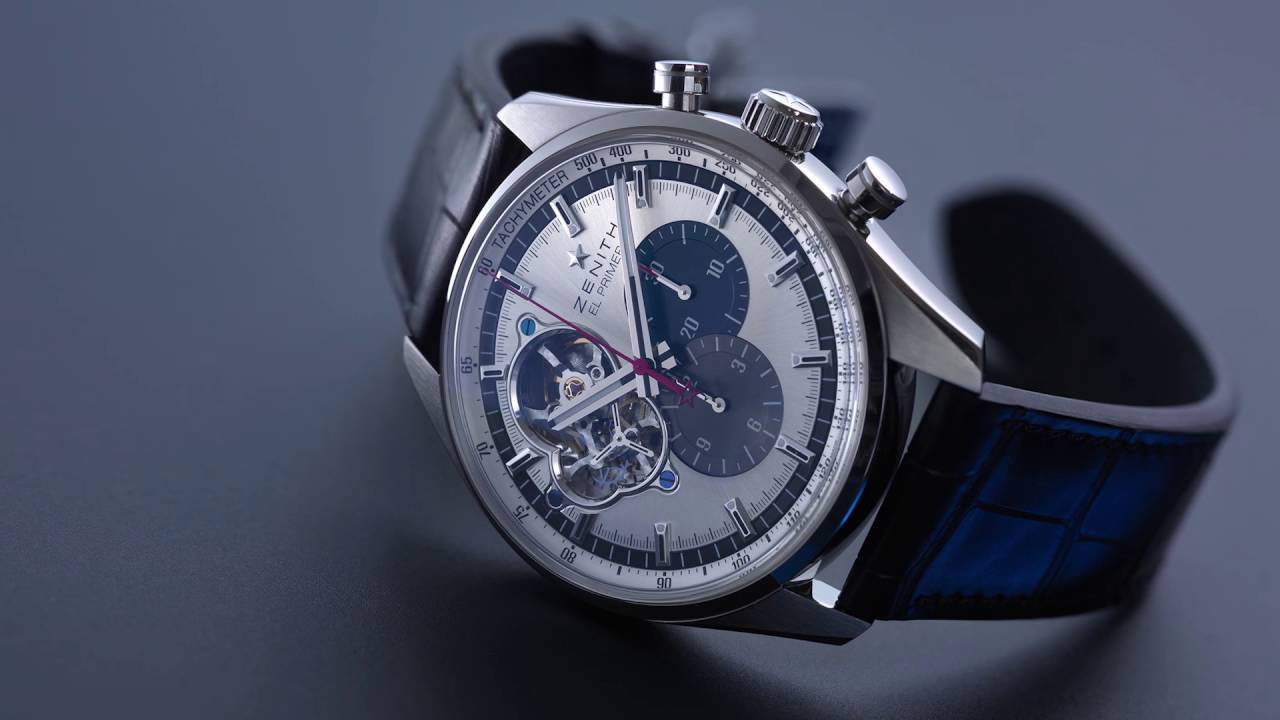
There’s a moment in almost every beginner photographer’s journey where technically correct stops feeling like enough. The exposure is right, the focus is sharp, and yet the image looks nothing like what you see in a magazine or on a billboard. I know that feeling well. For years I shot travel and lifestyle work that I was proud of, but I’d look at advertising photography and wonder what invisible layer I was missing. It wasn’t gear. It wasn’t software. It was a different way of thinking about an image before the shutter ever fires.
That’s what pulled me into this Visual Education tutorial featuring Karl Taylor, a working advertising photographer who opens up his workshop process in a way that’s rare to find online. Watch the full tutorial on YouTube before or after reading this, depending on how you learn best. I’ve broken down the key ideas here so you have something concrete to carry into your next shoot.
What struck me immediately is how much of advertising photography happens away from the camera. Karl’s whole approach is rooted in intentionality. Every choice, from the angle to the light placement, is made in service of a specific message. That’s the mindset shift this tutorial is really selling.
Step 1: Start With the Concept, Not the Camera
 Karl Taylor on set, camera not yet raised
Before any equipment comes out, advertising photographers work from a concept. This sounds obvious, but most of us skip it. We set up a scene, adjust until it looks nice, and call that the shot. Commercial work runs the opposite direction: you decide what the image needs to communicate, and then you build everything backward from that idea.
Practically, this means writing down one sentence before your shoot. Not a mood board, not a vibe - one sentence. “This image should make the viewer feel that this product is effortless.” That sentence becomes a filter for every decision you make on set.
Step 2: Treat Presentation as Part of the Work
 Professional studio environment and polished setup visible
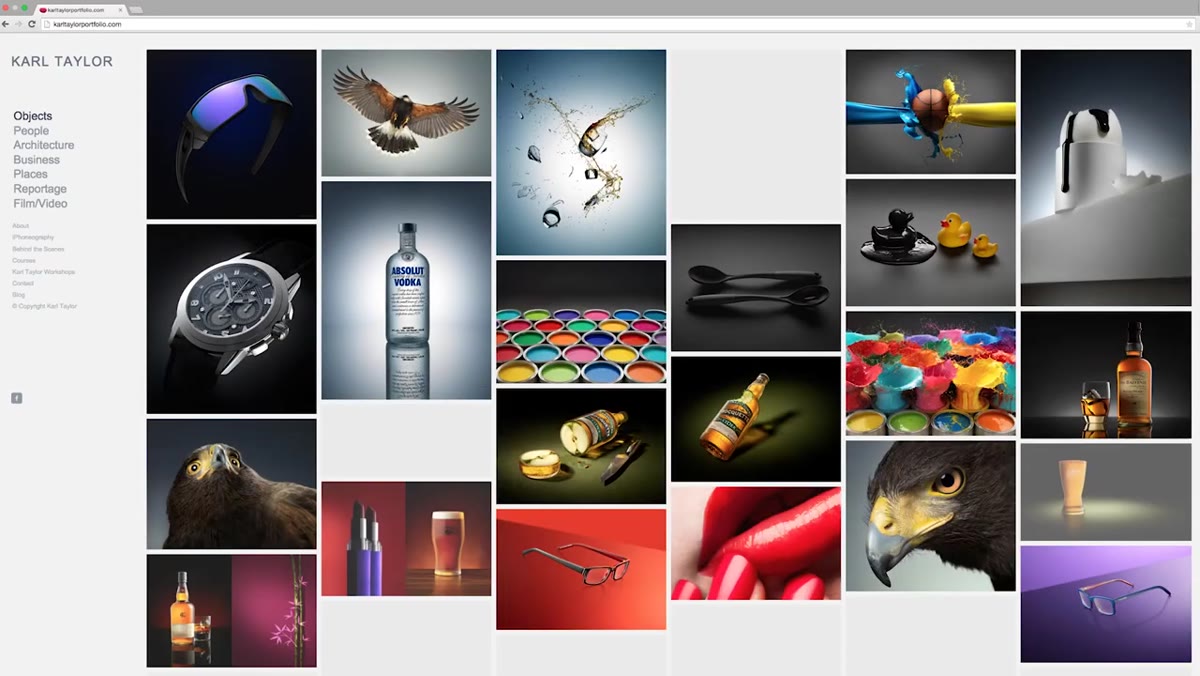
Karl opens by making a point that presentation is inseparable from professional photography. This applies on set and off it. The way your images are delivered to a client, the way your portfolio is organized, the way your website communicates your specialty - all of it shapes whether someone trusts you with a paid project.
If you’re building toward any kind of paid work, your portfolio site needs to work as hard as your best image. I rebuilt mine twice before it actually started converting inquiries into bookings. The lesson is simple: your best photo, buried in a cluttered layout with no clear contact path, loses to a pretty good photo in a clean, professional presentation.
Step 3: Control Your Light With Precision
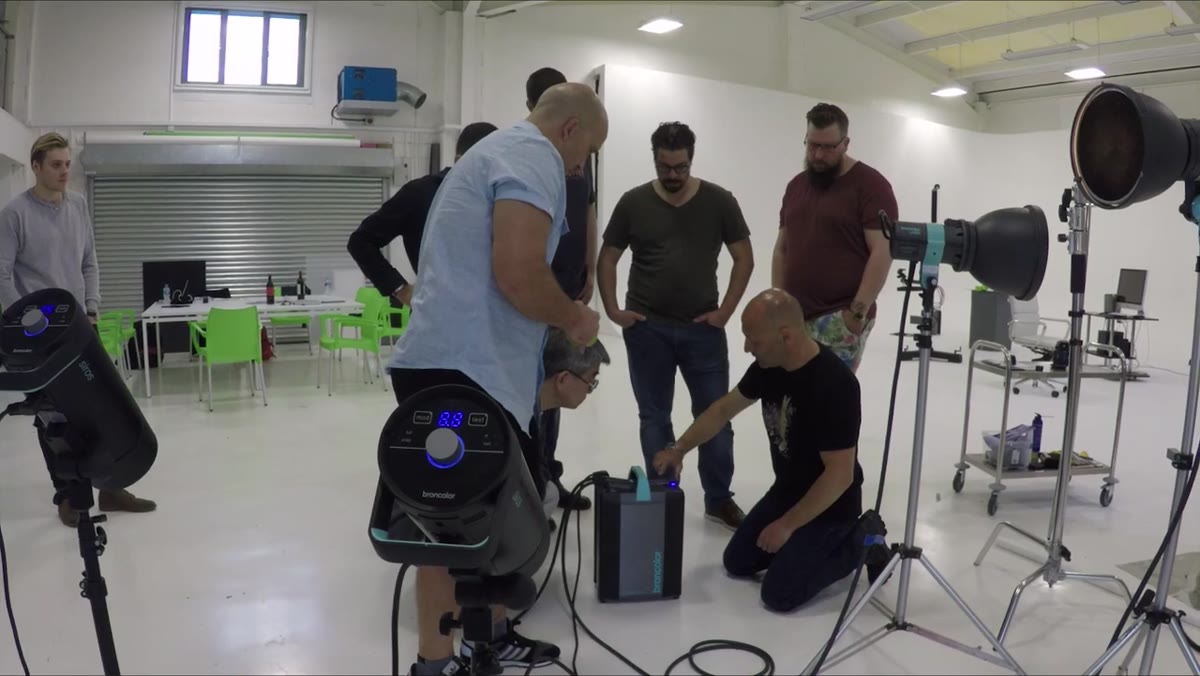 Studio lighting rig positioned around subject
Advertising photography depends on controlled, repeatable light. Where lifestyle and travel work often celebrates available light and happy accidents, commercial work requires that you can hit the same result again if you need to. This means understanding not just where your lights are pointing, but why they’re there.
Start practicing this by working with a single light source and a reflector. Place your light at 45 degrees to your subject, then use a white reflector on the opposite side to fill in the shadow. Notice how moving the reflector closer or farther changes the contrast. That relationship between your key light and your fill is the foundation of almost every studio image you’ve ever admired.
Step 4: Build a Set That Supports the Product
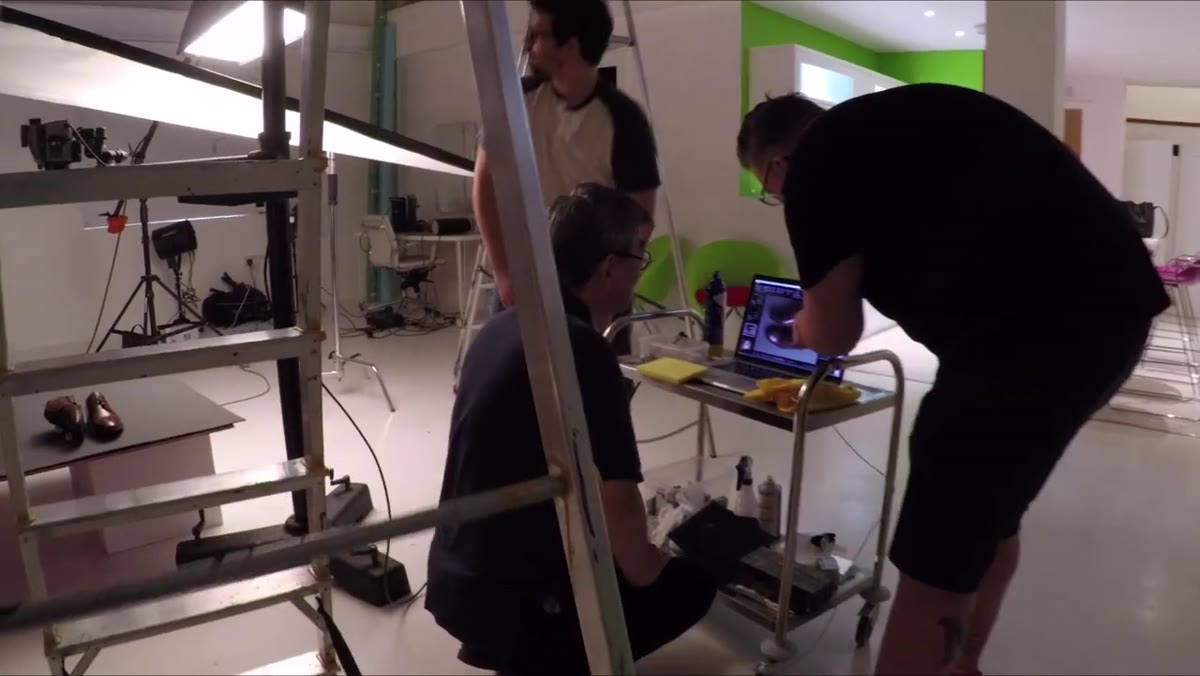 Product and surrounding props arranged on set
In advertising work, everything in the frame is a decision. Nothing is there because it happened to be there. Karl’s workshop shows this clearly: the environment around a product is built to reinforce the story the image is telling, not to fill space or look interesting on its own.
When you’re setting up a product or portrait shot, do a prop audit. Look at everything in the frame and ask whether it adds to the message or dilutes it. If you can’t answer why something is there, remove it. Negative space is not empty - it’s directing attention to what matters.
Step 5: Shoot Tethered and Review Often
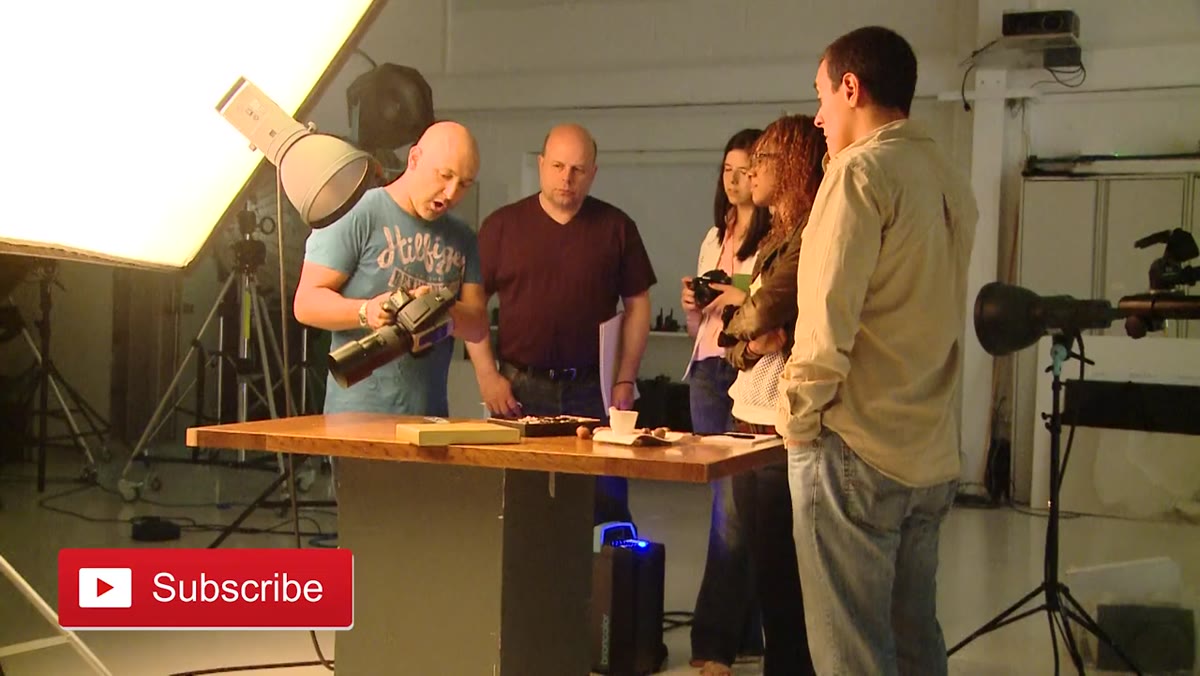 Karl reviewing images on a monitor during the shoot
One of the clearest marks of a professional workflow is tethering - connecting your camera directly to a laptop or monitor so you can evaluate images at full size in real time. This changes the feedback loop completely. Instead of chimping on a 3-inch screen and guessing, you’re making real decisions with real information.
If you don’t have tethering software, Capture One and Lightroom both support it, and you can start with a USB cable and a laptop. The habit matters more than the setup. Train yourself to stop, look, adjust, and shoot again rather than firing 200 frames and sorting it out later. Advertising photographers shoot fewer frames than you’d expect - because each frame is intentional.
Step 6: Consistency Is the Real Professional Skill
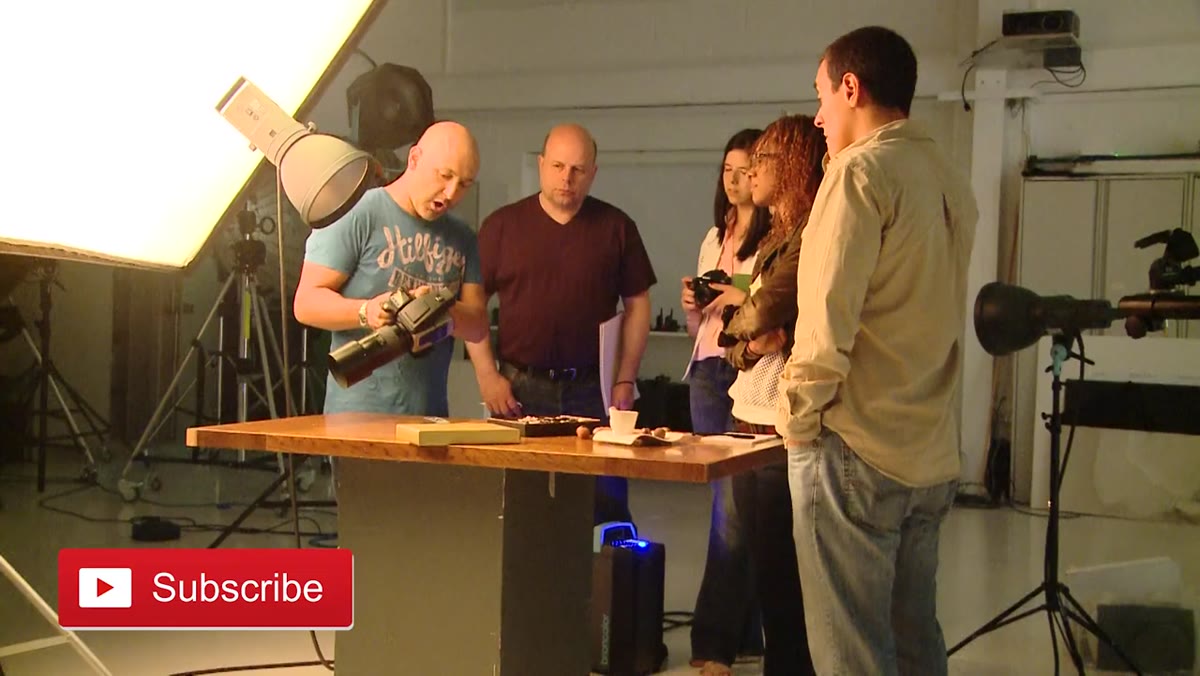 Workshop participants working alongside Karl on set
What separates a professional from someone who occasionally nails a great shot is the ability to deliver consistently. Karl’s workshop format is designed around this idea: students don’t just watch him shoot, they work through problems on their own sets so the thinking becomes a habit, not a one-time insight.
Consistency comes from documentation. After every shoot, write down what worked. Light placement, camera height, the specific quality of the modifier you used. If you can’t repeat a result on purpose, it was luck. Building a shoot journal is boring and unglamorous and I cannot recommend it enough.
From My Own Kit: The Phone Test
I still pull out my phone on shoots sometimes, and not just to check my messages. If a composition works on a phone, it works. If it only looks interesting because of a beautiful lens or dramatic depth of field, there might not be enough underlying structure in the image. Some of my most-shared work started as a phone frame I used to check the bones of the shot before picking up the camera.
Advertising photographers know this intuitively: the concept has to be strong enough to survive a bad reproduction. If your idea depends entirely on perfect technical execution to land, it’s a fragile idea. Test yours with the worst tool you have available. What survives that test is worth building around.
The single most important thing I took from this tutorial is that advertising photography is a discipline of subtraction. You’re not adding more until it looks good - you’re removing everything that doesn’t serve the message. That one shift in how you approach a frame will change more about your images than any new piece of gear.
Watch the full tutorial on YouTube to see Karl walk through this in a live workshop setting - watching him work through problems in real time adds a layer that’s hard to capture in text alone.
Comments (1)
Quality content like this is rare. Keep it up.
Leave a Comment