One of the biggest things I see beginner photographers struggle with is not the technical stuff. It’s the chaos. The moment something doesn’t go according to plan, the shot falls apart because there was never a real plan to begin with. I learned that lesson the hard way on a travel shoot in Iceland where I had no shot list, no schedule, and no backup idea when the light died at 2pm. I’ve been a planner ever since.
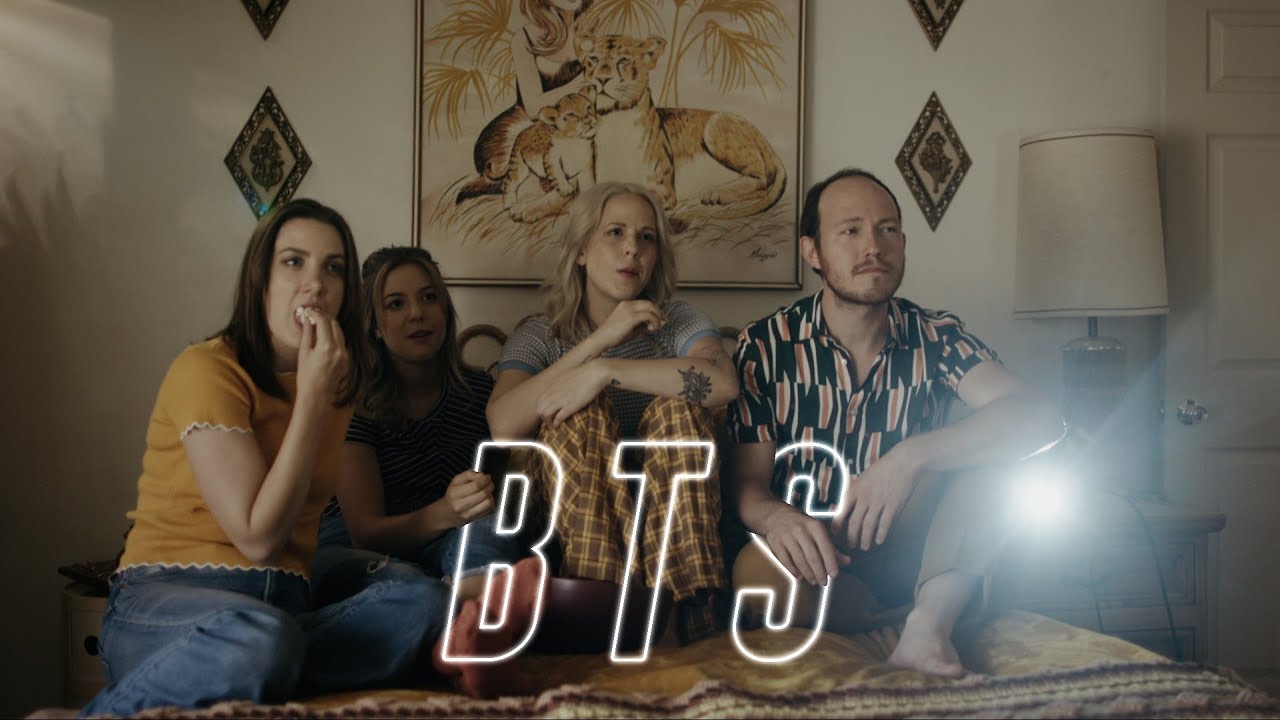
That’s why I found this behind-the-scenes tutorial from Mango Street so genuinely useful. Watch the full tutorial on YouTube before or after reading this breakdown. It follows the two-day production of a music video for the artist Savoir Adore, and while the context is filmmaking, the production thinking behind it applies directly to any complex photography project. Portrait sessions, editorial shoots, event coverage. The principles are the same.
What struck me most watching this isn’t a single technique. It’s the rhythm of how a professional set operates. Things go wrong, timing slips, and the team just keeps moving. That composure comes from structure. And structure is something you can build before you ever pick up your camera.
Step 1: Build a Schedule That Accounts for Real Time, Not Ideal Time
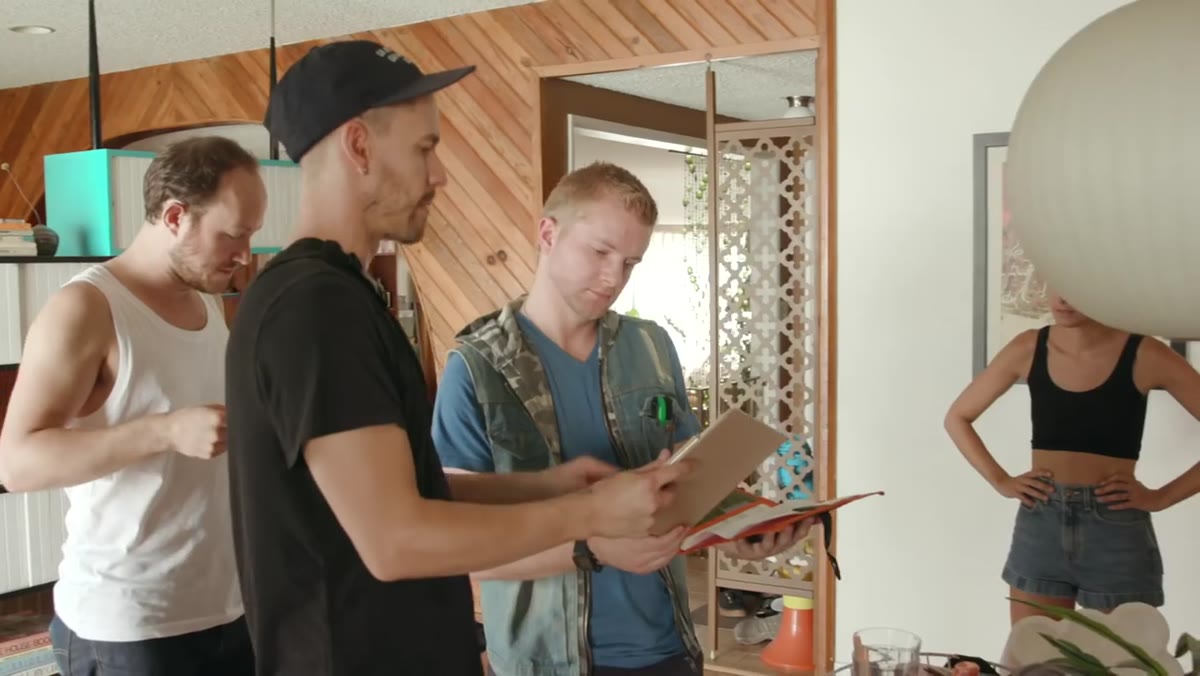 Director reviewing a handwritten shoot schedule with time blocks
The first thing you see on set is the director working from a rough schedule, blocked out by location and time. Not “we’ll get to the living room scene eventually” but something closer to “this section should be wrapped by 12:30.” That specificity matters more than most photographers realize. When you’re shooting across multiple locations or setups, time is your most limited resource. Build your shot list with time buffers already baked in. If you think a setup takes 20 minutes, plan for 30. Give yourself the gift of not being rushed when something small goes sideways.
A practical way to do this: assign each scene or setup a realistic window, then add 25% to every estimate. Lay it out in a simple document or even a notes app, and share it with anyone on your team before the day starts. A shared schedule turns a group of people into a crew.
Step 2: Scout Your Locations for Framing Problems Before You Shoot
 Director flagging a cactus growing into the subject’s frame
There’s a moment on set where the director catches a cactus growing directly behind the performer’s head in the frame. It’s a classic merging problem, the kind that’s invisible to the naked eye but shows up immediately on a monitor. The fix is simple once you see it, but you have to be looking. That kind of framing discipline comes from slowing down and actually checking your composition before you roll.
During any pre-shoot location scout, I walk the space with my camera up and check every background at the focal lengths I plan to shoot. Look for objects that will visually “attach” to your subject. Lamp posts, plants, signs, horizon lines, any element that intersects with the head or body can pull attention right out of your image. Mark those spots mentally, or literally put tape on the floor if you’re working on a set you have permission to mark up.
Step 3: Use a Director’s Monitor to Keep Everyone Aligned
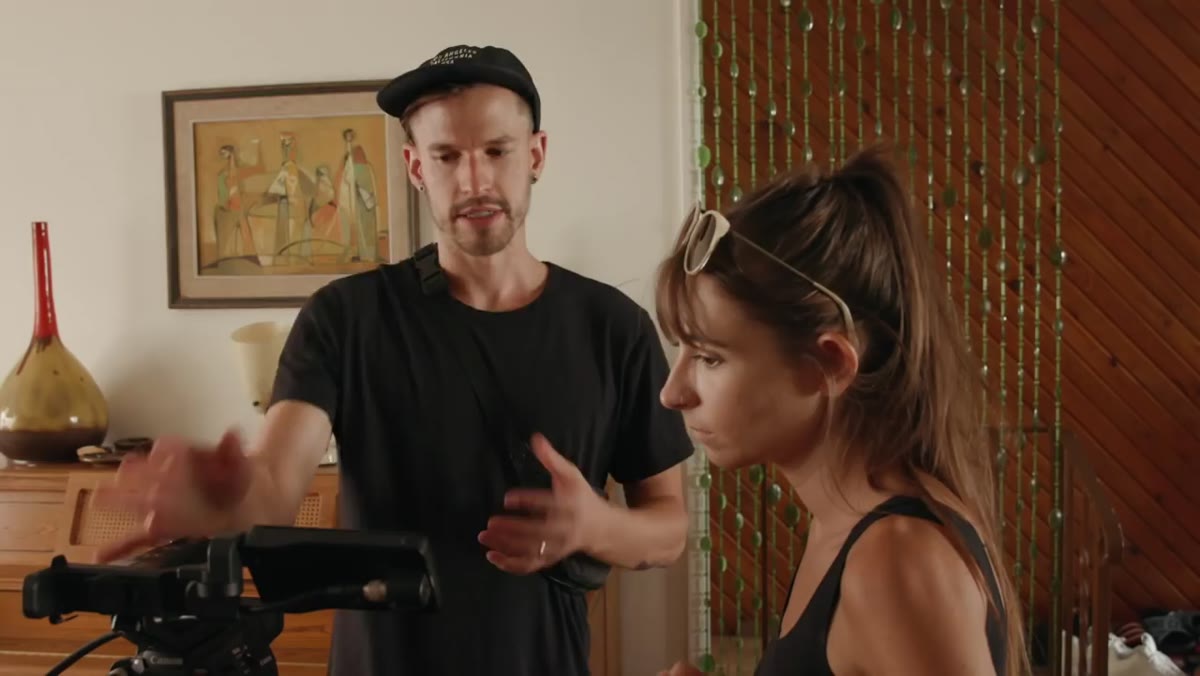 Crew setting up a director’s monitor and wireless signal transmitter
The crew in this video sets up a director’s monitor connected wirelessly to the camera. This is standard on a film set but underused in photography, especially for anyone shooting with a team. When your client, a creative director, or even just your second shooter can see what the camera sees in real time, you eliminate the constant back-and-forth of “can I see the back of the camera?” It keeps the session moving and gives collaborators a way to contribute without hovering over your shoulder.
You don’t need a full cinema rig to make this work. A wireless HDMI transmitter paired with a small field monitor runs well under $200 for entry-level setups. If you shoot tethered to a laptop already, that screen can serve the same purpose. The key is getting the image out of the viewfinder and into a shared space.
Step 4: Block Your Subjects’ Movements Before the Camera Rolls
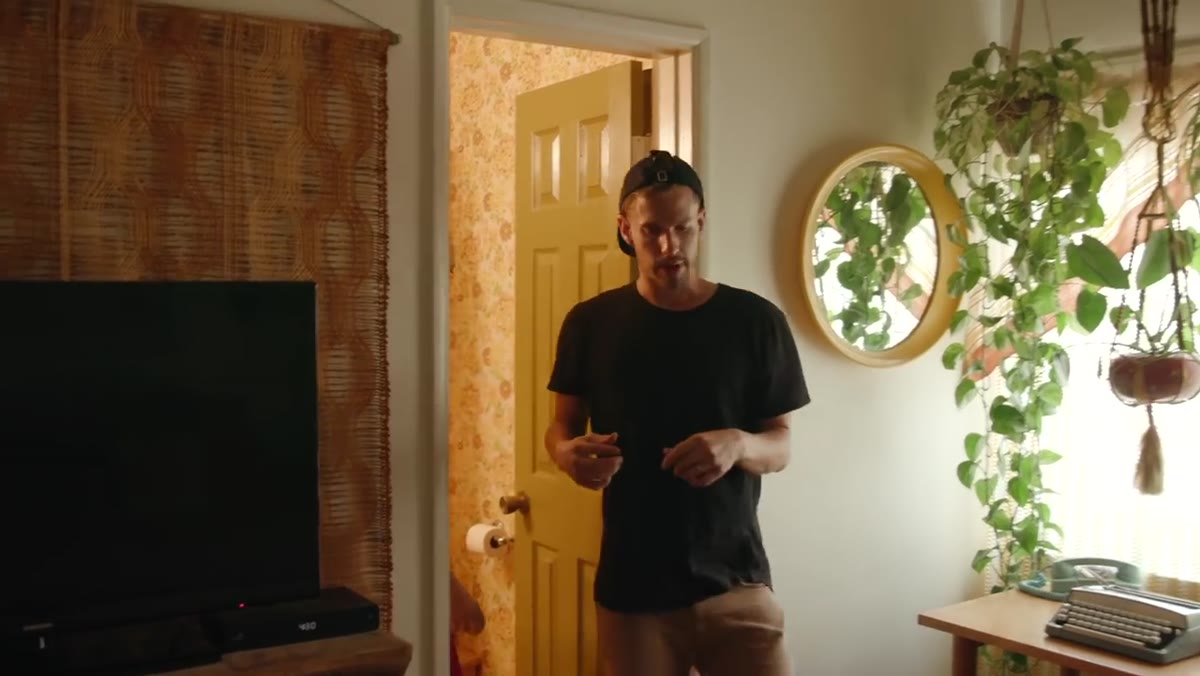 Director physically walking through the blocking path for the artist
One of the most instructive moments in the whole video is when the director physically walks through a shot before filming it. He moves through the space himself, describing out loud where the subject should walk, where the camera will be, and how the timing between two people moving through frame needs to work. This is called blocking, and it’s not just a film concept.
In portrait and lifestyle photography, doing a “dry run” of a posed or moving shot saves you from burning frames on a setup that isn’t working yet. Walk your subject through the motion once without shooting. Identify where the light falls on them at each point in the movement. Figure out where you need to be standing. Then shoot. You’ll get cleaner results on the first real take because everyone in the frame already knows what they’re doing.
Step 5: Manage Eyelines and Subject Positioning With Clear Verbal Cues
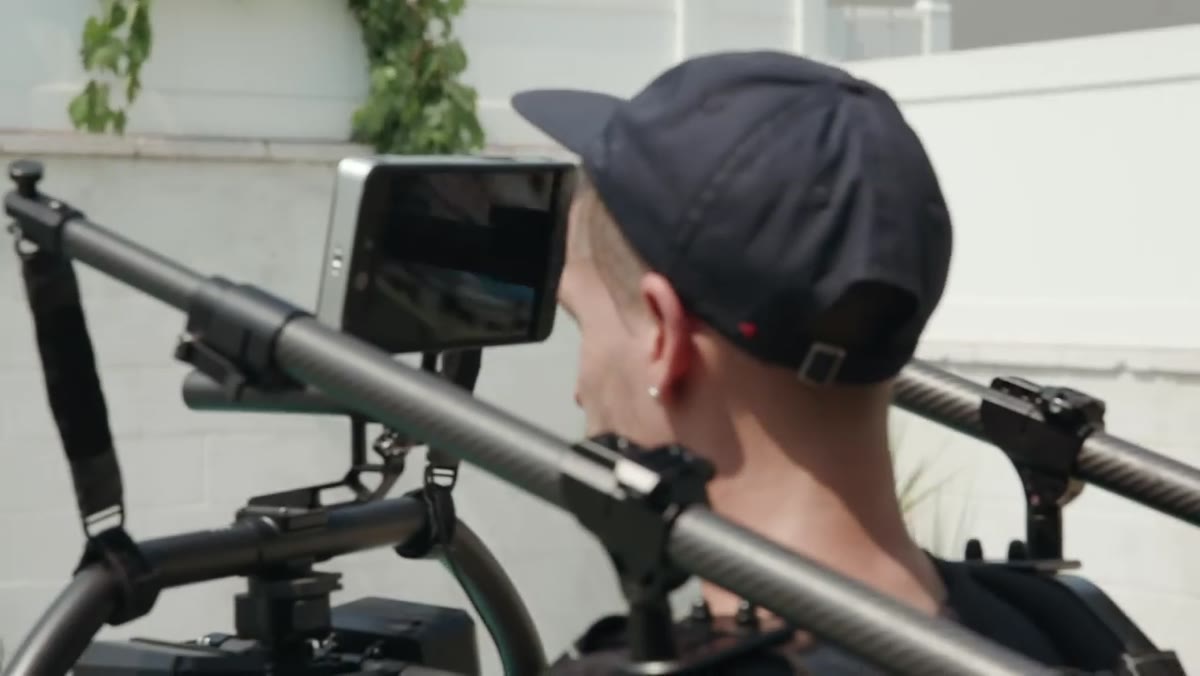 Director giving precise verbal direction to subject about movement and position
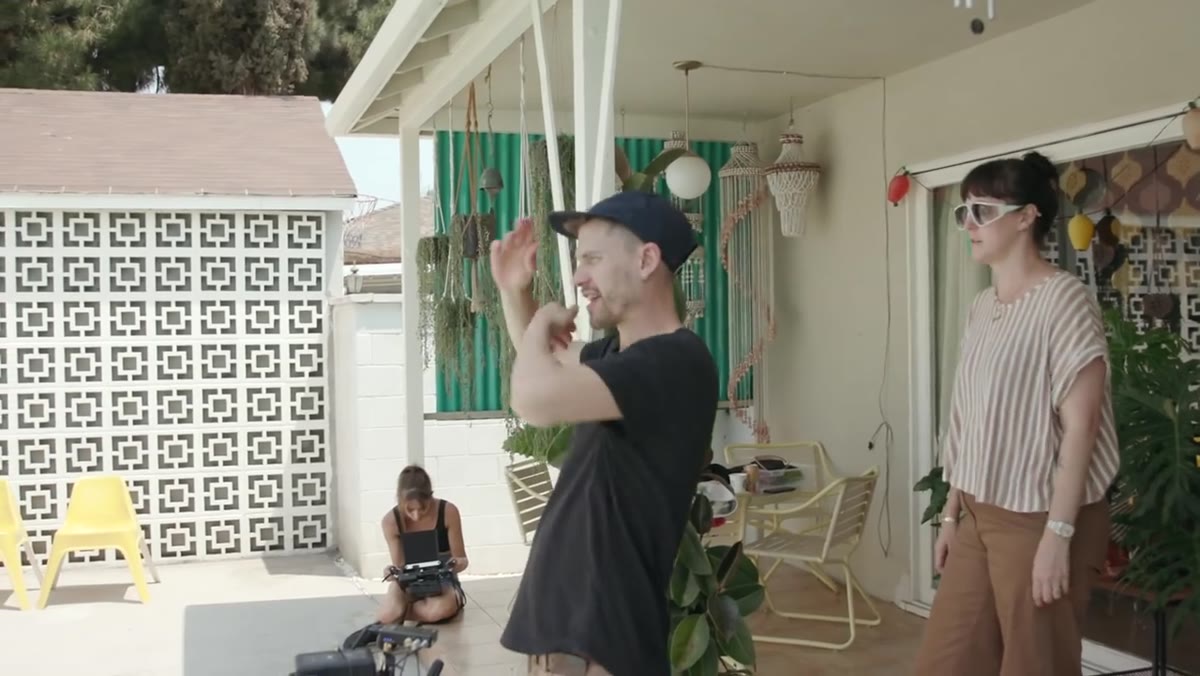
Throughout the shoot, the director gives very specific directional instructions. Not “move a little to the left” but something more like “grab your drink and walk to your left.” That precision removes ambiguity for the subject and keeps everyone’s energy focused. Vague direction creates hesitation, and hesitation shows up in photos.
When I’m directing a portrait session, I’ve trained myself to give cues in three parts: the action, the direction, and the reason. “Turn your chin toward the window so the light catches your jawline.” It sounds simple, but subjects relax when they understand the why behind a direction. They feel like collaborators rather than mannequins being repositioned.
Step 6: Embrace the Unexpected Take
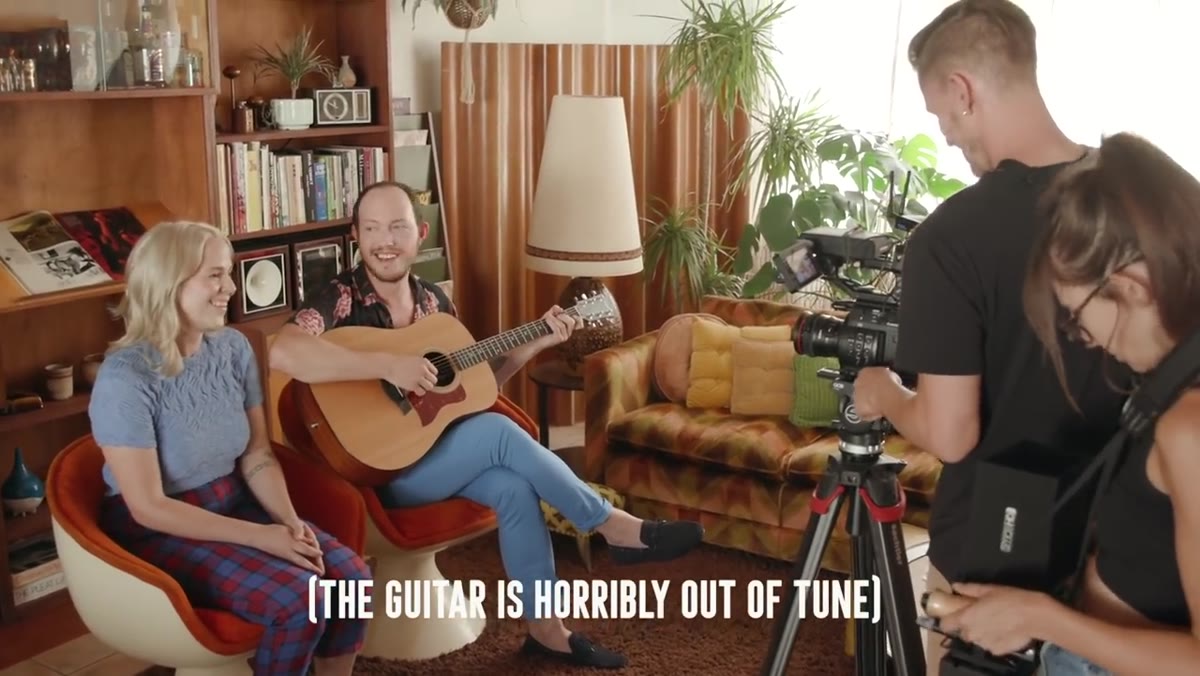 Laughter breaking out mid-take on set between performer and crew
There are multiple moments in this video where takes end in laughter or minor mistakes, and the tone on set stays warm. Nobody freezes up or gets frustrated. The director calls another take and the energy resets. This is a deliberate choice, not just good vibes. A tense set produces stiff, guarded performances. A set where people feel safe to mess up produces natural, expressive ones.
Build this into how you work. When a moment falls apart, name it and move on. “That was great, let’s go again.” That small acknowledgment keeps momentum alive and signals to your subject that you’re not rattled. Calm is contagious on a shoot.
What I’d Add From My Own Experience
I want to put a word in for the value of music on set. I’ve been making playlists for different shooting moods for years now, and I genuinely believe the right background music changes how people hold themselves in front of the camera. Mango Street is literally shooting a music video, so the artist’s track is playing on set throughout. But even on a standard portrait session, a playlist that matches the mood you’re going for gives your subject something to feel rather than something to perform. Try it on your next session and pay attention to what happens when the tempo changes.
The single most important thing this video reinforced for me is that great images come from prepared sets. Not from luck, not from expensive gear, not from waiting for a perfect moment to appear. Prepare your schedule, scout your locations, block your movements, and stay calm when things shift. The camera part is actually the easy part.
Watch the full tutorial on YouTube to see all of these techniques in action across both days of the shoot.
Comments
Leave a Comment