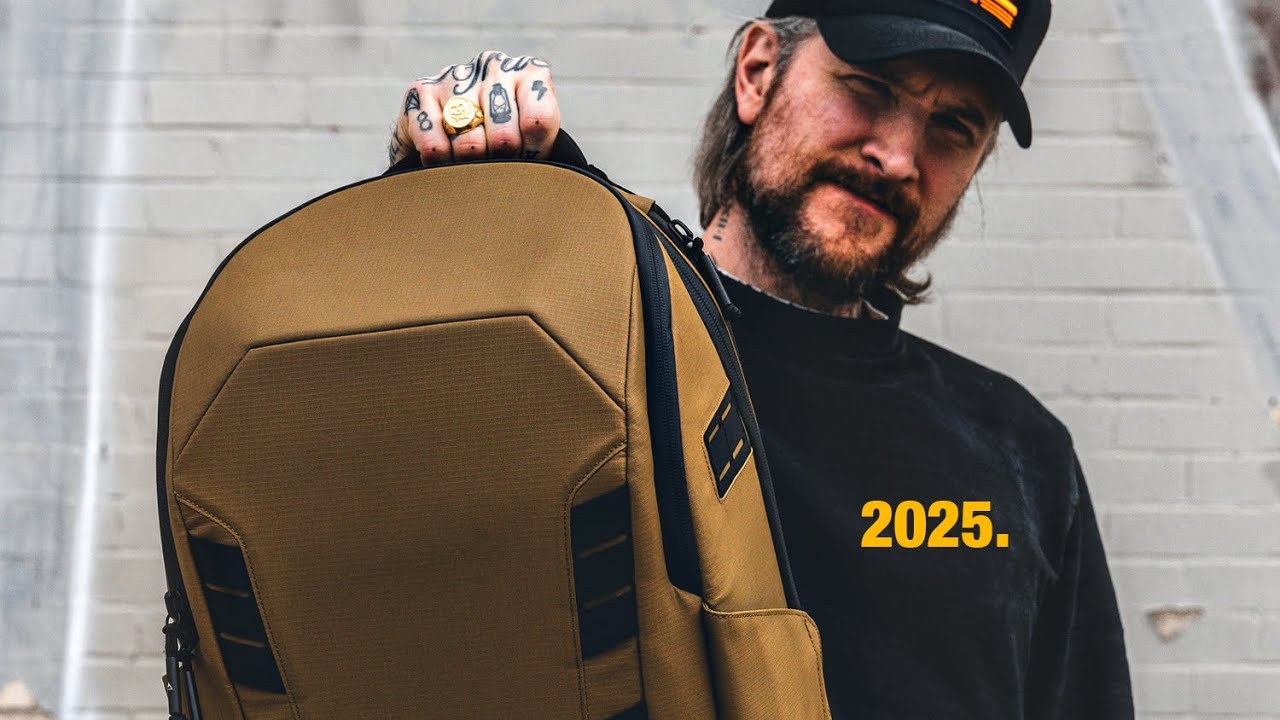
Every time I repack my bag before a trip, I second-guess myself. Do I need the second lens? Is the tripod worth the weight? I’ve overpacked for a weekend in Portland and underpacked for a two-week shoot in Iceland (yes, I learned this the hard way). So when I sat down with Peter McKinnon’s 2025 travel camera bag breakdown, I wasn’t looking for a shopping list. I was looking for the reasoning behind the choices, and that’s exactly what this video delivers.
In this Peter McKinnon tutorial, the setup gets explained against a genuinely chaotic backdrop: a planned trip to the Faroe Islands that never actually happened. His flight from Toronto connected through Iceland, only for the onward leg to get cancelled due to high winds. The whole crew turned around and flew home the same day. It’s a good reminder that travel photography rarely goes according to plan, and the best bag is the one that keeps you ready when plans fall apart. Watch the full tutorial on YouTube
What I love about his approach is that it strips the gear conversation down to function. Not what’s impressive, but what actually gets used. Here’s how he breaks it down.
Step 1: Choose a Bag That Fits Your Real-World Usage
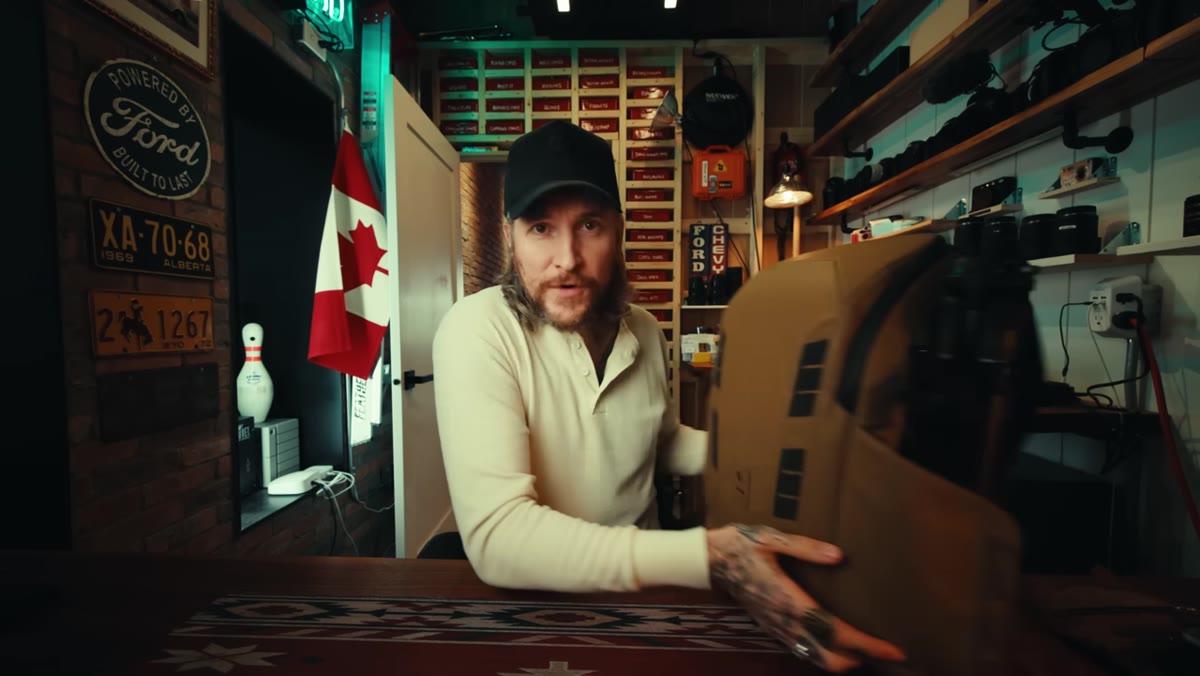
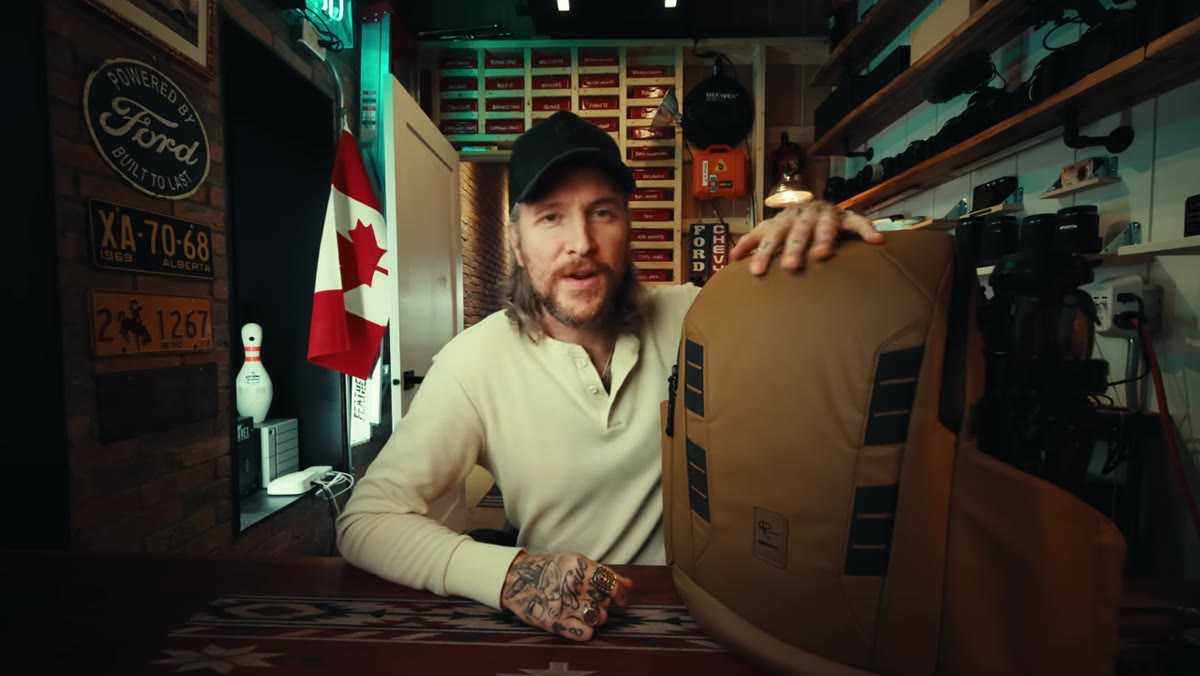 Peter holding the 25L Nomadic everyday camera bag
McKinnon leads with the bag itself: a 25-liter everyday camera bag from his own line, which he calls his most-used piece of kit. The key word there is “most-used.” Not most expensive. Not most feature-packed. The bag you grab every time you leave the house is the one that should get the most thought.
Peter holding the 25L Nomadic everyday camera bag
McKinnon leads with the bag itself: a 25-liter everyday camera bag from his own line, which he calls his most-used piece of kit. The key word there is “most-used.” Not most expensive. Not most feature-packed. The bag you grab every time you leave the house is the one that should get the most thought.
When you’re evaluating a camera bag, think about the 80% scenario. Where do you actually take it? A 25-liter backpack is a solid middle ground for travel and day shoots because it clears carry-on requirements on most airlines while still holding a full camera system. If you’re shooting locally or doing day hikes, this size gives you room to breathe without becoming a burden.
Step 2: Attach Your Tripod to the Outside
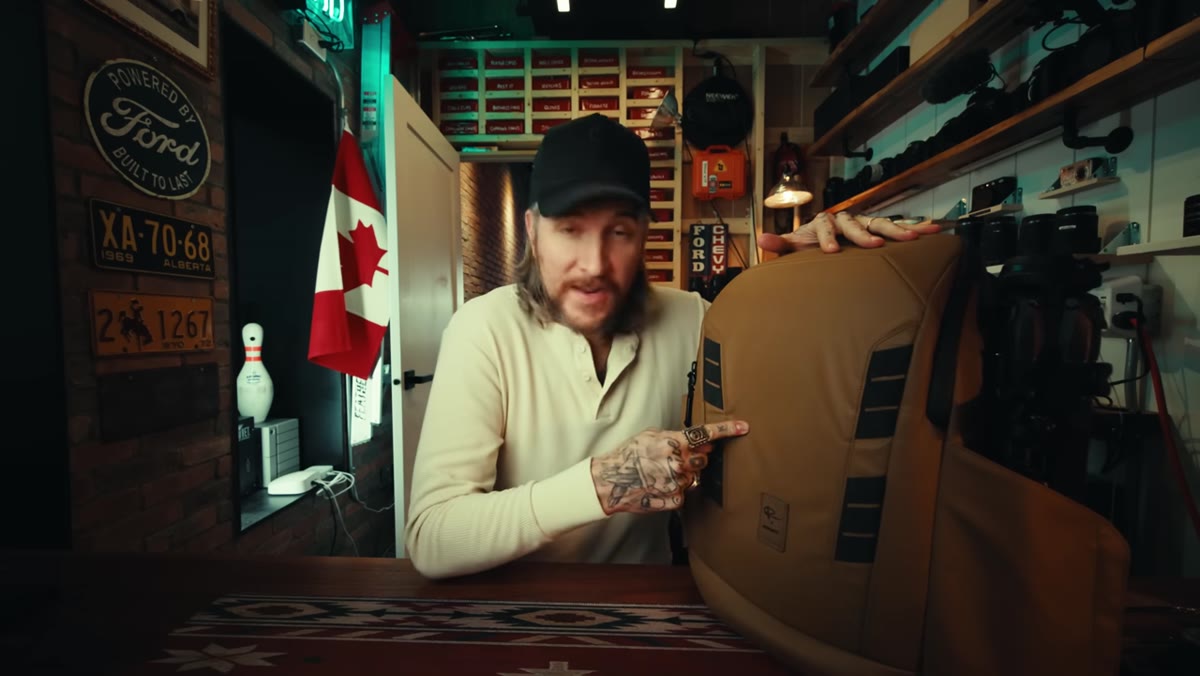
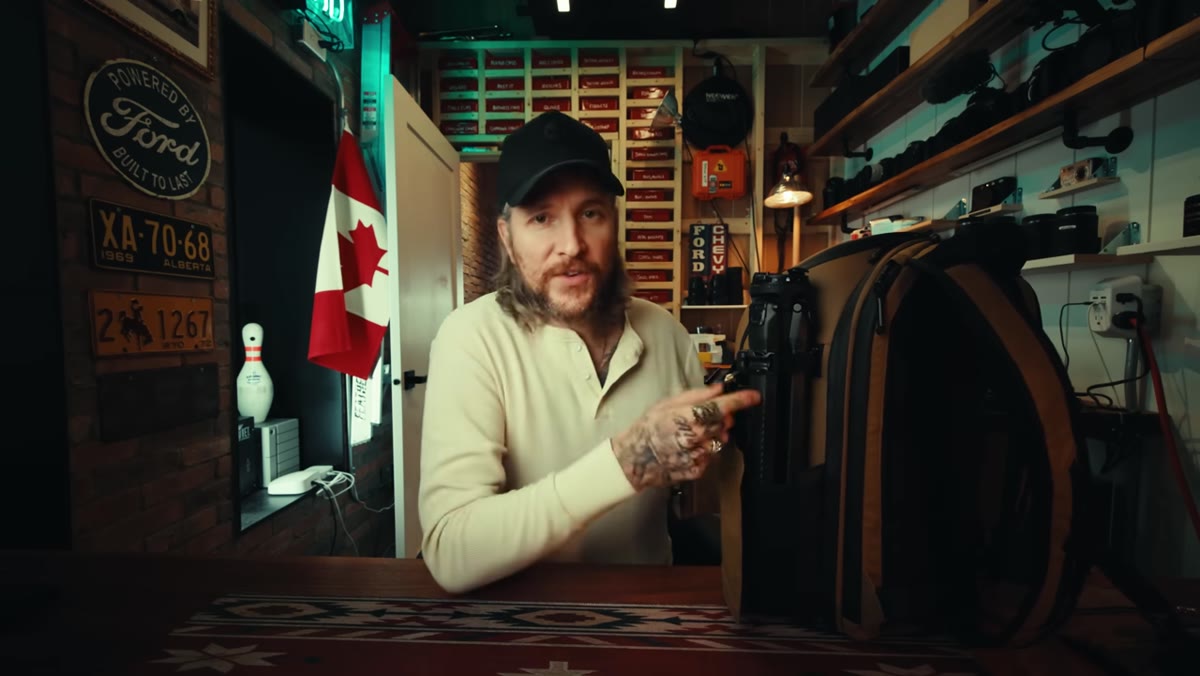 Tripod clipped to the side of the bag with a small mounting clip
One of the most practical decisions McKinnon makes is clipping his tripod to the side of the bag rather than stuffing it inside. He uses a small clip attachment built into the bag for this purpose, keeping the interior space free for camera bodies and lenses.
Tripod clipped to the side of the bag with a small mounting clip
One of the most practical decisions McKinnon makes is clipping his tripod to the side of the bag rather than stuffing it inside. He uses a small clip attachment built into the bag for this purpose, keeping the interior space free for camera bodies and lenses.
This is something I started doing a couple years ago and it genuinely changed how I pack. A tripod inside your bag eats up a disproportionate amount of room and makes accessing everything else annoying. If your bag has external straps or attachment points, use them. If it doesn’t, a basic Velcro loop or carabiner system can work in a pinch. Keep the inside of your bag for things that are fragile or weather-sensitive.
Step 3: Pick a Compact Tripod You’ll Actually Bring
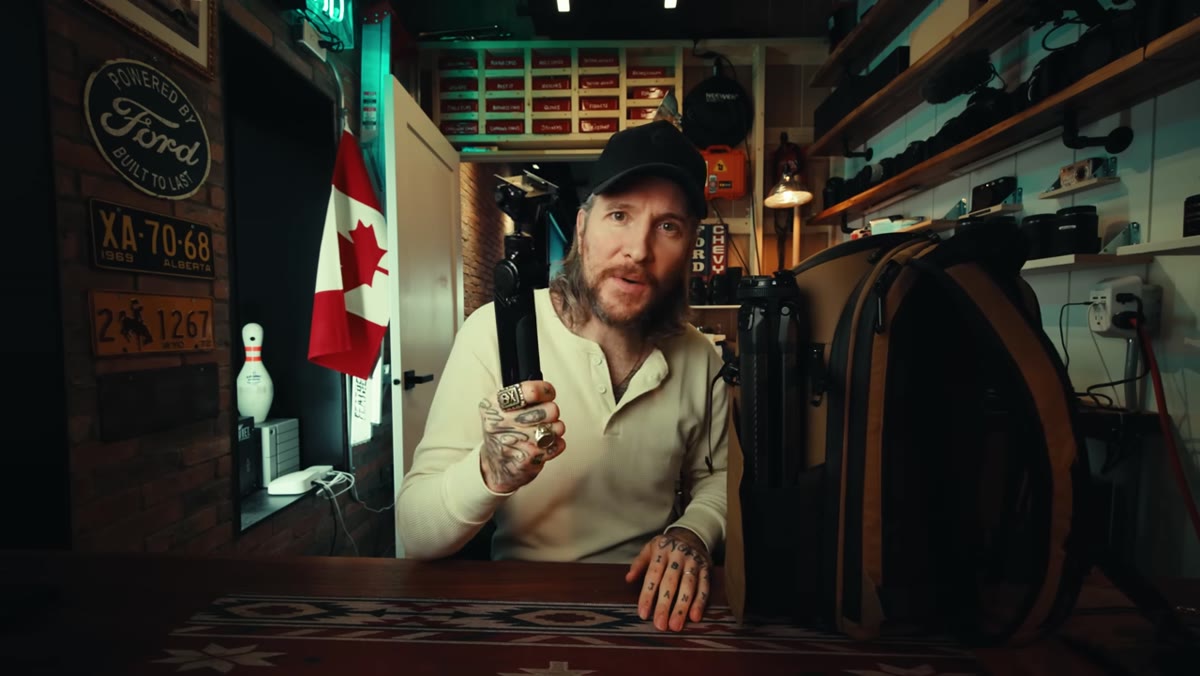 MantisP od tabletop tripod shown folded and unfolded
The tripod McKinnon uses is a compact MantisP od style that he mentions he’s been shooting with for four or five years. It folds flat, opens into a small tabletop configuration, and can also be handheld for vlogging-style shooting. The fact that he’s used the same one for half a decade is the whole argument.
MantisP od tabletop tripod shown folded and unfolded
The tripod McKinnon uses is a compact MantisP od style that he mentions he’s been shooting with for four or five years. It folds flat, opens into a small tabletop configuration, and can also be handheld for vlogging-style shooting. The fact that he’s used the same one for half a decade is the whole argument.
Gear longevity is underrated as a buying criterion. A compact tripod that you actually carry beats a full-size tripod sitting in your trunk. Look for something that shares a quick-release plate standard with your other tripod if you use one, so you’re not swapping plates in the field. McKinnon points out that his MantisP od uses the same plate as his larger tripod, which means one plate stays on the camera and it mounts to either support without fussing.
Step 4: Organize Around Your Primary Shooting Style
 Interior layout of the bag shown from the front
McKinnon shows the interior of his bag as a deliberate layout, not just gear thrown in. The way he describes it, the bag is organized around what he reaches for first and most often. That varies by shooter, but the principle is the same: the thing you pull out at golden hour should not be buried under rain gear and snacks.
Interior layout of the bag shown from the front
McKinnon shows the interior of his bag as a deliberate layout, not just gear thrown in. The way he describes it, the bag is organized around what he reaches for first and most often. That varies by shooter, but the principle is the same: the thing you pull out at golden hour should not be buried under rain gear and snacks.
Think about your last three shoots. What did you grab first? What stayed in the bag the whole time? Build your layout around the honest answer, not the aspirational one. If the 70-200mm never leaves the bag during street photography, stop giving it prime real estate.
Step 5: Embrace Color and Personalization as Functional Choices
 Coyote colorway bag shown against neutral background
McKinnon mentions that his bag was recently launched in a “coyote” colorway and a ranger green, and he clearly has a preference. This might seem like a style note, but there’s a practical layer to it. Bag color affects how visible you are in certain environments, how much heat the bag absorbs in direct sun, and whether you blend in or stand out in crowded areas.
Coyote colorway bag shown against neutral background
McKinnon mentions that his bag was recently launched in a “coyote” colorway and a ranger green, and he clearly has a preference. This might seem like a style note, but there’s a practical layer to it. Bag color affects how visible you are in certain environments, how much heat the bag absorbs in direct sun, and whether you blend in or stand out in crowded areas.
For travel photography specifically, a neutral or earth-toned bag draws less attention than a bright branded pack. This matters in markets, on public transit, and anywhere you’d rather not advertise that you’re carrying thousands of dollars in camera equipment. Coyote and olive tones are genuinely good choices beyond aesthetics.
What I’d Add From My Own Experience
The one thing I always remind students in my workshops: your bag setup should be rebuilt after every trip, not before. After you get home, while the experience is fresh, swap out what you didn’t use and make a note of what you wished you had. I keep a running note on my phone called “bag regrets” that I update after every shoot. It sounds morbid but it’s genuinely the fastest way to dial in a kit that works for your specific style.
McKinnon’s abandoned Faroe Islands trip is also worth sitting with for a second. He packed for a dramatic, remote destination and ended up flying home from Iceland the same day. The bag still had to work. When your location falls apart, your gear still needs to perform wherever you land. That kind of flexibility is what a well-considered kit actually buys you.
The single most important takeaway from this video is this: the best camera bag setup is built around the shoot you actually do, not the shoot you’re planning. McKinnon’s choices, a mid-size pack, a compact tripod, a functional layout, reflect years of real-world use rather than a spec sheet. That’s the standard worth aiming for.
Watch the full tutorial on YouTube to see the complete bag layout and hear McKinnon walk through his Faroe Islands story in full. It’s worth it for the airport scene alone.
Comments (2)
This is the kind of content that keeps me coming back.
Well explained. I think my audience would really benefit from this — mind if I link to it?
Leave a Comment