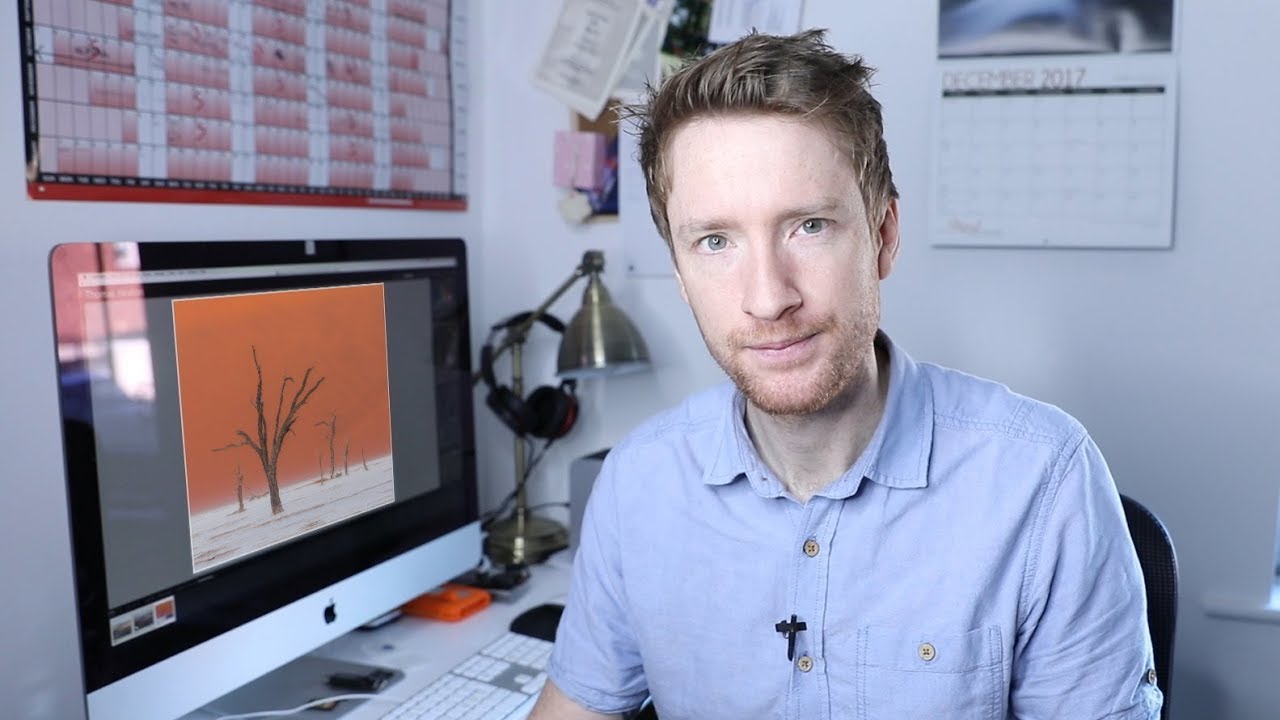
There’s a trap I fell into for years early in my photography practice: the better the shot, the more I felt compelled to edit it. Like somehow a stunning location deserved a dramatic edit to match. I’d crank the saturation, push the contrast, add a heavy preset, and walk away thinking I’d made it better. Spoiler: I hadn’t. I’d just made it louder.
That’s exactly why I keep coming back to this tutorial from Thomas Heaton, where he walks through his processing workflow for a landscape image shot in Deadvlei, Namibia. Watch the full tutorial on YouTube. What makes it so useful isn’t the specific sliders he moves, it’s the reasoning behind every decision. He has a clear philosophy: when you’ve nailed the composition, the light, and the subject, the scene has already done most of the heavy lifting. Editing should serve the image, not override it.
I’ve taught this principle to dozens of beginners, and it never lands until people see it applied to a genuinely beautiful image. Heaton’s Deadvlei shot is that example. It’s soft, minimal, and clean. And the RAW file? Almost there already. Here’s how he gets from capture to finished image.
Step 1: Return to the Moment Before You Touch a Slider
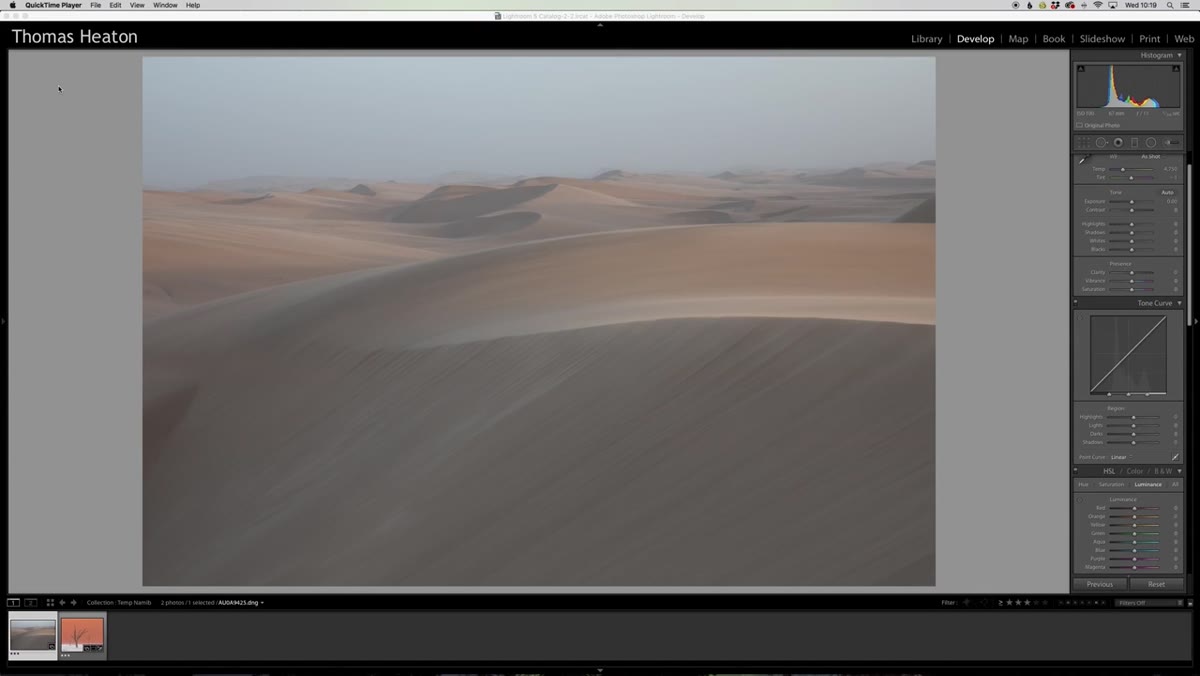 Raw file open in Lightroom, no adjustments applied
Before opening a single panel, Heaton does something that I now consider non-negotiable: he mentally returns to the location. He thinks about how the scene felt, what he saw when he pressed the shutter, and what emotion he was trying to capture. Only after that does he ask himself what he wants to preserve in the final image.
Raw file open in Lightroom, no adjustments applied
Before opening a single panel, Heaton does something that I now consider non-negotiable: he mentally returns to the location. He thinks about how the scene felt, what he saw when he pressed the shutter, and what emotion he was trying to capture. Only after that does he ask himself what he wants to preserve in the final image.
For the Deadvlei shot, his answer is clear. The soft color palette and gentle shadows are the soul of the image. That becomes his editorial compass for every decision that follows. If you don’t set this intention first, you end up making random adjustments and wondering why the final image feels disconnected from what you experienced. Take sixty seconds before editing and write down three words that describe how the image should feel.
Step 2: Correct the Exposure as a Foundation
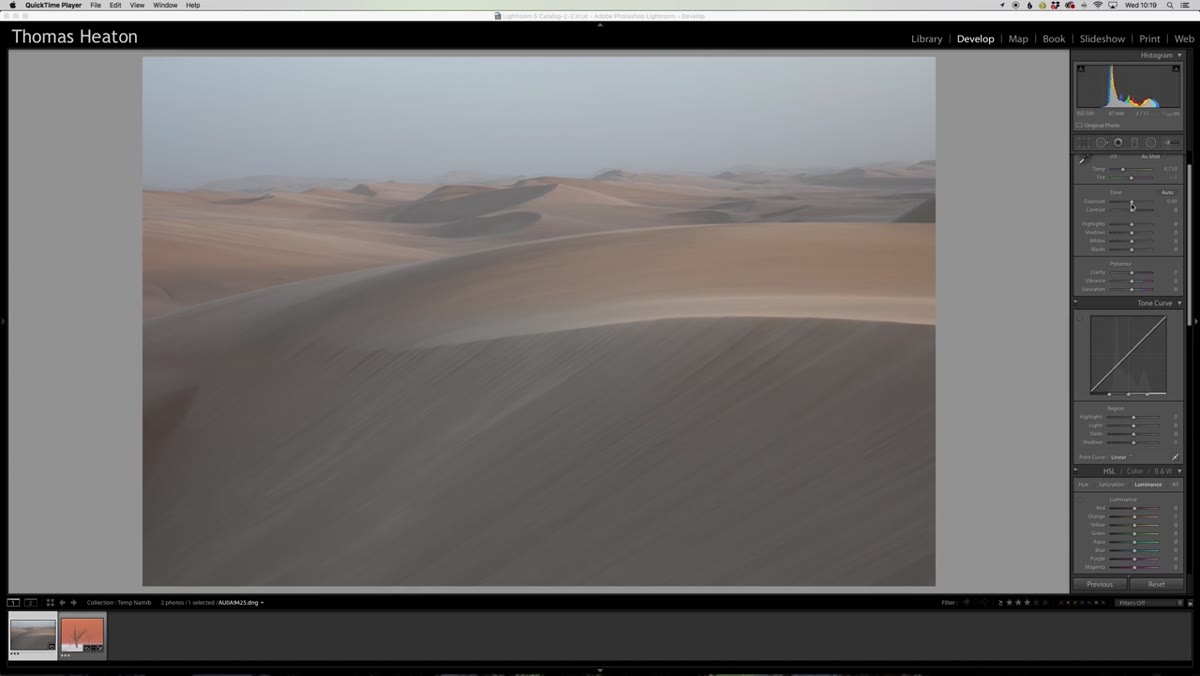 Exposure slider being raised in the Basic panel
The RAW file is slightly underexposed, which is actually pretty common when shooting in tricky desert light. Heaton brings the exposure up by about half a stop. This isn’t a creative choice yet, it’s just restoring what was actually there. Think of it as leveling the floor before you lay any tiles.
Exposure slider being raised in the Basic panel
The RAW file is slightly underexposed, which is actually pretty common when shooting in tricky desert light. Heaton brings the exposure up by about half a stop. This isn’t a creative choice yet, it’s just restoring what was actually there. Think of it as leveling the floor before you lay any tiles.
This is a good habit to build: separate your corrective adjustments from your creative ones. Corrective moves fix problems. Creative moves shape mood. Treating them as the same thing is what leads to overcooked edits. Get the exposure honest first, then make it beautiful.
Step 3: Set Your White Point and Black Point
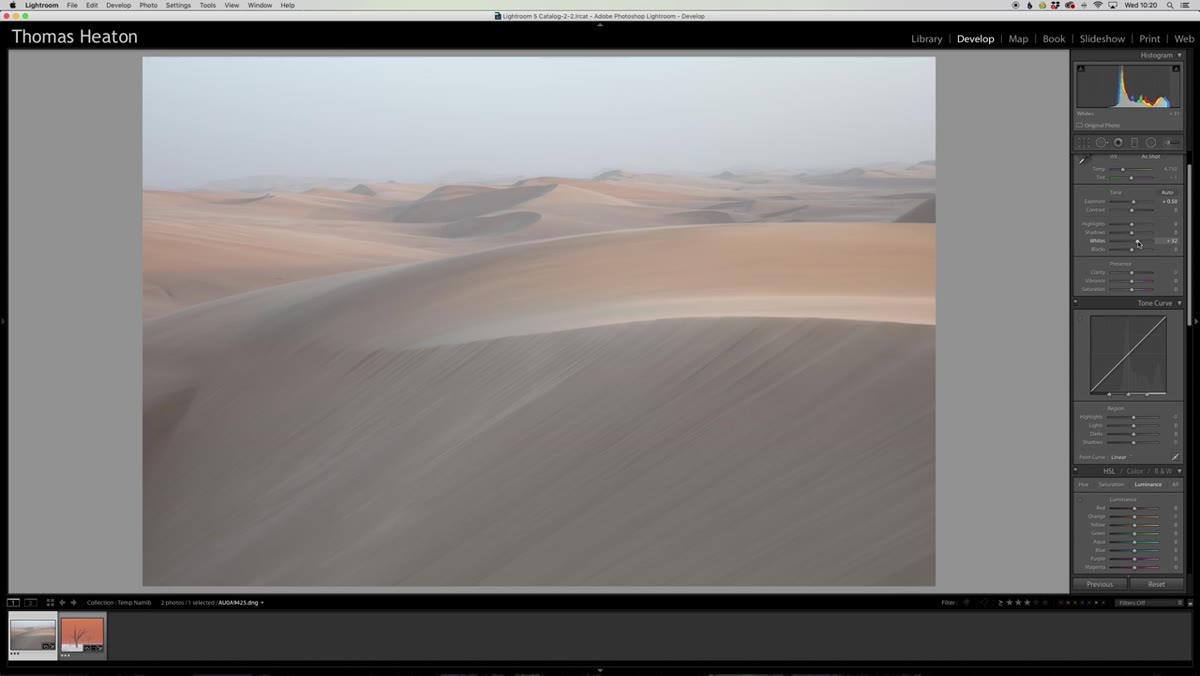 Whites slider being adjusted in the Basic panel
Once exposure is dialed in, Heaton sets the whites and blacks to establish the tonal range of the image. He brings the whites up to brighten the image naturally, then holds the Alt key (Option on Mac) while dragging the blacks slider down to check the black point visually. This technique shows you exactly where clipping begins, so you don’t blow out your shadows accidentally.
Whites slider being adjusted in the Basic panel
Once exposure is dialed in, Heaton sets the whites and blacks to establish the tonal range of the image. He brings the whites up to brighten the image naturally, then holds the Alt key (Option on Mac) while dragging the blacks slider down to check the black point visually. This technique shows you exactly where clipping begins, so you don’t blow out your shadows accidentally.
The key thing to watch here is restraint. Because this image is soft by nature, he doesn’t push the blacks far. A clipped black point would kill the gentle, airy quality he’s trying to protect. The goal is contrast that feels earned, not contrast that punches you in the face.
Step 4: Add Contrast With the Contrast Slider (Not Just the Tone Curve)
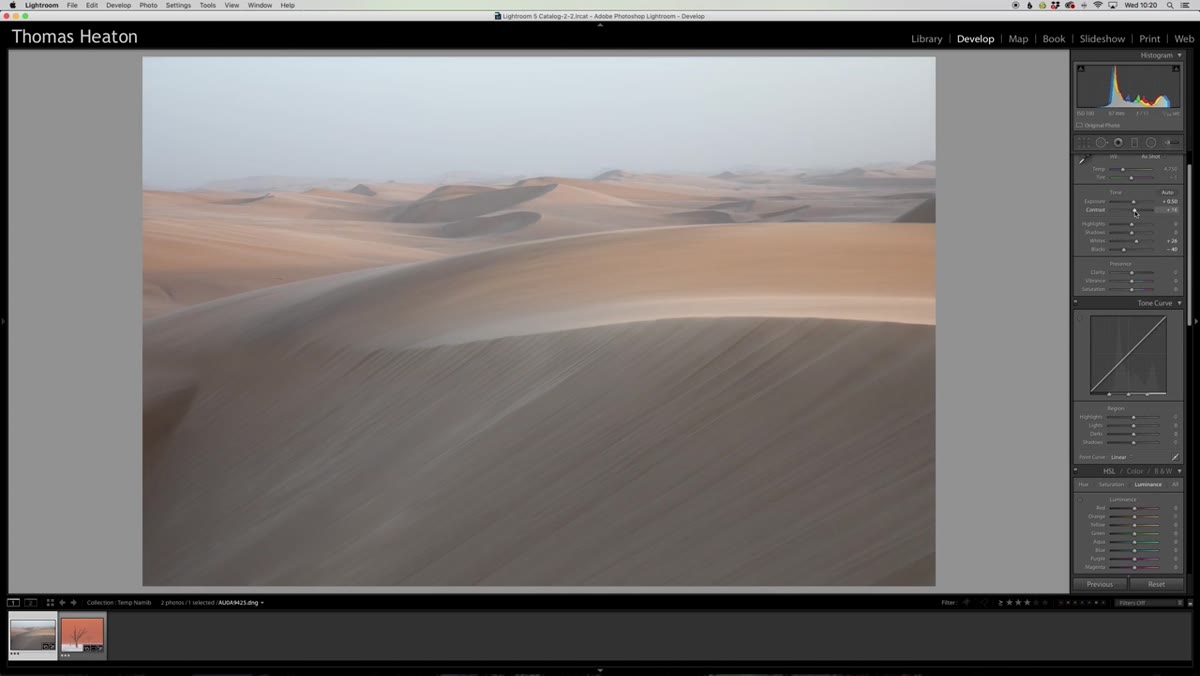 Contrast slider being moved toward +50
After setting the white and black points, Heaton finds he still wants a bit more punch. His tool of choice here is the basic contrast slider, which he brings to around 50. He’s deliberately keeping it simple. The tone curve is a powerful tool, but for an image like this where the goal is gentle enhancement, the contrast slider gets you there without the risk of introducing weird color shifts or midtone problems.
Contrast slider being moved toward +50
After setting the white and black points, Heaton finds he still wants a bit more punch. His tool of choice here is the basic contrast slider, which he brings to around 50. He’s deliberately keeping it simple. The tone curve is a powerful tool, but for an image like this where the goal is gentle enhancement, the contrast slider gets you there without the risk of introducing weird color shifts or midtone problems.
A lot of photographers skip the contrast slider because it feels basic. But sometimes basic is the right call. Not every image needs a hand-crafted S-curve. Learn when the straightforward option is actually the more skillful choice.
Step 5: Use the Before/After Comparison to Check Your Work
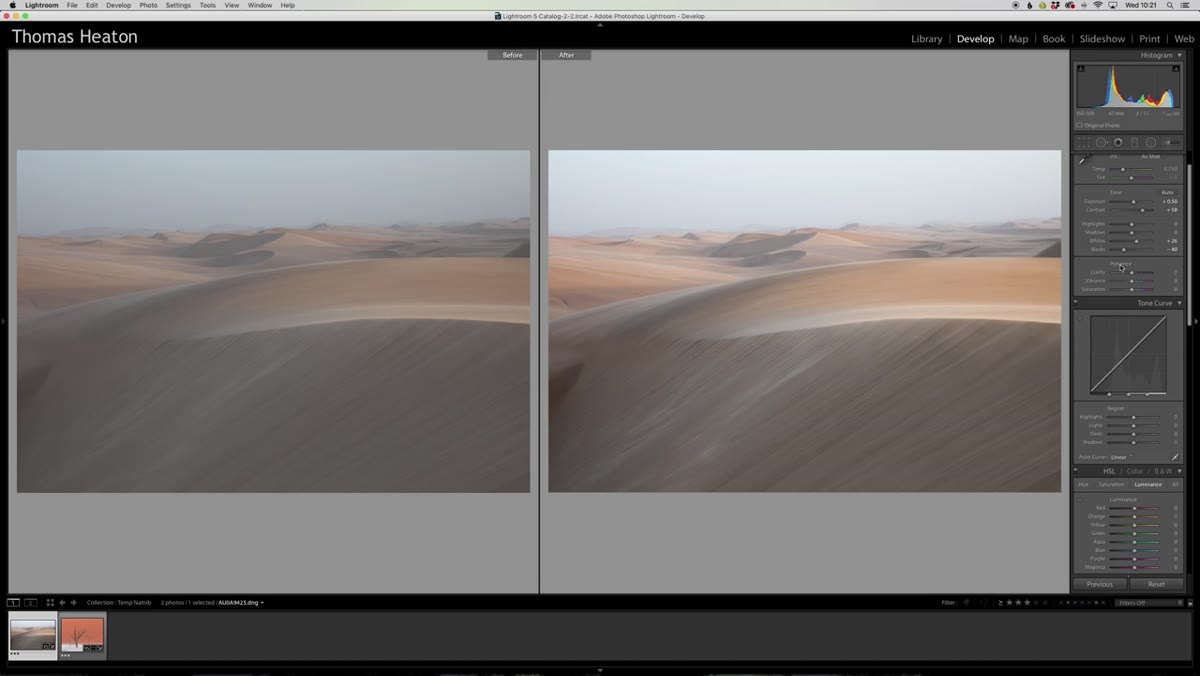 Before and after view displayed side by side in Lightroom
After each meaningful adjustment, Heaton flips between the RAW file and his edited version using Lightroom’s before/after view. This is a reality check, not a final review. He’s asking himself whether the image is moving in the right direction, not whether it’s done.
Before and after view displayed side by side in Lightroom
After each meaningful adjustment, Heaton flips between the RAW file and his edited version using Lightroom’s before/after view. This is a reality check, not a final review. He’s asking himself whether the image is moving in the right direction, not whether it’s done.
I do this constantly during my Sunday morning photo walks, even when reviewing images on my phone later that day. The before/after toggle breaks the spell of your own editing. You get used to looking at your adjustments and stop seeing them clearly. Flipping back to the original resets your eye every time.
One Thing I’d Add to Heaton’s Workflow
The editorial philosophy Heaton demonstrates here is something I’d extend to a step that happens even before you open your editing software: culling with the same intentionality. Most photographers cull based on technical quality alone. Sharp? Keep it. Blurry? Delete. But Heaton’s approach suggests a better question: does this image have the right raw materials for a clean, purposeful edit? Good light, strong composition, and a compelling subject. If even one of those is missing, no amount of editing will fix it.
I started asking this during culling about two years ago, and it cut my editing time in half. When you only process images that deserve to be processed, you stop wasting energy on hopeless files and start giving real attention to the ones that earn it.
The single most important takeaway from this tutorial is one Heaton states plainly and means completely: good conditions do the hardest editing work before you ever open Lightroom. When the light is right and the composition is solid, your job in post is protection, not reconstruction. Protect the mood. Protect the tones. Protect the story the scene already told.
If you want to see his full thought process, including how he assesses and critiques his own finished work, go watch the original video. It’s worth your time.
Watch the full tutorial on YouTube
Comments
Leave a Comment