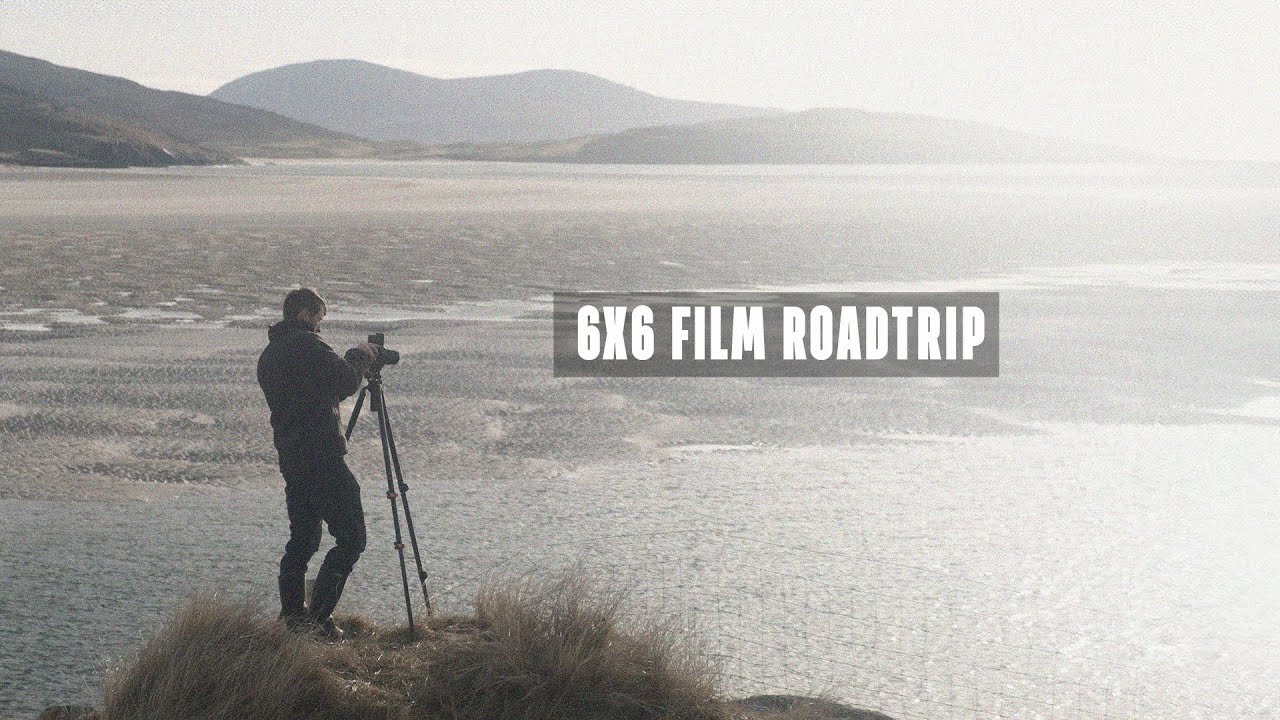
Every film photographer I know has a version of the same story: you drive an hour to a location, set up your camera, and realize you forgot something important. A filter adapter. A cable release. The prism viewfinder you were absolutely certain you packed. What makes the difference between a ruined shoot and a great one isn’t perfect preparation. It’s knowing how to adapt your technique on the fly while still protecting the exposures you only get twelve of per roll.
In this Thomas Heaton tutorial, he takes his Hasselblad 501 CM out on a coastal road trip, shooting Ilford Delta 100 and Kodak Portra 400 across two very different lighting conditions. Watch the full tutorial on YouTube and follow along with the breakdown below. What I love about watching Thomas work is that he doesn’t pretend the session went perfectly. He shoots through the problems, which is exactly the mindset that separates photographers who come home with keepers from those who come home with excuses.
I think about this a lot when I’m shooting in unpredictable conditions. My Sunday photo walks have taught me that gear friction, the forgotten adapter, the dead battery, the wrong film loaded, is not the enemy of good work. Rigidity is. The steps below walk through exactly how Thomas approaches a medium format film shoot in the field, and what you can take away even if you’re shooting a crop sensor DSLR or, yes, a phone.
Step 1: Choose Your Film Stock Intentionally for the Light You Expect
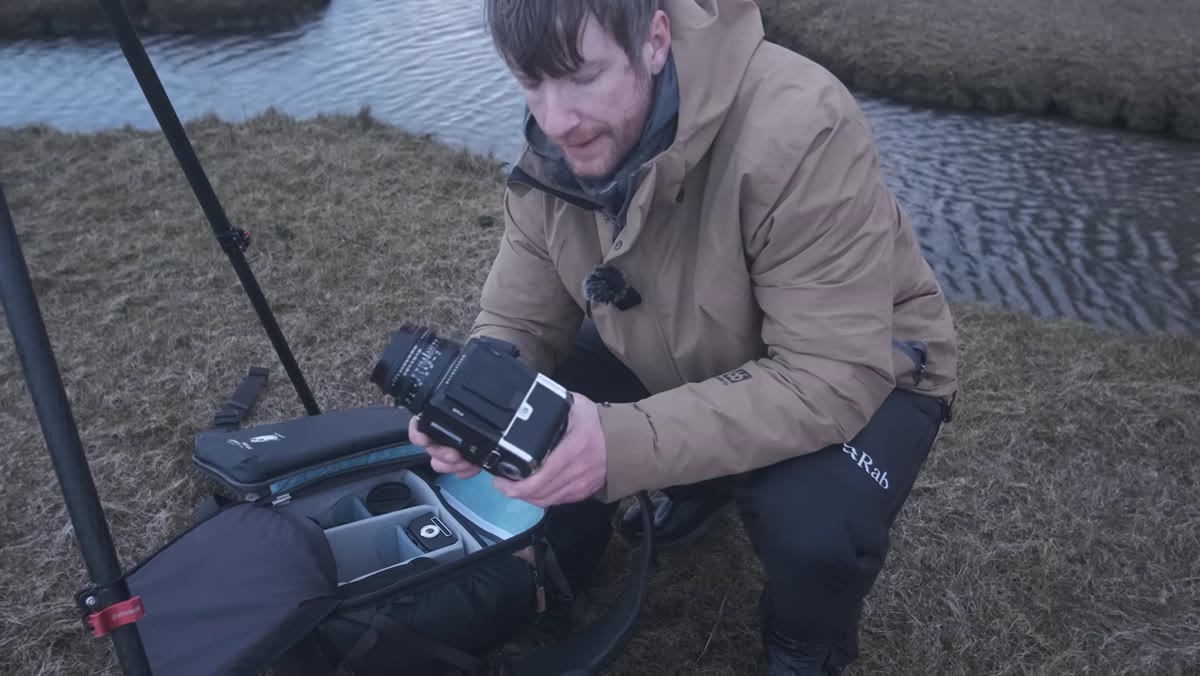 Hasselblad 501CM with two film backs loaded with different stocks
Thomas heads out with two film backs already loaded: one with Portra 400 and one with Ilford Delta 100. This isn’t an accident. Portra 400 is a color negative film that handles mixed and flat light beautifully, with latitude to spare. Delta 100 is a fine-grain black and white film that rewards high contrast, dramatic scenes with rich tonal separation. He assigns each stock to the conditions he anticipates.
Hasselblad 501CM with two film backs loaded with different stocks
Thomas heads out with two film backs already loaded: one with Portra 400 and one with Ilford Delta 100. This isn’t an accident. Portra 400 is a color negative film that handles mixed and flat light beautifully, with latitude to spare. Delta 100 is a fine-grain black and white film that rewards high contrast, dramatic scenes with rich tonal separation. He assigns each stock to the conditions he anticipates.
If you’re shooting film, make this decision before you leave home. Think about the dominant light quality of your location. Overcast and soft? Faster film with more latitude. Bright and contrasty? Slower, finer-grain film that won’t blow out highlights. With medium format, where each roll gives you around twelve frames, you cannot afford to be vague about this.
Step 2: Work With the Composition the Scene Gives You, Not the One You Planned
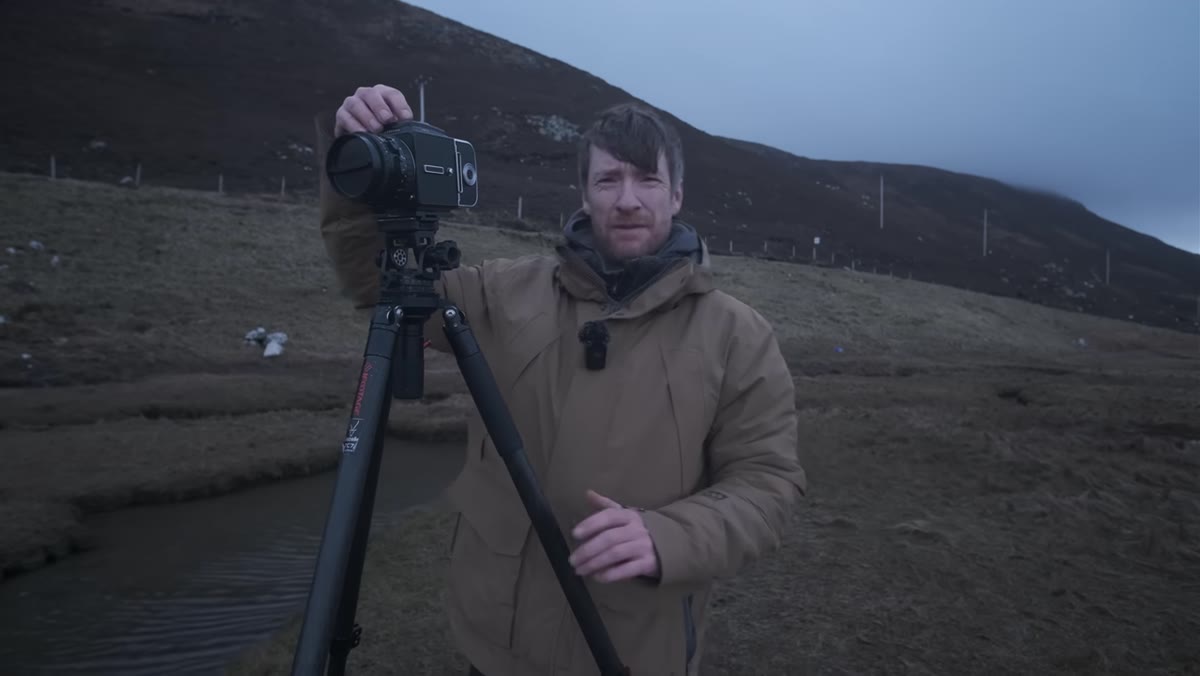 Thomas at waist level with Hasselblad, adjusting composition on salt marshes
Thomas arrives at the salt marshes intending to shoot from as high as possible to capture the waterways below. Then he realizes he left his prism viewfinder behind. The Hasselblad 501 CM uses a waist-level finder by default, which means you look down into it from above. Getting it high above your head for a bird’s-eye perspective is genuinely awkward without the prism attachment.
Thomas at waist level with Hasselblad, adjusting composition on salt marshes
Thomas arrives at the salt marshes intending to shoot from as high as possible to capture the waterways below. Then he realizes he left his prism viewfinder behind. The Hasselblad 501 CM uses a waist-level finder by default, which means you look down into it from above. Getting it high above your head for a bird’s-eye perspective is genuinely awkward without the prism attachment.
His solution is elegant: he drops to waist level, looks through the finder the way it was designed to be used, and discovers the composition actually works well from there. The lesson isn’t “always check your bag.” It’s that your first planned composition is a starting point, not a contract. Spend two minutes at each location shooting from different heights and distances before you commit a frame.
Step 3: Use a Graduated ND Filter to Protect Sky Detail in High-Contrast Scenes
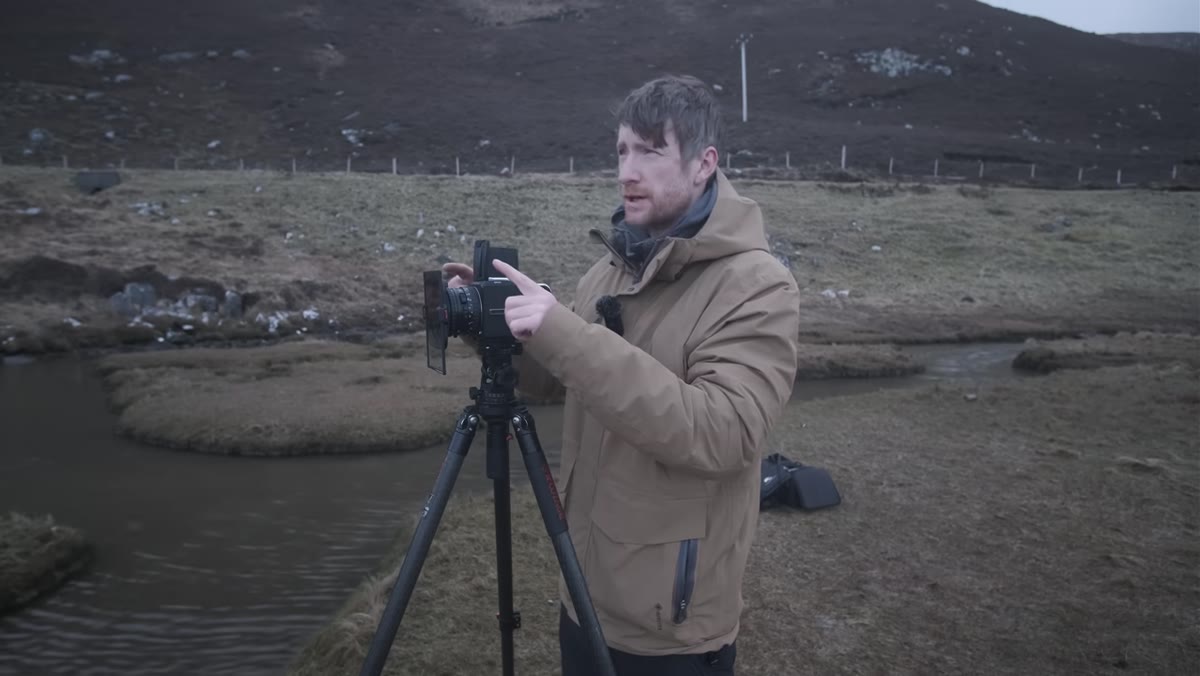 Two-stop soft edge grad filter being placed over Hasselblad lens
Once Thomas settles on his composition over the salt marshes, he adds a two-stop soft edge graduated neutral density filter. The storm clouds pushing in from the sea are visually dramatic, but without pulling the sky exposure down, those highlights would blow out on film and the cloud detail would disappear entirely.
Two-stop soft edge grad filter being placed over Hasselblad lens
Once Thomas settles on his composition over the salt marshes, he adds a two-stop soft edge graduated neutral density filter. The storm clouds pushing in from the sea are visually dramatic, but without pulling the sky exposure down, those highlights would blow out on film and the cloud detail would disappear entirely.
A two-stop soft grad is a smart middle-ground choice for scenes where the horizon line isn’t perfectly flat, like coastal areas with dunes or hills breaking into the sky. A hard grad would create a visible line across any foreground element that crosses the horizon. Align the gradient so the transition sits just above where the land meets the sky, and check it by stopping your lens down to shooting aperture so you can actually see the effect.
Step 4: Solve Cable Release Problems Without Skipping Mirror Lock-Up
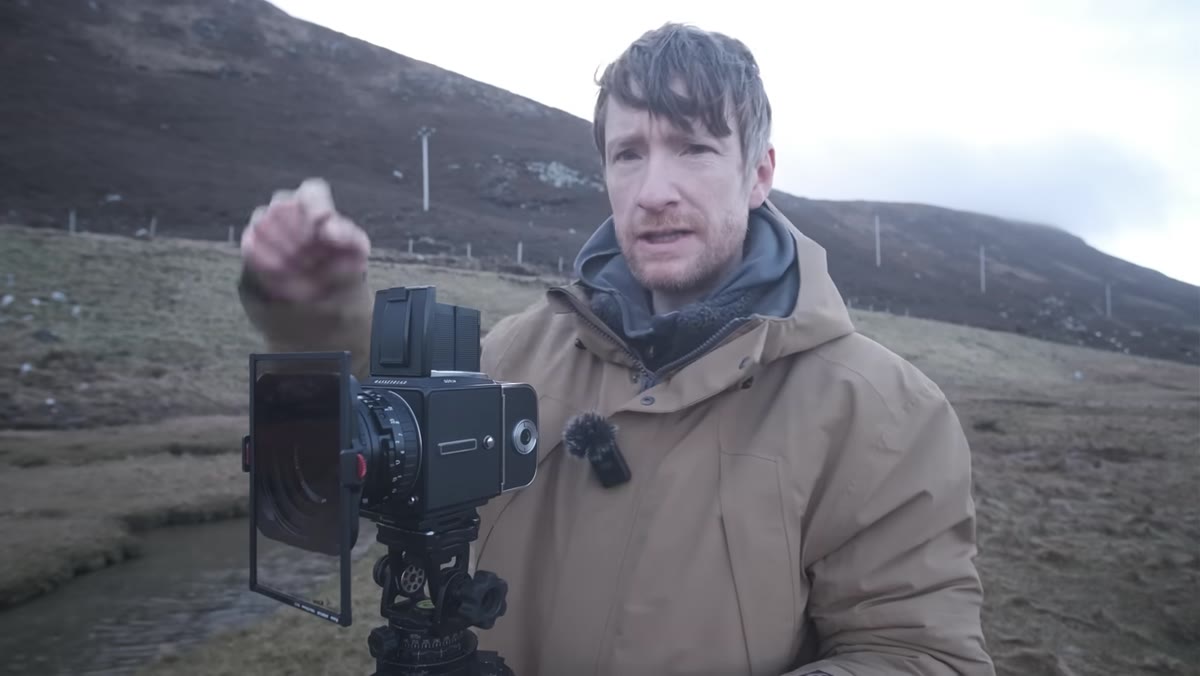 Camera trigger being used instead of cable release with filter in place
Here is where Thomas’s field problem-solving gets genuinely useful. He uses mirror lock-up on the Hasselblad to reduce vibration during the exposure, which is standard practice on a tripod with a slow or critical shot. But the graduated filter physically blocks access to the cable release port, and he doesn’t have a dog-leg adapter to route around it.
Camera trigger being used instead of cable release with filter in place
Here is where Thomas’s field problem-solving gets genuinely useful. He uses mirror lock-up on the Hasselblad to reduce vibration during the exposure, which is standard practice on a tripod with a slow or critical shot. But the graduated filter physically blocks access to the cable release port, and he doesn’t have a dog-leg adapter to route around it.
His workaround is to trigger the shutter with the camera’s built-in release rather than skip mirror lock-up altogether. Mirror lock-up matters more than remote triggering in most situations, because mirror slap introduces blur at a wider range of shutter speeds than the brief vibration of pressing a button on a stable tripod. If you ever find yourself without a cable release, lock up the mirror, wait two seconds after pressing the shutter button, and let the vibration settle before the exposure fires. With an electronic shutter delay setting, many cameras can do this automatically.
Step 5: Shoot the Tide-Washed Beach at First Light for Clean Sand Texture
 Thomas walking toward beach at sunrise under clear blue sky
The following morning Thomas heads down to the beach specifically because the overnight tide has erased all the footprints. This sounds like a small logistical detail, but it is a genuine compositional strategy. A stretch of undisturbed wet sand catches and reflects early light in a way that heavily trafficked sand simply does not. It creates tonal separation between wet and dry areas that becomes a natural leading line or foreground element.
Thomas walking toward beach at sunrise under clear blue sky
The following morning Thomas heads down to the beach specifically because the overnight tide has erased all the footprints. This sounds like a small logistical detail, but it is a genuine compositional strategy. A stretch of undisturbed wet sand catches and reflects early light in a way that heavily trafficked sand simply does not. It creates tonal separation between wet and dry areas that becomes a natural leading line or foreground element.
If you’re shooting coastal landscapes, check tide tables the night before and plan your morning arrival accordingly. High tide followed by a receding tide in the early hours means you’ll have clean sand and interesting wet textures at first light before anyone else arrives.
Step 6: Use a Polarizer to Saturate Color in Hazy Morning Light
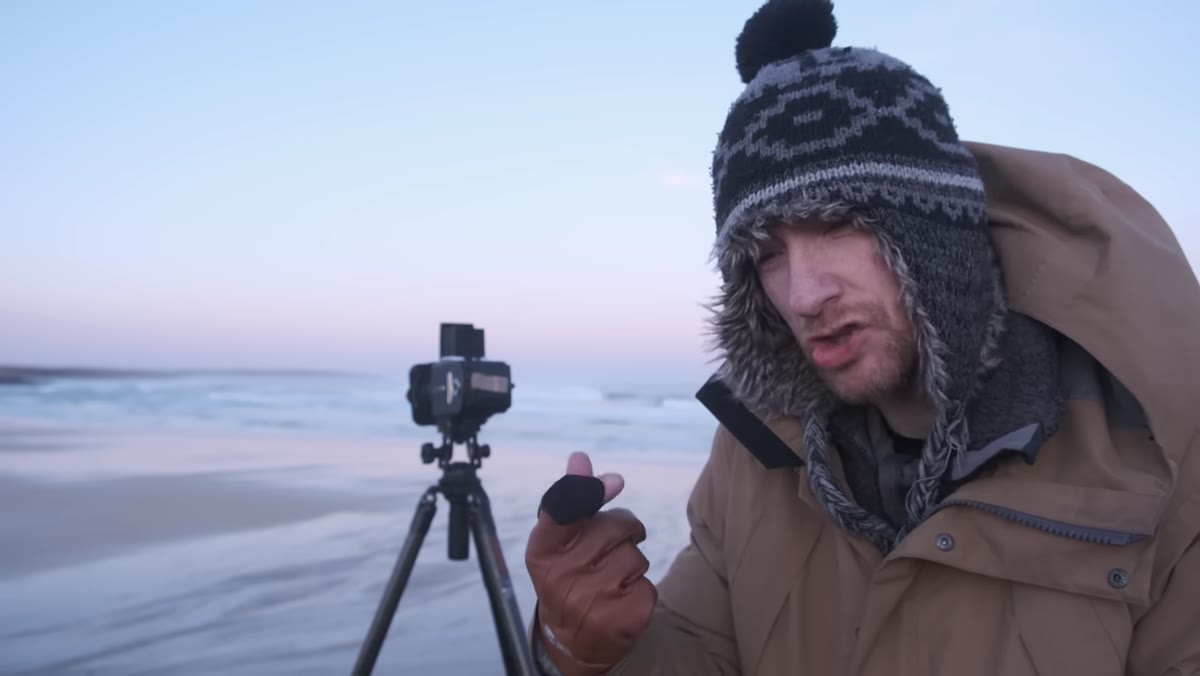 Polarizer filter attached, shooting color composition over beach and cliffs
For the morning beach composition, Thomas switches to the Portra 400 back and adds a polarizer. Clear blue skies and sea haze together create a scene that can look washed-out in color film without some intervention. The polarizer cuts through atmospheric haze and deepens the saturation of both the sand colors and the cliffs receding into the distance.
Polarizer filter attached, shooting color composition over beach and cliffs
For the morning beach composition, Thomas switches to the Portra 400 back and adds a polarizer. Clear blue skies and sea haze together create a scene that can look washed-out in color film without some intervention. The polarizer cuts through atmospheric haze and deepens the saturation of both the sand colors and the cliffs receding into the distance.
Rotate the polarizer slowly while looking through the viewfinder and stop when the colors look richest without looking artificially punchy. On film especially, you want saturation that will hold through the development process. In bright morning light, a polarizer also knocks down about one and a half to two stops of exposure, so factor that into your meter reading before you commit to a setting.
What I’d Add From My Own Experience
There is something Thomas does throughout this shoot that he never explicitly calls out, and I think it is the most transferable habit on display: he narrates his own decisions out loud. He tells us why he’s choosing each filter, why the composition changed, what the film stock will do with that light. This is not just good for YouTube. Photographers who can articulate their choices in the moment make better decisions, full stop.
When I started teaching photography after a stranger at a coffee shop asked me how I’d gotten a particular shot, I realized that most of what separates confident shooters from frustrated ones isn’t knowledge. It’s the habit of asking “why am I making this choice right now?” before pressing the shutter. Try it on your next shoot, even if you’re just muttering to yourself.
The single most important takeaway from this tutorial is that medium format film photography is not about being precious. It’s about disciplined decision-making under real-world constraints. Plan your film stock, work with your composition options, protect your highlights, and solve the gear problems that will inevitably come up. The frames will follow.
Watch the full tutorial on YouTube to see Thomas’s results from both rolls and catch the bonus Portra frames from six months earlier.
Comments (2)
This is going in my reference folder. Incredibly useful.
Printing this out and pinning it next to my monitor. That good.
Leave a Comment