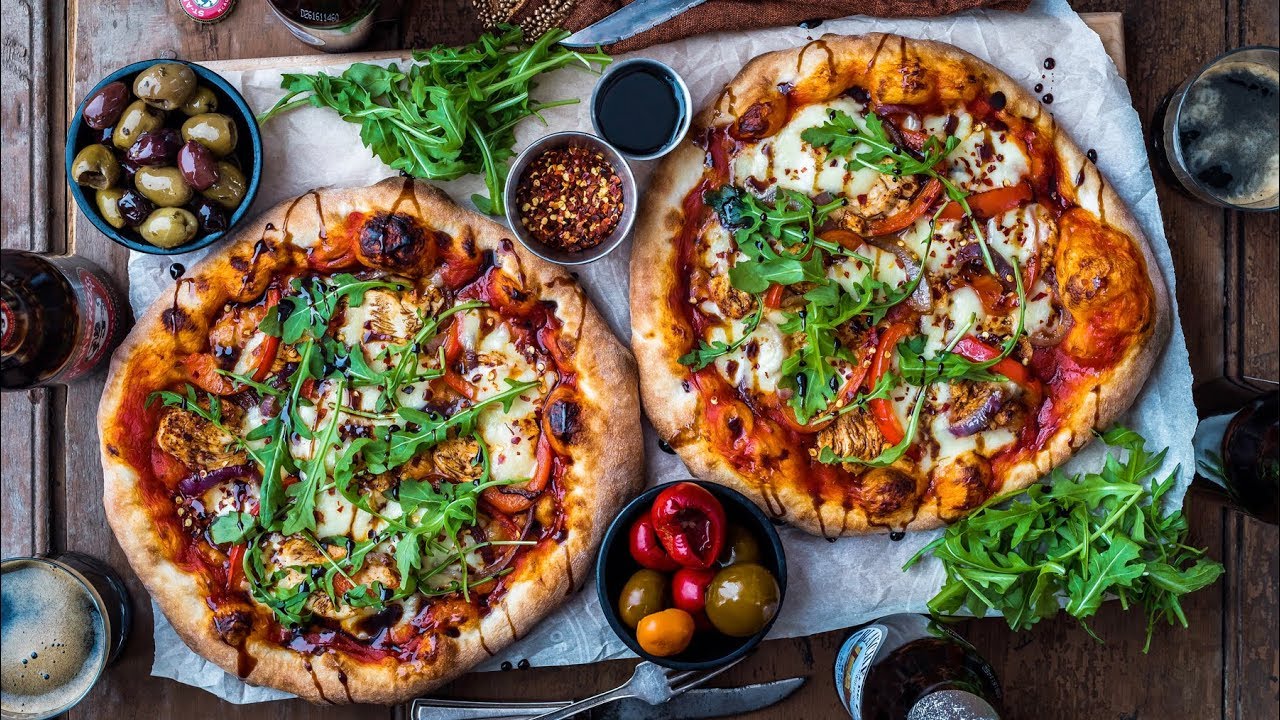
Food photography has always humbled me a little. I can nail a landscape or a candid portrait, but the moment someone puts a beautiful plate in front of me, I freeze. The variables feel endless: the light is wrong, the background is cluttered, the fork looks too shiny. I’ve spent years chasing that effortless, editorial look that food photographers make seem so simple, and mostly I’ve been guessing.
That’s why this Peter McKinnon tutorial stopped me mid-scroll. Watch the full tutorial on YouTube. In it, McKinnon visits the home of a well-known food photographer named Dennis and basically gets a full walkthrough of his entire setup, from how he chooses which room to shoot in, to why his prop collection looks intentionally beat up. It’s the kind of behind-the-scenes access that usually takes years of networking to get.
What struck me most was how deliberate Dennis’s process is. Nothing is accidental. Every surface, every fork, every window treatment is a conscious decision. If you’ve been frustrated that your food photos look flat or sterile compared to accounts you admire, this tutorial explains exactly why, and what to do about it.
Step 1: Stop Assuming Your Kitchen Is the Right Room
 Dennis explaining that shooting location and kitchen aren’t the same
The first thing Dennis tells McKinnon is also the thing most of us get completely wrong. The room you cook in is not necessarily the room you should photograph in. Walk your entire home before you commit to a shooting spot. You’re looking for the best available light, not the most convenient counter space. This one mindset shift can transform your results before you’ve touched a single camera setting.
Dennis explaining that shooting location and kitchen aren’t the same
The first thing Dennis tells McKinnon is also the thing most of us get completely wrong. The room you cook in is not necessarily the room you should photograph in. Walk your entire home before you commit to a shooting spot. You’re looking for the best available light, not the most convenient counter space. This one mindset shift can transform your results before you’ve touched a single camera setting.
Think about your own space. Is there a dining room that gets better morning light than your kitchen? A spare bedroom with a large window? The “right” location changes based on time of day and season, so it’s worth mapping out where good light shows up and when.
Step 2: Prioritize North-Facing Windows
 Large north-facing window Dennis uses as his primary light source
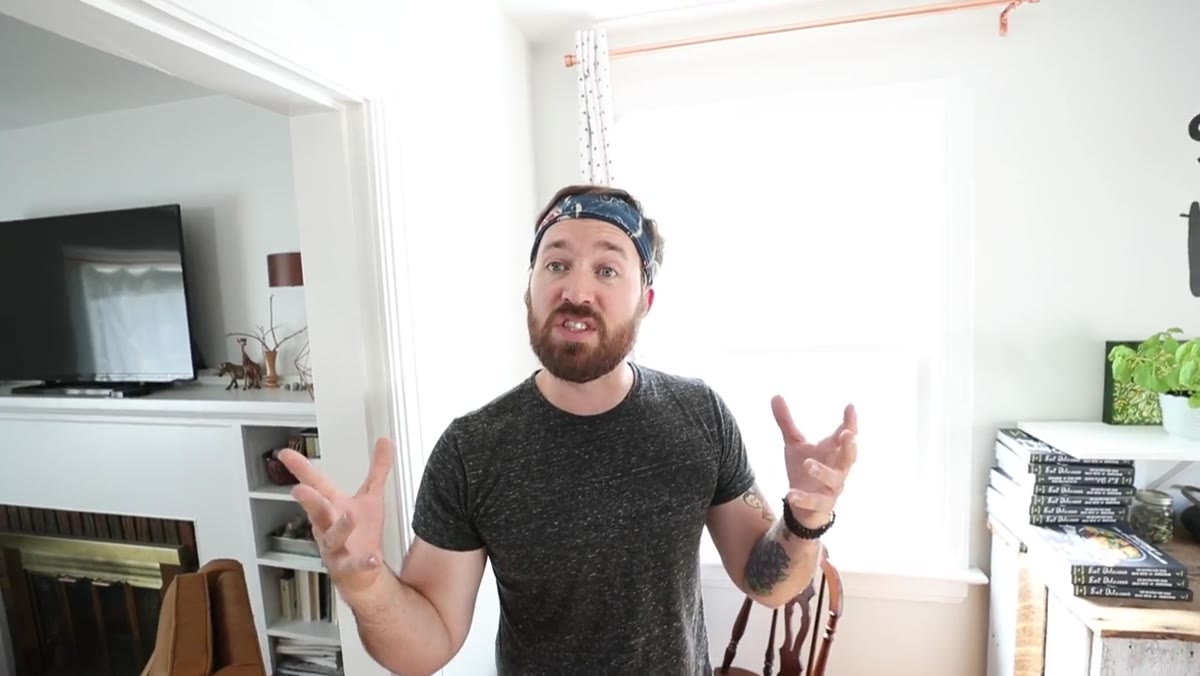
Dennis specifically points to a large north-facing window as his primary light source, and this is not a coincidence. North-facing windows in the northern hemisphere don’t receive direct sunlight throughout the day. That means you get consistent, soft, indirect light for hours, which is the holy grail for food photography. Direct sun blasts your subject with harsh highlights and deep shadows that are nearly impossible to work with.
Large north-facing window Dennis uses as his primary light source
Dennis specifically points to a large north-facing window as his primary light source, and this is not a coincidence. North-facing windows in the northern hemisphere don’t receive direct sunlight throughout the day. That means you get consistent, soft, indirect light for hours, which is the holy grail for food photography. Direct sun blasts your subject with harsh highlights and deep shadows that are nearly impossible to work with.
If your best window happens to face east or west, you can still work with it. Shoot during the hours when the sun isn’t directly hitting the glass, typically mid-morning for east-facing and mid-afternoon for west-facing windows. South-facing windows are the trickiest because they stay bright and direct for most of the day, so they require more diffusion.
Step 3: Diffuse the Light Coming Through That Window
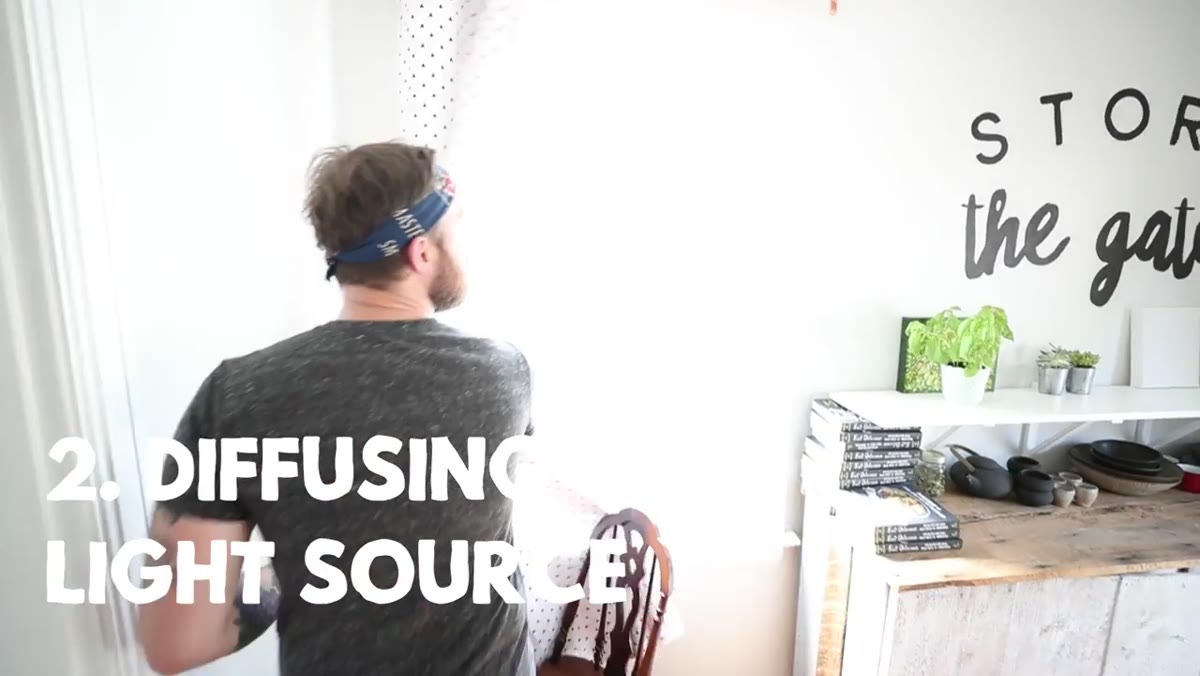 Dennis describing how he diffuses window light for softer results
Even a north-facing window can produce light that’s a bit too bright or slightly directional, especially on overcast days when the clouds shift. Dennis’s solution is simple: diffuse the window. A large piece of white diffusion fabric, a sheer white curtain, or even a white bedsheet hung over the window will scatter the light and make it wrap around your subject more evenly.
Dennis describing how he diffuses window light for softer results
Even a north-facing window can produce light that’s a bit too bright or slightly directional, especially on overcast days when the clouds shift. Dennis’s solution is simple: diffuse the window. A large piece of white diffusion fabric, a sheer white curtain, or even a white bedsheet hung over the window will scatter the light and make it wrap around your subject more evenly.
The goal is soft, even light with gentle shadows that give your food dimension without harsh edges. If you’ve ever noticed that professional food photos seem to glow rather than glare, diffused natural light is almost always the reason. You don’t need expensive gear to pull this off. A trip to a fabric store or even a piece of white foam core propped nearby to bounce light back into the shadows will do real work.
Step 4: Build a Library of Surfaces
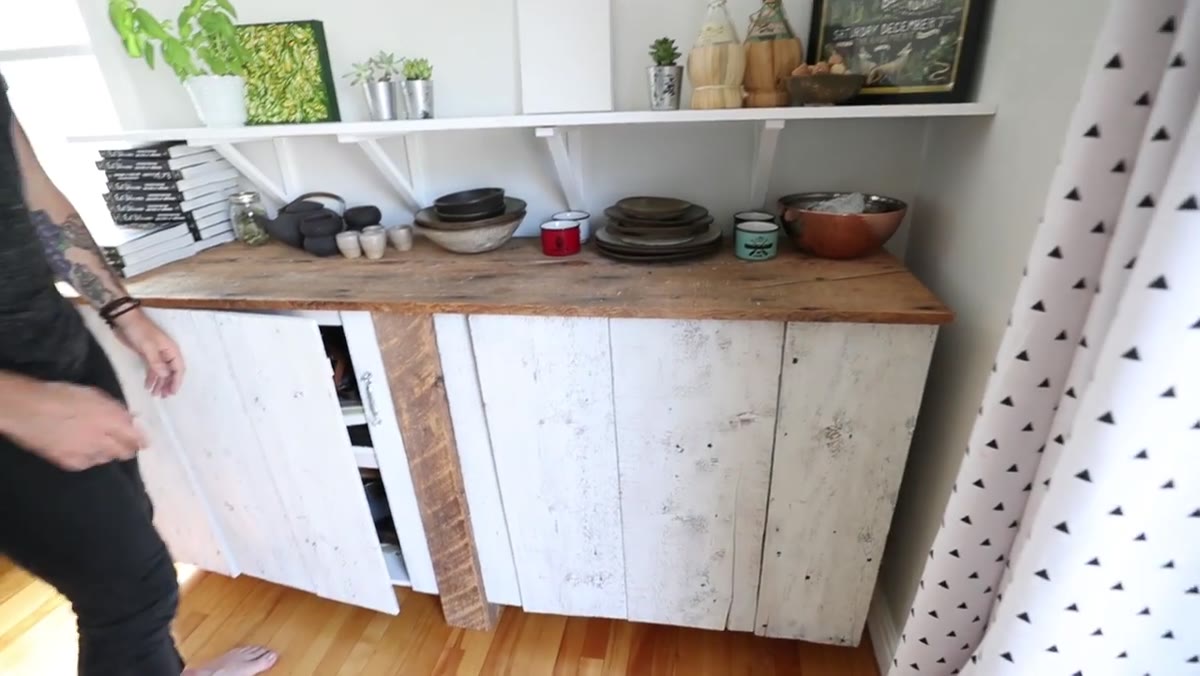
 Dennis describing his basement full of different shooting surfaces
Dennis keeps a collection of shooting surfaces in his basement, and he selects each one based on the specific food he’s photographing that day. This surprised McKinnon too, and it surprised me when I first heard it. Most of us have one or two surfaces and make them work for everything. Dennis treats surfaces the way a painter treats color, as part of the composition.
Dennis describing his basement full of different shooting surfaces
Dennis keeps a collection of shooting surfaces in his basement, and he selects each one based on the specific food he’s photographing that day. This surprised McKinnon too, and it surprised me when I first heard it. Most of us have one or two surfaces and make them work for everything. Dennis treats surfaces the way a painter treats color, as part of the composition.
The key principle he shares is that the surface should complement the colors in the food, not compete with them. A rustic, dark wood surface reads beautifully under a bright bowl of pasta. A marble-look surface suits pastries and light-colored dishes. When the surface and the food are visually harmonious, the whole image feels intentional rather than accidental. Start small: one light surface and one dark one gives you real flexibility without needing a basement full of options.
Step 5: Choose Props That Have History
 Dennis showing tarnished, worn utensils and props from his collection
This step is where a lot of beginner food photographers, myself included for a long time, go wrong. The instinct is to use your nicest plates, your newest silverware, the cleanest cutting board. Dennis says the opposite is true. New, pristine props look sterile in photographs. They pull attention to themselves instead of letting the food be the star.
Dennis showing tarnished, worn utensils and props from his collection
This step is where a lot of beginner food photographers, myself included for a long time, go wrong. The instinct is to use your nicest plates, your newest silverware, the cleanest cutting board. Dennis says the opposite is true. New, pristine props look sterile in photographs. They pull attention to themselves instead of letting the food be the star.
What you want is patina. A fork with slight tarnish, a plate with a tiny chip, a linen napkin that’s been washed a hundred times all communicate warmth, texture, and life in a photograph. They tell a story. Thrift stores and antique shops are genuinely the best places to build a prop collection for food photography. Spend twenty dollars at a secondhand shop and you’ll come home with pieces that photograph better than anything from a department store.
What I’d Add From My Own Experience
The principles Dennis walks through here apply just as well to phone photography as they do to shooting with a full mirrorless kit. I know this because my most-shared food photo was taken with a phone pressed against my kitchen window on a cloudy afternoon. The light was soft and indirect, the background was a dark wood cutting board I’d had for a decade, and the silverware was from a garage sale. It got more engagement than photos I’d spent an hour setting up with a tripod and external lighting.
That’s the thing about natural light and intentional styling: they’re not workarounds for people without gear. They’re legitimate techniques that working professionals build entire careers on. Don’t let the simplicity fool you into thinking it’s beginner stuff. It’s foundational stuff, which is a very different thing.
One practical habit I’d suggest: when you find a spot in your home with great indirect light, photograph it at different times of day and different weather conditions. Make notes. You’ll quickly learn your own “sweet spot” windows, and knowing that in advance means you’re not scrambling to troubleshoot light when you should be focusing on the food.
The single most important takeaway from this tutorial is that great food photography starts long before you pick up a camera. The room, the window, the surface, the props: all of those decisions shape the image, and getting them right means the actual shooting becomes much easier. Light does the heavy lifting when you put yourself in the right position to use it.
Watch the full tutorial on YouTube to see Dennis’s full setup and hear him walk McKinnon through the decisions firsthand. Seeing the space makes everything click in a way that description alone can’t quite capture.
Comments (1)
Just used this on a wedding shoot edit. Client was thrilled.
Leave a Comment