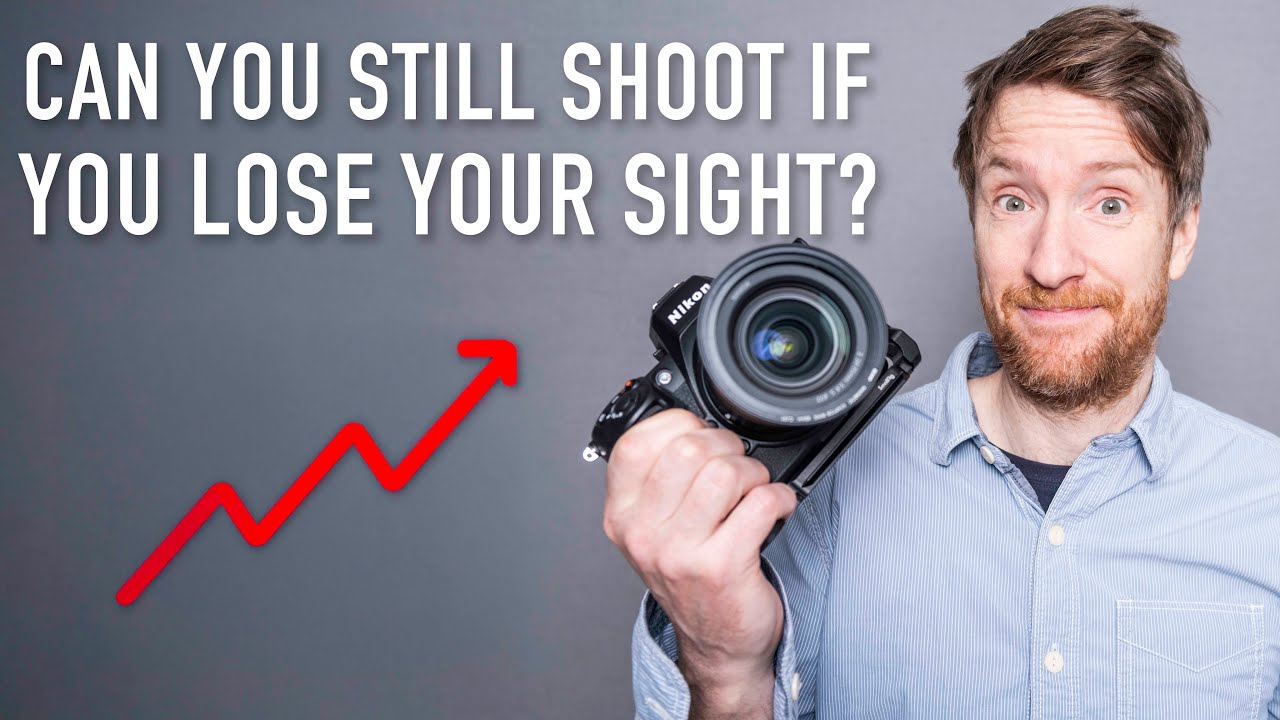
Street photography has always made me a little uncomfortable. There’s something about pointing a camera at strangers in a crowded city that short-circuits my brain, and I end up walking around with a fully charged battery and nothing on the card. So when I came across a Thomas Heaton tutorial where he spends the day doing street photography in Manchester with Gary, a registered-blind photographer who goes by Swirly Magnolia, I stopped scrolling immediately. Watch the full tutorial on YouTube
Gary’s condition damages the optic nerves rather than the lenses of his eyes, which means no pair of glasses can help him. He works almost entirely from peripheral vision in both eyes together, reading scenes through contrast, light, and silhouette rather than fine detail. What struck me watching this is that he photographs exactly the way every beginner photography book tells us we should photograph. He has no choice but to look for light. The rest of us have the luxury of seeing detail and we let it distract us from the actual picture.
What follows is a breakdown of the approach Gary demonstrates, reframed as steps any sighted photographer can practice deliberately. This isn’t about simulating a disability. It’s about borrowing a workflow that strips your eye down to what actually makes a compelling street photograph.
Step 1: Understand What You’re Actually Looking For
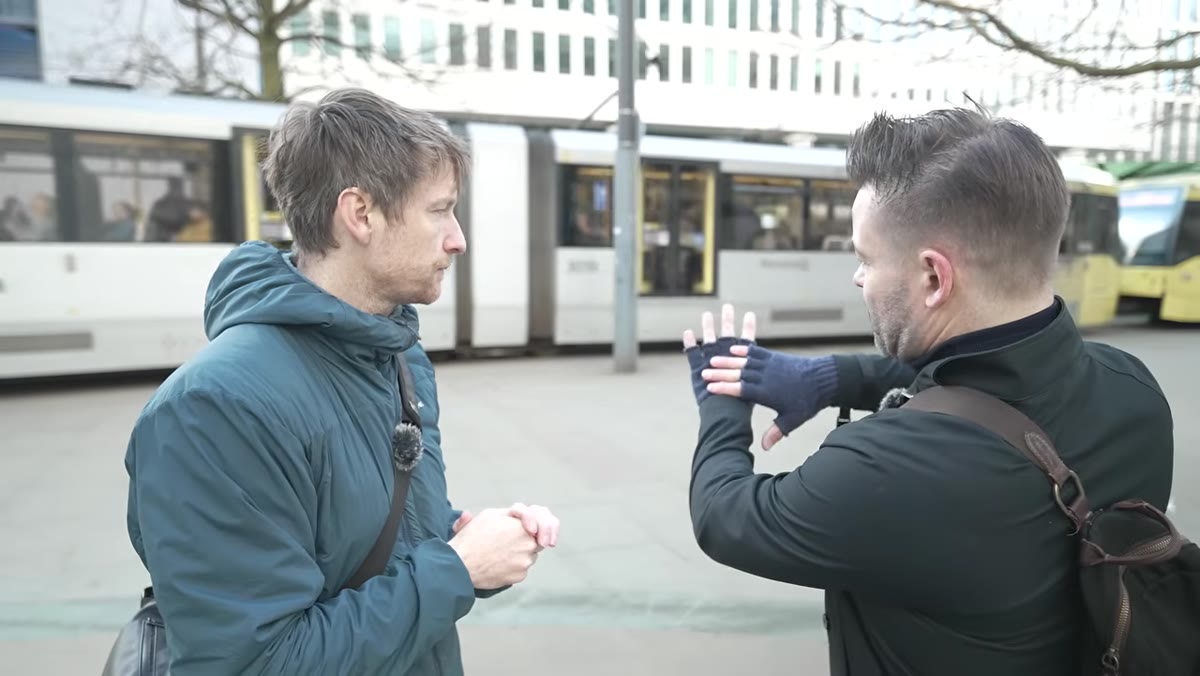 Gary demonstrating contrast by overlapping his fingers against a gray glove
Before Gary picks up his camera, he explains his visual process using his own hands as a demonstration. He overlaps his fingers against a contrasting background, showing how subjects become visible against one tone and disappear against another. The lesson here is that what registers as a photograph is not a person, a building, or a moment. It’s contrast. A dark figure against a bright column. A silhouette in a shaft of side light. If the tones are too similar, the subject vanishes, whether you’re working with limited vision or a fully functional eye.
Gary demonstrating contrast by overlapping his fingers against a gray glove
Before Gary picks up his camera, he explains his visual process using his own hands as a demonstration. He overlaps his fingers against a contrasting background, showing how subjects become visible against one tone and disappear against another. The lesson here is that what registers as a photograph is not a person, a building, or a moment. It’s contrast. A dark figure against a bright column. A silhouette in a shaft of side light. If the tones are too similar, the subject vanishes, whether you’re working with limited vision or a fully functional eye.
Before your next shoot, practice this deliberately. Walk a block and ask yourself, for every scene you consider, where is the lightest area and where is the darkest? Would a figure moving through this frame register as a distinct shape, or would it blend into the background? You’re training your eye to read in terms of graphic separation before you ever bring the camera up.
Step 2: Identify Your Background Before Your Subject
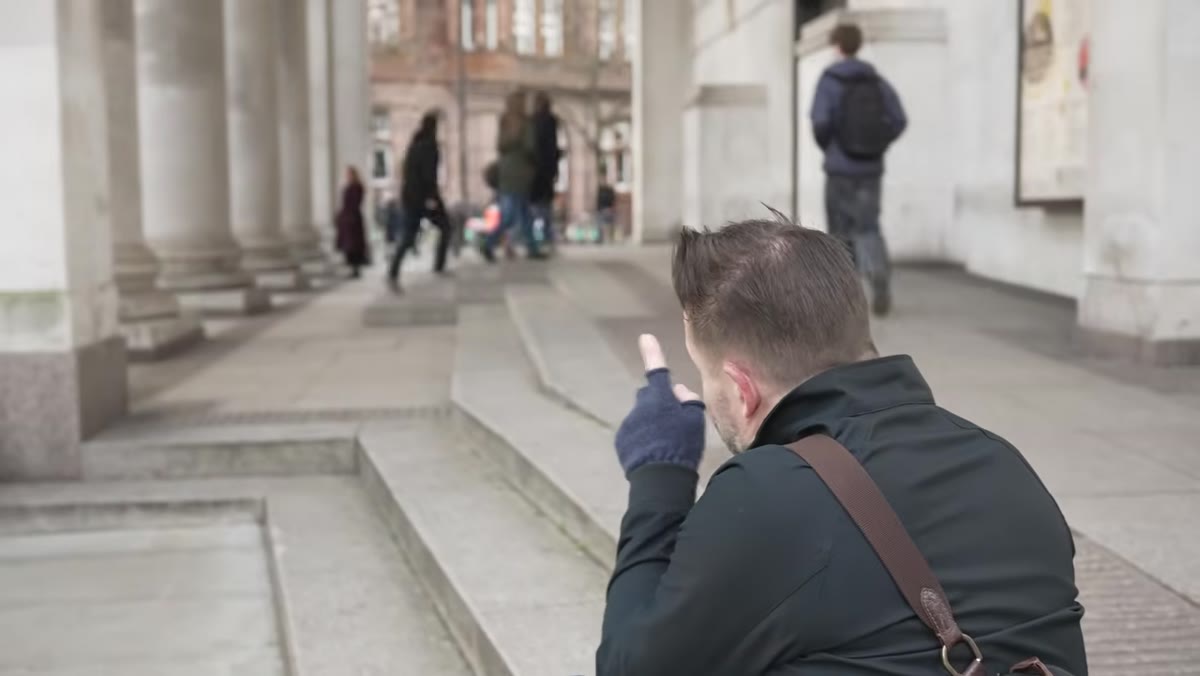 Columns with side light creating bright gaps and dark shadows on a city street
Gary finds an architectural location with strong side lighting, specifically columns throwing alternating bands of light and shadow, and he waits there. He has already committed to the background. The subject will come to him. This is the opposite of how a lot of beginners approach street photography, where we chase moments reactively and wonder why our frames feel cluttered.
Columns with side light creating bright gaps and dark shadows on a city street
Gary finds an architectural location with strong side lighting, specifically columns throwing alternating bands of light and shadow, and he waits there. He has already committed to the background. The subject will come to him. This is the opposite of how a lot of beginners approach street photography, where we chase moments reactively and wonder why our frames feel cluttered.
When you arrive at a location, spend the first few minutes identifying one specific area where the light is doing something interesting and post up. A bright doorway, a pool of sunlight between buildings, a window casting a hard rectangle on the pavement. Make that your stage and let strangers walk through it. You’ll be more relaxed, your framing will be cleaner, and you’ll actually start anticipating the shot instead of reacting to it after it’s gone.
Step 3: Simplify to a Single Figure
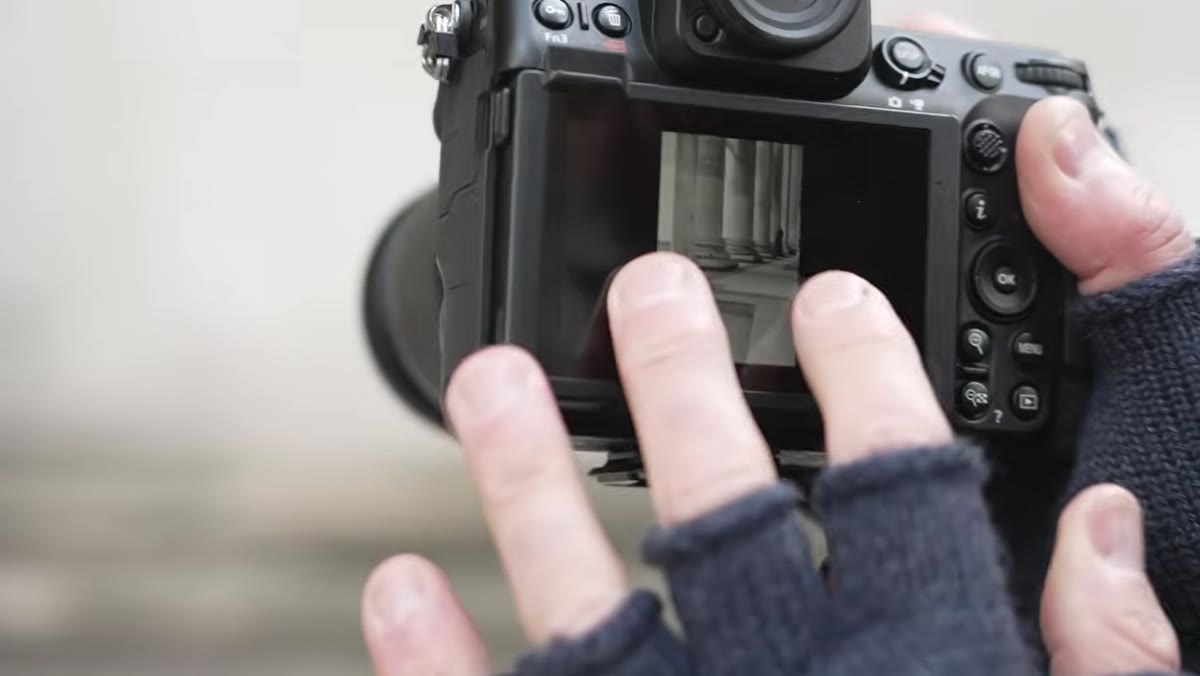 Gary and Thomas discussing isolating one person within a simple light and dark frame
Gary is explicit about what he wants: one person, moving through the gap in the columns, cleanly separated from the background. Not a group. Not a busy scene. One figure. This is partly a technical necessity for him because detail is unavailable, but it’s genuinely excellent compositional discipline for everyone.
Gary and Thomas discussing isolating one person within a simple light and dark frame
Gary is explicit about what he wants: one person, moving through the gap in the columns, cleanly separated from the background. Not a group. Not a busy scene. One figure. This is partly a technical necessity for him because detail is unavailable, but it’s genuinely excellent compositional discipline for everyone.
When you’re waiting at your chosen background, resist the urge to fire when several people cluster together. Wait for the moment when one person moves into your frame alone. That single-figure approach forces the viewer’s eye to land exactly where you want it, with no ambiguity. If you shoot on Sunday mornings the way I do, early light and quiet streets make this much easier. Fewer people means less patience required.
Step 4: Use Sound and Other Senses as Pre-Focus Tools
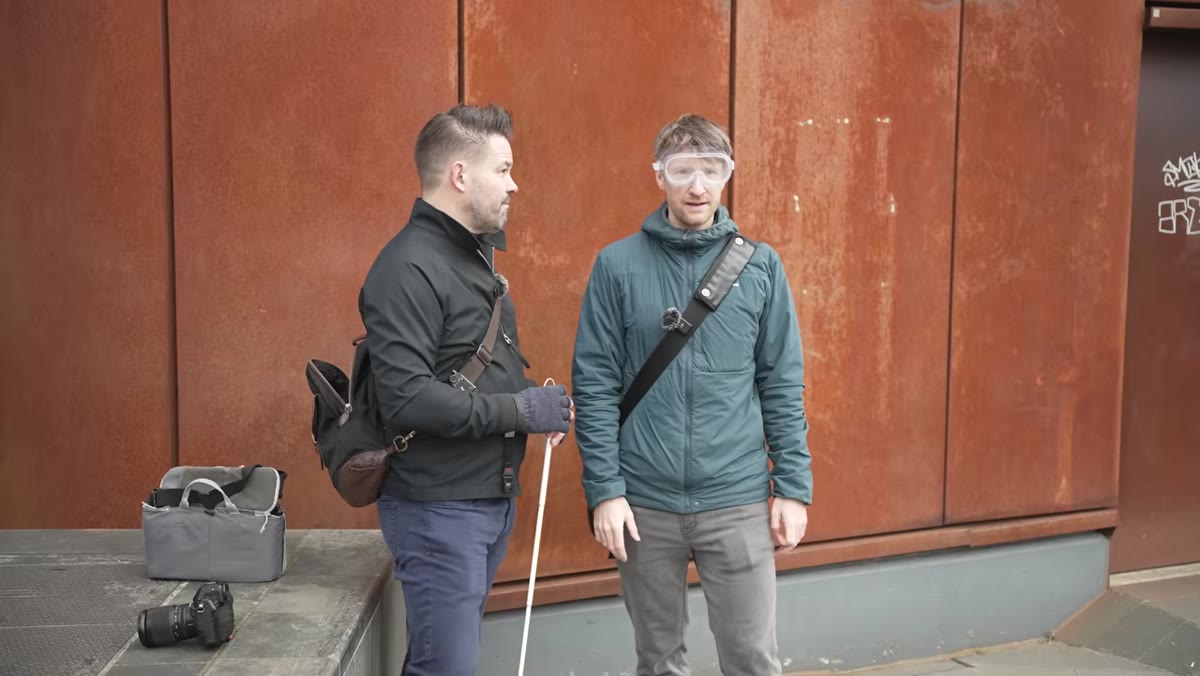 Thomas wearing Vaseline goggles listening to approaching footsteps and trolley wheels
To demonstrate Gary’s experience, Thomas puts on a pair of goggles smeared with Vaseline and tries to navigate and shoot. What becomes immediately clear is that sound fills in a surprising amount of information. The squeak of trolley wheels, the direction footsteps are coming from, the brightness or dullness of ambient noise that tells you whether a space is open or enclosed.
Thomas wearing Vaseline goggles listening to approaching footsteps and trolley wheels
To demonstrate Gary’s experience, Thomas puts on a pair of goggles smeared with Vaseline and tries to navigate and shoot. What becomes immediately clear is that sound fills in a surprising amount of information. The squeak of trolley wheels, the direction footsteps are coming from, the brightness or dullness of ambient noise that tells you whether a space is open or enclosed.
You don’t need simulated vision loss to use this. Before you lift your camera, pause and listen to the scene. Where are people coming from? Are they moving quickly or slowly? A slow walker will give you more time in your light patch. Someone dragging luggage is probably moving in a straight line and won’t dodge sideways at the last second. Sound gives you a half-second heads-up that your eyes alone don’t always provide, especially in busy city centers where visual information is overwhelming.
Step 5: Accept the Shot That Gets Away and Reset Quickly
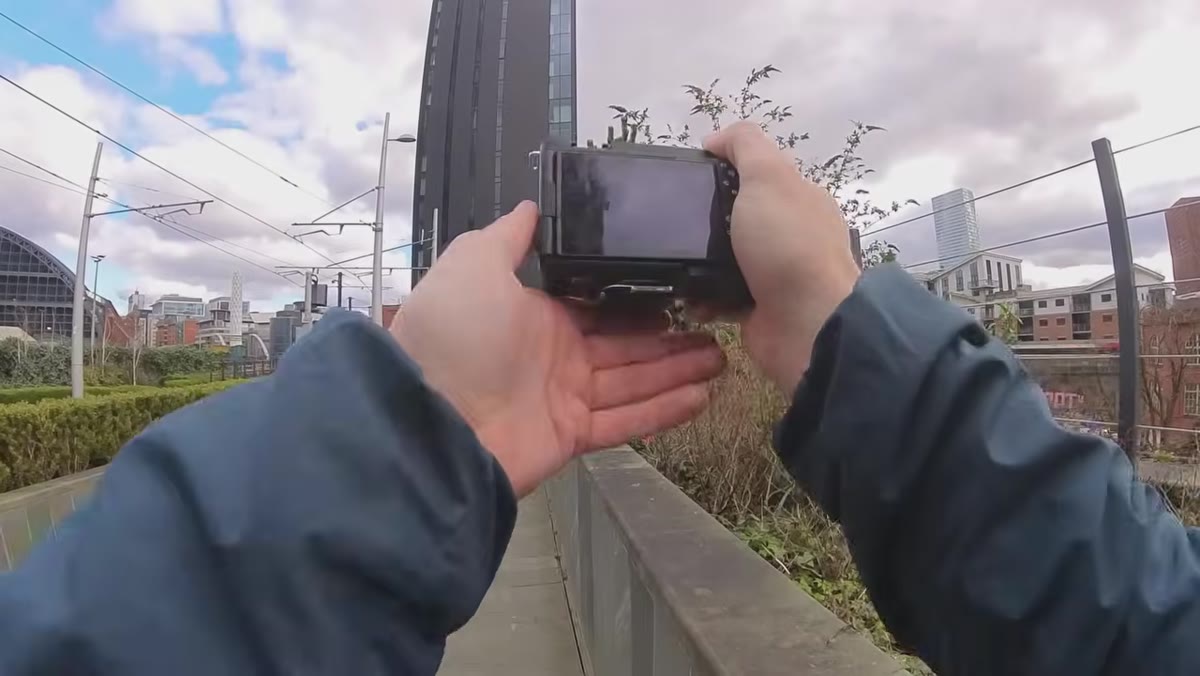 Thomas reacting as a shot disappears while navigating steps with obscured vision
One of the most honest moments in the tutorial is when Thomas, still wearing the Vaseline goggles, misses a shot while trying to navigate a change in elevation. He doesn’t see the step, loses his footing mentally if not physically, and the moment is gone. Gary’s response is essentially: yes, that happens. Reset.
Thomas reacting as a shot disappears while navigating steps with obscured vision
One of the most honest moments in the tutorial is when Thomas, still wearing the Vaseline goggles, misses a shot while trying to navigate a change in elevation. He doesn’t see the step, loses his footing mentally if not physically, and the moment is gone. Gary’s response is essentially: yes, that happens. Reset.
Street photography has a brutal attrition rate even under ideal conditions. The habit to build is not perfection, it’s recovery speed. When a shot dissolves, consciously let it go in under five seconds and return your attention to the scene in front of you. Dwelling on a missed frame means you’re looking backward while the next frame is already forming.
My Own Extension: Try One Stop of Deliberate Underexposure
One thing I started doing after watching this tutorial is deliberately underexposing street shots by about a stop when I’m working in high-contrast light. It pushes figures toward silhouette and removes distracting mid-tone detail from the background. It’s essentially nudging my frames closer to the graphic quality Gary is working with naturally. You lose some of the documentary texture that street photography is famous for, but you gain a strong, clean image that reads instantly. Not every frame benefits, but it’s worth experimenting with when you find a scene that’s backlit or side-lit with strong shadows.
The single most important thing Gary’s approach teaches is this: most of us are photographing detail when we should be photographing light. He has no choice but to find the contrast first, the figure second, and the detail not at all. His photographs work because that hierarchy is correct. The rest of us have to choose to work that way.
Watch the full tutorial on YouTube and pay particular attention to how Gary identifies a location before he even raises his camera. It reframes what “seeing” a photograph actually means.
Comments
Leave a Comment