There’s a version of photography education that’s all clean lighting diagrams and perfectly articulated camera settings. And then there’s the version that actually prepares you for a real shoot: the chaotic, laughing, spider-on-the-backdrop, someone-just-grabbed-the-expensive-wine version. The second one is usually more useful. That’s why I keep coming back to behind-the-scenes content from working photographers, because the unscripted moments reveal how pros actually think and adapt, not just what they do when everything is going according to plan.
Watch the full tutorial on YouTube
In this Visual Education episode, the team pulls back the curtain on a combined wedding photography and fashion shoot, capturing the real texture of what it looks like when multiple subjects, changing outfits, strong client opinions, and general human chaos all collide at once. I started teaching photography after a stranger at a coffee shop asked me how I got a particular shot on my phone, and what I’ve learned since then is that students don’t just need to know the settings. They need to see what a working set actually feels like. This video delivers exactly that.
Step 1: Set the Social Tone Before You Shoot Anything
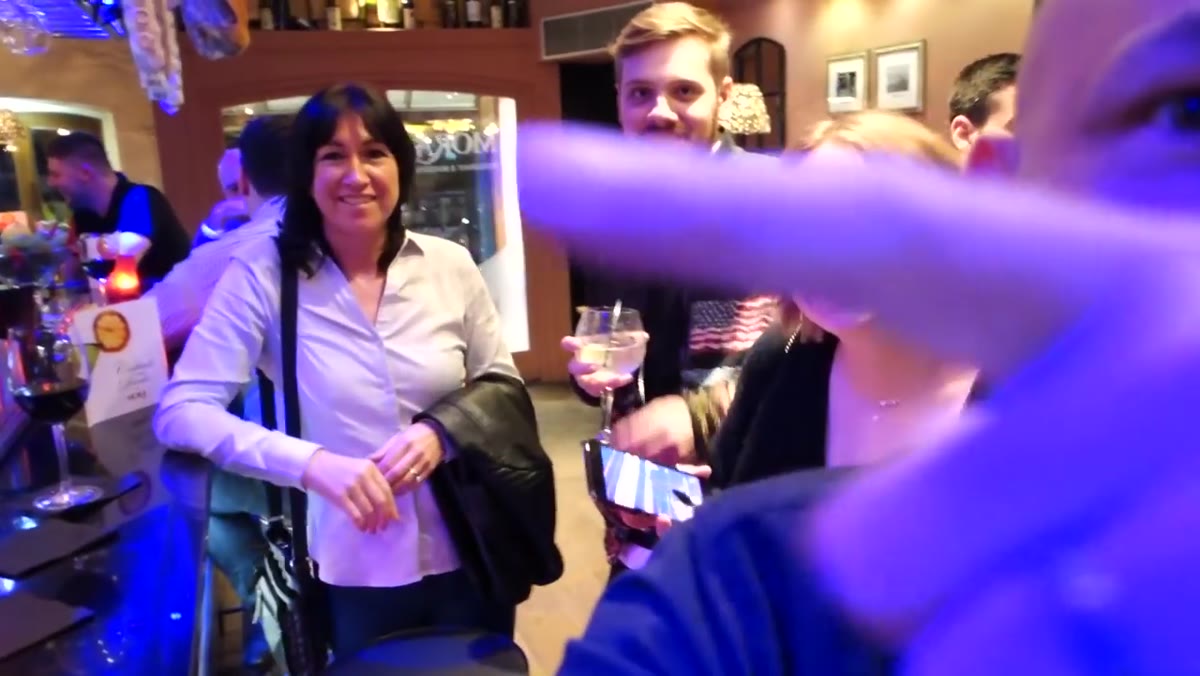 Photographer and team gathered, relaxed conversation before shooting begins
The episode opens not with cameras out, but with people talking, joking, and getting comfortable around each other. This is not wasted time. It is the work. When you’re photographing real people, whether at a wedding or a fashion shoot, the energy you establish in the first ten minutes determines the expressions you’ll get for the next two hours. If subjects feel like they’re being processed, they’ll look stiff. If they feel like they’re hanging out with someone who happens to have a camera, they’ll look alive.
Before your next shoot, build in at least ten minutes of genuine no-camera conversation. Learn one thing about your subject that has nothing to do with how they look. This small investment pays off in every frame.
Step 2: Work the Room While Chaos Happens Around You
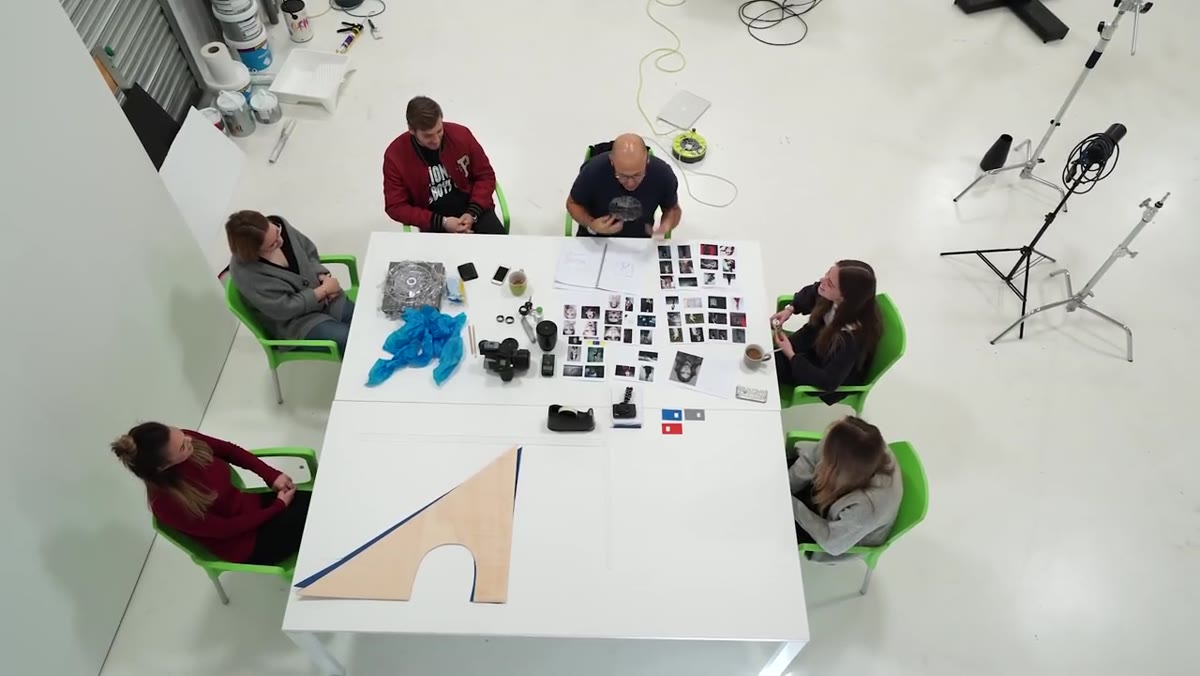 Behind-the-scenes activity with multiple people moving around the set
One of the most practical things this video shows is how a photographer stays focused and functional while a set is actively in motion around them. There are multiple people changing, props being swapped, and conversations happening simultaneously. The instinct for newer photographers is to wait for calm. The working photographer learns to find the shot inside the noise.
The technique here is to keep your eye moving even when you’re not shooting. Identify your background, lock in your light source, and know your rough composition so that when a moment opens up, you can capture it without fumbling. Think of it as pre-building your frame mentally, so the only variable left is the subject.
Step 3: Use Loose, Conversational Direction to Get Natural Movement
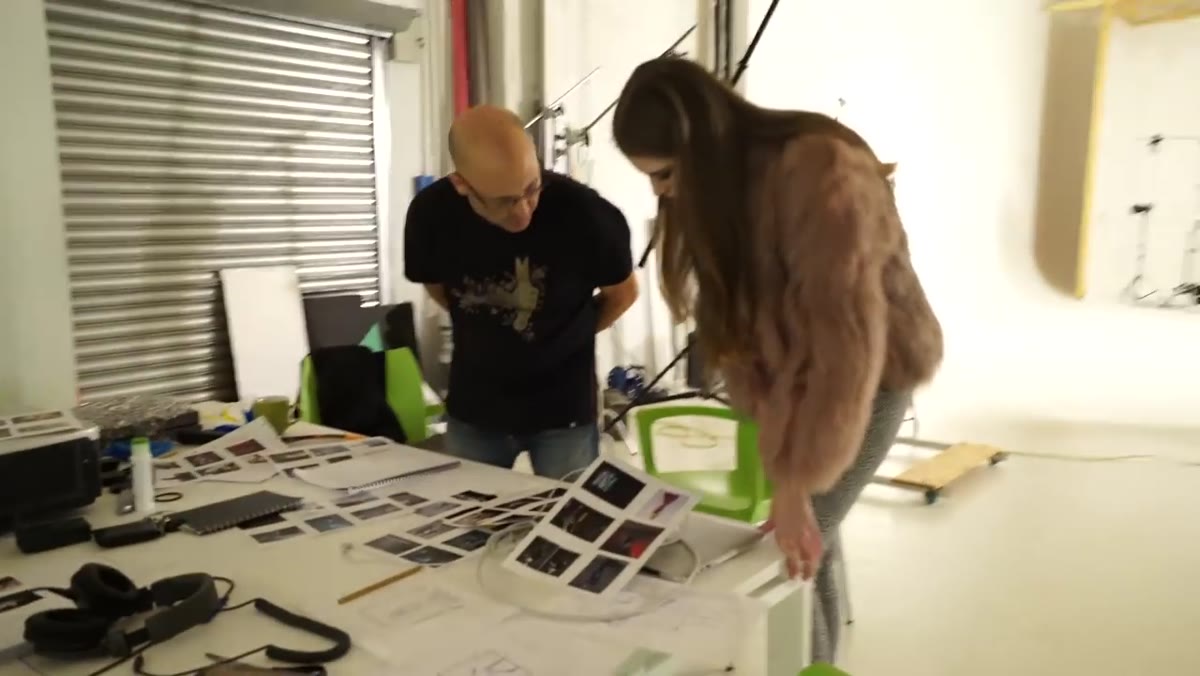 Photographer giving relaxed verbal direction to subject during shoot
Directing someone who isn’t a professional model is one of the most underrated skills in photography. This video shows a really effective approach: rather than giving rigid poses, the photographer offers a range of low-pressure options. Move around a little, try folding your arms, shift your weight, flick your head if you want. The direction is more like a suggestion than an instruction, and that distinction matters enormously.
When you give someone a specific pose, you often get a performed version of that pose. When you give someone permission to move freely inside a loose framework, you get moments that feel genuine. Try this on your next portrait session: instead of saying “put your hand here,” say “do whatever feels comfortable with your hands.” Then watch what happens and shoot through it.
Step 4: Adapt When Client Preferences Override Your Vision
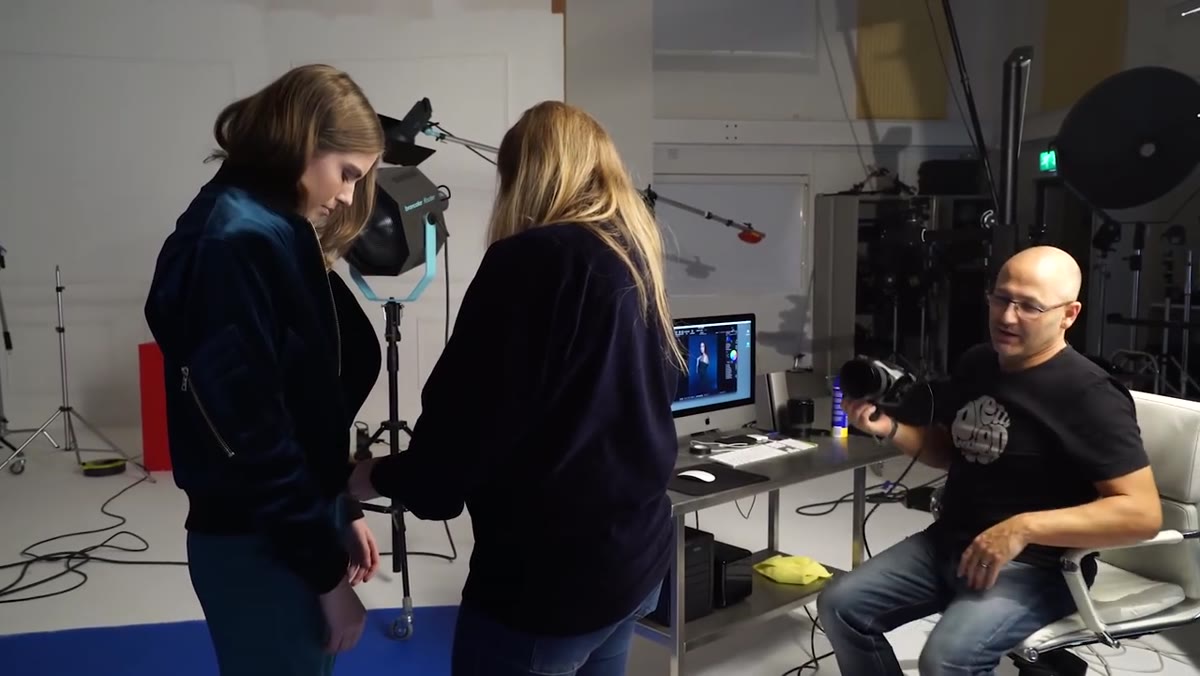 Team adjusting wardrobe and setup based on client direction
A significant portion of this behind-the-scenes footage deals with something photography tutorials rarely address directly: the moment when the client’s taste and your aesthetic instincts don’t fully align. Here, there’s visible creative tension around wardrobe choices, and the photographer has to navigate keeping the client happy while maintaining the integrity of the shoot.
The professional move is not to fight it and not to completely abandon your eye. It’s to find the best version of what the client wants. Once you’ve acknowledged their preference and made the adjustment, you can still make choices about angle, light, and timing that bring something of your own craft to the image. The client controls the brief. You control the frame.
Step 5: Laugh at the Interruptions Instead of Fighting Them
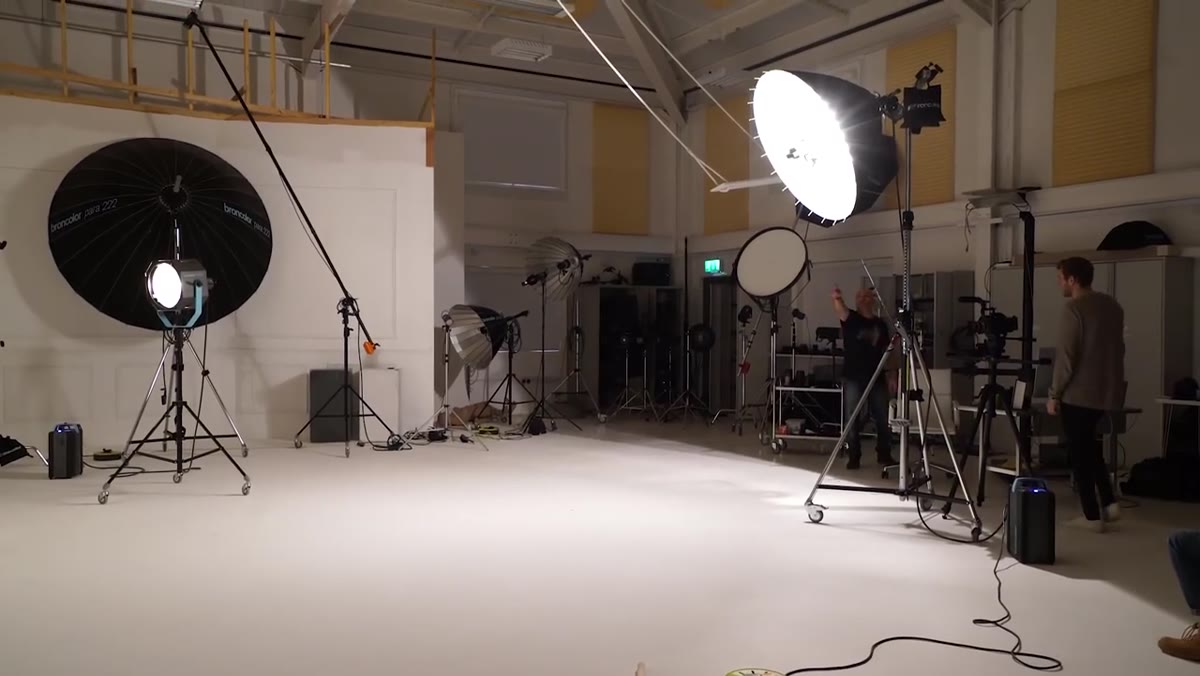 Unexpected interruption on set, crew reacting with humor
There’s a moment in this video where a spider ends up near the shooting area and the whole set briefly dissolves into reactions. Rather than getting frustrated, the atmosphere stays light. Shoots get interrupted. Pets wander in, weather changes, a subject gets a phone call, someone knocks over a light stand. The photographers who handle this well are the ones who treat interruptions as part of the session rather than obstacles to it.
Practically speaking, keep shooting through the unexpected moments when you can. Some of the most memorable images from any session happen in the transitions, when subjects aren’t “on” and are just reacting to real life. Those frames are often the ones clients end up loving most.
Step 6: Know When Simple Tools Are the Right Tools
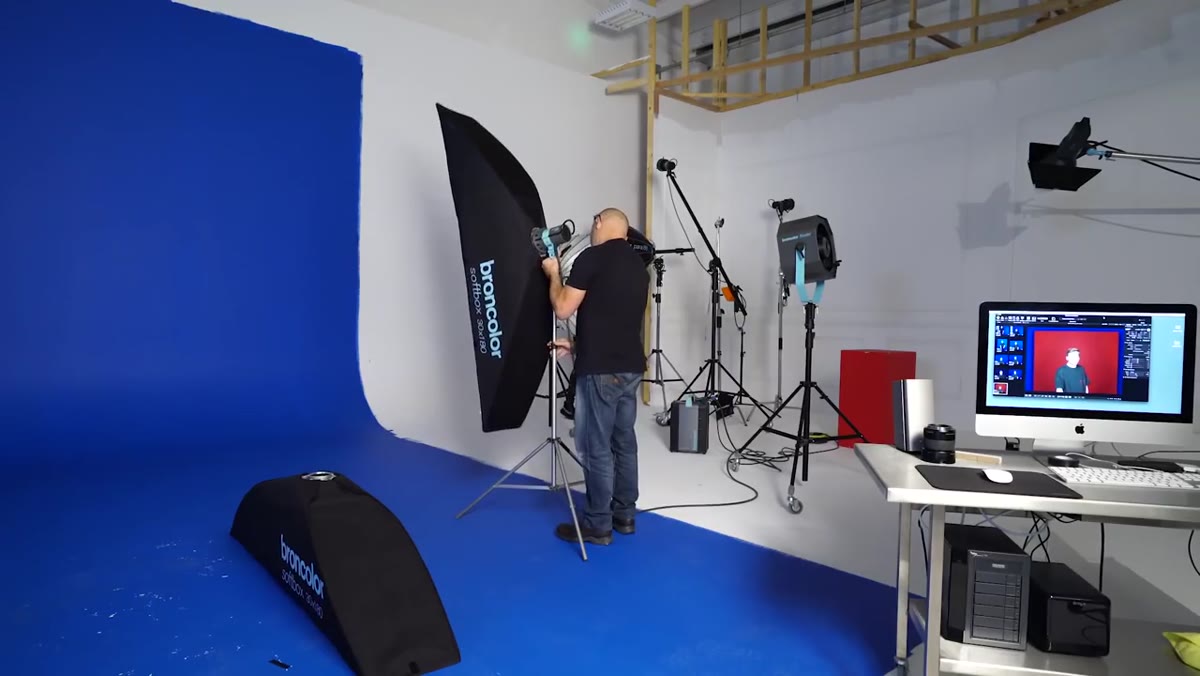 Casual phone photography used as a quick reference or test shot
There’s a brief, almost offhand moment where the phone camera gets mentioned as a perfectly reasonable tool for a quick portrait. I love this. I’ve written before about how my most-liked Instagram photo was taken on a $200 phone, and the response that generated showed me how many photographers are still carrying around the assumption that better gear automatically means better images.
On a busy set, your phone is a legitimate tool for quick test frames, behind-the-scenes documentation, and checking composition ideas before you pick up the heavy kit. Don’t be precious about it. The right tool is whatever gets you the shot.
What I’d Add From My Own Experience
Watching this video, the thing that strikes me most is how much the quality of a shoot depends on the quality of the room. I’ve shot in technically perfect locations with terrible energy, and the images showed it. I’ve shot in cramped, weird spaces with people who were genuinely enjoying themselves, and those sessions produced work I’m still proud of.
My practical extension here is this: build an energy playlist. I make playlists for different shooting moods, and playing music on set changes the room in a way that almost nothing else does. It gives people something to move to, fills silence that might otherwise feel awkward, and signals that this is a space where it’s okay to relax. It costs you nothing and it changes everything.
The single most useful takeaway from this behind-the-scenes session is that professionalism on a shoot isn’t about staying rigid and controlled. It’s about staying adaptable, keeping the energy positive, and making your subjects feel like the camera is the least important thing in the room. When people forget about the lens, that’s when the real photos happen.
Watch the full tutorial on YouTube and pay attention to how the team handles the transitions between setups. That’s where the real education lives.
Comments
Leave a Comment