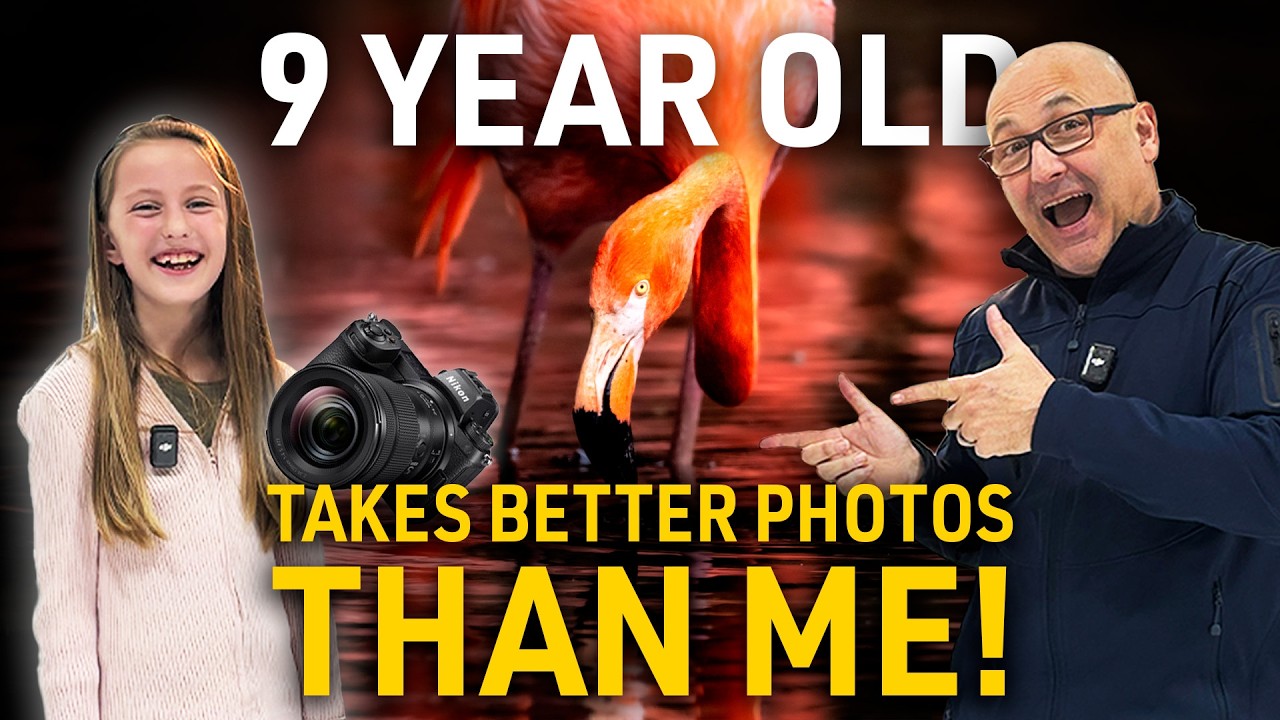
Every now and then I come across someone who reminds me why I fell in love with photography in the first place. Not a gear review, not a Lightroom preset drop. Just someone who actually sees. I was doing my Sunday morning photo walk when I fell down a rabbit hole and found this Visual Education tutorial with host Kyle Taylor interviewing Jamie Smart, a nine-year-old who had just won the 2025 Young British Wildlife Photographer of the Year. That sentence alone should stop you in your tracks. Watch the full tutorial on YouTube
What struck me wasn’t just that she’s nine. It was how she talks about the work. No jargon, no obsession over equipment. Just genuine, methodical attention to the natural world and a willingness to wake up at 1 a.m. to be in the right place when the light shows up. I’ve been shooting for over a decade and I still have mornings where I talk myself out of that early alarm. Jamie doesn’t seem to have that problem. That alone is worth examining.
This tutorial is framed as an interview and studio shoot, but it’s packed with practical insight if you know what to listen for. Here’s what I pulled out, step by step.
Step 1: Prioritize Location and Timing Over Everything Else
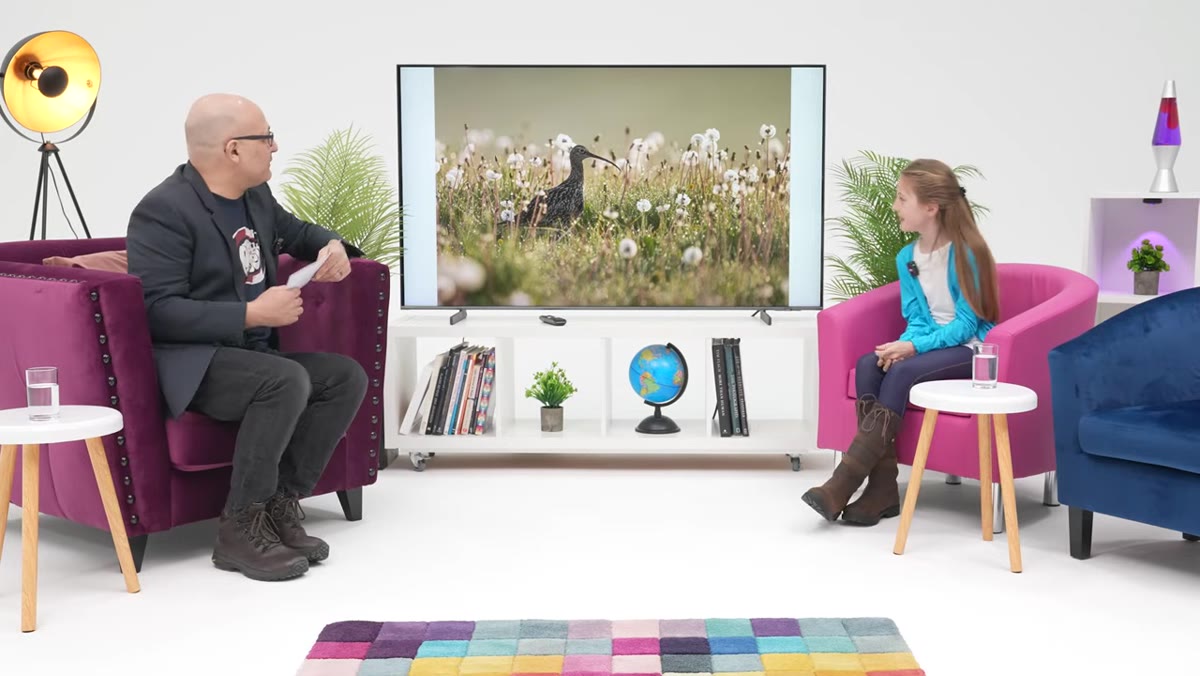 Jamie describing the early morning drive to the plains
Jamie’s award-winning stone curlew image started with a 1 a.m. wake-up call and a drive to open plains timed specifically to catch sunrise. This is the part most beginners skip. They show up when it’s convenient and then wonder why the light isn’t cooperating. Golden hour is not a suggestion. For wildlife especially, the window is narrow and the animals are most active right at the edges of the day. Before your next shoot, look up civil twilight for your location, not just sunrise, because the soft light starts earlier than the sun actually clears the horizon.
Jamie describing the early morning drive to the plains
Jamie’s award-winning stone curlew image started with a 1 a.m. wake-up call and a drive to open plains timed specifically to catch sunrise. This is the part most beginners skip. They show up when it’s convenient and then wonder why the light isn’t cooperating. Golden hour is not a suggestion. For wildlife especially, the window is narrow and the animals are most active right at the edges of the day. Before your next shoot, look up civil twilight for your location, not just sunrise, because the soft light starts earlier than the sun actually clears the horizon.
Step 2: Use Sound as a Scouting Tool
 Jamie recounting hearing the stone curlew call in the distance
When Jamie arrived at the location, she couldn’t see the stone curlews at all. The brush and grass made visual spotting nearly impossible. What she did instead was listen. She identified the bird by its call, tracked the direction of the sound, and waited. This is an underrated skill in wildlife photography, and it applies even if you’re not shooting birds. Audio awareness tells you where the action is before your eyes can confirm it. If you’re new to this, apps like Merlin Bird ID let you identify species by sound in real time. You don’t have to be an ornithologist. You just have to be quiet and pay attention.
Jamie recounting hearing the stone curlew call in the distance
When Jamie arrived at the location, she couldn’t see the stone curlews at all. The brush and grass made visual spotting nearly impossible. What she did instead was listen. She identified the bird by its call, tracked the direction of the sound, and waited. This is an underrated skill in wildlife photography, and it applies even if you’re not shooting birds. Audio awareness tells you where the action is before your eyes can confirm it. If you’re new to this, apps like Merlin Bird ID let you identify species by sound in real time. You don’t have to be an ornithologist. You just have to be quiet and pay attention.
Step 3: Let the Natural Environment Do the Work Compositionally
 Description of stone curlews wading through dandelion clocks in sunlight
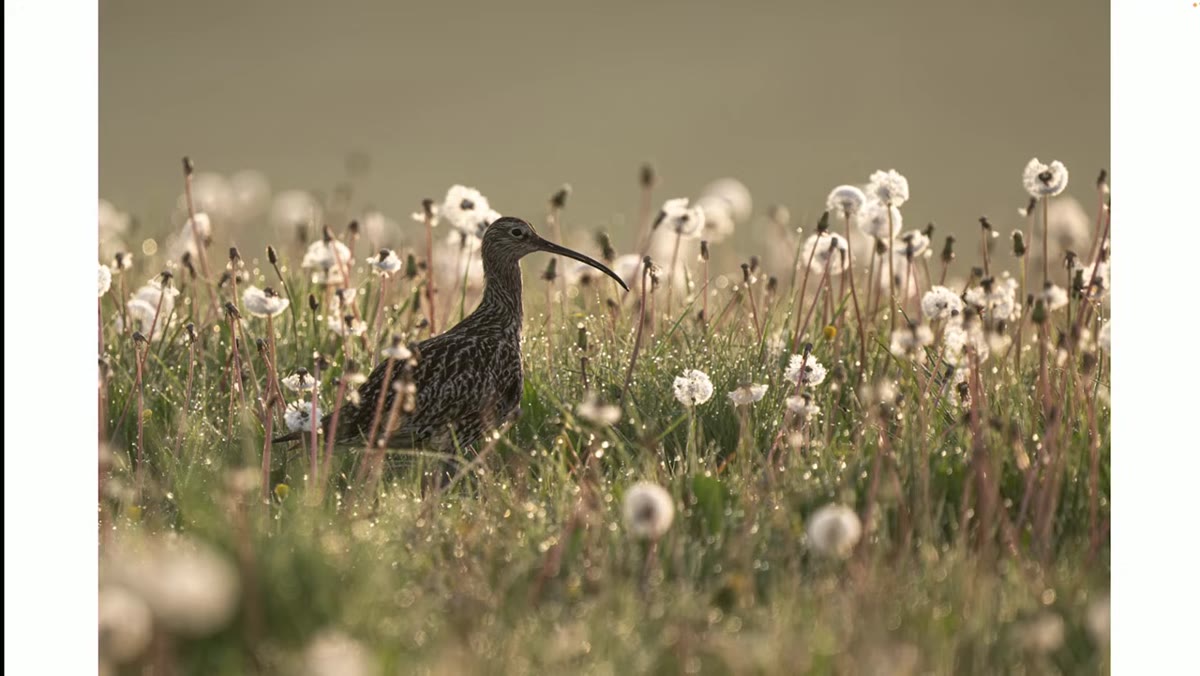
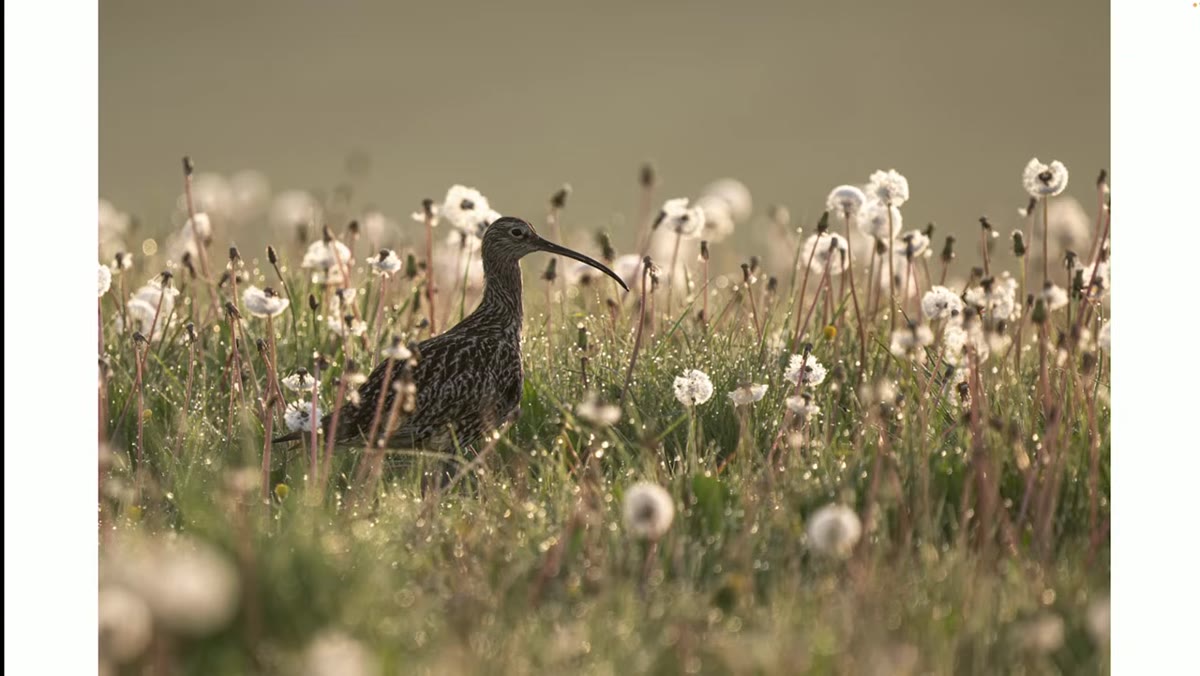
Jamie didn’t arrange anything in that frame. She found a pair of stone curlews moving through thousands of backlit dandelion clocks and understood immediately what she was looking at. The environment was doing the compositional heavy lifting: leading lines in the grass, a natural bokeh from the soft seed heads, warm backlighting that rimmed the bird in gold. Your job in those moments is not to overthink it. It’s to get low, get steady, and press the shutter when the subject does something interesting. In Jamie’s case, the bird was foraging, which gave her a behavioral moment inside an already beautiful frame.
Description of stone curlews wading through dandelion clocks in sunlight
Jamie didn’t arrange anything in that frame. She found a pair of stone curlews moving through thousands of backlit dandelion clocks and understood immediately what she was looking at. The environment was doing the compositional heavy lifting: leading lines in the grass, a natural bokeh from the soft seed heads, warm backlighting that rimmed the bird in gold. Your job in those moments is not to overthink it. It’s to get low, get steady, and press the shutter when the subject does something interesting. In Jamie’s case, the bird was foraging, which gave her a behavioral moment inside an already beautiful frame.
Step 4: Understand What Backlighting Does for You
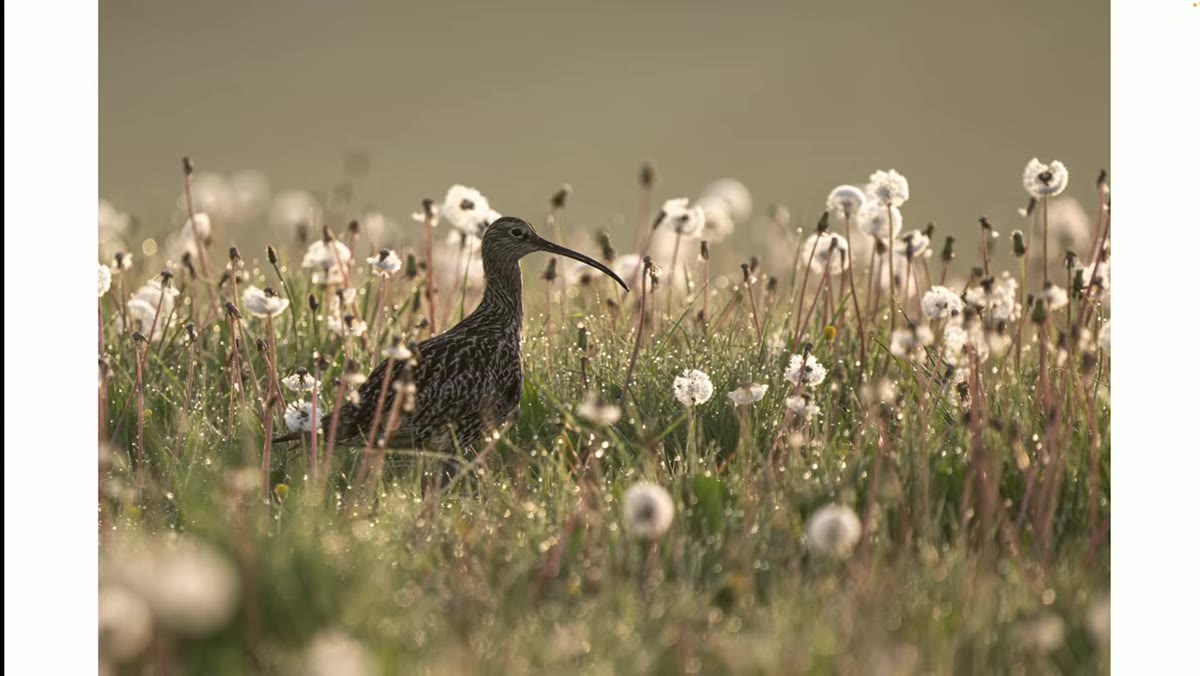 Kyle noting the dew, backlighting, and occlusion in the image
Kyle specifically called out the backlighting, the dew on the grass, and the occlusion in Jamie’s image. These three things together are what separate a wildlife record shot from something that stops people scrolling. Backlighting in the early morning creates separation between your subject and the background. Dew on foliage adds micro-specular highlights that make everything glow. And occlusion, where foreground elements partially block the subject, adds depth and a sense of being inside the scene rather than looking at it from outside. To recreate this: position yourself so the light source is roughly behind or to the side of your subject, get low enough that you have some foreground vegetation, and shoot wide open to compress the background.
Kyle noting the dew, backlighting, and occlusion in the image
Kyle specifically called out the backlighting, the dew on the grass, and the occlusion in Jamie’s image. These three things together are what separate a wildlife record shot from something that stops people scrolling. Backlighting in the early morning creates separation between your subject and the background. Dew on foliage adds micro-specular highlights that make everything glow. And occlusion, where foreground elements partially block the subject, adds depth and a sense of being inside the scene rather than looking at it from outside. To recreate this: position yourself so the light source is roughly behind or to the side of your subject, get low enough that you have some foreground vegetation, and shoot wide open to compress the background.
Step 5: Read Animal Behavior Before You Shoot
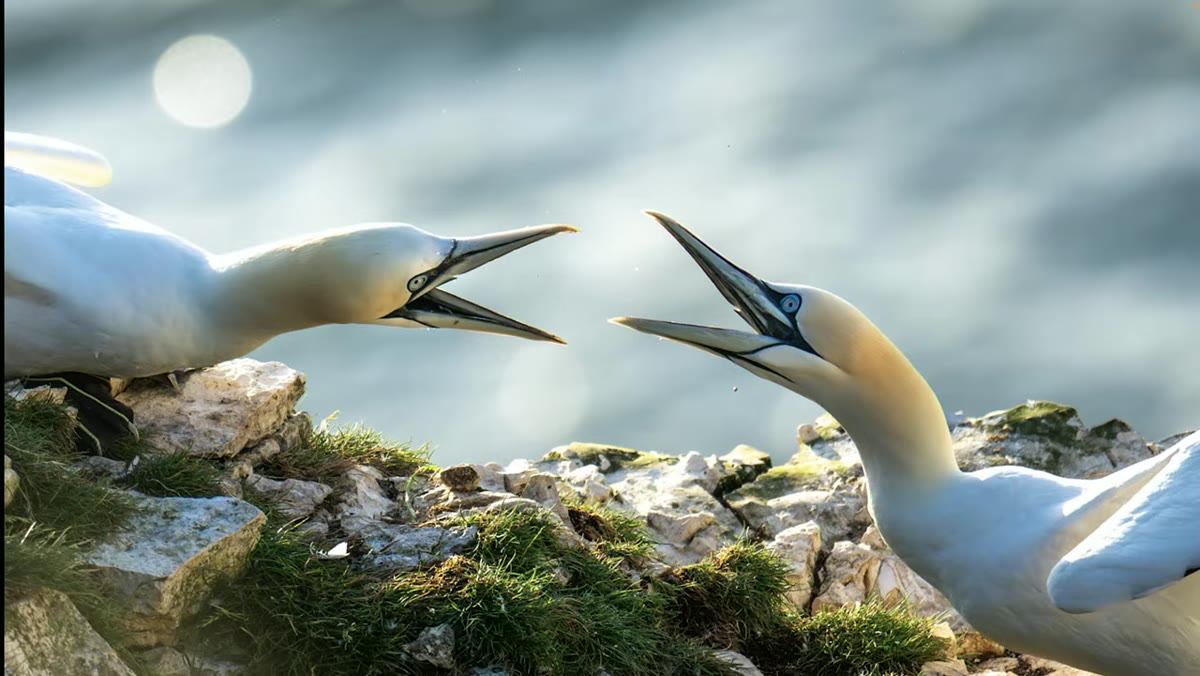 Jamie explaining the gannet squabble along the cliff edge
Jamie’s gannet photograph came from watching and understanding what she was seeing before she pressed the shutter. She recognized that two neighboring pairs were fighting over territory on a rock face. That behavioral read, neighbors squabbling as Kyle put it, is what made the image dynamic rather than static. A gannet sitting on a cliff is fine. Two gannets mid-argument, with one about to take flight because it’s had enough, is a story. Spend time watching before you raise the camera. The difference between a snapshot and a strong wildlife image is almost always in the patience that comes before the click.
Jamie explaining the gannet squabble along the cliff edge
Jamie’s gannet photograph came from watching and understanding what she was seeing before she pressed the shutter. She recognized that two neighboring pairs were fighting over territory on a rock face. That behavioral read, neighbors squabbling as Kyle put it, is what made the image dynamic rather than static. A gannet sitting on a cliff is fine. Two gannets mid-argument, with one about to take flight because it’s had enough, is a story. Spend time watching before you raise the camera. The difference between a snapshot and a strong wildlife image is almost always in the patience that comes before the click.
Step 6: Let Go of the Idea That You Need Perfect Conditions
 Early morning gannet activity along the cliff edge described
The gannets were just waking up, already active, and Jamie was there early enough to catch it. She wasn’t waiting for some perfect, orchestrated moment. She put herself in the right place at the right time and stayed alert. I think this is the most transferable lesson in the whole video. So many photographers, myself included at times, wait for the conditions to be ideal before going out. But ideal conditions are rare. What’s not rare is showing up early and letting the scene reveal itself.
Early morning gannet activity along the cliff edge described
The gannets were just waking up, already active, and Jamie was there early enough to catch it. She wasn’t waiting for some perfect, orchestrated moment. She put herself in the right place at the right time and stayed alert. I think this is the most transferable lesson in the whole video. So many photographers, myself included at times, wait for the conditions to be ideal before going out. But ideal conditions are rare. What’s not rare is showing up early and letting the scene reveal itself.
What I’d Add From My Own Experience
The gear question is worth addressing briefly because I know it comes up. Jamie is working with serious equipment at this point, but the instincts she’s using predate any camera she’s held. I’ve shot images I’m genuinely proud of on a $200 phone, and the ones that worked did so for the same reasons Jamie’s work does: right time, right light, real patience. Equipment matters less than most people think. What Jamie demonstrates is that seeing is a skill you build through practice and genuine curiosity about the world, not through a gear upgrade.
If you take one thing away from this tutorial, let it be this: wake up earlier than you think you need to. The light that makes wildlife photography sing exists for a narrow window, and the animals that fill your frame are most alive right at the edges of the day. Jamie Smart woke up at 1 a.m. at age eight to make a photograph that is now touring in a national exhibition. That’s not talent alone. That’s commitment to showing up.
Watch the full tutorial on YouTube - the interview and studio shoot together make this one of the more genuinely inspiring photography videos I’ve seen in a while.
Comments (1)
This should be required reading for anyone starting out.
Leave a Comment