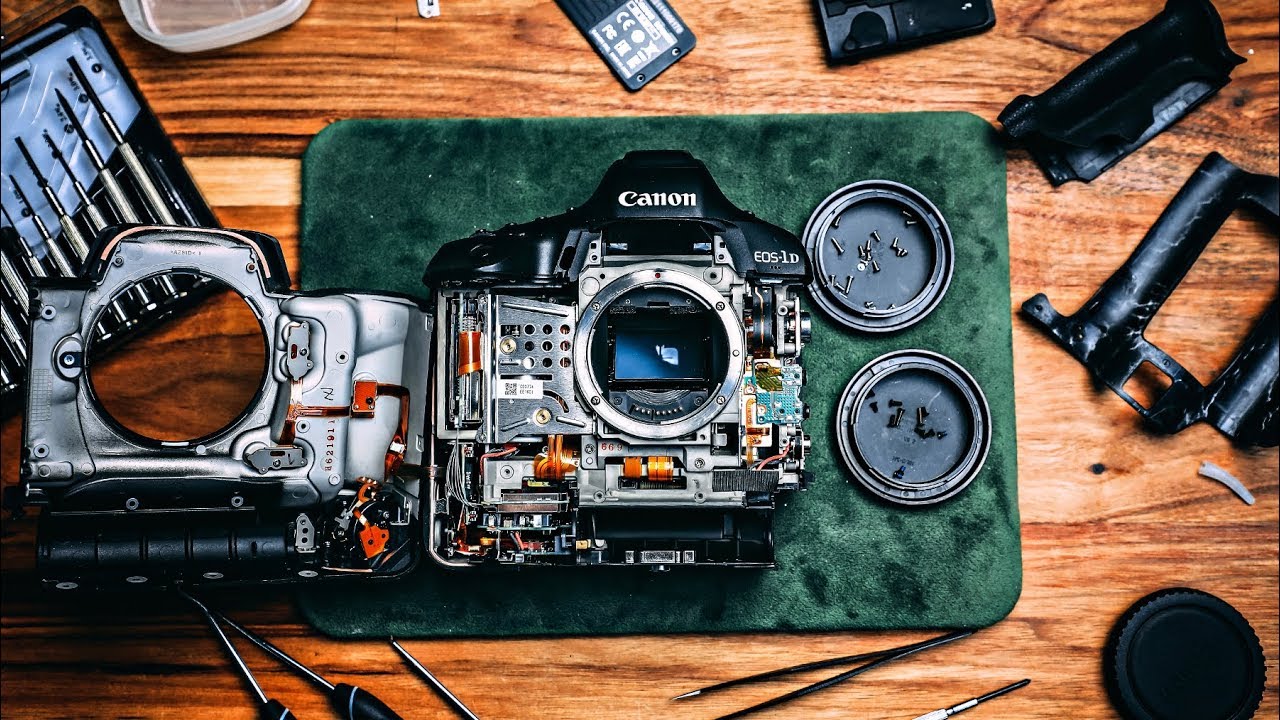
There’s a question I get constantly on my Sunday photo walks: “Does the gear actually matter?” My honest answer has always been “less than you think,” but I’ll admit that answer gets harder to defend when you’re staring at a camera body that costs more than my first car. What actually lives inside a professional camera at that price point? What are you paying for? I never had a great answer until I watched Peter McKinnon do something genuinely reckless and genuinely educational at the same time. Watch the full tutorial on YouTube
In this Peter McKinnon tutorial, he cracks open a Canon 1DX Mark II after damaging the microphone input jack during an ATV ride - yes, with the cable still plugged in, yes, while bouncing through trails. The resulting teardown is part accident, part curiosity, and entirely useful if you’ve ever wondered what separates a professional body from a consumer one at the component level. As someone who started teaching photography after a stranger at a coffee shop asked how I got a shot I’d taken on a $200 phone, I think about gear value constantly. This video reframed it for me.
What McKinnon discovers isn’t a magic box full of gold wiring. It’s a dense, deliberate assembly of rubber seals, recessed screws, and tightly packed hardware - everything engineered to absorb exactly the kind of punishment he was putting it through. Understanding that architecture won’t make you a better photographer overnight, but it will change how you handle, protect, and troubleshoot the gear you already own.
Step 1: Understand What Caused the Damage Before You Open Anything
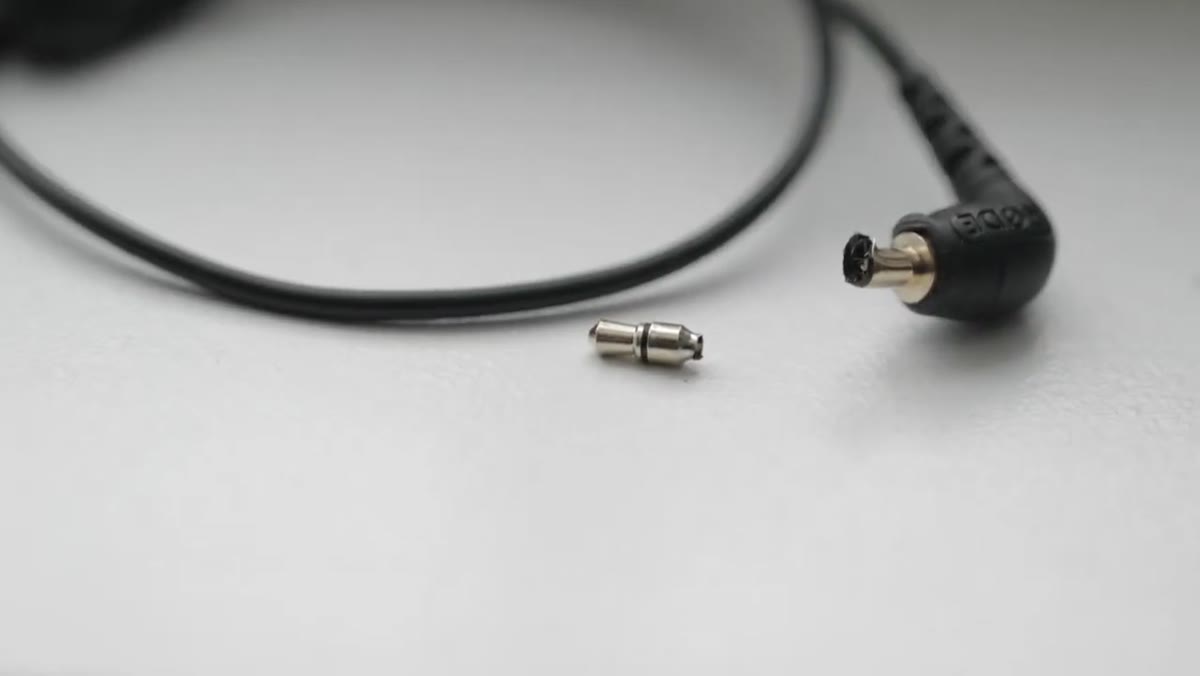 Snapped cable hanging from camera’s microphone input port
The inciting incident here is instructive on its own. McKinnon had a cable plugged into the microphone input while riding an ATV. The cable caught, flexed under repeated vibration and impact, and eventually snapped - but more importantly, it torqued the internal housing of the jack itself, cracking it at the mount point. The lesson before any tool comes out: physical stress on a port doesn’t just break cables. It transfers force directly into the internal components those cables connect to. If you’re shooting in rough conditions, unplug everything that doesn’t absolutely need to be connected. A dangling cable is a lever arm waiting to happen.
Step 2: Source the Right Disassembly Tools Before You Start
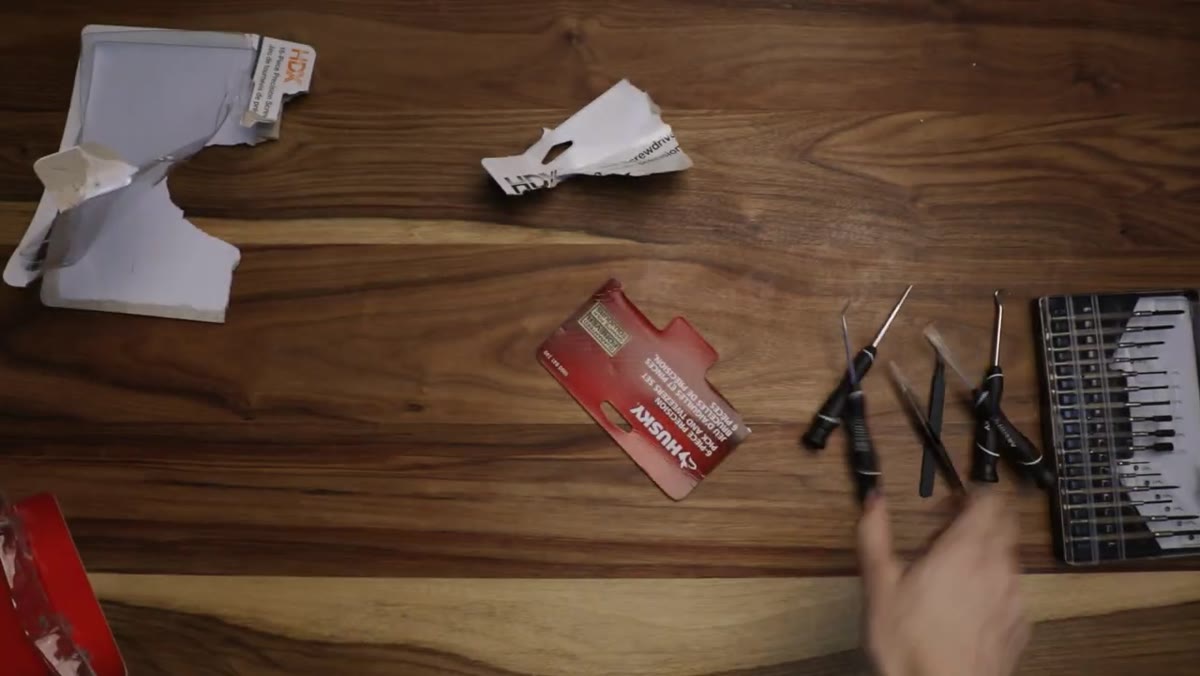 Small screwdrivers, tweezers, and picks laid out on a table
McKinnon makes a hardware store run and comes back with a set of small precision screwdrivers, a pair of fine-point tweezers, and a few plastic picks. If you ever need to do basic camera maintenance - cleaning a port, reseating a battery contact, or inspecting a mount - this is roughly the kit you need. The key word is “precision.” Standard household screwdrivers will strip the tiny Torx or JIS screws common in camera bodies before you even feel resistance. Look for a jeweler’s screwdriver set that includes both Phillips and flathead options down to the smallest sizes, and add a few plastic spudgers so you’re not prying with metal against metal.
Step 3: Locate the Hidden Screws Under the Rubber Grip Panels
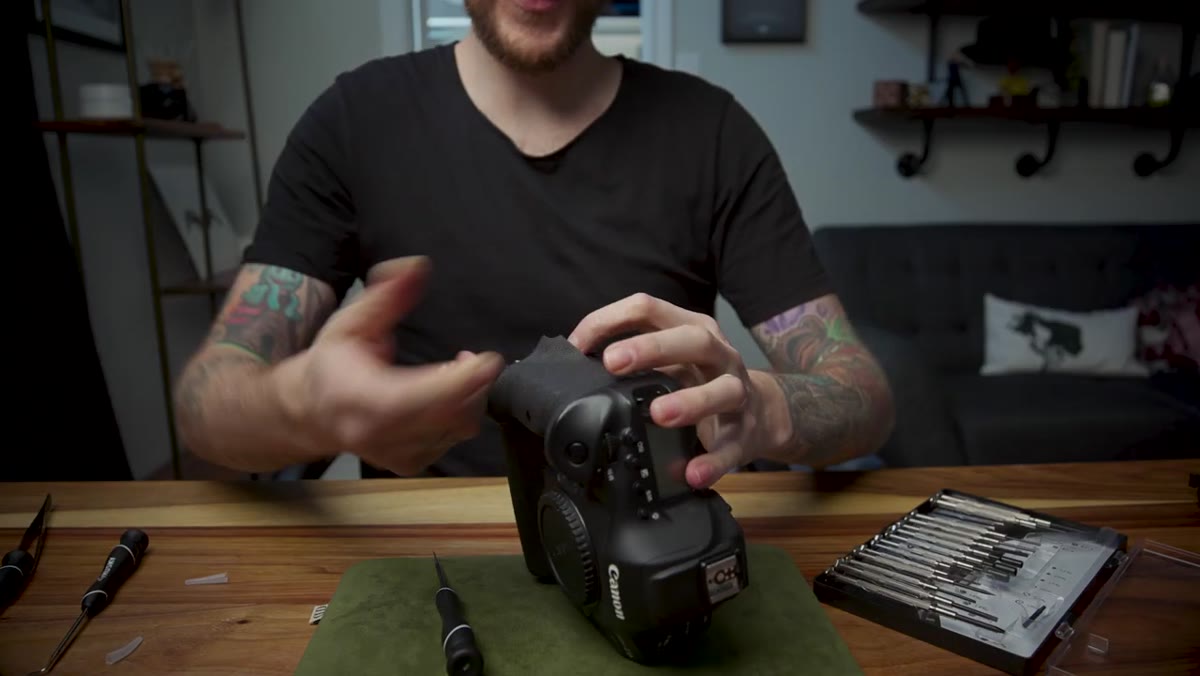 Rubber grip being peeled back to reveal recessed screws underneath
This is the part that surprises most people the first time. The 1DX Mark II has almost no visible external screws. McKinnon scans the body and finds only a couple of obvious ones on the base plate, which don’t lead anywhere useful. The real fasteners are hidden underneath the rubber grip panels. Peeling those back, carefully and slowly, reveals a pattern of recessed screws that hold the camera’s outer shell together. This is a deliberate weatherproofing choice: exposed screws are pathways for moisture and dust. If you’re ever inspecting a camera body for damage or trying to understand why a repair estimate is so high, remember that labor costs in camera repair are largely about access - not just part replacement.
Step 4: Work Methodically Around the Body, One Section at a Time
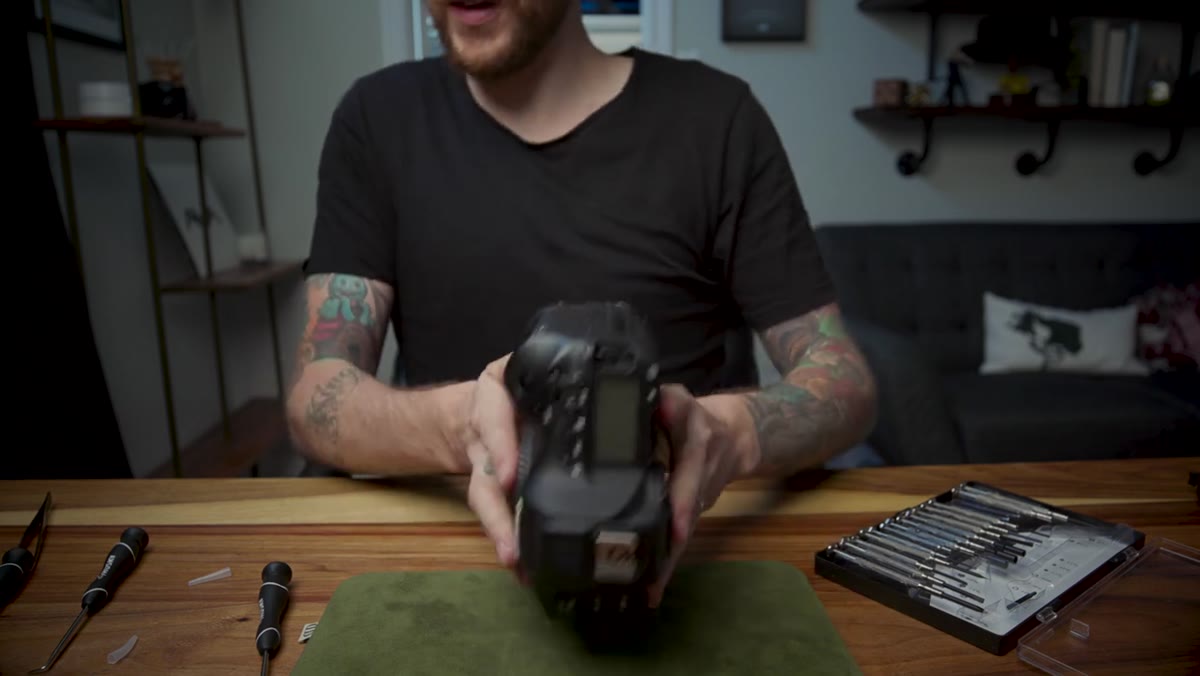 Multiple small screws removed and organized near the camera body
Once the grip panels are off, McKinnon starts removing screws systematically around the body. The approach that works here is the same one that works in any disassembly: work in sections, keep removed screws grouped by location, and don’t force anything. Camera bodies at this level are assembled with tight tolerances. If a panel isn’t releasing after the screws are out, there’s another fastener somewhere - not a reason to apply more force. McKinnon’s instinct to pause, look, and probe before pulling saved him from causing secondary damage several times during this teardown.
Step 5: Identify the Damaged Component Once the Shell Opens
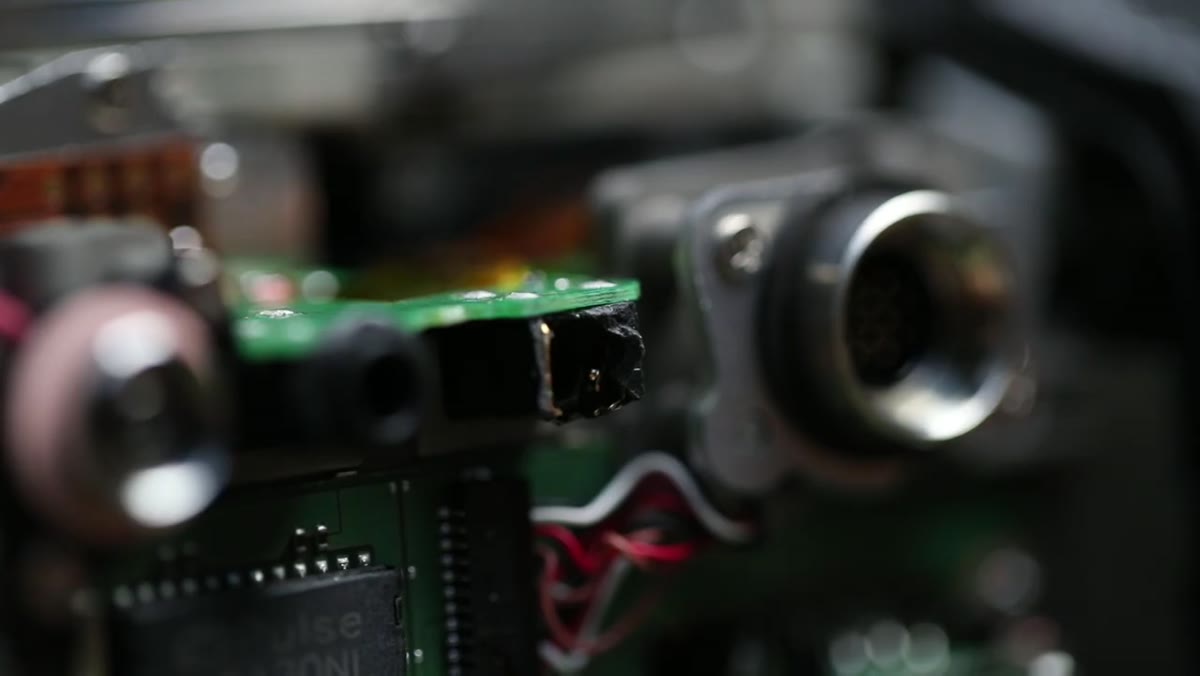 Interior of camera body visible with damaged microphone jack exposed
When the outer shell finally separates enough to see inside, McKinnon locates the cracked microphone input housing immediately. It’s worth pausing on what the interior actually looks like: tightly packed, with components seated in precise positions and very little empty space. The microphone jack is a small module mounted to the camera’s internal frame, and the crack is visible at the mounting point where torque stress concentrated. For anyone sending a camera in for repair, this is useful context - when a technician quotes you for a port repair, they’re not just replacing the port itself. They’re accessing it through a layered assembly, which takes time and care to do without introducing new damage.
Step 6: Reassemble in Reverse Order, Checking Alignment at Each Stage
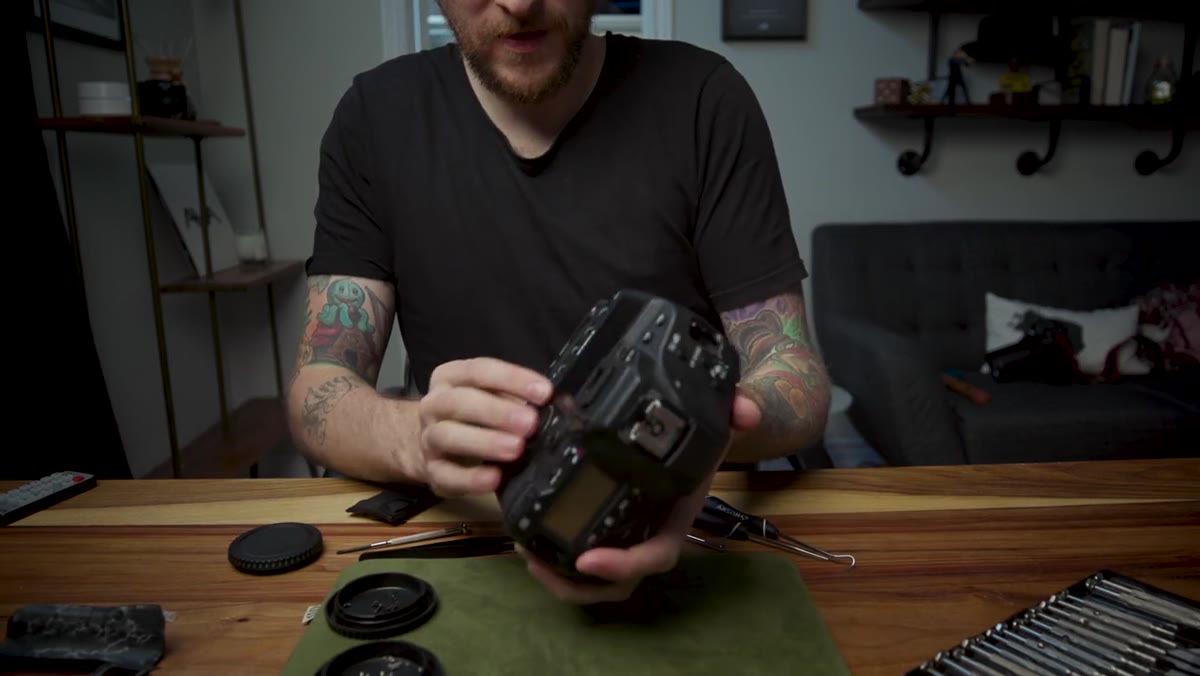 Camera panels being repositioned before screws are replaced
McKinnon starts putting the camera back together almost immediately after getting his look inside. The reassembly principle is straightforward: reverse the exact order you used to open it, reseat each panel before tightening any screws, and don’t fully torque anything down until everything is aligned. Partial assembly - where one section is tight while adjacent sections are still loose - is how panels end up slightly warped or misaligned. Camera seals and gaskets also need even compression to do their job, so rushing the final tightening stage can compromise weatherproofing even if the camera looks fine externally.
A Note on When to Stop and Call a Professional
I love that McKinnon did this, but I want to be direct: this was a camera already destined for a Canon service center. He wasn’t attempting a home repair. He was satisfying curiosity on a body that professionals were going to open anyway. The line I’d draw for anyone reading this is: look, don’t fix. Understanding what’s inside a camera body makes you a smarter owner and a better-informed customer when you need service. It is not a green light to DIY a repair on a functioning camera. Modern camera bodies at any price tier have seals, calibrated components, and tolerances that require specialized equipment to restore properly. My husband once built me a custom tethering rig because I kept stressing cables at the port - a much smarter intervention than opening the body to see what broke.
The single most important thing this video taught me is that professional camera bodies are expensive partly because of what’s inside, but equally because of how that interior is protected from the outside. The layered construction, the hidden fasteners, the rubber seals - all of it exists so your gear survives the conditions you’re actually shooting in. Treat the exterior with as much respect as you’d give the sensor.
Watch the full tutorial on YouTube and see the teardown for yourself - McKinnon’s real-time reactions make it worth watching even if you never plan to touch a screwdriver.
Comments
Leave a Comment