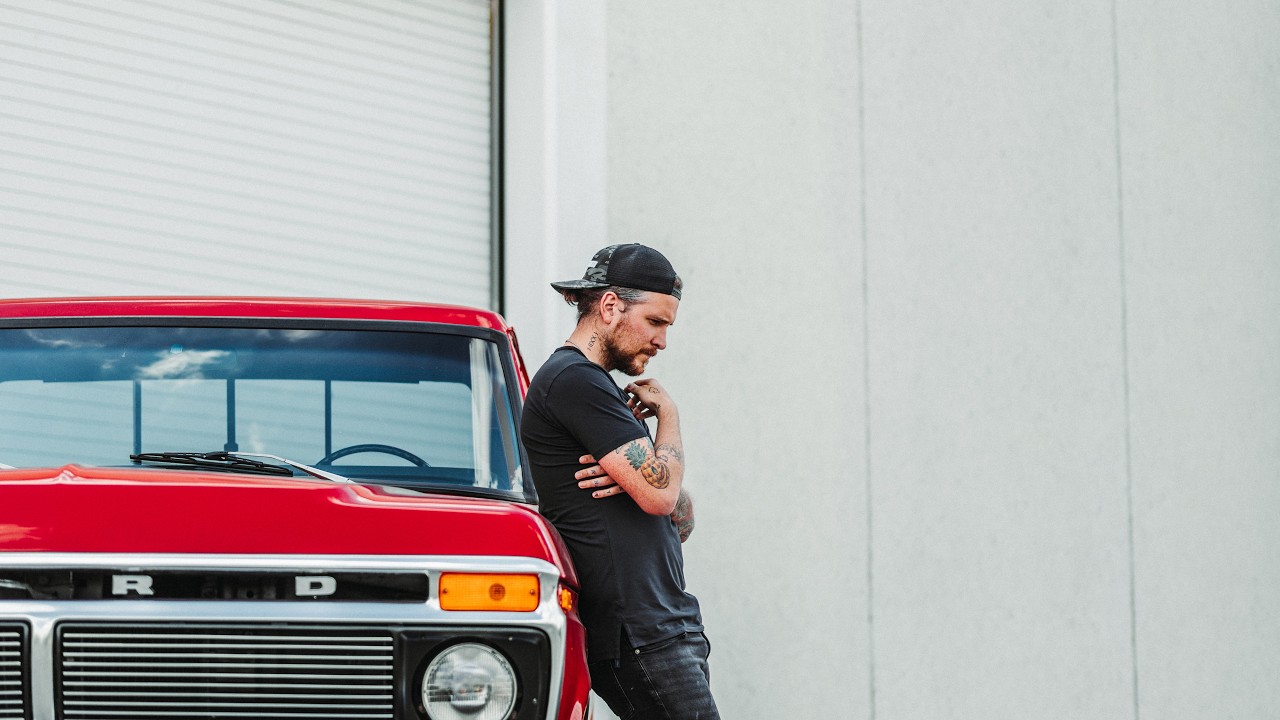
There’s a question I get asked constantly on my Sunday morning photo walks: “How do I make my photos feel like they mean something?” My honest answer is always the same. The feeling usually starts before you ever lift the camera. It starts with what you choose to photograph, and why that thing deserves a frame around it.
Watch the full tutorial on YouTube
In this Peter McKinnon video, what looks on the surface like a vlog about trading in an old truck is actually a quiet, practical lesson in something photographers struggle with all the time: identifying visual character in a subject, reading light and color under real-world conditions, and letting a subject’s imperfections become the story rather than something to work around. McKinnon is one of those creators who teaches sideways. The photography instruction is woven into the moment, not delivered in a classroom. So I wanted to break down what he’s actually showing us here, step by step, because there’s more technique in this video than the title suggests.
Step 1: Choose Subjects That Have Already Done the Work
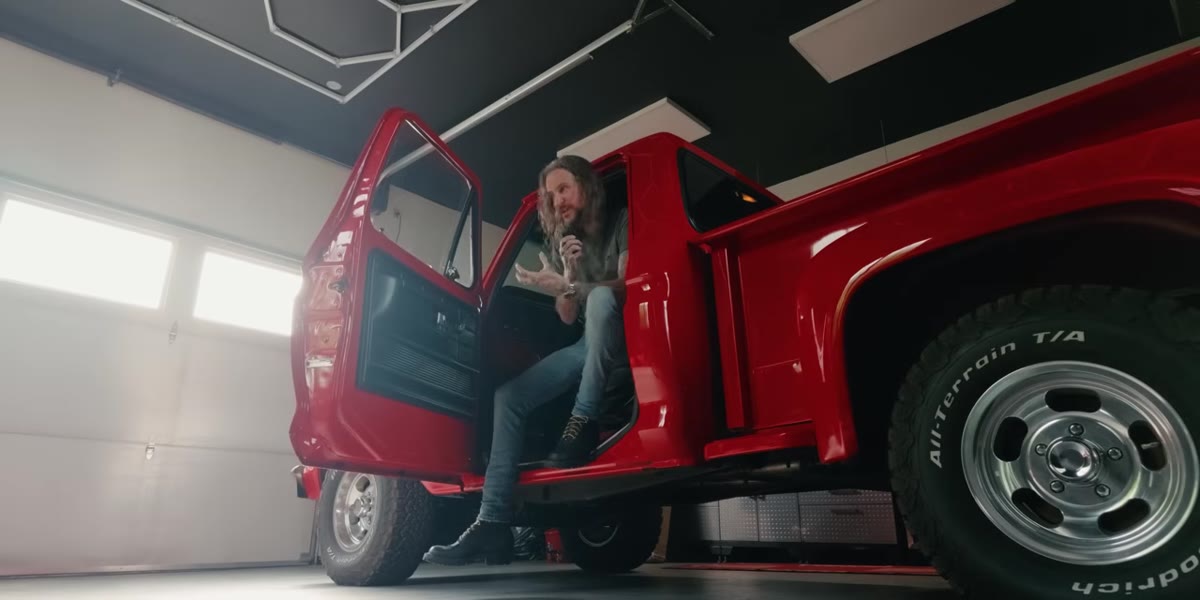 McKinnon gesturing toward vintage truck in parking lot
The first decision McKinnon makes, and the one that shapes every frame in this video, is choosing a subject with inherent visual weight. His 1977 Ford truck isn’t just old. It has patina, proportion, and a history you can read on its surface without any explanation. When you’re scouting subjects for a shoot, ask yourself whether the object or person carries a story that will show up on camera without you having to manufacture it.
McKinnon gesturing toward vintage truck in parking lot
The first decision McKinnon makes, and the one that shapes every frame in this video, is choosing a subject with inherent visual weight. His 1977 Ford truck isn’t just old. It has patina, proportion, and a history you can read on its surface without any explanation. When you’re scouting subjects for a shoot, ask yourself whether the object or person carries a story that will show up on camera without you having to manufacture it.
This matters enormously in lifestyle and travel photography. I spent an entire vacation chasing a specific waterfall shot, missing dinner every night, because I thought I needed a dramatic location to make a dramatic image. What I eventually learned is that a subject with genuine history, wear, or personality will give you stronger images with less effort than a pristine subject in a perfect location. Start your pre-shoot planning by asking: what has this thing been through? If the answer is “not much,” keep looking.
Step 2: Assess Color Accurately Before You Shoot
 Group using flashlight to determine truck’s actual paint color
One of the most practically useful moments in the video is when McKinnon and his crew genuinely cannot agree on the truck’s color. In ambient light it reads as black, then possibly brown, then finally, under a direct flashlight, confirmed as a dark forest green. This is not just a funny scene. It is a real and recurring problem in photography.
Group using flashlight to determine truck’s actual paint color
One of the most practically useful moments in the video is when McKinnon and his crew genuinely cannot agree on the truck’s color. In ambient light it reads as black, then possibly brown, then finally, under a direct flashlight, confirmed as a dark forest green. This is not just a funny scene. It is a real and recurring problem in photography.
Color shifts dramatically depending on light source, intensity, and angle. Before you commit to your white balance settings or start planning a color grade, physically observe your subject under the light conditions you’ll actually be shooting in. If you’re outdoors, check the subject at the time of day you plan to shoot. Use your phone to take a test shot and zoom into the color values. McKinnon’s instinct to grab a flashlight for confirmation is exactly the right move: when ambient light is ambiguous, introduce a controlled source to get a true read. This saves you from making color grading decisions in post that are fighting against what the subject actually looks like.
Step 3: Let Imperfection Be a Feature, Not a Problem
 McKinnon reacting positively to truck’s clean but worn appearance
McKinnon makes an interesting comment when the truck arrives. He had expected it to look rougher, more beat-up, and he’s initially unsure about how clean it turned out. Then he settles into it. The subject is what it is, and his job is to find the photographic truth in that, not the version he pre-imagined.
McKinnon reacting positively to truck’s clean but worn appearance
McKinnon makes an interesting comment when the truck arrives. He had expected it to look rougher, more beat-up, and he’s initially unsure about how clean it turned out. Then he settles into it. The subject is what it is, and his job is to find the photographic truth in that, not the version he pre-imagined.
This is something I try to remind beginners of constantly. You will almost never encounter a subject exactly as you planned it. Locations change, light shifts, subjects are different in person than in reference photos. Photographers who adapt and look for the honest version of a scene almost always come home with stronger images than those who force the shot they planned. When you arrive at a shoot and something isn’t what you expected, slow down before you start adjusting. Look at what’s actually there. The unexpected version is sometimes better.
Step 4: Read Scale and Proportion Before Framing
 McKinnon reacting to how high the truck sits after being lifted
The truck turns out to be significantly more lifted than McKinnon anticipated. His immediate reaction is physical. He steps back, looks up, recalibrates. This is instinctive compositional thinking. Before you put the camera to your eye, your body is already solving the framing problem.
McKinnon reacting to how high the truck sits after being lifted
The truck turns out to be significantly more lifted than McKinnon anticipated. His immediate reaction is physical. He steps back, looks up, recalibrates. This is instinctive compositional thinking. Before you put the camera to your eye, your body is already solving the framing problem.
When you encounter a subject that’s larger, taller, or more physically imposing than expected, your default shooting position is probably wrong. Shooting a lifted truck from standing eye level will make it look flat and give you a boring angle dominated by wheel wells. Shooting from low and close, or from a distance with compression from a longer focal length, will give you proportion that communicates scale. Walk around the subject completely before you shoot. Crouch down. Step back. Let your body read the geometry before your viewfinder does.
Step 5: Use Motion and Sound as Composition Data
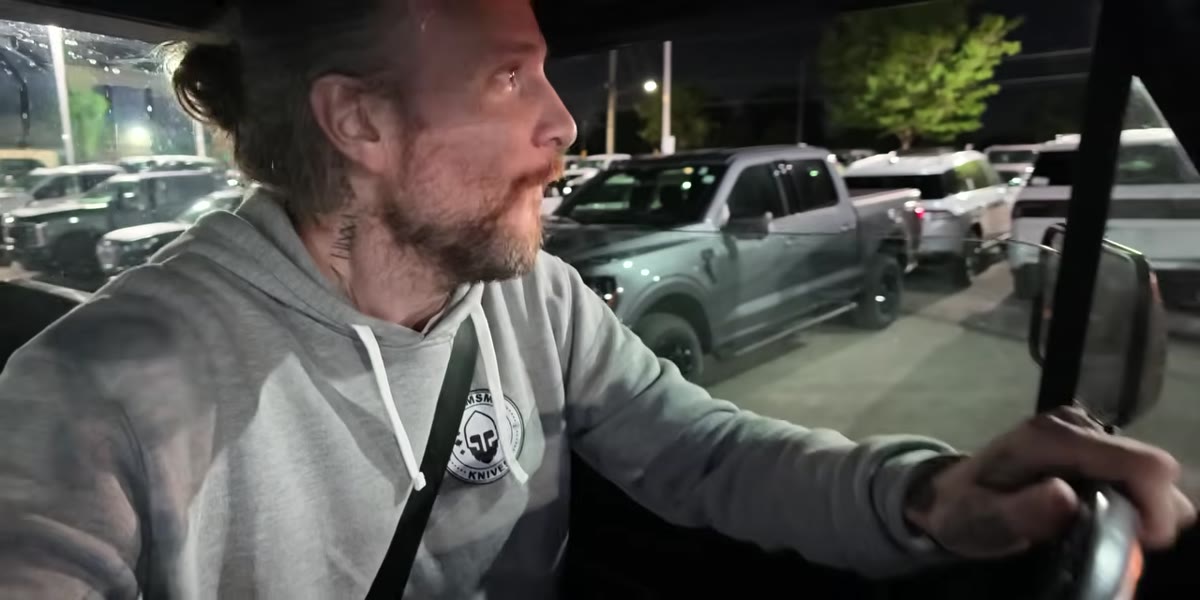 Truck idling and running for the first time on location
When the truck finally starts up, McKinnon’s response is immediate and multisensory. He notes how it sounds, how it smells, the way the engine idles. For photographers, this kind of full-scene awareness translates directly into better shot selection. Sound tells you about rhythm. Vibration tells you about timing. If you’re shooting something that moves or runs, listen to it before you shoot it.
Truck idling and running for the first time on location
When the truck finally starts up, McKinnon’s response is immediate and multisensory. He notes how it sounds, how it smells, the way the engine idles. For photographers, this kind of full-scene awareness translates directly into better shot selection. Sound tells you about rhythm. Vibration tells you about timing. If you’re shooting something that moves or runs, listen to it before you shoot it.
For vehicles especially, the idle and throttle response will tell you when to fire the shutter for a frame with visual energy versus one that looks static. If you’re shooting exhaust, listen for the cycle. If you’re shooting water, listen for the surge. Your ears are a timing tool, and learning to use sensory input beyond what you can see through the viewfinder will improve your hit rate on dynamic subjects considerably.
My Own Extension: The Pre-Shoot “Character Audit”
I’ve started doing something I call a character audit before any shoot involving a specific subject, whether that’s a vintage piece of gear, a person, a vehicle, or a location. I spend five minutes with the subject before I touch my camera. I look for marks, wear patterns, unexpected colors, scale surprises, and anything that contradicts my first impression. I take notes on my phone. This process has given me better leading images, better framing choices, and honestly, better captions and context for my posts, because I understand what I’m photographing before I start making decisions.
McKinnon does this naturally, almost unconsciously, because he has years of practice. But it’s a habit that beginners can build deliberately, and it changes the quality of your work faster than buying new gear.
The single most important takeaway from this video is this: photographing something with genuine character is easier than trying to manufacture character in post. Find subjects with a real story, observe them honestly under actual light conditions, and let the imperfections do some of the work for you.
Watch the full tutorial on YouTube and pay attention to the moments between the moments. That’s where the real instruction lives.
Comments
Leave a Comment