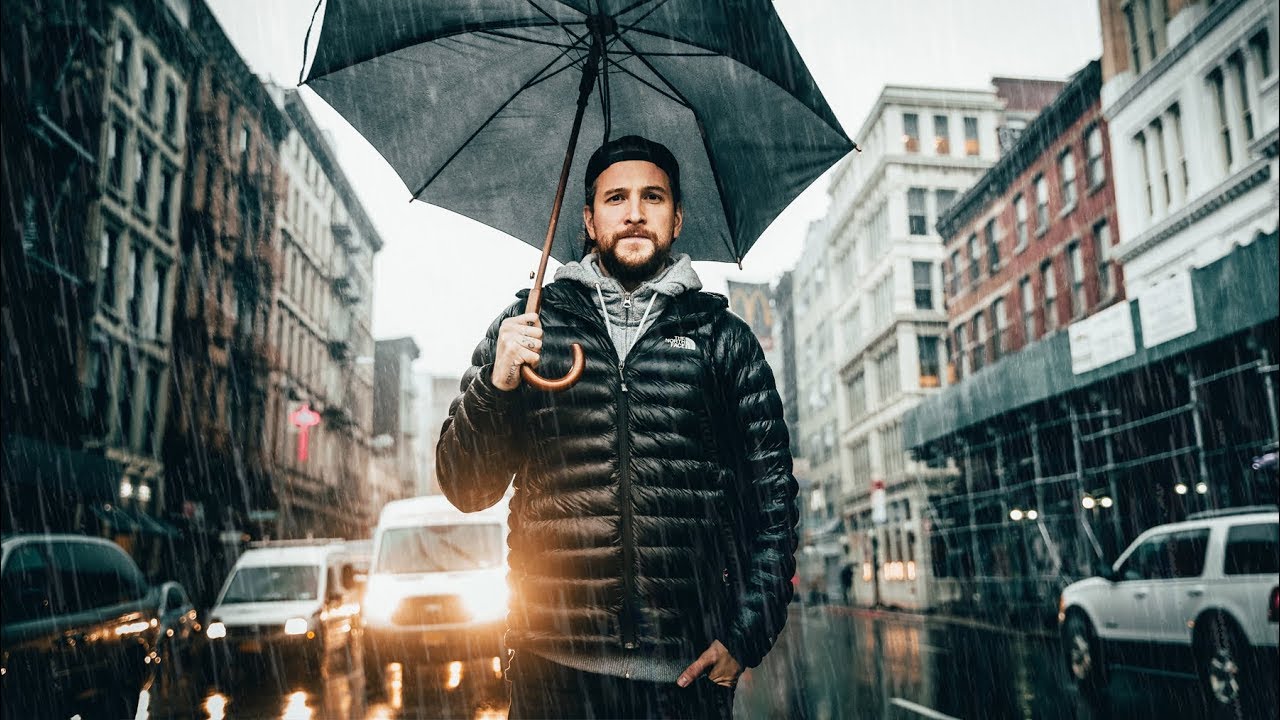
There’s a specific kind of Sunday morning I know well. It’s dark, it’s cold, and the weather app says exactly what you don’t want it to say. I’ve stood at my apartment window in Seattle more times than I can count, coffee in hand, trying to talk myself out of my weekly photo walk because the sky looked miserable. And more times than I’d like to admit, I stayed home. I missed shots I’ll never get back because I didn’t want wet socks.
That’s why I keep coming back to this particular Peter McKinnon tutorial. Watch the full tutorial on YouTube - in it, McKinnon documents a real, unfiltered dawn shoot in a rainy New York City. No studio. No ideal conditions. He’s running on about three hours of sleep, it’s coming down hard, and he goes anyway. What makes this video worth studying isn’t a specific camera trick or editing technique. It’s the working philosophy underneath it - and the practical decisions he makes in the moment that most tutorials skip over entirely.
The conditions in this video are genuinely bad. And the photos are genuinely good. That gap is the whole lesson.
Step 1: Make the Decision to Go Before You Feel Ready
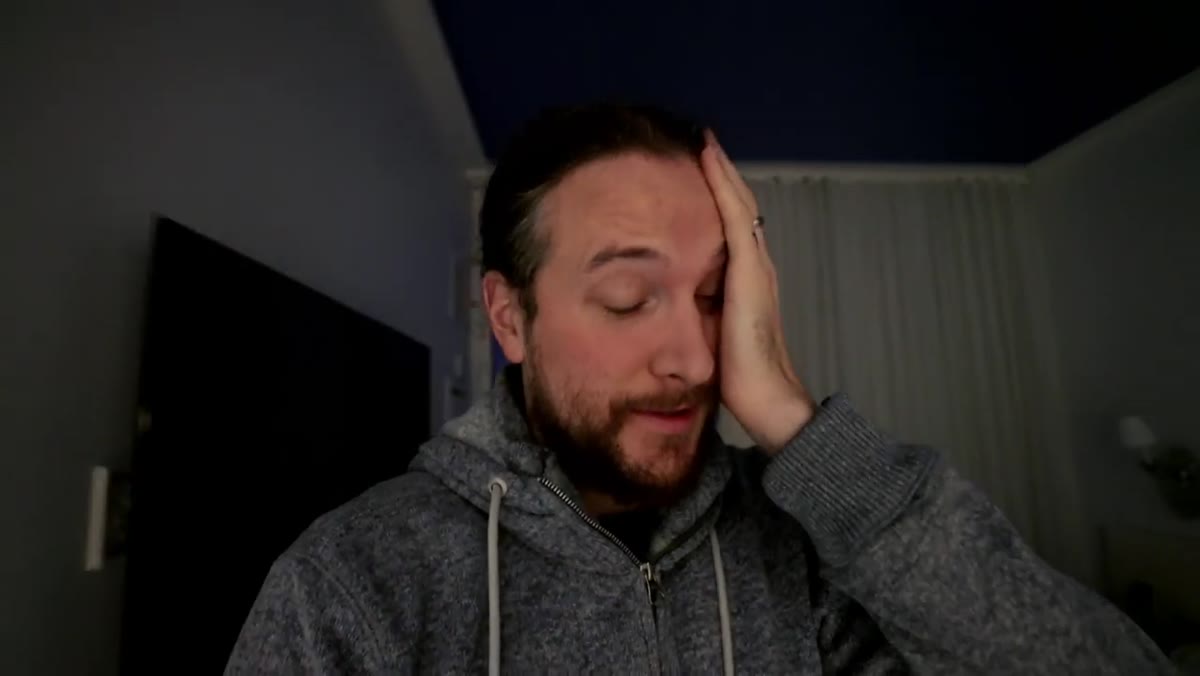 Peter filming himself at 6am preparing to leave
McKinnon is on camera at six in the morning, clearly exhausted, narrating his own reluctance in real time. He mentions the rain outside, questions whether to bring certain gear, and then goes anyway. This is the first and most important step, and it’s the one nobody wants to put in a tutorial because it doesn’t involve any equipment.
The practical takeaway here is to lower the internal threshold for what counts as “good enough conditions” to shoot. If you wait for golden hour with perfect clouds and 65 degrees, you’ll get a handful of shoots a year. If you’re willing to go out in the rain, before sunrise, on a weekday, you separate yourself from almost everyone else pointing a camera. Set a rule for yourself: if you can be physically safe and your gear can be reasonably protected, go.
Step 2: Pack Light and Protect What Matters
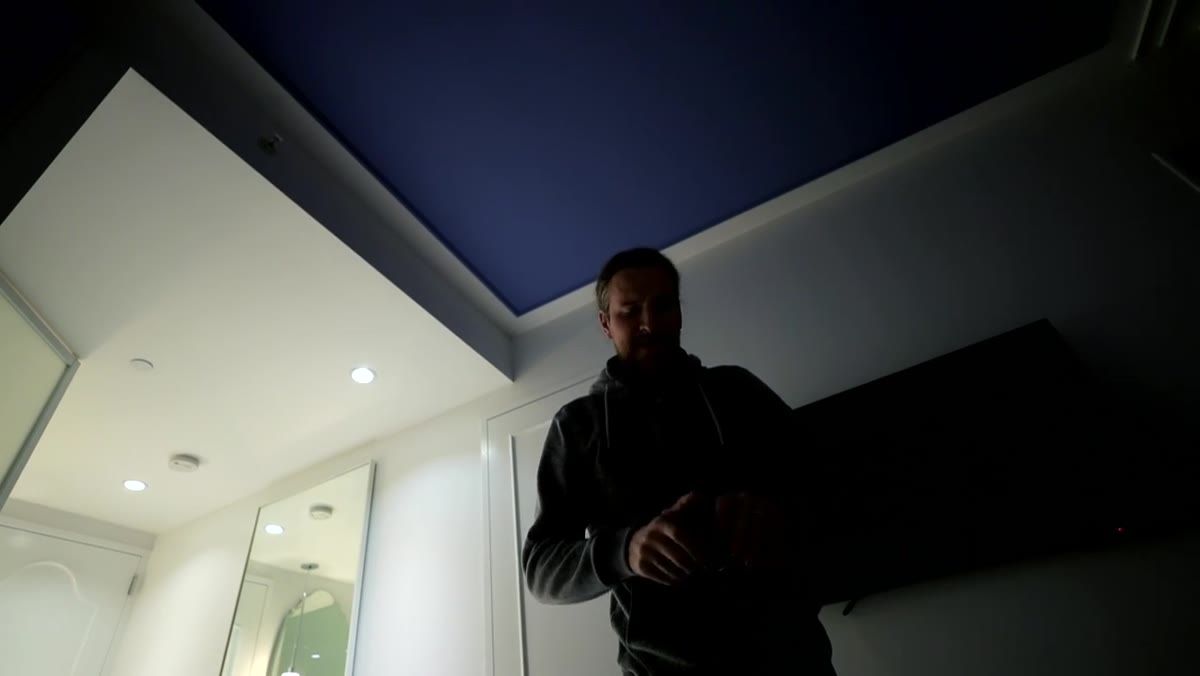 Peter deciding which lens to bring in rainy conditions
He deliberates over which lens to bring, specifically whether to pack his 85mm, because he doesn’t want everything getting soaked. This is a real gear decision that affects your whole shoot, and it’s worth thinking through before you leave the house rather than standing in a doorway second-guessing yourself.
For rain shoots, I recommend going with your most weather-sealed body if you have one, one or two lenses you trust in moisture, and a single bag you can close quickly. A lens cloth or small chamois tucked into an accessible pocket will save you more than any fancy rain cover. McKinnon mentions using a taxi bag as a prop for a shot later in the video - the point is that a lighter kit makes you more mobile and more creative, not less. You stop guarding your gear and start using it.
Step 3: Let the Weather Work For You, Not Against You
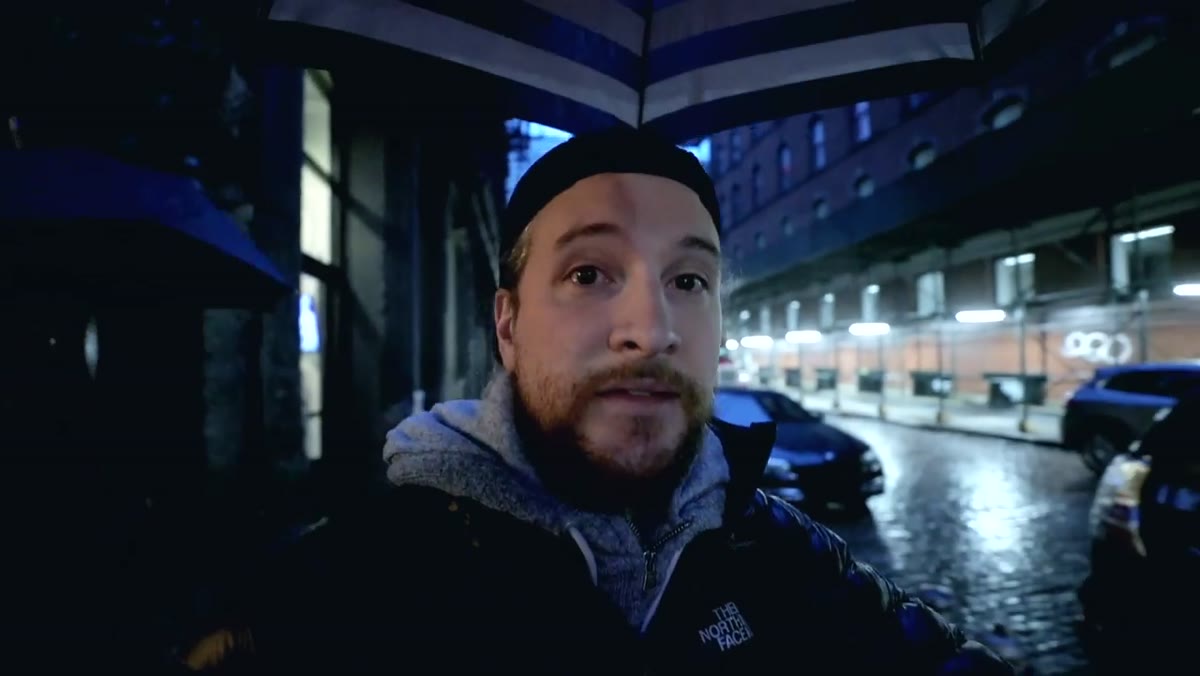 Shooting begins on wet New York City streets at dawn
Once they’re actually out in it, McKinnon’s whole framing shifts. He’s not complaining about the rain - he’s noting how it creates the conditions for a specific kind of image. Wet streets reflect light. Fog flattens the background and draws attention to subjects. Overcast skies act like a giant natural softbox, eliminating harsh shadows on faces.
When you’re shooting in rain or heavy overcast, your exposure will be different than a sunny day. You’ll likely need to bump your ISO or widen your aperture to compensate for the low light. On a cloudy morning in a city, I’ll often start around ISO 800, f/2.0 if I’m on a prime, and let the shutter fall where it needs to. The even, diffused light means you have more flexibility than you’d expect.
Step 4: Shoot Anyway When Conditions Are Genuinely Uncomfortable
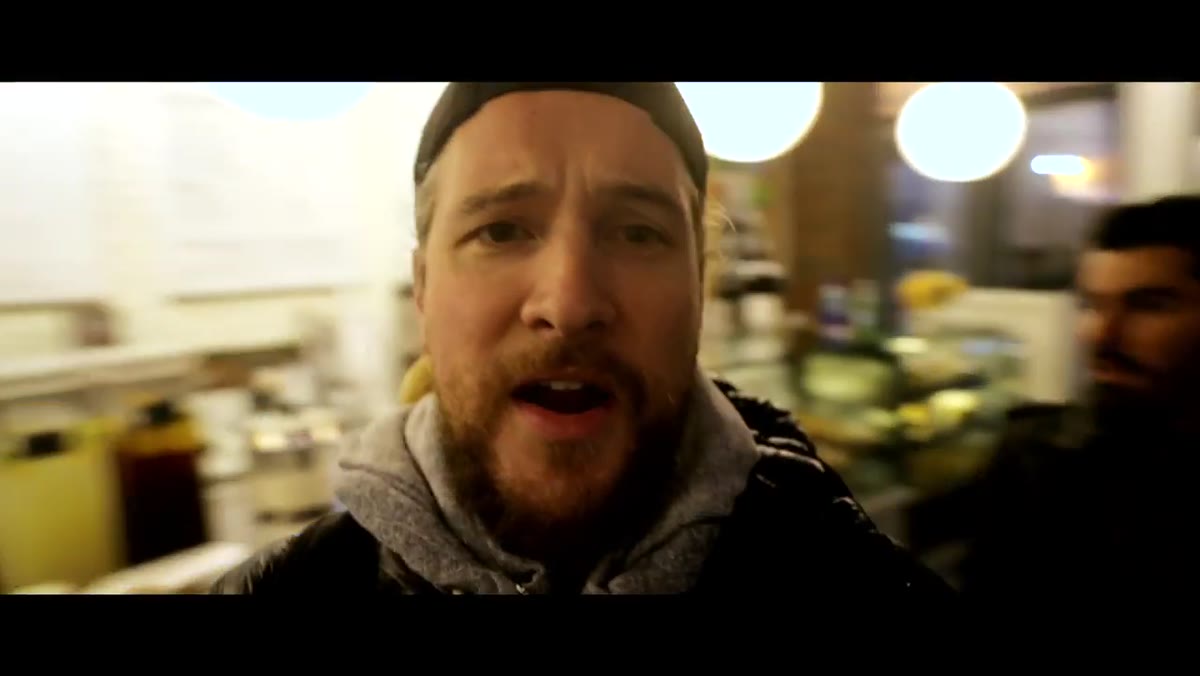 Peter and collaborator seeking coffee mid-shoot
There’s a moment midway through where they duck into a coffee shop. It’s not a break from the shoot - it’s part of the process. They warm up, regroup, and head back out. This is good shoot management. You’re not a machine. Keeping yourself functional keeps your eye sharp.
The mental skill here is separating “I am uncomfortable” from “I should stop shooting.” Discomfort is usually a signal that you’re in the conditions that produce interesting images. I once spent three evenings at a waterfall in Iceland getting drenched trying to nail one long-exposure shot. The images I brought home from those miserable evenings are still some of my favorites. The discomfort was the price of admission.
Step 5: Review the Logic of Your Shots After You Wrap
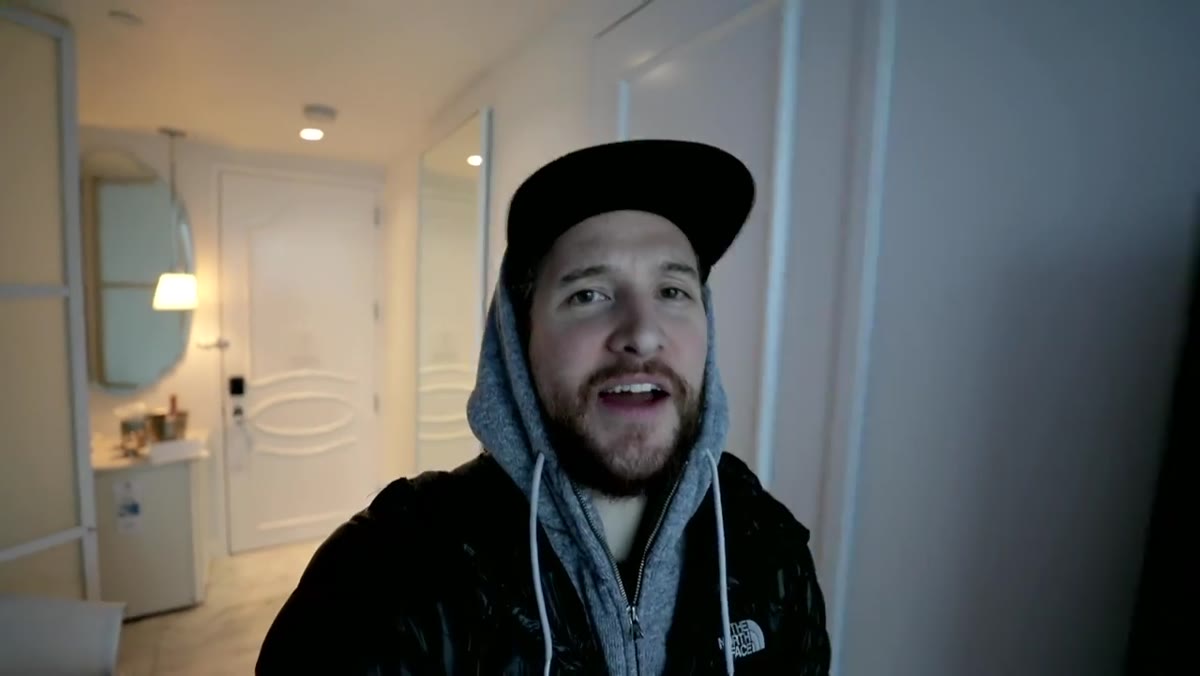 Peter reflecting on the morning’s results from inside
Back inside and soaked, McKinnon talks through what made the session worth it. He’s direct: bad weather makes for better content. The visual texture of a rainy city - puddles, reflections, muted colors punctuated by artificial light - gives images a cinematic quality that’s genuinely hard to fake in post.
After any difficult shoot, do a quick mental debrief before you even look at the files. What conditions did you use? What did you adjust on the fly? What would you do differently? This turns each uncomfortable shoot into a data point, not just a story about surviving the weather. Over time, you build a personal library of “if conditions are X, I do Y” knowledge that no tutorial can fully give you.
A Note on Gear Anxiety in Bad Weather
McKinnon mentions a story about dunking a Canon 1DX in a river in Japan - completely submerged for nearly forty seconds - and the camera survived. The lens did not. This is the kind of real-world gear knowledge that actually recalibrates how you treat your equipment in the field.
I’m not suggesting you go dunk your camera in a river. But I will say that most mid-to-high-range bodies handle moisture better than their owners’ anxiety suggests. I’ve shot in Seattle drizzle with bodies that technically weren’t weather-sealed and walked away fine because I was thoughtful about it - lens cloth out, bag closed between shots, never shooting directly into rain. Know your gear’s actual limits, not the imagined worst-case ones. Gear anxiety kills more shots than rain does.
The single biggest thing this video hammered home for me is something I try to repeat to anyone who takes a walk with me on a gray Sunday morning: the conditions you least want to shoot in are often the ones that produce the images you most want to share. Discomfort has a ROI. The harder it is to get yourself out the door, the fewer people showed up to get that shot.
Watch the full tutorial on YouTube and pay attention to how McKinnon narrates his own reluctance throughout. That honesty about the unglamorous parts of showing up is exactly what makes it worth watching.
Comments (4)
I've been looking for exactly this kind of tutorial. Perfect timing.
Great breakdown. The step-by-step approach really helps.
Been doing this wrong for years apparently. Thanks for the wake-up call.
Quality content like this is rare. Keep it up.
Leave a Comment