There’s a question I still get almost every week, usually from someone who just bought their first mirrorless camera and feels completely lost: “Where do I even start?” I used to give the same scattered answer every time, pointing people toward YouTube rabbit holes and hoping they’d find something coherent. The honest truth is that finding a structured, beginner-friendly resource that actually holds together from start to finish is harder than it should be. Most free content is either too shallow or jumps around without building real understanding.
That’s why I was genuinely glad to see this from Visual Education. Watch the full tutorial on YouTube
To mark 12 years of teaching photographers, Visual Education has remastered and re-filmed their foundational introduction to photography course from the ground up, and they’ve made the whole thing free with no signup required. That’s a meaningful gesture. These are the kinds of courses that used to sit behind a paywall, and for good reason - they’re built with real instructional structure, not just someone talking at a camera for an hour. Below I’ve broken down what you can expect and how to get the most out of it.
Step 1: Understand What “Taking Control” of Your Camera Actually Means
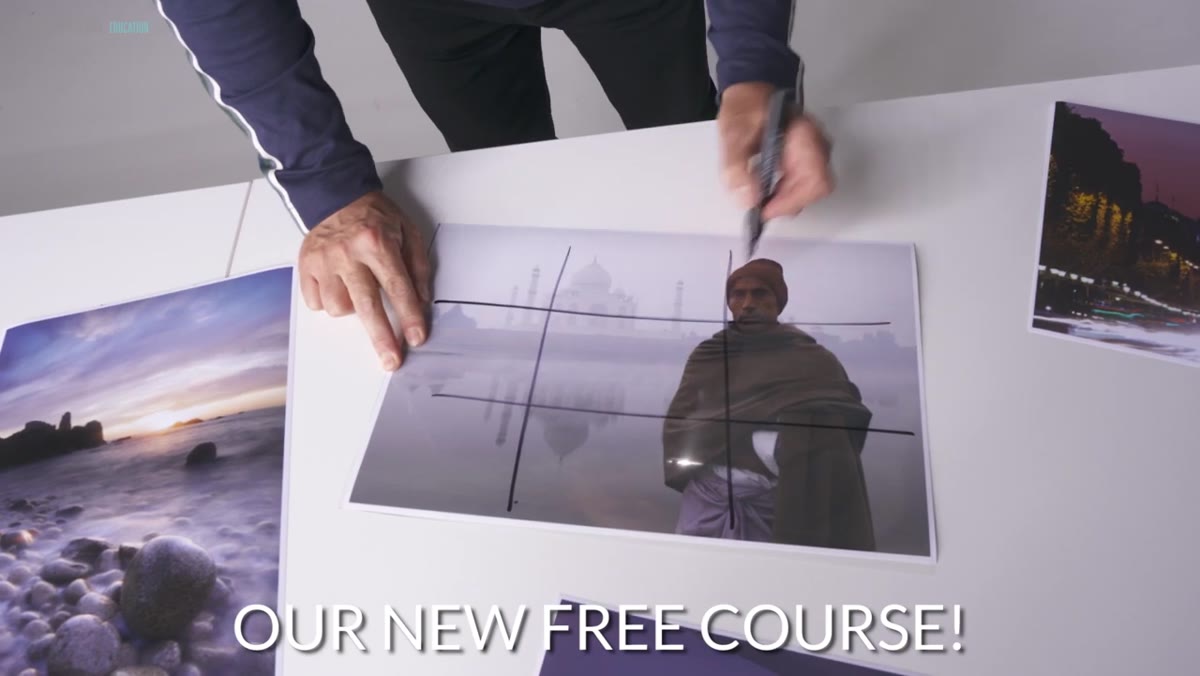 Course introduction explaining camera control concepts
Most beginners shoot in auto mode because it feels safe. The camera makes decisions quickly, the shot comes out okay, and nothing gets missed. The problem is that “okay” becomes a ceiling. You can’t replicate a shot you liked, you can’t fix one that went wrong, and you’re essentially a passenger in your own creative process. This course is built around dismantling that dependency, and it starts by framing camera control not as a technical burden but as a creative unlock.
Course introduction explaining camera control concepts
Most beginners shoot in auto mode because it feels safe. The camera makes decisions quickly, the shot comes out okay, and nothing gets missed. The problem is that “okay” becomes a ceiling. You can’t replicate a shot you liked, you can’t fix one that went wrong, and you’re essentially a passenger in your own creative process. This course is built around dismantling that dependency, and it starts by framing camera control not as a technical burden but as a creative unlock.
Before you dive into settings, the course asks you to shift your mindset: the goal isn’t to memorize numbers, it’s to understand what each control is actually doing to light and time. Once that clicks, every other lesson has somewhere to land.
Step 2: Get Oriented With the Course Structure Before You Sit Down to Shoot
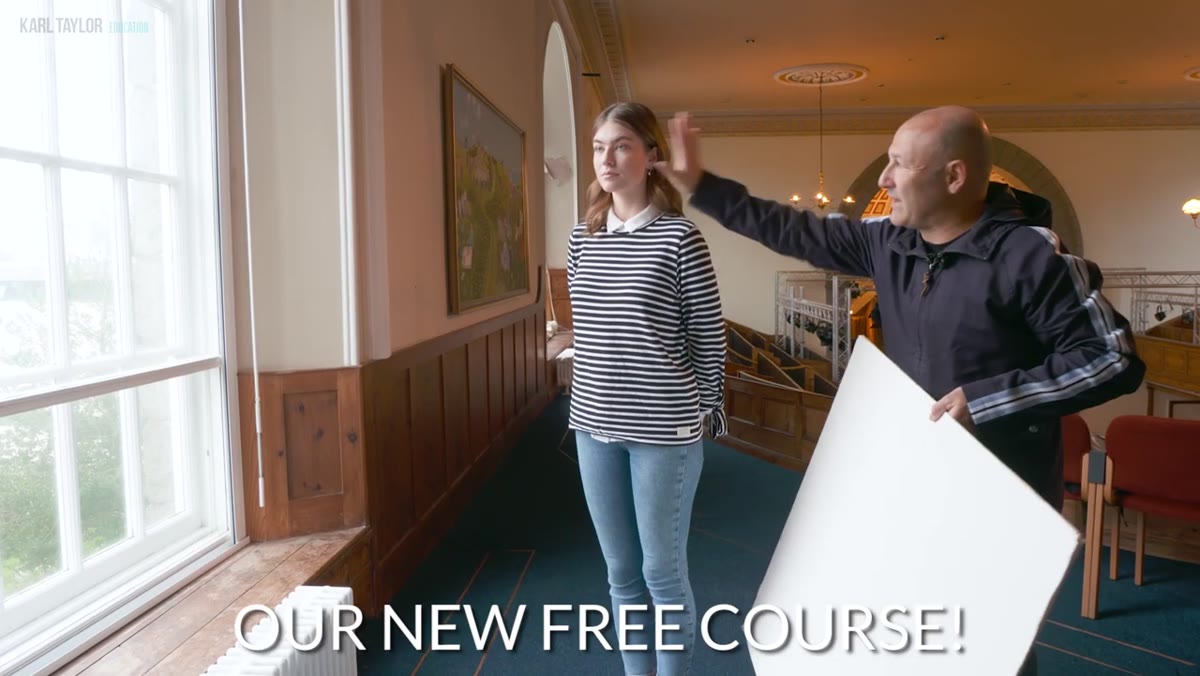 Course highlights overview showing lesson breakdown
One thing I appreciate about the way Visual Education has built this is that it’s designed to be watched in order. That sounds obvious, but a lot of people (myself included, back in the day) will skip to whatever feels most urgent and then wonder why things aren’t connecting. The remastered version of this course was clearly rebuilt with sequence in mind, each section creating the foundation for the next.
Course highlights overview showing lesson breakdown
One thing I appreciate about the way Visual Education has built this is that it’s designed to be watched in order. That sounds obvious, but a lot of people (myself included, back in the day) will skip to whatever feels most urgent and then wonder why things aren’t connecting. The remastered version of this course was clearly rebuilt with sequence in mind, each section creating the foundation for the next.
Before your first session, do a quick scan of the full course outline. Know what’s coming. This helps you shoot with more patience during the early lessons, because you’ll trust that the questions you have now will get answered a few steps later.
Step 3: Commit to Shooting Manually as a Learning Tool, Not a Badge of Honor
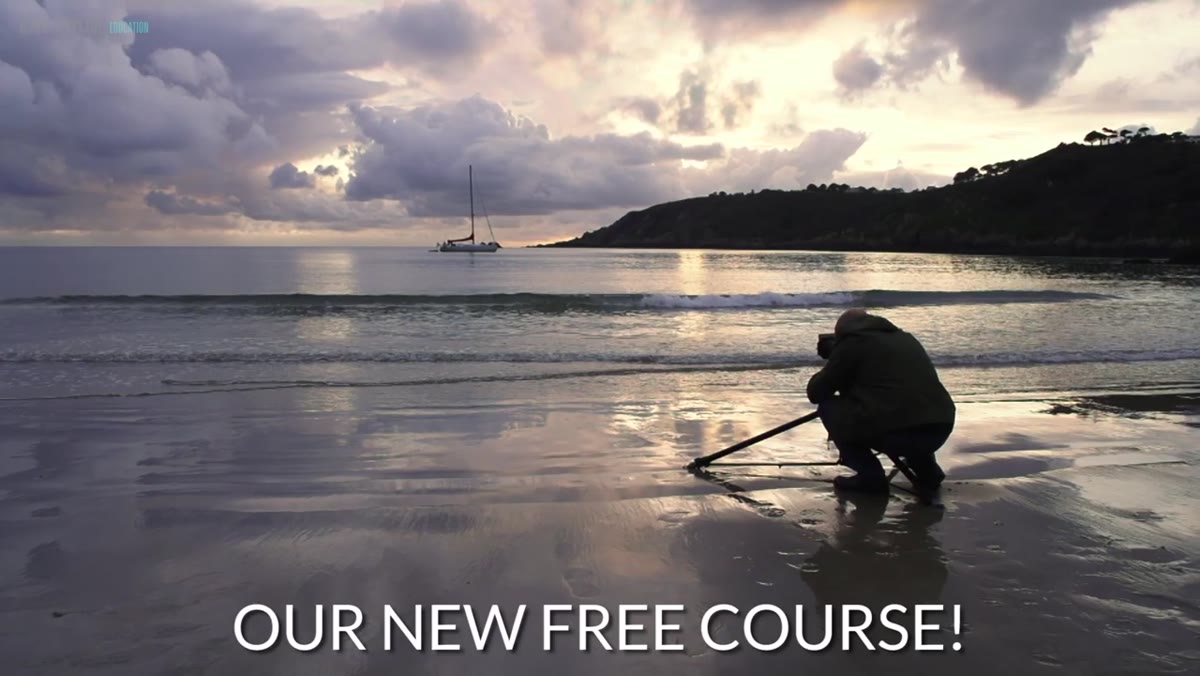 Camera settings demonstration during course walkthrough
Manual mode gets fetishized in photography communities in a way that’s not always useful. You don’t have to shoot manual forever, but shooting it while you’re learning is one of the fastest ways to build intuitive understanding of how aperture, shutter speed, and ISO interact. Think of it like learning to drive a stick shift. You probably won’t drive one every day, but understanding the relationship between the clutch and the engine makes you a better driver regardless.
Camera settings demonstration during course walkthrough
Manual mode gets fetishized in photography communities in a way that’s not always useful. You don’t have to shoot manual forever, but shooting it while you’re learning is one of the fastest ways to build intuitive understanding of how aperture, shutter speed, and ISO interact. Think of it like learning to drive a stick shift. You probably won’t drive one every day, but understanding the relationship between the clutch and the engine makes you a better driver regardless.
The course walks you through these three controls in a way that treats them as a system rather than three separate dials. Spend time with each lesson before moving on. If the course gives you an exercise, actually do it, even if it’s just in your backyard or your kitchen.
Step 4: Use the Remastered Production Quality as Part of Your Learning
 Remastered course footage showing updated visual quality
Visual Education specifically called out that this version has been completely refilmed, not just re-edited. That matters more than it sounds. Better production means clearer on-screen demonstrations, more legible camera settings, and camera work that’s actually built to show you what they’re describing. I’ve tried learning from older tutorial footage where the text was too small to read or the exposure on the demo shot was so different from what they were describing that it created more confusion than clarity.
Remastered course footage showing updated visual quality
Visual Education specifically called out that this version has been completely refilmed, not just re-edited. That matters more than it sounds. Better production means clearer on-screen demonstrations, more legible camera settings, and camera work that’s actually built to show you what they’re describing. I’ve tried learning from older tutorial footage where the text was too small to read or the exposure on the demo shot was so different from what they were describing that it created more confusion than clarity.
Watch on the largest screen you have access to, and don’t feel shy about pausing and rewinding. This isn’t a passive experience. Treat it more like a class than a Netflix show.
Step 5: Access the Course Without Creating Yet Another Account
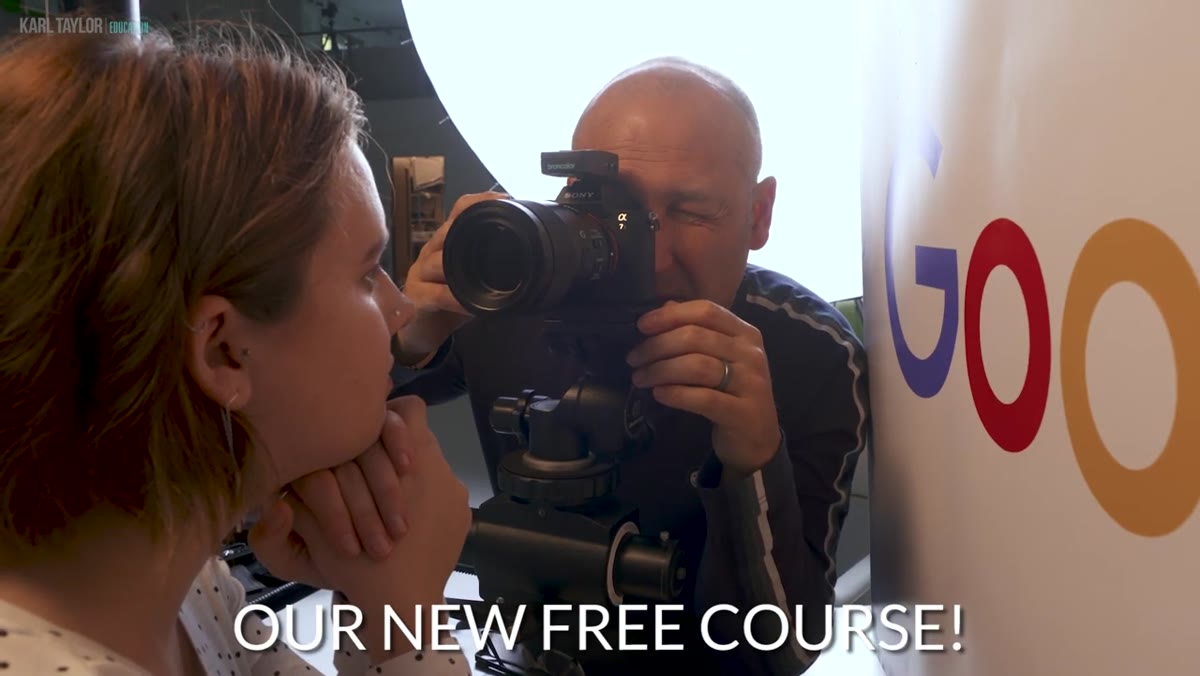 Call to action showing where to find the free course link
The no-signup detail is worth highlighting because it removes a real friction point. How many times have you clicked on something “free” only to hit an email gate, a credit card field “just in case,” or a 14-day trial clock? None of that here. The link to the full course is provided at the end of the video, and from there you can go straight into the content.
Call to action showing where to find the free course link
The no-signup detail is worth highlighting because it removes a real friction point. How many times have you clicked on something “free” only to hit an email gate, a credit card field “just in case,” or a 14-day trial clock? None of that here. The link to the full course is provided at the end of the video, and from there you can go straight into the content.
Bookmark it. Send it to the friend who keeps asking you to teach them photography. This is the kind of resource you’ll want to reference again even after you’ve leveled up.
What I’d Add From My Own Experience
The fundamentals this course covers are the same ones I come back to when I’m troubleshooting a shoot that isn’t working. Just last Sunday on my morning photo walk, I switched to full manual because I was shooting in mixed light between a covered market and an open street, and auto was making inconsistent decisions every few frames. Understanding your exposure triangle well enough to override the camera quickly is a skill that takes repetition to build.
My one caveat: don’t let “free” lower your expectations going in. Treat this the same way you’d treat a paid course. Show up for it, take notes, and give yourself assignments. I started teaching photography because a stranger at a coffee shop looked at my phone screen and asked how I’d taken the shot I was editing. The only honest answer I had was: someone took the time to explain it to me clearly, and then I practiced until it felt natural. That’s all this is. Someone taking the time to explain it clearly. The practice part is still on you.
The single most important takeaway from everything Visual Education has built here is this: understanding your camera is not about the gear, it’s about making intentional decisions instead of hoping the machine guesses right. Get comfortable with that idea, and everything else becomes learnable.
Watch the full tutorial on YouTube and follow the link at the end to access the free course.
Comments
Leave a Comment