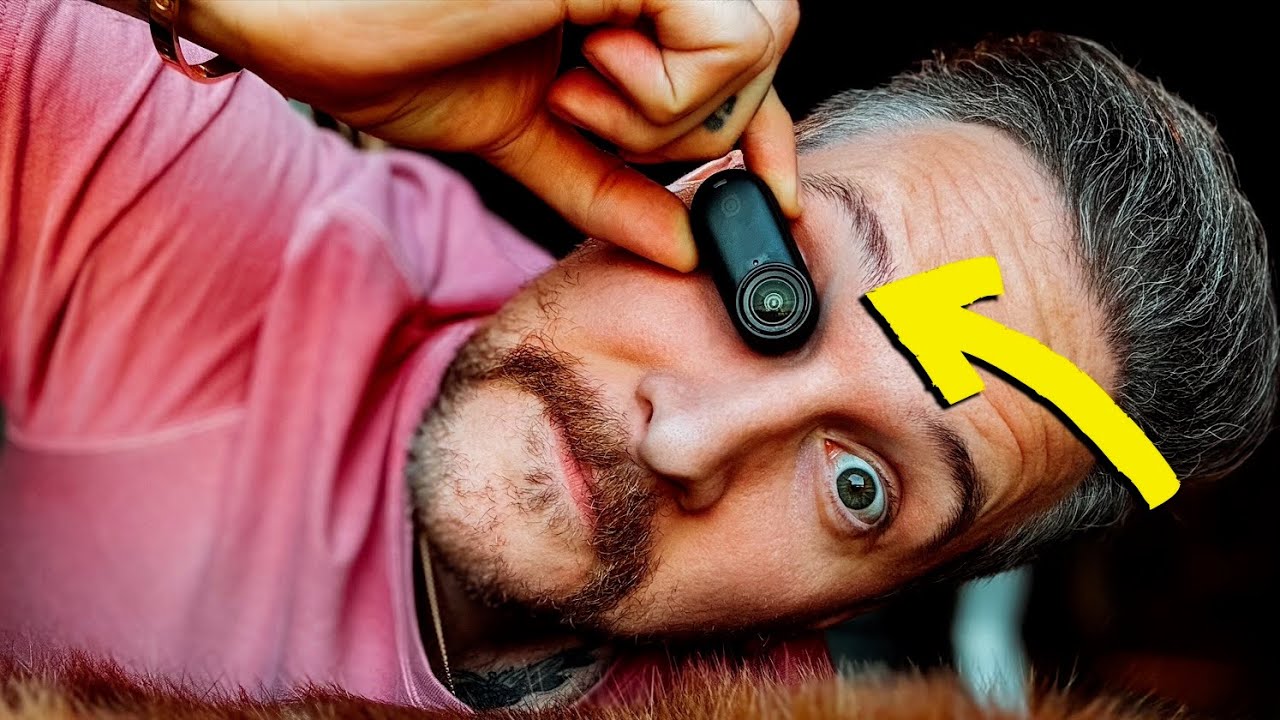
I have a confession: I spent years dismissing action cameras as “sports gear.” Helmet cams, surfboard mounts, skydiving footage. Not my world. Then I started noticing how a handful of filmmakers were using these tiny cameras to pull off shots that a full-sized rig simply cannot do, and I had to rethink everything. The size isn’t a limitation. It’s the whole point.
In this Peter McKinnon tutorial covering the Insta360 GO 3S, Watch the full tutorial on YouTube, McKinnon doesn’t just walk through specs. He brings in two filmmakers, Jesse Driftwood and Kristoff Beny, to demonstrate what genuinely creative, unconventional camera placement looks like in practice. Watching their behind-the-scenes work reshaped how I think about camera size as a creative variable, not just a convenience.
If you’ve ever felt boxed in by your gear, or assumed that better shots require bigger equipment, this breakdown is for you. Here’s what I took away, step by step.
Step 1: Understand What Actually Changed (and Why It Matters for Your Shots)
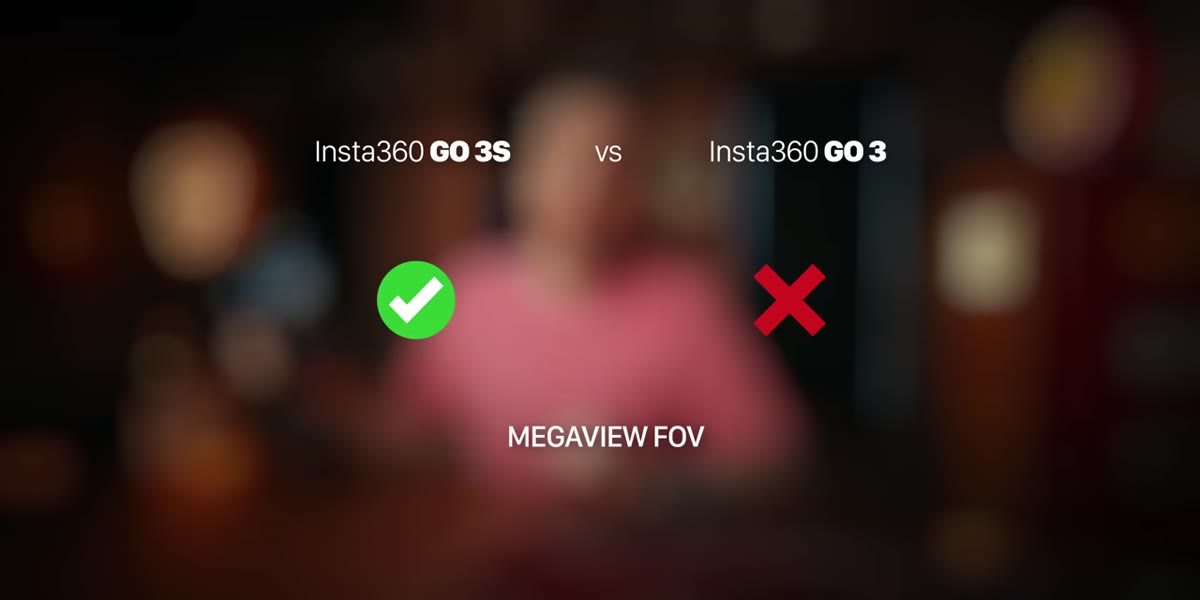
 Side-by-side spec comparison of GO 3 versus GO 3S
Before you pick up any new piece of gear, you need to know which upgrades actually affect your images and which are just marketing. With the GO 3S, the meaningful jumps are resolution (up to 4K from 2.7K), a higher bitrate for better color grading flexibility, and waterproofing rated to 10 meters for the camera unit itself. That last one matters if you shoot near water, because the previous version was only rated to 5 meters.
Side-by-side spec comparison of GO 3 versus GO 3S
Before you pick up any new piece of gear, you need to know which upgrades actually affect your images and which are just marketing. With the GO 3S, the meaningful jumps are resolution (up to 4K from 2.7K), a higher bitrate for better color grading flexibility, and waterproofing rated to 10 meters for the camera unit itself. That last one matters if you shoot near water, because the previous version was only rated to 5 meters.
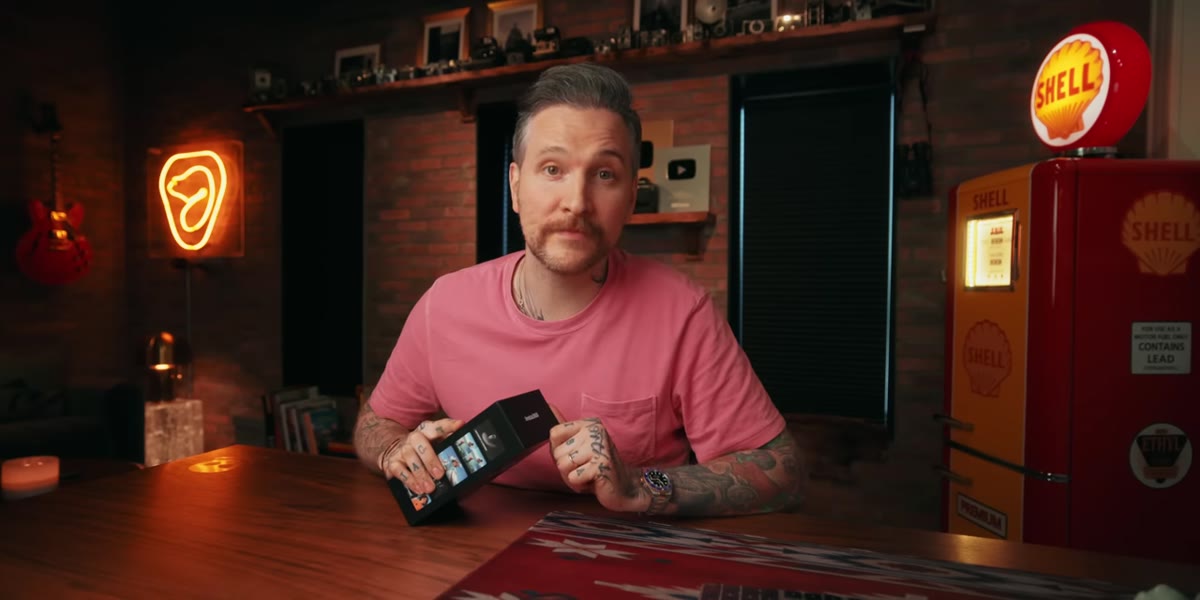
One practical note: the Action Pod that the camera magnetically attaches to is only splash-proof, not waterproof. If you’re planning underwater shots, you’re working with the camera alone. Know the difference before you wade in. The 128GB version runs about $429, and McKinnon’s take is blunt: pay the extra $30 over the base model and get the storage. I agree. Running out of space mid-shoot is a special kind of frustrating.
Step 2: Use the Hat Clip Mount for Natural POV Footage
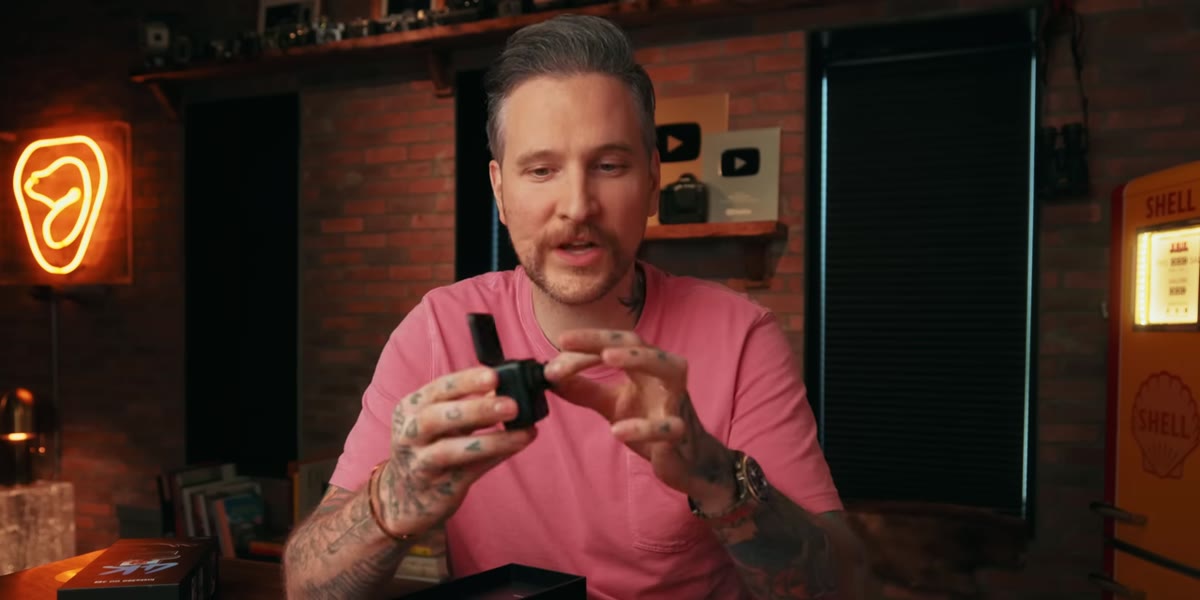 Hat clip mount attached to baseball cap, camera facing forward
The hat clip is the accessory McKinnon highlights first, and for good reason. Mounting the GO 3S to a hat gives you a stable, first-person perspective that reads as genuinely natural on screen, not the exaggerated fish-eye forehead view you get from a traditional head strap. It sits close to eye level, moves with your head, and because the camera is so small, people around you often don’t even register that you’re filming.
Hat clip mount attached to baseball cap, camera facing forward
The hat clip is the accessory McKinnon highlights first, and for good reason. Mounting the GO 3S to a hat gives you a stable, first-person perspective that reads as genuinely natural on screen, not the exaggerated fish-eye forehead view you get from a traditional head strap. It sits close to eye level, moves with your head, and because the camera is so small, people around you often don’t even register that you’re filming.
I tried a version of this on one of my Sunday morning photo walks in Seattle, clipping a small camera to my cap while I shot stills with my main camera. The footage I got of navigating Pike Place Market, weaving through the flower stalls, was more immersive than anything I’d shot with a handheld setup. The key is letting your head movement do the work. Don’t over-direct it. Walk naturally, look at what interests you, and let the camera follow your attention.
Step 3: Think About the MegaView Field of View for Wearable Shots
 MegaView field of view demo, wide perspective shown on screen
The GO 3S introduces a MegaView field of view option, which gives you an extra-wide perspective without the full distortion of a fisheye lens. McKinnon specifically calls this out as useful for head-mounted or body-mounted POV footage, and I think that’s exactly right. When you’re wearing a camera, a standard field of view can feel claustrophobic. MegaView opens up the scene and gives context to where you are and what you’re doing.
MegaView field of view demo, wide perspective shown on screen
The GO 3S introduces a MegaView field of view option, which gives you an extra-wide perspective without the full distortion of a fisheye lens. McKinnon specifically calls this out as useful for head-mounted or body-mounted POV footage, and I think that’s exactly right. When you’re wearing a camera, a standard field of view can feel claustrophobic. MegaView opens up the scene and gives context to where you are and what you’re doing.
For photographers moving into video, field of view is worth treating the same way you’d treat focal length in stills. Wider isn’t always better, but in wearable and action contexts, it usually helps the viewer feel placed inside the moment rather than watching from outside it. Experiment with this setting before your actual shoot so you’re not guessing on the day.
Step 4: Find the Unorthodox Mount, Not the Obvious One
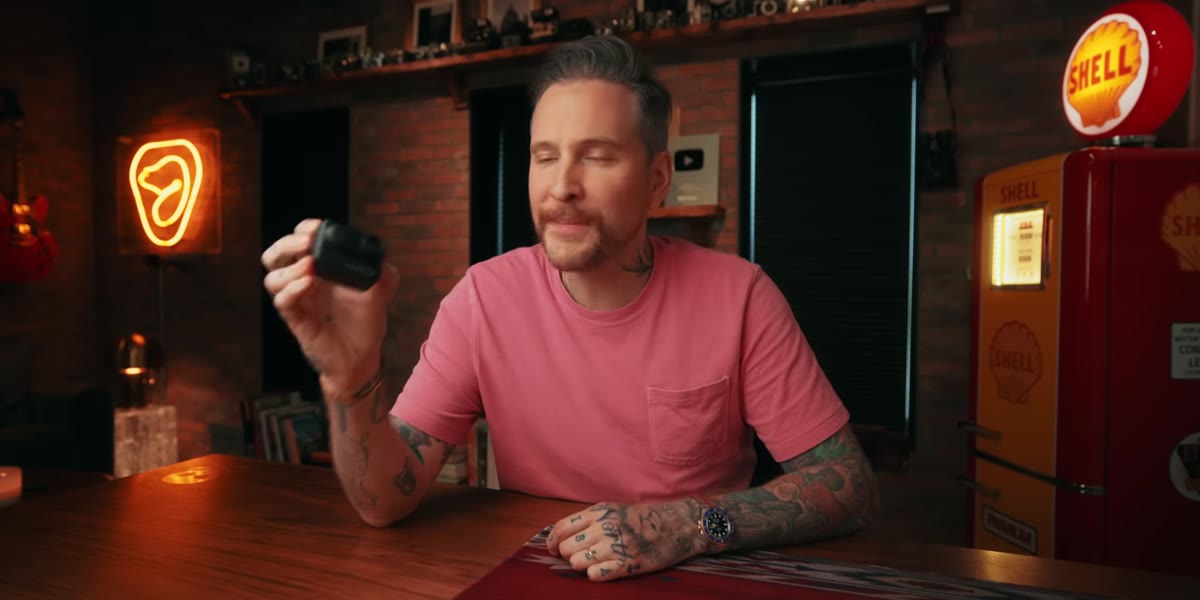 Camera mounted to unconventional surface during street walk footage
This is where McKinnon’s philosophy shifts from spec review to actual creative thinking. His core argument is that the most interesting use of a camera this small is almost never the expected one. He’s not just talking about attaching it to a bike or a surfboard. He’s asking: what can this camera do that nothing else can, because of its size and weight?
Camera mounted to unconventional surface during street walk footage
This is where McKinnon’s philosophy shifts from spec review to actual creative thinking. His core argument is that the most interesting use of a camera this small is almost never the expected one. He’s not just talking about attaching it to a bike or a surfboard. He’s asking: what can this camera do that nothing else can, because of its size and weight?
The answer usually involves getting the camera somewhere a larger rig would never fit or would look intrusive. Think about shooting through small gaps, attaching to moving objects at ground level, or placing the camera inside a scene rather than observing it from outside. The filmmakers McKinnon features, Jesse Driftwood and Kristoff Beny, are masters of this approach. They treat camera placement as part of the choreography, not an afterthought. Before you set up a shot, ask yourself: what angle is actually impossible with my phone or my DSLR? Start there.
Step 5: Use Gesture Control and Interval Video to Work Hands-Free
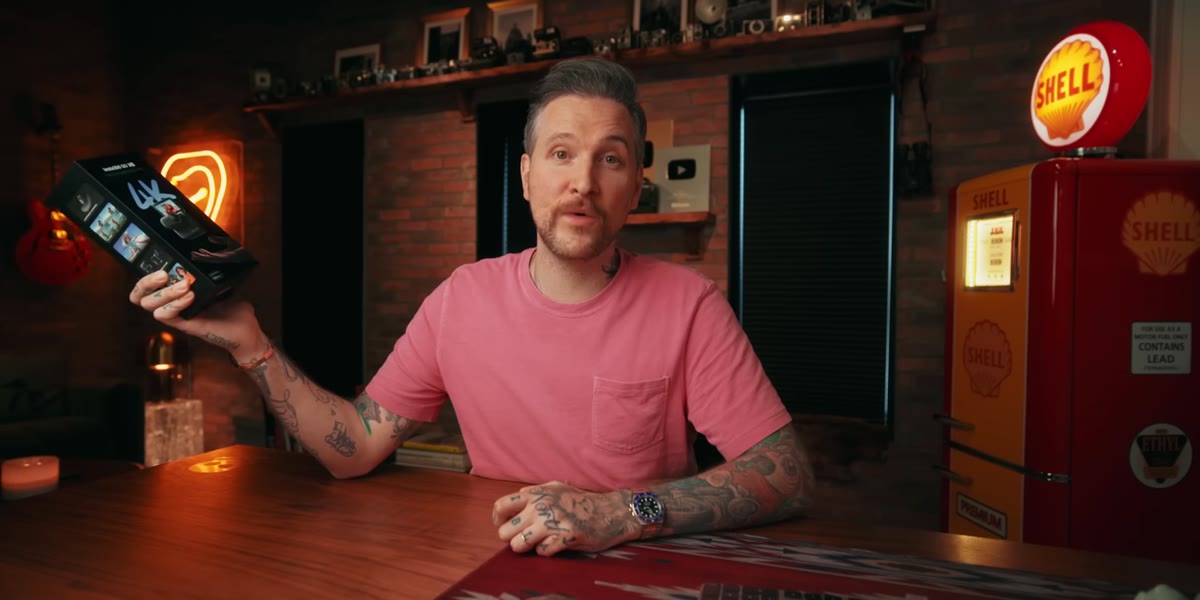 Gesture control feature demonstrated, hand signal triggering camera
Two features that don’t get enough attention: gesture control and interval video. Gesture control lets you trigger recording with a hand signal, which is genuinely useful when the camera is mounted somewhere you can’t easily reach. Interval video works like a time-lapse, capturing frames at set intervals, which is great for long slow-moving scenes like a sunrise, a crowd building, or a tide coming in.
Gesture control feature demonstrated, hand signal triggering camera
Two features that don’t get enough attention: gesture control and interval video. Gesture control lets you trigger recording with a hand signal, which is genuinely useful when the camera is mounted somewhere you can’t easily reach. Interval video works like a time-lapse, capturing frames at set intervals, which is great for long slow-moving scenes like a sunrise, a crowd building, or a tide coming in.
Combined, these two features mean you can set the camera, walk away, and capture something without babysitting the recording. For travel photographers especially, this kind of low-friction setup opens up shots you’d otherwise miss because you were too busy managing gear. Set the interval, make the gesture, and go do the thing you actually came to photograph.
Step 6: Study the BTS Before You Copy the Shot
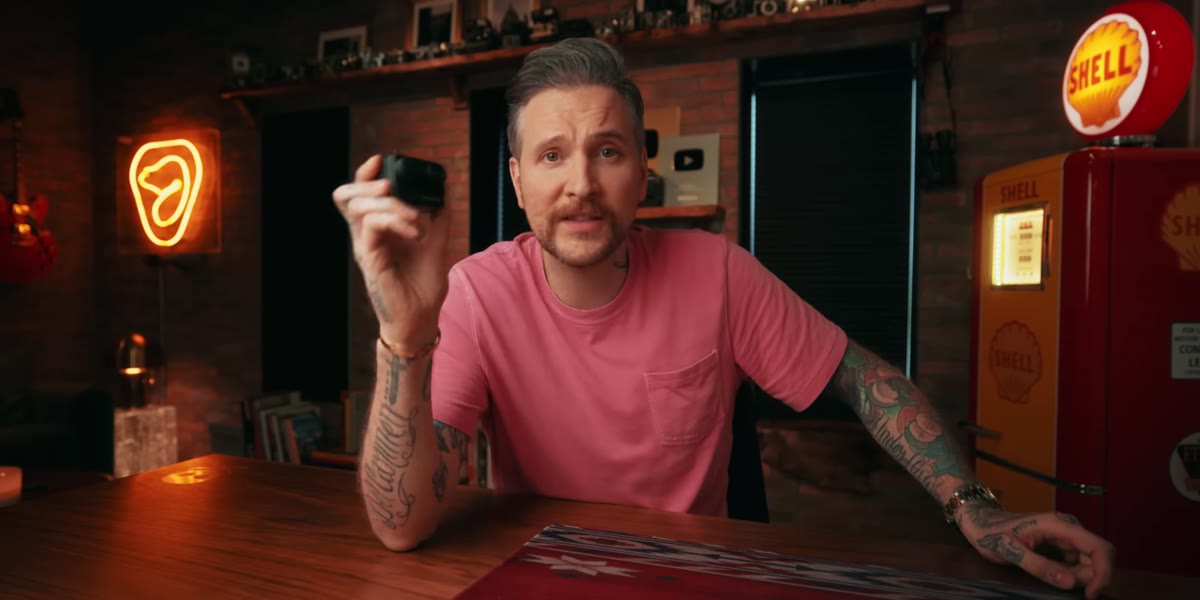 Behind-the-scenes footage of Jesse and Kristoff setting up a shot
McKinnon makes a point of showing the behind-the-scenes process of how Driftwood and Beny built their featured shot, and that context is the most educational part of the whole video. The finished clip looks effortless. The setup was not. There was planning, choreography, multiple attempts, and a clear sense of what they were trying to achieve before they pressed record.
Behind-the-scenes footage of Jesse and Kristoff setting up a shot
McKinnon makes a point of showing the behind-the-scenes process of how Driftwood and Beny built their featured shot, and that context is the most educational part of the whole video. The finished clip looks effortless. The setup was not. There was planning, choreography, multiple attempts, and a clear sense of what they were trying to achieve before they pressed record.
This is something I remind beginners constantly: the gap between a great shot and an average one is usually in the preparation, not the execution. Watch the BTS. Notice how much problem-solving happens before the camera rolls. That’s the real skill to borrow.
My Own Extension: The “Wrong Tool” Test
I started applying what I think of as the wrong tool test to my own shoots. Before I default to my main camera, I ask whether a smaller, simpler, less conspicuous option would actually get me closer to what I want. Sometimes the answer is my mirrorless. Sometimes it’s a tiny action cam. Once, famously, it was my phone, which led to what became my most-liked Instagram photo. The gear doesn’t decide the shot. Your eye does.
The Insta360 GO 3S is a specific argument for thinking small on purpose, not as a compromise but as a creative strategy. Size is an angle. Use it.
The single most important takeaway from McKinnon’s tutorial: stop asking what a camera was designed to do, and start asking what it can do that nothing else can. That shift in thinking is worth more than any spec upgrade.
Watch the full tutorial on YouTube to see Driftwood and Beny’s finished shot, plus the full behind-the-scenes breakdown. It’s worth it.
Comments (2)
I keep coming back to this article. It's that useful.
Finally someone explains this in a way that actually makes sense.
Leave a Comment