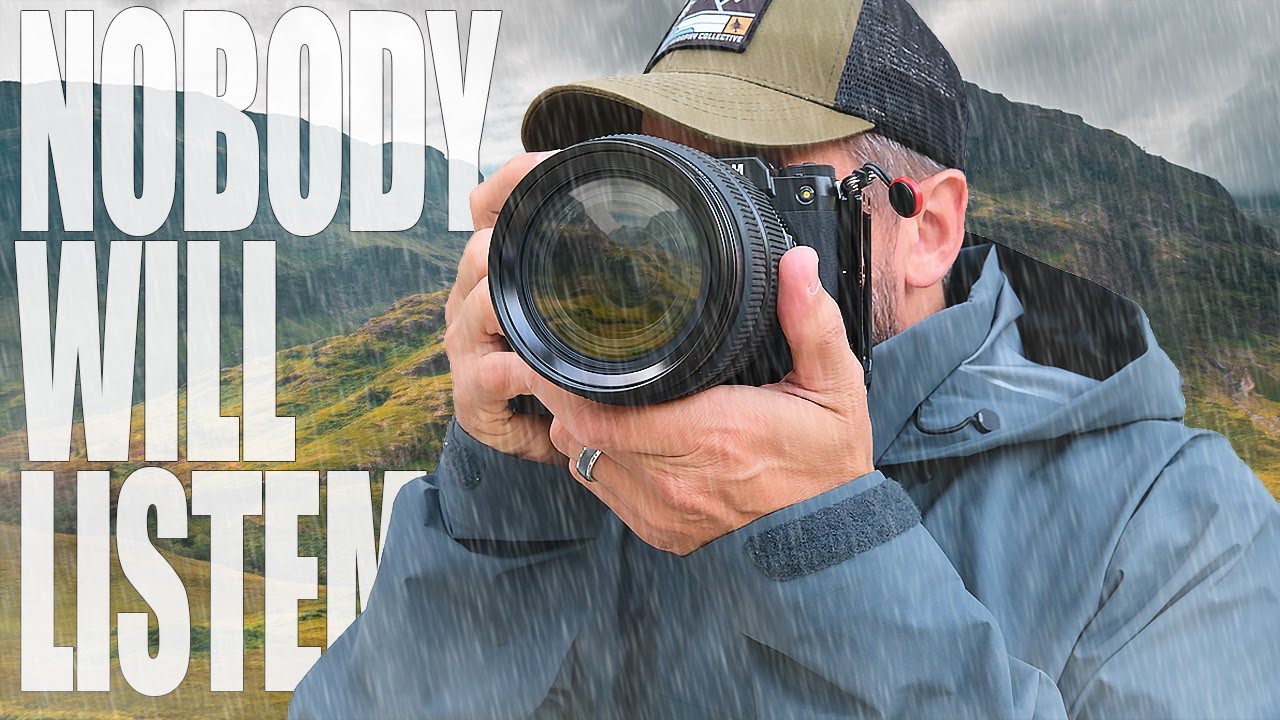
There’s a version of me from about four years ago who had a camera bag packed and ready to go, a Pinterest board full of golden-hour shots from Patagonia, and approximately zero photos taken in the past two months. I was “preparing.” I was watching tutorials, reading gear reviews, and convincing myself that I just needed the right location or the right conditions before I could really shoot. Sound familiar? I thought so.
Watch the full tutorial on YouTube
In this Mark Denney tutorial, he cuts right through that comfortable fog with three pieces of advice that most photographers hear, nod at, and then completely ignore. Including, he admits, himself. The video is refreshingly honest in a space full of gear-flex and location-envy, and it confirmed a few things I’ve come to believe after years of teaching beginners here in Seattle. These aren’t revolutionary concepts. They’re just the ones we keep skipping because they’re less exciting than buying a new lens.
Step 1: Treat Your Local Area Like a Practice Range
 Golf course comparison analogy opening the video
Before you can practice anything, you have to accept that practice is actually the thing you’re supposed to be doing. Mark opens with a simple analogy: you wouldn’t show up to the golf course for a full round before you’d ever swung a club. You’d go to the range first. Photography somehow gets a pass on this logic, and most of us never stop to ask why.
The practical move here is to identify one or two spots within walking or driving distance and commit to returning to them repeatedly. Not because they’re Instagram-worthy, but because repetition without the pressure of a “big trip” is where real learning happens. Pick a park bench, a stretch of shoreline, a single interesting tree. Then go back, change your angle, change your settings, change your time of day. The location is just the props. You’re the one being trained.
Step 2: Schedule Deliberate Practice Sessions (Not Just “Shoots”)
 Mark discussing the habit of thinking versus doing
Here’s where the mindset shift gets concrete. Mark points out something that stopped me cold when I first heard it: almost nobody tells a friend they’re going out “to practice photography.” We say we’re going for a photo walk, or heading out to shoot. But practice implies intentionality, a specific skill you’re working on, and that reframe matters.
Before you head out, write down one thing you want to work on. Just one. Shooting in manual mode without chimping. Composing with negative space. Getting low to the ground for a different angle on a familiar subject. Then spend your entire session on that one thing. When I started doing this on my Sunday morning walks, the improvement curve got noticeably steeper within weeks. You don’t need exotic light or a dramatic landscape to practice the mechanics of seeing.
Step 3: Vary Your Approach to the Same Subject
 Suggestion to photograph the same tree multiple ways
Once you’ve committed to a local subject, Mark’s advice is to actively push yourself to photograph it differently each time. This sounds deceptively simple, but most of us unconsciously default to the same framing and the same distance every time we raise the camera. Familiarity breeds a kind of creative laziness.
Force variation deliberately. Shoot wide, then get close enough that the subject fills the frame. Shoot from eye level, then get on your knees, then lie flat. Try underexposing by a full stop and see what you get. Then bring those same images into post-processing and experiment with a treatment you wouldn’t normally use. The goal is to build a mental library of what works and what doesn’t, and that library only comes from repetition with intention, not from waiting for the perfect trip.
Step 4: Change Your Physical Perspective Before You Change Anything Else
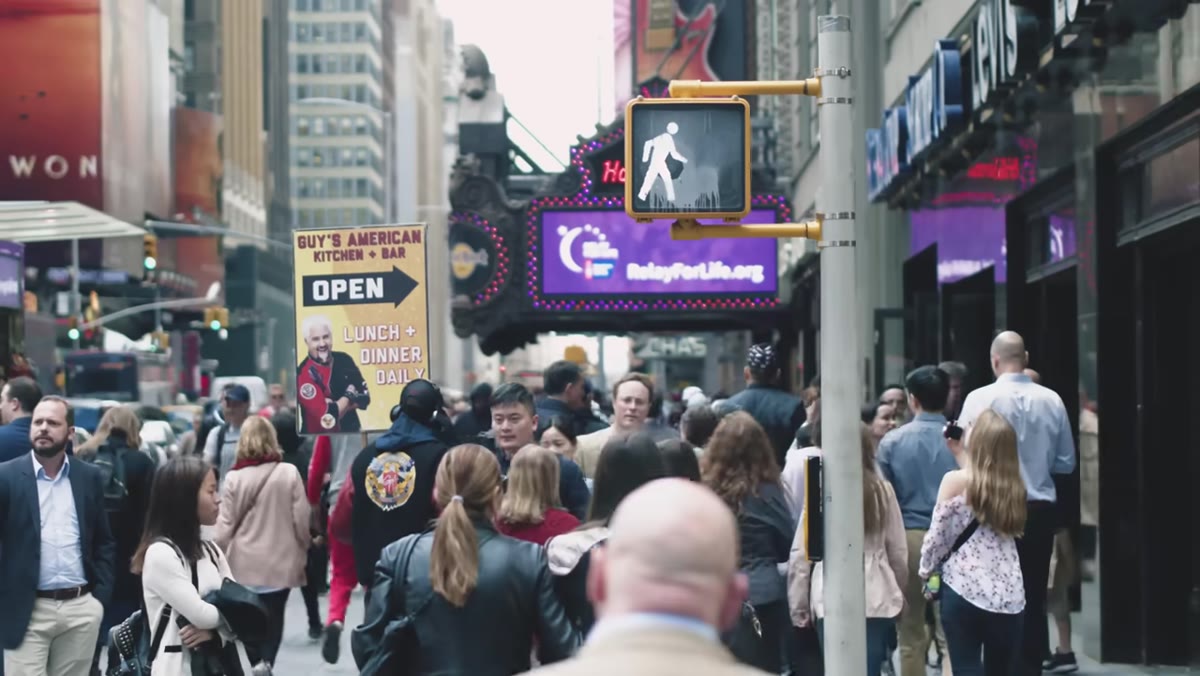 Discussion of human eye level as default perspective
The second major piece of advice in the video is about perspective, and Mark’s starting point is almost funny in how obvious it is: your eyes are at the top of your head. That means every photo you take from a standing position looks roughly like every other photo taken from a standing position. Which is most photos. Which is why most photos look similar.
The fix is physical before it’s photographic. When you arrive at a scene, resist the instinct to raise the camera immediately. Walk around. Get lower than feels natural. Look up. Step further back than you think you need to. The camera should follow a decision, not make one for you. I’ll prove this point every time by pulling out my phone and walking around a subject at totally different heights until something surprises me. If a composition surprises you, it’ll surprise your audience too.
Step 5: Deliberately Work Against Your Defaults
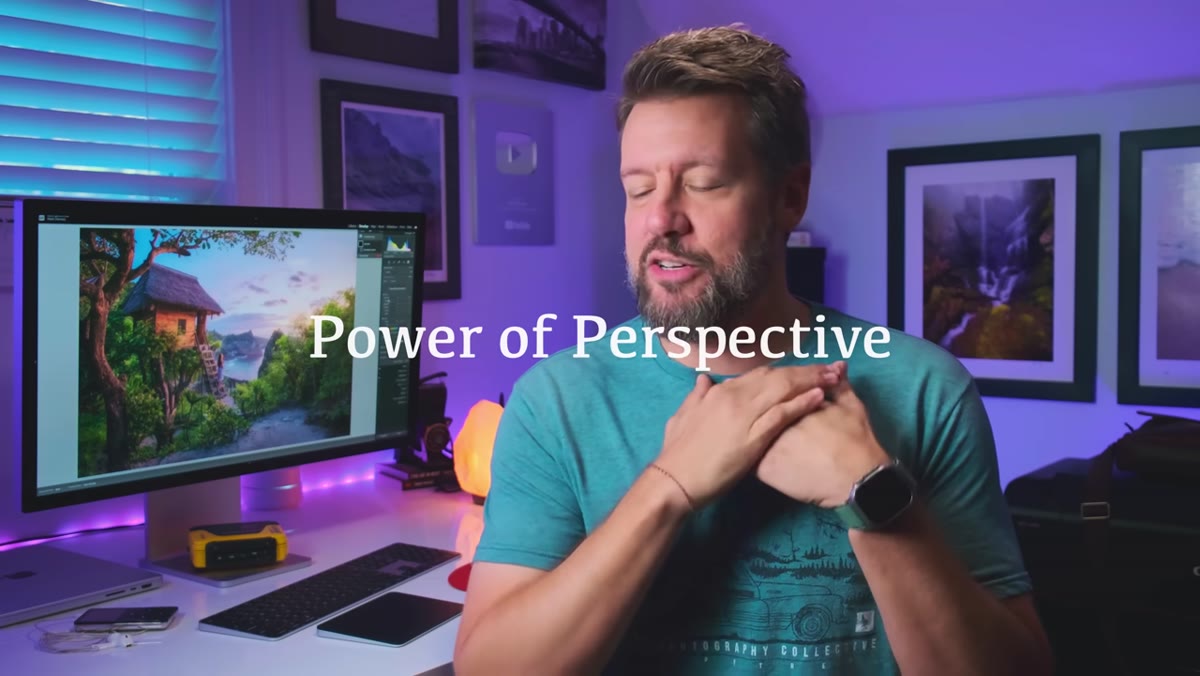 Mark explaining how humans default to standing eye-level shots
This step extends the perspective idea into a broader habit. Every photographer has default behaviors: a favorite focal length, a go-to shooting height, a preferred time of day. Those defaults aren’t bad, but they become a ceiling if you never challenge them. Mark’s point is that the photographers who grow fastest are the ones who make themselves uncomfortable on purpose.
Pick one default per outing and do the opposite. If you always shoot at 24mm, lock yourself into 85mm for the session. If you always shoot landscapes horizontal, shoot everything vertical. These constraints feel frustrating in the moment, and that friction is exactly the point. You’re interrupting an autopilot pattern and forcing your brain to actually solve a visual problem. That’s where creative instincts develop.
What I’d Add: Build a Feedback Loop Into the Practice
One thing the video doesn’t dig into, which I’d push harder on from my own experience, is the importance of reviewing your practice sessions the same day you shoot them. Not for editing, just for analysis. Look at what worked, and more importantly, look at why the shots that don’t work don’t work. Is the horizon tilted? Is the light flat? Is the subject too centered with nothing drawing the eye through the frame?
I keep a plain notes document on my phone where I write one or two sentences after each outing: what I was working on, what surprised me, what I want to try differently next time. It takes three minutes and it means the next session builds on the last one instead of starting from zero. Practice without reflection is just repetition. Reflection is what turns repetition into skill.
The single most important thing to take from Mark’s tutorial is this: the gap between where you are and where you want to be as a photographer closes through doing, not through planning to do. Your local area is not a consolation prize. It’s a training ground, and it’s available to you right now, today, without a flight booked or a permit filed.
Watch the full tutorial on YouTube - it’s worth the full watch for the candid way Mark admits he’s ignored his own advice as much as anyone.
Comments
Leave a Comment