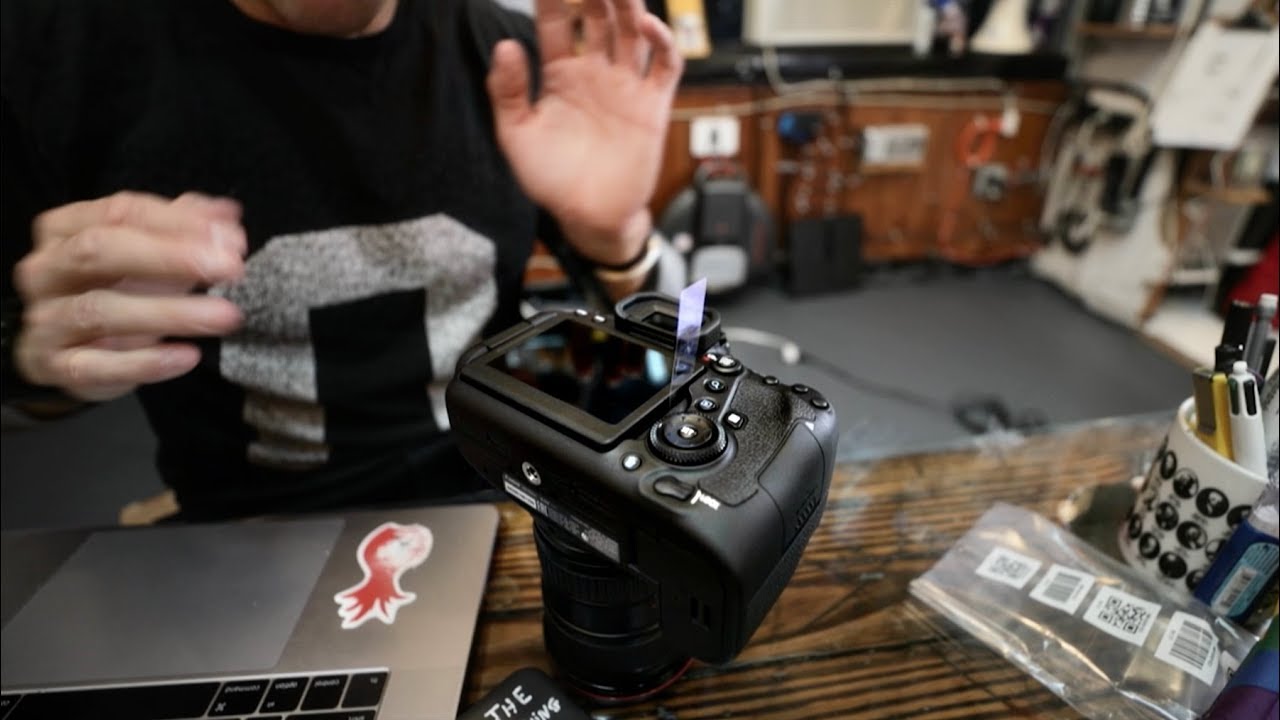
If you shoot video or run-and-gun photos with a camera that has a swivel screen, you already know the fumble. You’re moving from a third-person, behind-the-camera shot and want to flip to front-facing mode fast, but the screen is tucked flush against the body with nothing to grab onto. Your nail catches the edge, you almost drop the whole setup, and the moment is gone. I’ve been there more times than I want to count, and I’ve watched other photographers do the same embarrassing flap-and-grab dance.
In this Peter McKinnon tutorial, Watch the full tutorial on YouTube, McKinnon walks through a fix so simple it almost feels like a joke. A piece of packing tape. That’s it. But the way it’s applied makes it genuinely useful, and once I tried it on my own Canon R6, I understood immediately why he bothers to teach it. The difference between a smooth screen deploy and a fumbled one is small in time but enormous when you’re mid-conversation with a subject or trying to catch yourself on camera without breaking stride.
The technique is quick to set up and costs nothing if you’ve already got tape in your gear bag. Here’s how to do it exactly.
Step 1: Choose the Right Tape
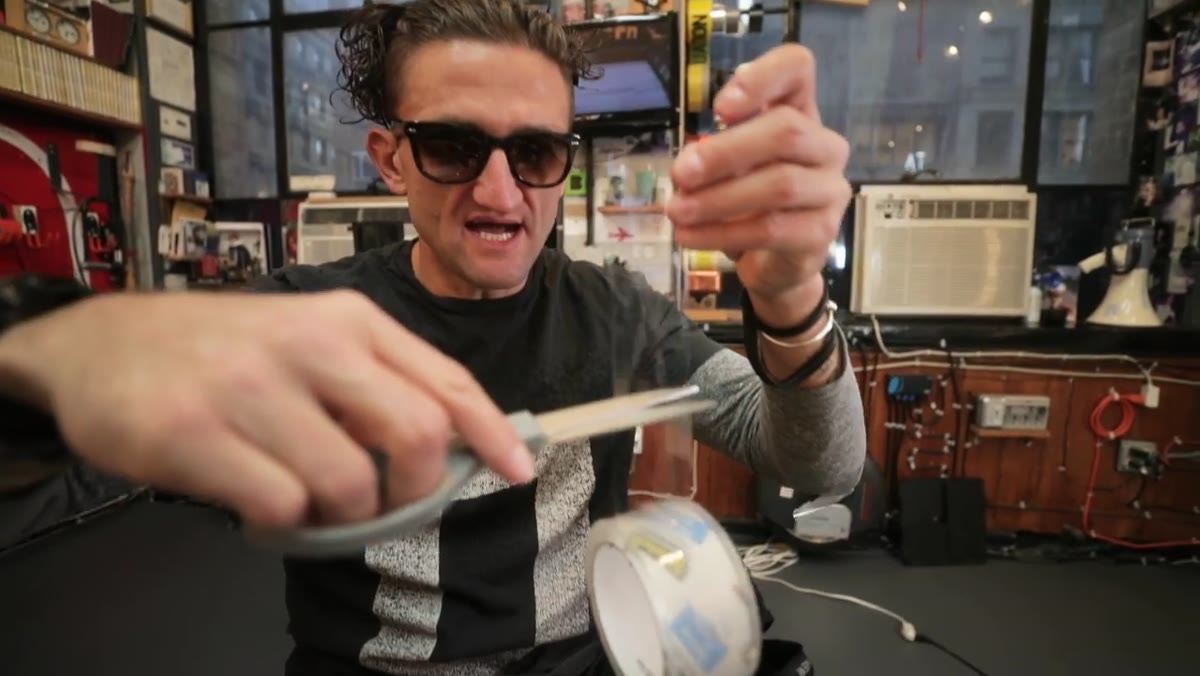 Hand holding a strip of thick, clear packing tape
Not all tape works here, and this is the one part of the hack where material actually matters. You want high-quality, thick packing tape - the kind with real structural integrity when you fold it back on itself. Generic, thin tape will collapse under repeated use and won’t hold a clean tab shape. McKinnon is specific about this: go for the good stuff. A brand like 3M’s heavy-duty clear packing tape is exactly the weight you’re looking for.
Hand holding a strip of thick, clear packing tape
Not all tape works here, and this is the one part of the hack where material actually matters. You want high-quality, thick packing tape - the kind with real structural integrity when you fold it back on itself. Generic, thin tape will collapse under repeated use and won’t hold a clean tab shape. McKinnon is specific about this: go for the good stuff. A brand like 3M’s heavy-duty clear packing tape is exactly the weight you’re looking for.
Cut a strip roughly half an inch wide and about three inches long. That size gives you enough length to create a usable pull-tab while keeping the whole thing discreet on your camera body. Importantly, try not to touch the sticky side with your fingers. Skin oils reduce the adhesive strength and can cause the tape to peel off prematurely, especially in warm shooting conditions.
Step 2: Identify the Inside Face of Your Swivel Screen
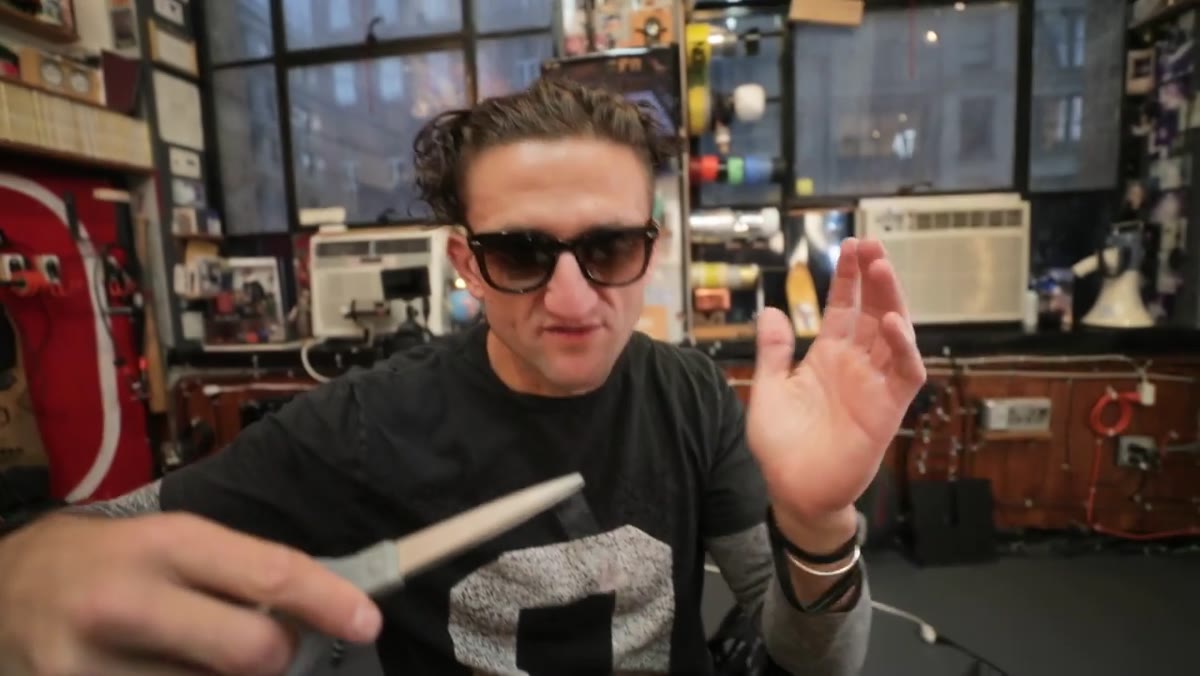 Canon camera with swivel screen extended, showing non-display inner face
Before you place the tape, you need to orient yourself correctly. Extend your flip screen fully and look at the side that faces the camera body when the screen is closed - not the side with the actual display, but the inner face. That non-screen side is where the tape goes. McKinnon specifies this clearly because putting tape on the display side defeats the purpose and could interfere with the screen itself.
Canon camera with swivel screen extended, showing non-display inner face
Before you place the tape, you need to orient yourself correctly. Extend your flip screen fully and look at the side that faces the camera body when the screen is closed - not the side with the actual display, but the inner face. That non-screen side is where the tape goes. McKinnon specifies this clearly because putting tape on the display side defeats the purpose and could interfere with the screen itself.
This works with any camera that has a swivel or articulating screen. Canon, Sony, Fuji, Nikon - the screen mechanics differ slightly, but the principle holds. The goal is a landing spot for the tape that sits on the inside edge so that when the screen is folded shut, the tape end sticks out just far enough to become a pull-tab.
Step 3: Apply the Tape to the Inner Edge
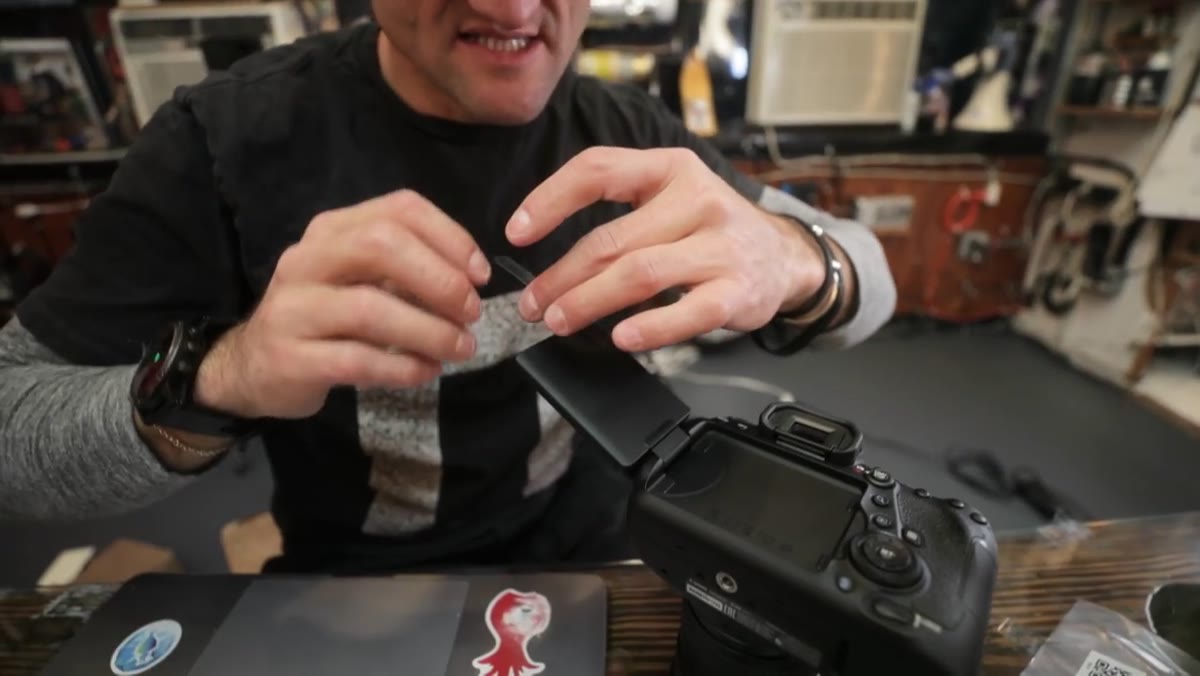 Tape being pressed onto inside face of folded swivel screen
With the screen closed or nearly closed, place the tape strip along the inner face of the screen panel, positioned toward one edge - ideally the edge closest to where your thumb naturally rests when holding the camera. Press it down firmly so it adheres well to the screen casing. You want it seated flat so it doesn’t bulk up between the screen and the camera body when closed.
Tape being pressed onto inside face of folded swivel screen
With the screen closed or nearly closed, place the tape strip along the inner face of the screen panel, positioned toward one edge - ideally the edge closest to where your thumb naturally rests when holding the camera. Press it down firmly so it adheres well to the screen casing. You want it seated flat so it doesn’t bulk up between the screen and the camera body when closed.
Leave a portion of the tape extending past the edge of the screen panel. That overhang is what you’ll fold back on itself in the next step. How much you leave hanging depends on how big a tab you want - about half an inch of overhang is enough to create a functional grip point without getting snagged on things in your bag.
Step 4: Fold the Overhang Into a Pull-Tab
 Tape end folded back on itself creating a small loop tab
This is the core of the hack. Take the portion of tape that extends past the screen edge and fold it back onto itself, sticky sides together, to create a small, non-sticky tab. Think of it like the little fold you put on the end of a roll of tape so you can find it again - except this one is intentional and permanent. McKinnon describes it as a tiny pull-tab, and that’s exactly what it becomes.
Tape end folded back on itself creating a small loop tab
This is the core of the hack. Take the portion of tape that extends past the screen edge and fold it back onto itself, sticky sides together, to create a small, non-sticky tab. Think of it like the little fold you put on the end of a roll of tape so you can find it again - except this one is intentional and permanent. McKinnon describes it as a tiny pull-tab, and that’s exactly what it becomes.
The fold should be tight and clean. Press the two sticky sides together firmly so they bond well and the tab holds its shape. When done right, you have a small, flat loop sticking out from the edge of your closed screen - grippy enough to catch with one finger, but low-profile enough that it won’t catch on your strap or your bag lining.
Step 5: Test the Deploy
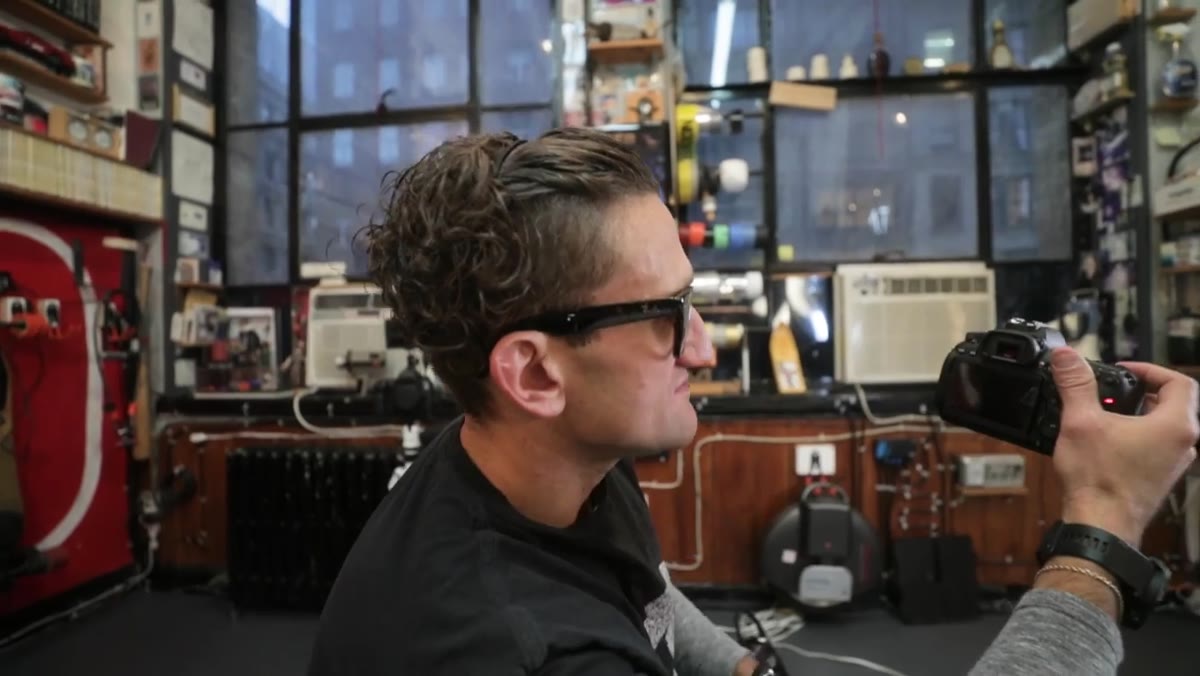 Hand pulling screen open smoothly using the tape tab while holding camera
Close the screen, grip your camera naturally, and practice flipping the screen open using only the pull-tab. The motion should be smooth and one-handed - hook your thumbnail or fingertip under the tab, pull outward, and the screen swings free. No nail-scraping, no two-hand juggling act, no dropped camera.
Hand pulling screen open smoothly using the tape tab while holding camera
Close the screen, grip your camera naturally, and practice flipping the screen open using only the pull-tab. The motion should be smooth and one-handed - hook your thumbnail or fingertip under the tab, pull outward, and the screen swings free. No nail-scraping, no two-hand juggling act, no dropped camera.
McKinnon demonstrates this going from a standard shooting position to front-facing mode in one clean motion. Practice it a few times before you’re in a real shooting situation. The muscle memory kicks in quickly, and within a day of use it becomes automatic.
A Note on Longevity and Placement
I’ve been using a version of this hack for a few months now, and the main thing I’d add is this: replace the tape every few weeks if you shoot frequently. Heavy-duty packing tape holds up well, but repeated folding and pulling will eventually weaken the adhesion point where the tape meets the screen casing. When it starts to lift at the edges, just peel it off cleanly and apply a fresh strip. The screen surface on most cameras is smooth enough that the tape won’t leave residue if you pull it at a low angle.
Placement also matters more than it seems. I moved mine about a quarter inch closer to the bottom edge of the screen panel after my first attempt, because my natural thumb position was landing slightly low. Take a minute to dry-fit the tape before committing the adhesive, and you’ll save yourself a redo.
The biggest win here is not time saved - it’s confidence. Knowing you can get your screen open in one motion without a fumble means you stop hesitating at critical moments. That hesitation is what actually costs you the shot, and a three-inch piece of tape eliminates it entirely.
Watch the full tutorial on YouTube to see McKinnon demo the pull-tab in action and catch the rest of the video, which also covers the built-in 4K time-lapse mode on the Canon 6D Mark II.
Comments (1)
I've been looking for exactly this kind of tutorial. Perfect timing.
Leave a Comment