I have a Sunday morning tradition that my husband thinks is only slightly less baffling than extreme sports. Every week, I’m out the door before anyone else on the block has their coffee brewing, camera in hand, walking through Seattle neighborhoods while the light is still soft and the streets are quiet. People ask me why I bother. My answer is always the same: you cannot fake that light. You can’t recreate it in post-processing, you can’t wait until noon and find it again, and no filter comes close. Early morning light either happens to you or it doesn’t, and the only way to be there for it is to get up and go.
Which is exactly what Thomas Heaton sets out to prove in a tutorial that I genuinely wish had existed when I was starting out. Watch the full tutorial on YouTube - it’s short, practical, and built around a side-by-side comparison that will immediately click for anyone who has ever wondered why their landscape shots look flat. Heaton scouts a location in the Pacific Northwest during the middle of a bright, blue-sky afternoon, photographs it, then returns to the same spot before sunrise the next morning and photographs it again. The difference is not subtle. If you’ve ever felt like your landscape images were technically fine but somehow lifeless, this tutorial names the problem clearly.
Here’s how to follow along and apply his process yourself.
Step 1: Accept That Midday Light Is Not Your Friend
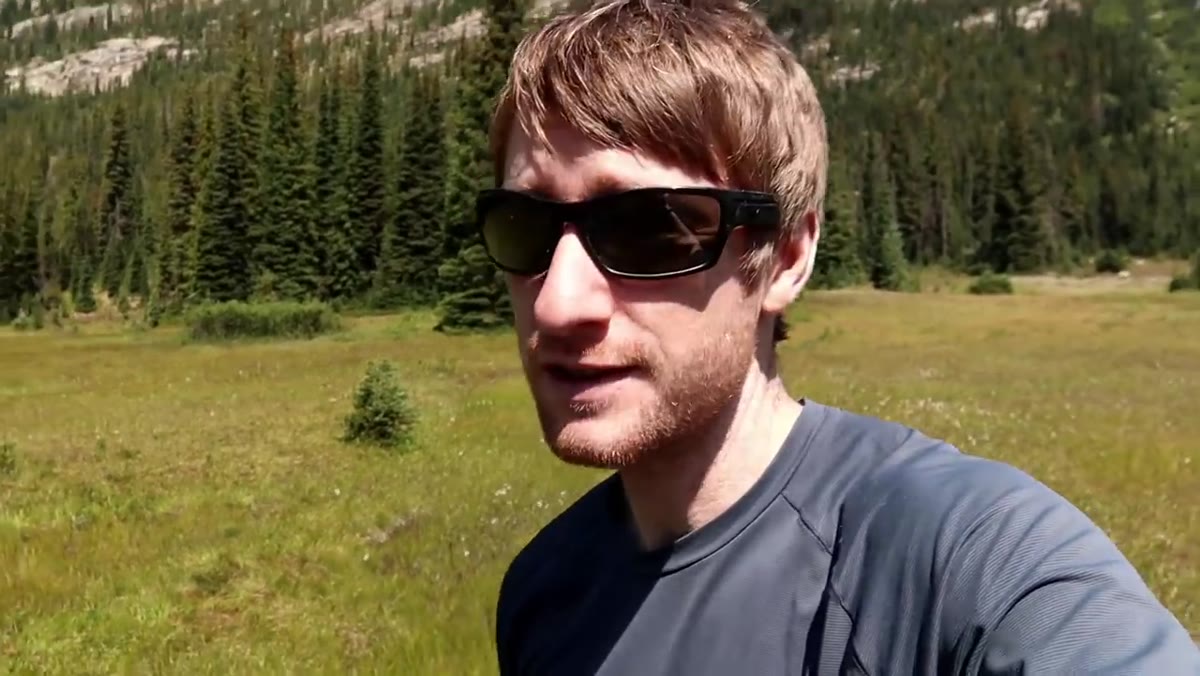
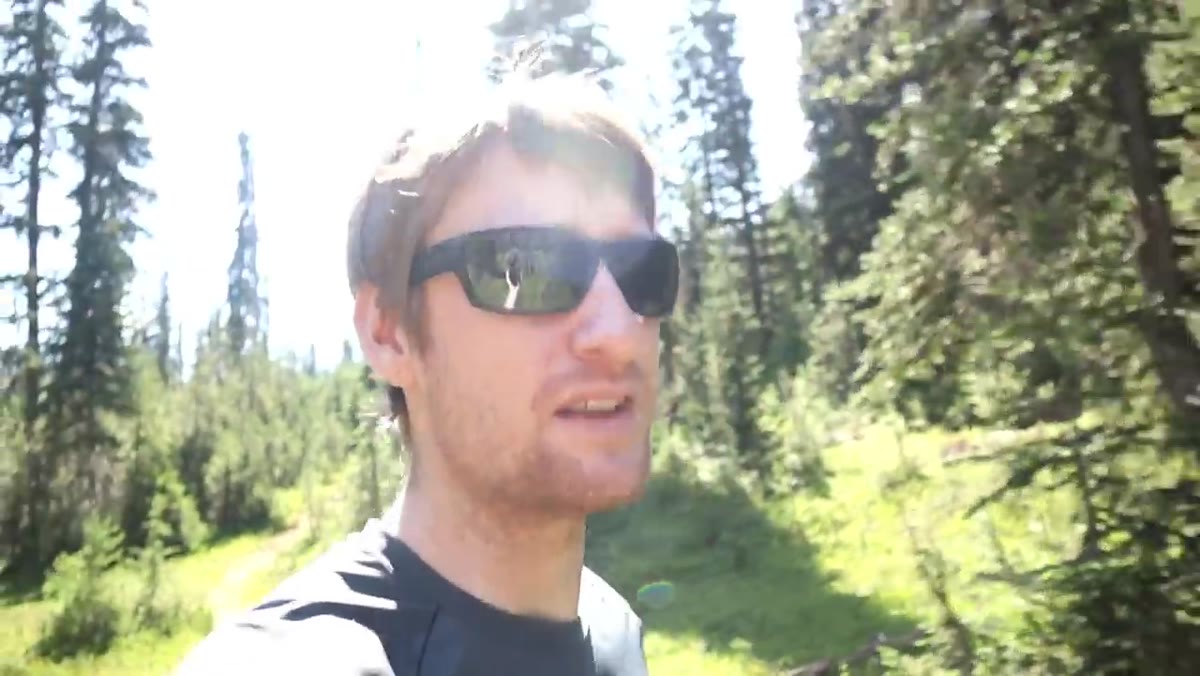 Bright midday sun over open meadow and mountain
Heaton is walking through a stunning meadow in full sunshine when he makes this point, and the irony is perfect. The scene is objectively beautiful. The mountain is dramatic, the river is winding, the sky is blue. And yet he calls it a “snapshot” - the kind of image you’d send in a group chat, not one you’d print and hang on a wall. That’s not a knock on the location. It’s a diagnosis of the light. Midday sun is harsh, flat, and comes straight down. It kills shadows, blows out highlights, and strips landscape scenes of the depth and mood that make them compelling. If you’re heading out mid-afternoon on a clear day, you’re fighting the light, not using it.
Bright midday sun over open meadow and mountain
Heaton is walking through a stunning meadow in full sunshine when he makes this point, and the irony is perfect. The scene is objectively beautiful. The mountain is dramatic, the river is winding, the sky is blue. And yet he calls it a “snapshot” - the kind of image you’d send in a group chat, not one you’d print and hang on a wall. That’s not a knock on the location. It’s a diagnosis of the light. Midday sun is harsh, flat, and comes straight down. It kills shadows, blows out highlights, and strips landscape scenes of the depth and mood that make them compelling. If you’re heading out mid-afternoon on a clear day, you’re fighting the light, not using it.
Step 2: Use Bad Light Days for Scouting, Not Shooting
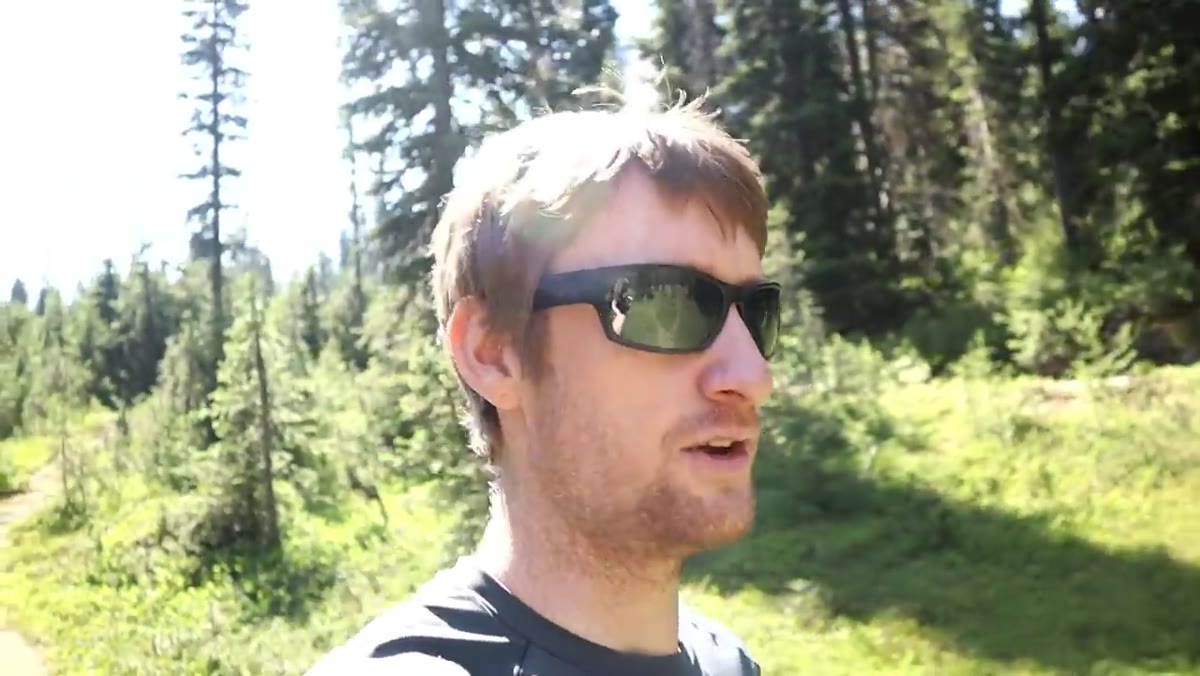 Photographer walking and evaluating composition in bright light
Here’s the reframe that changed how I plan my shoots: bright, unflattering light is actually ideal for scouting. When Heaton is out in that midday sun, he’s not frustrated - he’s working. He’s walking the location, testing focal lengths, finding where the river bends in relation to the mountain, and locking in the composition he’ll return to. No great light gets wasted because no great light exists yet. You’re just doing the unglamorous pre-work. Use these sessions to check your angles, note where the sun will rise relative to your subject, and confirm what gear you need. Apps like PhotoPills or The Photographer’s Ephemeris are useful here - they’ll show you exactly where sunrise light will fall before you ever set your alarm.
Photographer walking and evaluating composition in bright light
Here’s the reframe that changed how I plan my shoots: bright, unflattering light is actually ideal for scouting. When Heaton is out in that midday sun, he’s not frustrated - he’s working. He’s walking the location, testing focal lengths, finding where the river bends in relation to the mountain, and locking in the composition he’ll return to. No great light gets wasted because no great light exists yet. You’re just doing the unglamorous pre-work. Use these sessions to check your angles, note where the sun will rise relative to your subject, and confirm what gear you need. Apps like PhotoPills or The Photographer’s Ephemeris are useful here - they’ll show you exactly where sunrise light will fall before you ever set your alarm.
Step 3: Find an Anchor Composition Before You Leave
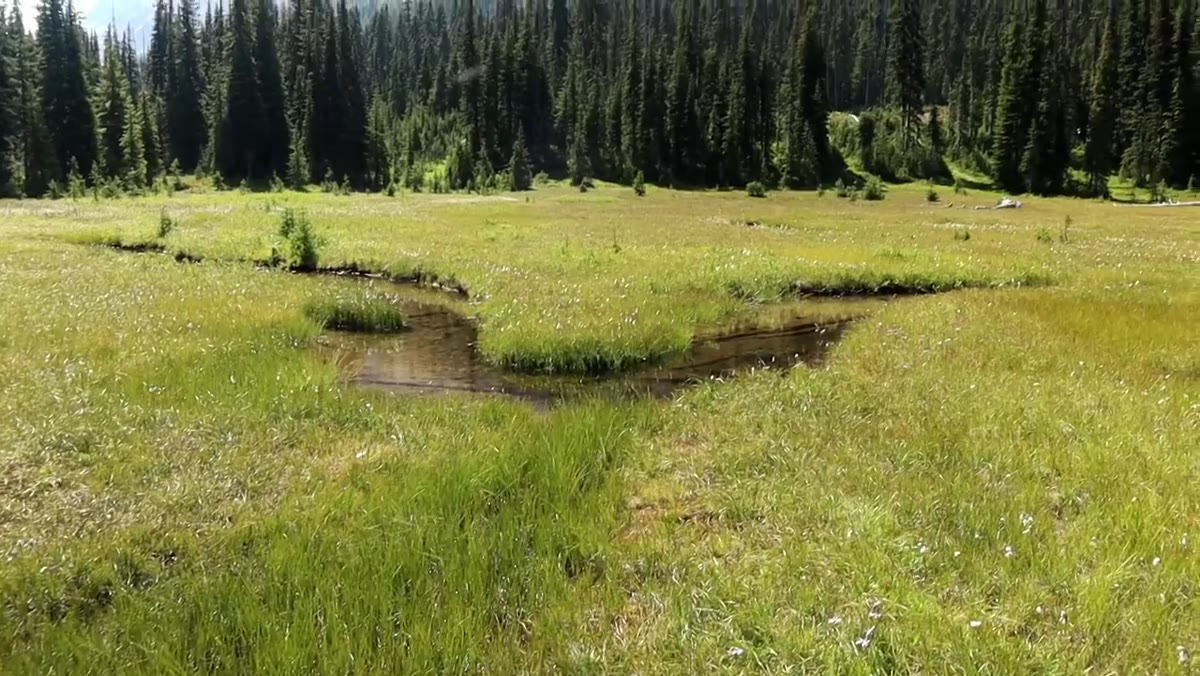 River bend framing Liberty Bell mountain in the distance
Heaton lands on a composition that uses a bend in a small river as a leading line toward Liberty Bell peak. That’s the key move: he doesn’t just pick a pretty spot, he finds a structure that will do real visual work in the frame. A leading line, a natural frame, a foreground element that pulls the eye toward the subject. Before you pack up from your scouting session, photograph your planned composition from the exact spot you intend to use. Set a pin on your maps app. Note which direction you’ll be facing. When you show up in the dark the following morning, the last thing you want to be doing is searching for your spot by headlamp.
River bend framing Liberty Bell mountain in the distance
Heaton lands on a composition that uses a bend in a small river as a leading line toward Liberty Bell peak. That’s the key move: he doesn’t just pick a pretty spot, he finds a structure that will do real visual work in the frame. A leading line, a natural frame, a foreground element that pulls the eye toward the subject. Before you pack up from your scouting session, photograph your planned composition from the exact spot you intend to use. Set a pin on your maps app. Note which direction you’ll be facing. When you show up in the dark the following morning, the last thing you want to be doing is searching for your spot by headlamp.
Step 4: Arrive Before First Light, Not At It
 Pre-dawn stillness with soft atmospheric glow beginning
This is the step beginners most often get wrong, including past-me. “Sunrise” on a weather app or your phone’s clock tells you when the sun clears the horizon. But the light you actually want - the soft, pink-edged, atmospheric light that makes landscape images sing - starts roughly 20 to 40 minutes before that. Photographers call this civil twilight or the blue hour. Heaton emphasizes arriving early enough to be set up and ready before the sky starts doing anything interesting, because once it starts, it moves fast. Budget at least 30 to 45 minutes of buffer time, and factor in how long it takes to hike or walk to your spot in the dark. A headlamp and a pre-scouted route are non-negotiable.
Pre-dawn stillness with soft atmospheric glow beginning
This is the step beginners most often get wrong, including past-me. “Sunrise” on a weather app or your phone’s clock tells you when the sun clears the horizon. But the light you actually want - the soft, pink-edged, atmospheric light that makes landscape images sing - starts roughly 20 to 40 minutes before that. Photographers call this civil twilight or the blue hour. Heaton emphasizes arriving early enough to be set up and ready before the sky starts doing anything interesting, because once it starts, it moves fast. Budget at least 30 to 45 minutes of buffer time, and factor in how long it takes to hike or walk to your spot in the dark. A headlamp and a pre-scouted route are non-negotiable.
Step 5: Shoot the Same Composition in the New Light
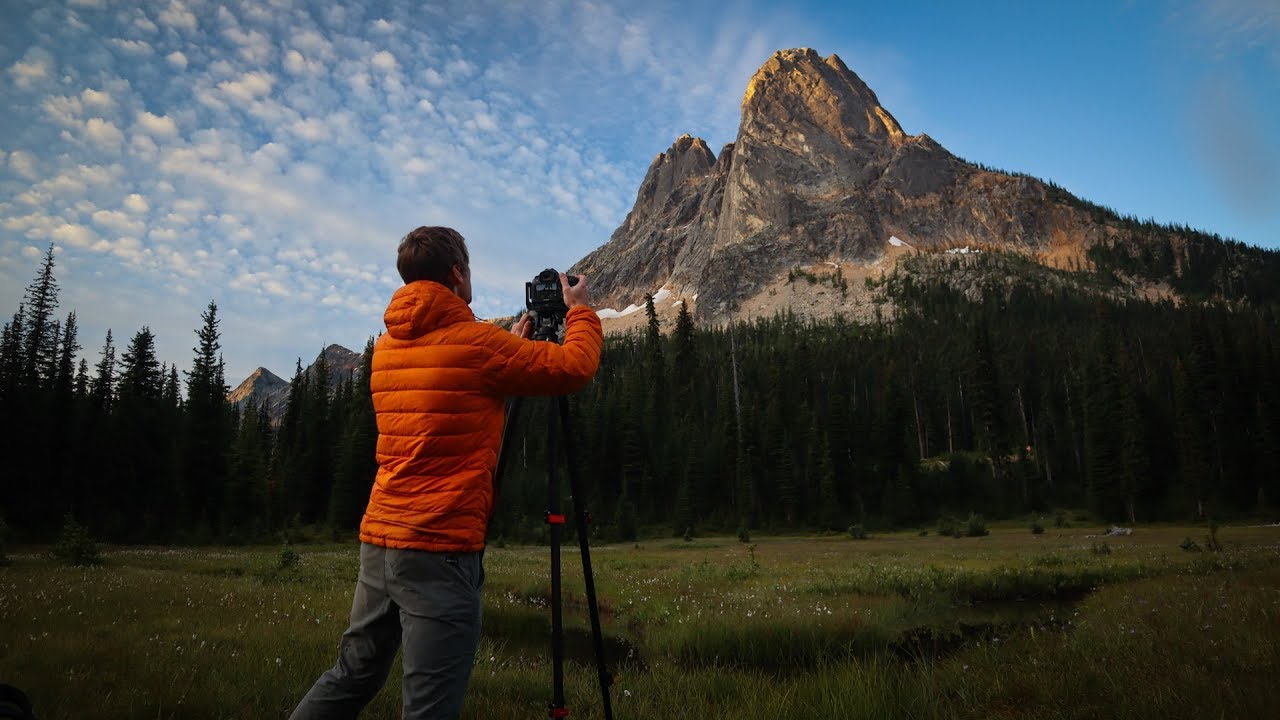
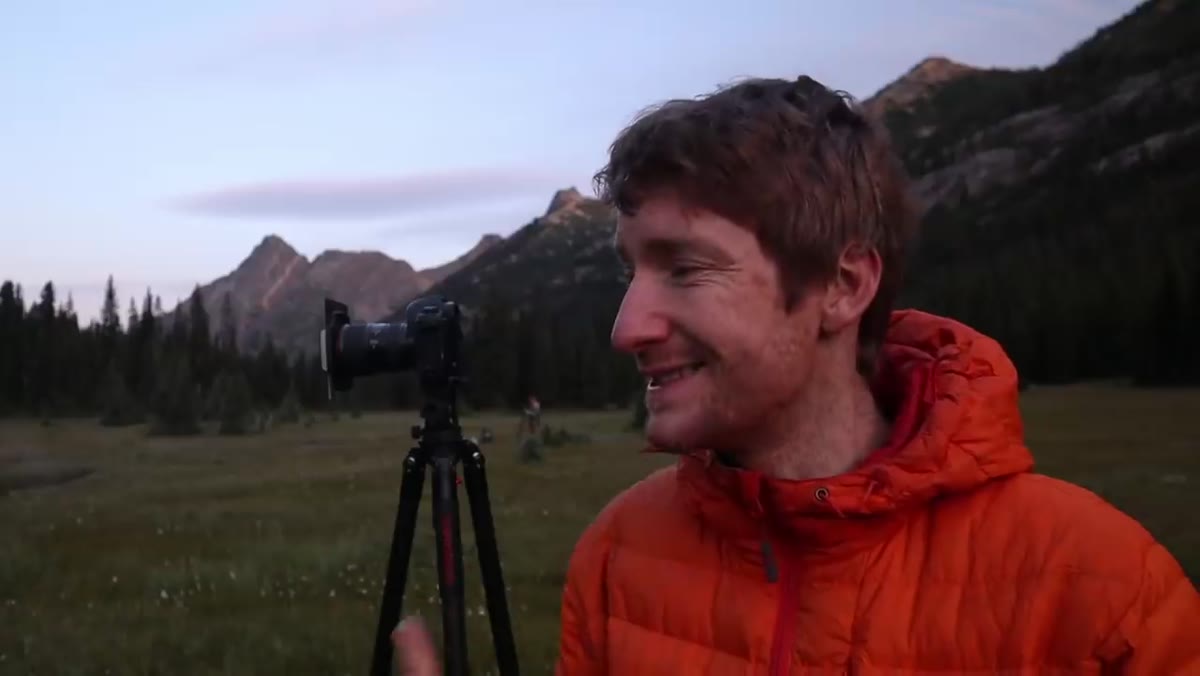 Same meadow and mountain now glowing in warm pre-dawn light
When Heaton returns the next morning to that same river bend, the transformation is immediate and obvious. The harsh midday colors are gone. In their place is soft, directional light that wraps around the mountain and carves dimension into the landscape. The shadows have texture. The sky has movement. The stillness of early morning adds a quality the afternoon scene simply couldn’t have. Because he locked in his composition the day before, he doesn’t waste the precious window of good light fumbling for an angle. He arrives, sets up, and shoots. Match your focal length and framing to your scouted shot, then give yourself permission to also explore small adjustments - a slightly lower angle, tighter crop, or shifted position can make use of light details you couldn’t anticipate the day before.
Same meadow and mountain now glowing in warm pre-dawn light
When Heaton returns the next morning to that same river bend, the transformation is immediate and obvious. The harsh midday colors are gone. In their place is soft, directional light that wraps around the mountain and carves dimension into the landscape. The shadows have texture. The sky has movement. The stillness of early morning adds a quality the afternoon scene simply couldn’t have. Because he locked in his composition the day before, he doesn’t waste the precious window of good light fumbling for an angle. He arrives, sets up, and shoots. Match your focal length and framing to your scouted shot, then give yourself permission to also explore small adjustments - a slightly lower angle, tighter crop, or shifted position can make use of light details you couldn’t anticipate the day before.
Step 6: Read What the Light Gives You and Adapt
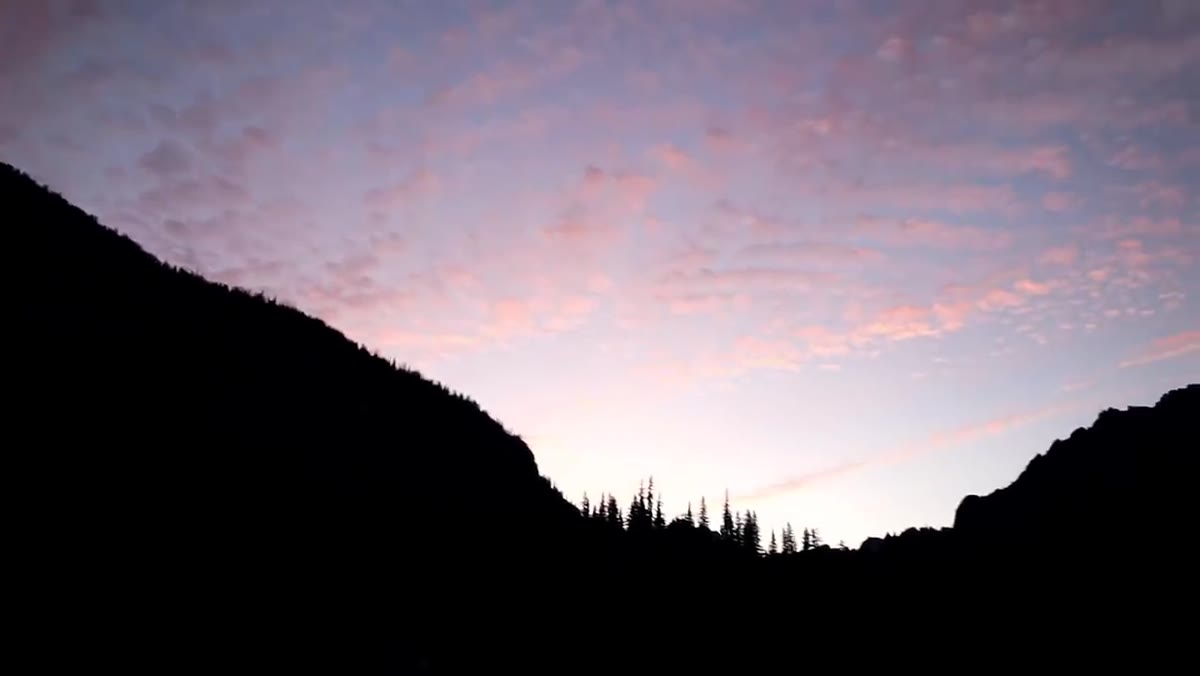 High-altitude clouds catching early color above the mountain
Heaton notes that he had hoped for mist in the marshland that morning, but the conditions were too dry. A beginner might feel defeated. Heaton pivots immediately and works with what showed up instead - beautiful high-altitude clouds catching color above the peaks. This is a skill worth practicing separately: learning to read conditions quickly and find the strongest image available rather than the one you planned for. Every early morning session will not be the dramatic light show you envisioned. Some will be overcast and grey, which is actually wonderful for moody, intimate compositions. Some will be crystal clear, which favors sharp detail and silhouette. The habit of showing up is what gives you the reps to know what to do when any of those conditions arrive.
High-altitude clouds catching early color above the mountain
Heaton notes that he had hoped for mist in the marshland that morning, but the conditions were too dry. A beginner might feel defeated. Heaton pivots immediately and works with what showed up instead - beautiful high-altitude clouds catching color above the peaks. This is a skill worth practicing separately: learning to read conditions quickly and find the strongest image available rather than the one you planned for. Every early morning session will not be the dramatic light show you envisioned. Some will be overcast and grey, which is actually wonderful for moody, intimate compositions. Some will be crystal clear, which favors sharp detail and silhouette. The habit of showing up is what gives you the reps to know what to do when any of those conditions arrive.
My Honest Caveat: One Early Morning Won’t Convince You - Ten Will
I won’t pretend that rolling out of bed at 3 or 4am ever feels easy. The first few times I forced myself out for a sunrise shoot, I came home exhausted and with mediocre results, because I still hadn’t figured out the scouting part. The images got dramatically better once I started treating the day before as part of the process, not wasted time. If you try this once and feel like it didn’t pay off, give it a few more attempts. The combination of pre-dawn atmosphere, soft light, and a composition you actually planned for takes some practice to time correctly. But the morning you finally nail it - clear air, mountain in full warm light, nobody else around - you’ll stop asking why photographers wake up early. You’ll start setting alarms voluntarily.
The single most important thing this tutorial drives home is that great landscape photography is not about being in a beautiful place. It’s about being in a beautiful place at the right moment, and that moment almost always happens before most people get out of bed.
Watch the full tutorial on YouTube to see the before-and-after comparison yourself. The visual difference between Heaton’s midday shot and his sunrise shot is worth more than any description I could write.
Comments (1)
This is exactly what I needed today. Been struggling with this for weeks.
Leave a Comment