
There’s a compositional habit I picked up years ago that quietly fixed something I didn’t even know was broken in my landscape photos. I kept shooting wide, loving how epic everything looked through the viewfinder, then getting home and feeling vaguely disappointed. The shots weren’t bad, exactly. They just felt empty. Thin. Like I’d photographed the idea of a place rather than the place itself.
When I came across this tutorial from landscape photographer Matt Kloskowski, I immediately recognized what I’d been doing wrong. Watch the full tutorial on YouTube - it’s short, punchy, and he takes you into the field to show the concept live, which is worth seeing. But I want to walk you through it step by step here because the principle is simple enough to apply on your very next shoot.
The rule is this: in most landscape photos, your foreground should occupy roughly two-thirds of the frame. The sky gets the remaining third. Not the other way around. It sounds almost too simple, but once you start looking for violations of this rule, you’ll see them everywhere - including in your own photo library.
Step 1: Ask Yourself the “Why” Question Before You Raise the Camera
 Matt gesturing toward a location while explaining composition intent
Before you touch your camera settings or even think about framing, ask yourself one question: why did I come to this specific location? What is the thing that made you drive here, hike here, or stand here in the cold? Matt makes a point that hits hard when you really sit with it - the answer to that question is almost never the sky. It’s a rocky coastline, a field of wildflowers, a winding trail, a weathered barn. The sky is a supporting actor. Your foreground is the reason you showed up.
This question reframes everything. Once you know what your subject actually is, you can make intentional decisions about how much space it deserves in the frame. If the thing you came to photograph is getting squeezed into the bottom quarter of your image, you’ve already lost the shot before you press the shutter.
Step 2: Set Up Your Shot with a Stable Base
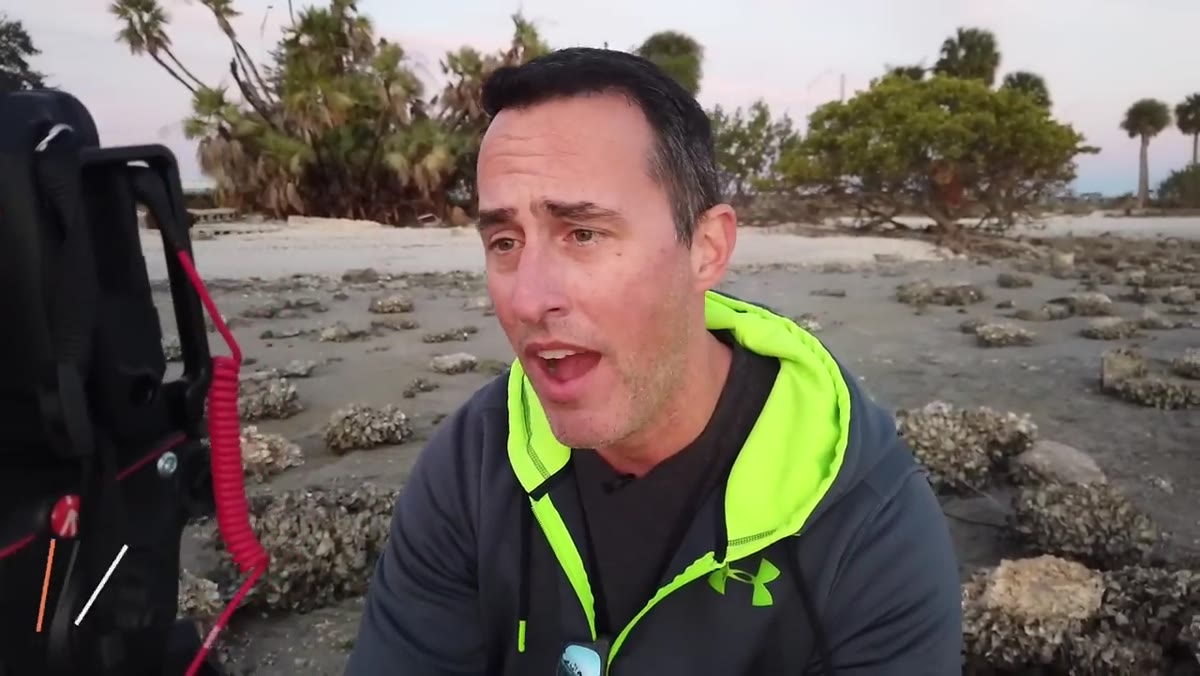 Camera on tripod with 24-105mm lens in outdoor landscape setting
Matt shoots this demonstration on a tripod with a 24-105mm lens, f/16, ISO 100. He’s not worried about shutter speed for this particular exercise, and neither should you be - the point here is about composition, not exposure. Get yourself on a tripod so you can make deliberate, repeatable framing adjustments without camera shake muddying your view.
If you’re shooting handheld (yes, I still do this on my Sunday morning photo walks all the time), just be intentional about pausing before you shoot. The tripod forces a slowdown that your eyes and brain actually need. It’s hard to think critically about foreground-to-sky ratio when you’re moving.
Step 3: Try Dead Center First - Then See What Breaks
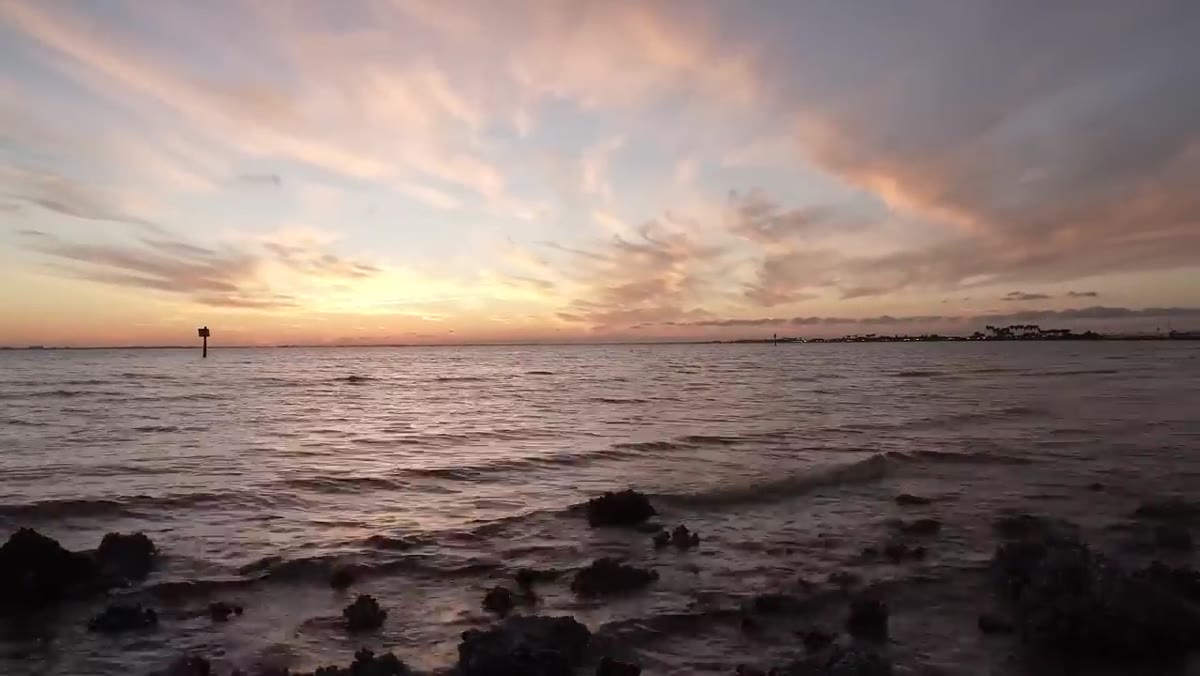 Viewfinder showing 50/50 horizon split with equal sky and foreground
This is a useful exercise and not one people talk about enough. Before you compose your actual shot, deliberately put the horizon dead center in the frame. Look at it. Really look at it. Notice how the sky and foreground compete for your attention without either one winning. The image feels unresolved, like it hasn’t committed to anything.
Matt does this in the field and it illustrates the problem instantly. When neither element dominates, the viewer’s eye doesn’t know where to rest. You’re essentially presenting two photos in one frame and asking the viewer to decide which one they’re supposed to be looking at. Most viewers won’t consciously notice this - they’ll just feel vaguely unmoved and scroll past.
Step 4: Tilt Up and Watch the Dead Space Appear
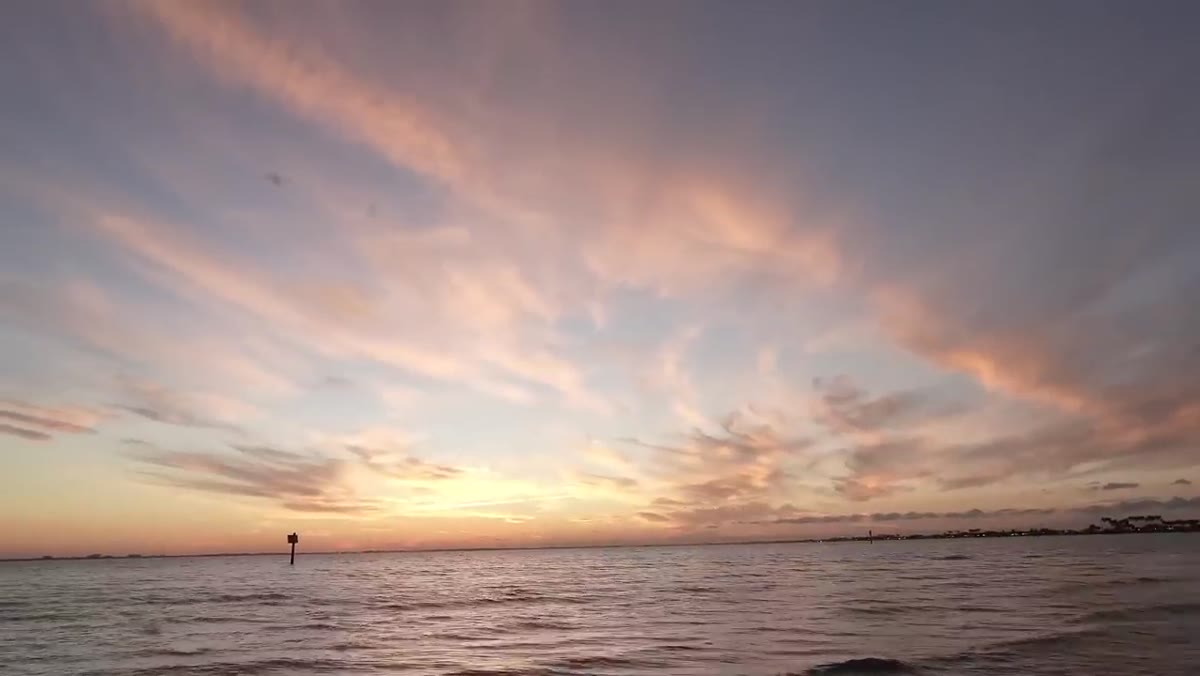 Camera tilted upward, showing large sky area and minimal foreground
Now tilt the camera up so the sky dominates - maybe 60 or 70 percent of the frame. Unless you have a truly extraordinary sky happening (more on exceptions in a moment), watch what happens. The foreground - your actual subject, the reason you’re there - shrinks into a thin strip at the bottom. It feels minimized, almost apologetic.
This is the trap that wide-angle lenses make so easy to fall into. Wide lenses are genuinely fun to shoot with. The world looks dramatic and expansive through them. But that drama can seduce you into including a lot of sky that isn’t earning its place in the image. More sky does not automatically mean more drama.
Step 5: Drop the Horizon Down to the One-Third Line
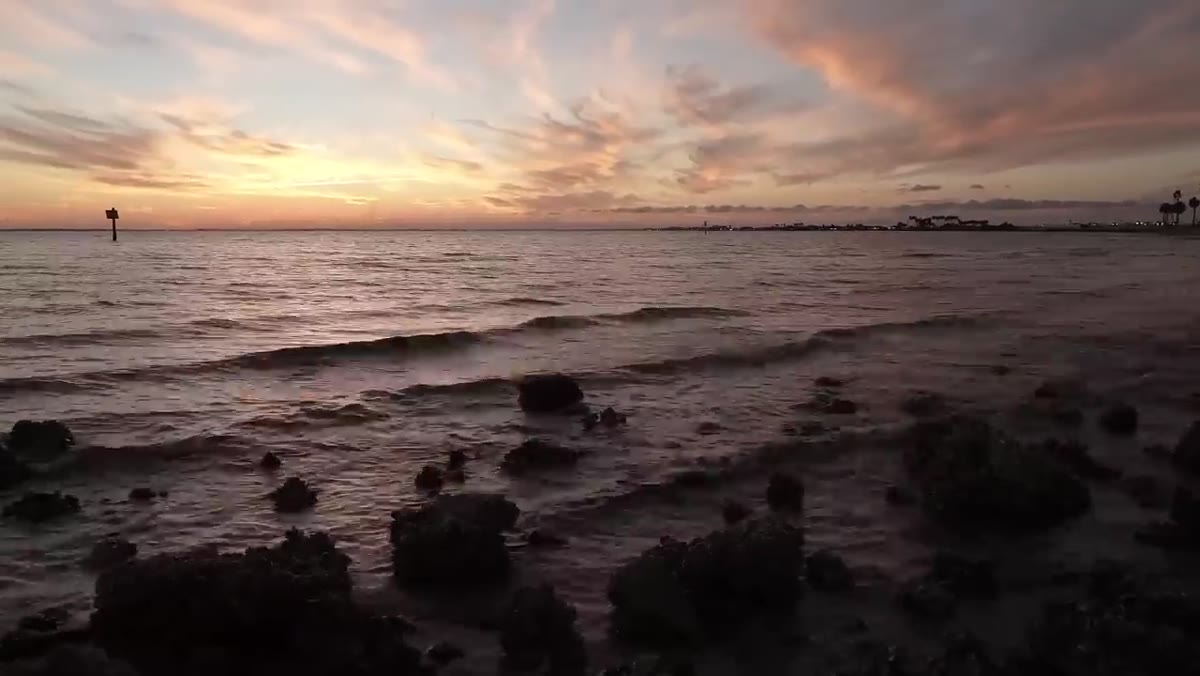 Camera repositioned with horizon low, foreground filling two-thirds of frame
Here’s the actual adjustment. Lower your camera angle or physically move down if you need to, and bring that horizon line down to roughly the lower third of your frame. You’re now giving about two-thirds of the image to the land in front of you. The sky sits in the upper third, providing context, light, and atmosphere without overpowering the scene.
The specific ratio doesn’t need to be mathematically precise. Matt suggests anywhere from 60/40 to 80/20 depending on what you’re working with. What matters is that the foreground clearly dominates. If you have a strong cloud formation, you might edge closer to 60/40. If the sky is flat and grey, push closer to 80/20 and don’t apologize for it.
Step 6: Know When to Break the Rule
 Matt listing exceptions to the composition rule verbally
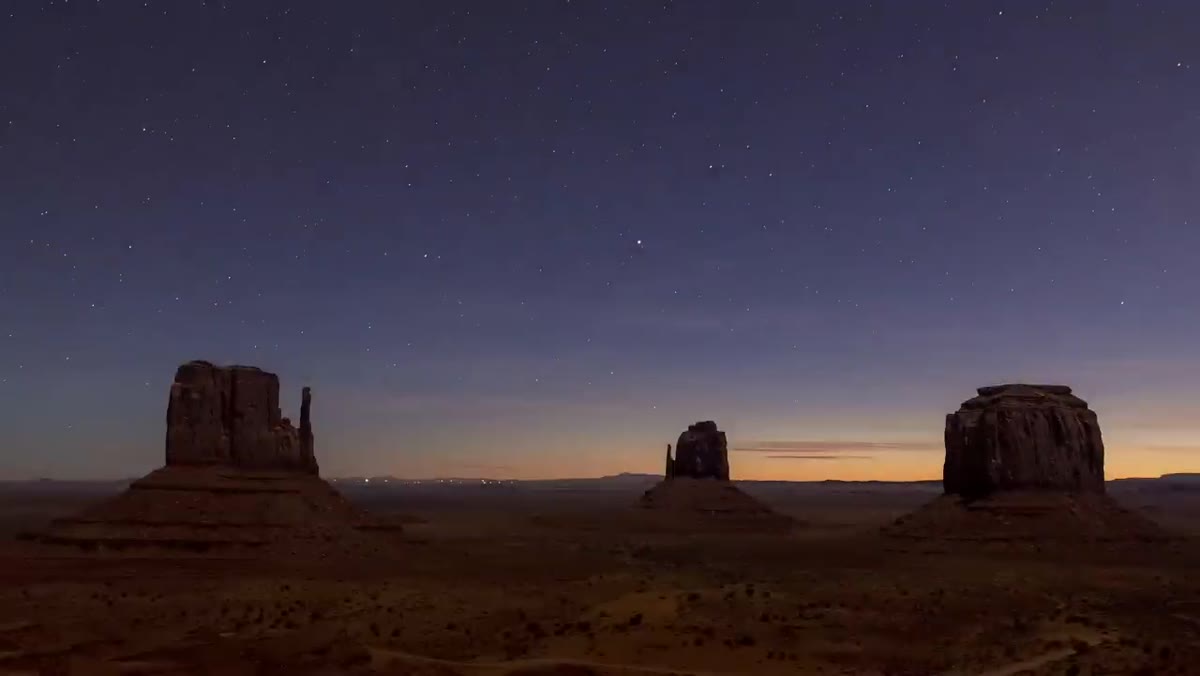
There are legitimate exceptions, and knowing them is as important as knowing the rule. Night photography is the obvious one - Milky Way shots, aurora borealis, star trails. When the sky is literally the subject, the whole framework flips. The same goes for dramatic storm photography, where a towering supercell or lightning-lit cloud formation genuinely carries the image.
What connects all the exceptions is intentionality. You’re not drifting into a sky-heavy composition because you forgot to think about it - you’re choosing it because the sky has become the reason you’re there. That’s the test. If you can answer the “why” question and the answer is the sky, then let the sky take the frame.
What I’d Add From My Own Experience
I spent an embarrassing amount of time on a trip to Iceland trying to capture a specific waterfall. Every evening I’d drag myself back to the same spot, adjusting and readjusting. Most of my failed shots from that trip have one thing in common: I was so obsessed with the sky turning pink that I kept tilting up and losing the basalt columns and rushing water that made the location worth photographing in the first place. The sky looked beautiful on screen in the moment. The prints felt hollow.
What I do now, especially when a sunset is screaming for attention, is shoot two versions intentionally - one sky-forward for myself, one foreground-forward for the image. Then I compare them later with fresh eyes. Nine times out of ten, the foreground-forward shot is the stronger photograph. The sky version captures a feeling. The foreground version captures a place.
That distinction matters more than any gear decision you’ll make this year. A location has a sense of identity that a sky simply doesn’t. Give your foreground the space it deserves, and your landscape photos will start to feel like somewhere, not just something.
The single most important thing to take away: before every landscape shot, ask why you’re standing where you’re standing, and then make sure that answer owns at least two-thirds of your frame.
Watch the full tutorial on YouTube to see Matt demonstrate this live in the field - seeing him physically move the camera through the different framings makes the concept click in a way that’s hard to replicate in text.
Comments
Leave a Comment