The Moment I Stopped Blaming My Gear
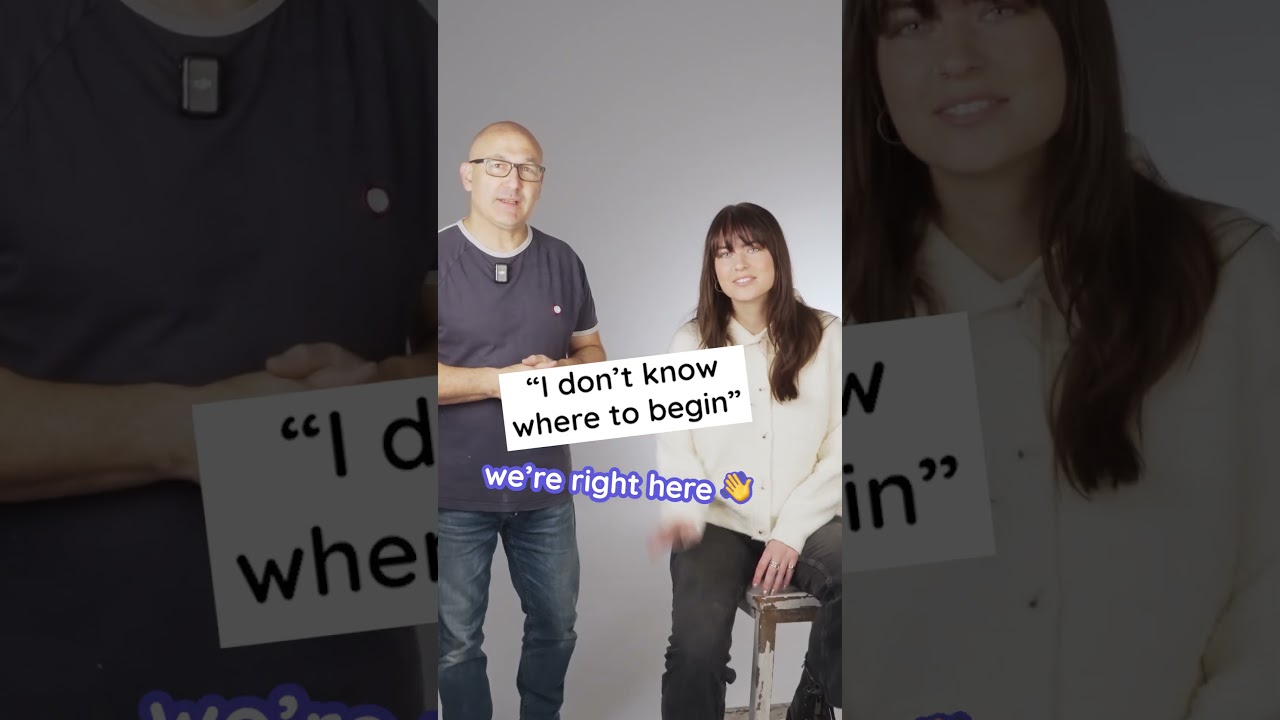
Last spring, I handed my phone to a stranger at a coffee shop and asked her to grab a quick shot of me at the table. She fumbled with it for a second, then handed it back apologetically. “I’m not a photographer,” she said. I smiled and told her neither was I, once. That exchange is part of why I started teaching, and it’s also why a recent Visual Education tutorial landed so hard when I watched it.
Watch the full tutorial on YouTube
The video is called “Lies you tell yourself instead of leveling up your portrait skills,” and it does exactly what the title promises. It names the mental roadblocks photographers use to avoid the harder work of actually improving, then walks through concrete fixes. I’ve been shooting portraits long enough to recognize every single one of those lies. Some of them, honestly, I was still telling myself last month.
The Lie That Does the Most Damage
The biggest culprit the tutorial identifies is the gear excuse. You know it: “I’ll get sharper shots when I upgrade my lens.” “My sensor isn’t good enough for low light.” “If I had a prime instead of a kit zoom, my portraits would look professional.” The video is direct about this. Gear matters less than your understanding of light, and no lens upgrade will teach you how to read a face or find a clean background.
The tutorial makes this concrete by walking through portraits taken with different equipment levels and showing that the controlling variable is almost never the camera body. What changes the image is where the photographer positioned the subject relative to the light source, how much distance they put between the subject and the background to allow separation, and whether they got close enough to fill the frame with intention. Those are free decisions. They cost you nothing but attention.
What “Learning to See Light” Actually Means in Practice
This section of the tutorial is where it gets specific, and I want to unpack it because “learn to see light” is advice that sounds meaningful and teaches nothing on its own.
The video breaks it down into something actionable. When you’re scouting a location or stepping into a room, the exercise is to identify where the brightest light source is and physically position yourself so your subject has that source either directly in front of them (for even, flattering front lighting), at a 45-degree angle to their face (for classic Rembrandt-style dimension), or completely behind them (for backlit, rim-lit portraits where you expose for the shadow side of the face).
The tutorial suggests practicing this with a single willing subject, someone patient, a friend or partner, in your own home. Put them near a window. Walk a full circle around them and watch how the shadows move across their face. Do this for 20 minutes. That exercise alone will rewire how you approach every portrait location you ever walk into. It sounds almost too simple, but it works because it forces your eyes to do the analysis your camera settings cannot do for you.
The Feedback Loop Most Photographers Skip
Another lie the tutorial names is “I just need more experience.” Time behind a camera does build instinct, but unexamined experience mostly just reinforces existing habits. If you’re making the same compositional mistake in 2024 that you made in 2021, three more years of shooting isn’t going to fix it on its own.
The fix the video recommends is building a deliberate review practice. After every portrait session, pull up your images and sort them into two folders: ones you’d actually show a client, and ones you wouldn’t. Then, critically, spend time with the second folder. Look for the pattern. Is it focus consistently missed? Backgrounds that compete with faces? Flat light that flattens the whole image? That pattern is your actual lesson plan. Most photographers skip this step entirely because it’s uncomfortable. The tutorial is honest that discomfort is the point.
Where I’d Push Back, Slightly
Everything in the tutorial is solid, and I use most of these frameworks in my own work. But there’s one place I’d add a caveat, specifically around the advice to shoot in manual mode from the start as a way to build technical discipline.
For some people, that’s the right call. For others, fighting exposure settings while also trying to direct a subject, manage your own positioning, and make creative decisions all at once is a recipe for overwhelmed paralysis and blurry photos. I started on aperture priority with auto-ISO and learned the technical controls one at a time. That approach felt slower, but it meant I was actually taking portraits instead of staring at a histogram.
My honest recommendation is to get to manual mode eventually, absolutely. But if you’re a newer shooter who freezes up when a session isn’t going well, there’s no shame in using semi-automatic modes as training wheels while you build the other skills. The goal is to keep shooting, keep reviewing, and keep tightening the loop.
The Single Thing Worth Carrying Away
The best portrait photographers aren’t the ones with the most expensive kits or the most natural talent. They’re the ones who stopped waiting for perfect conditions and started making better decisions with whatever they had in front of them.
If this resonated with you, the visual demonstrations in the original tutorial make these points click even faster than reading about them can. Watch the full tutorial on YouTube and pay particular attention to the lighting positioning section. Seeing it in motion is worth ten paragraphs of explanation.
Comments (2)
This is the kind of content that keeps me coming back.
Would love to see a follow-up going deeper into this topic.
Leave a Comment