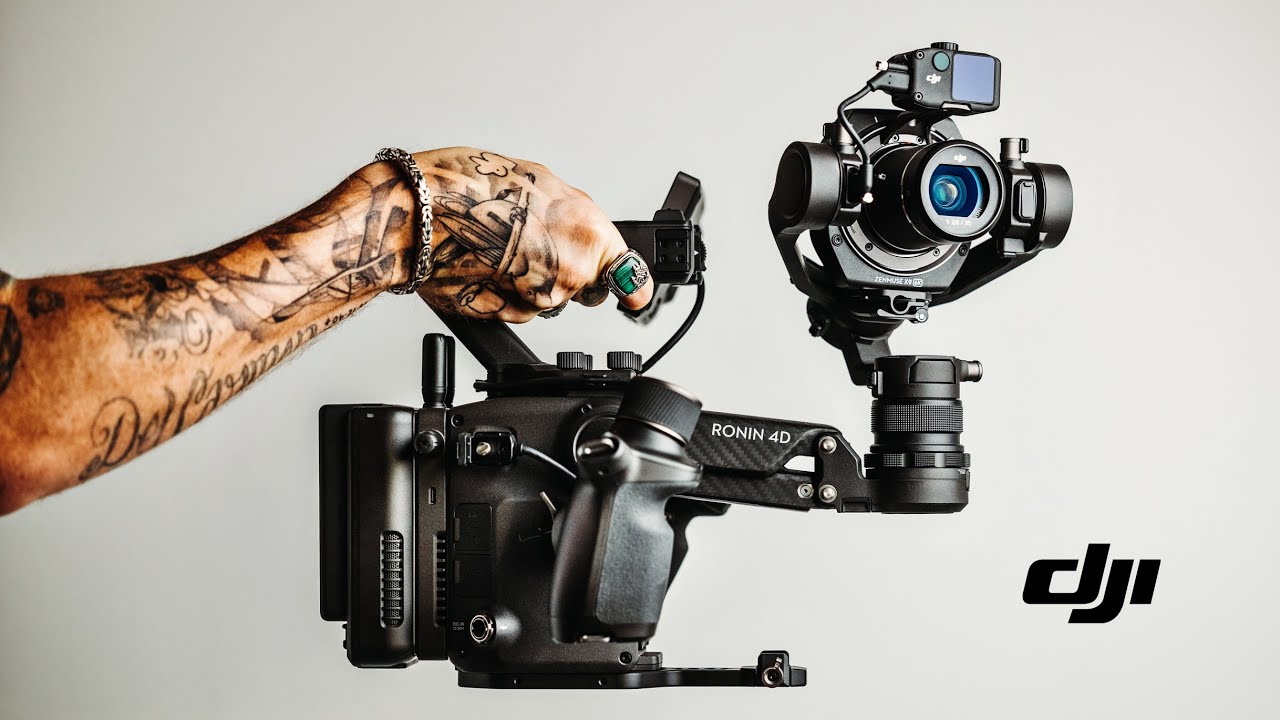
I’ve spent a lot of Sunday mornings walking around Seattle with a camera in my hand, and the single biggest friction point I run into isn’t exposure or composition. It’s stability. Getting smooth, controlled footage while moving through a scene is something that normally requires either a dedicated gimbal operator, a heavy rig, or a lot of patience in post. So when I saw Peter McKinnon’s reaction to the DJI Ronin 4D, I stopped what I was doing and watched the whole thing twice. This isn’t a polished spec-sheet review. It’s a working filmmaker discovering genuinely new technology in real time, and that unfiltered response tells you more than a press release ever could.
In this Peter McKinnon tutorial, he unboxes and explores the DJI Ronin 4D cinema camera live on camera, walking through its physical design, accessories, and core capabilities as he encounters them. Watch the full tutorial on YouTube before or after reading this breakdown. What follows is my best attempt to pull out the actual substance from his reactions so you can understand what this camera does and why it matters, even if you’ve never touched a cinema rig in your life.
Step 1: Understand What Makes This Camera Architecturally Different
 Peter holding the Ronin 4D body, pointing to the gimbal arm
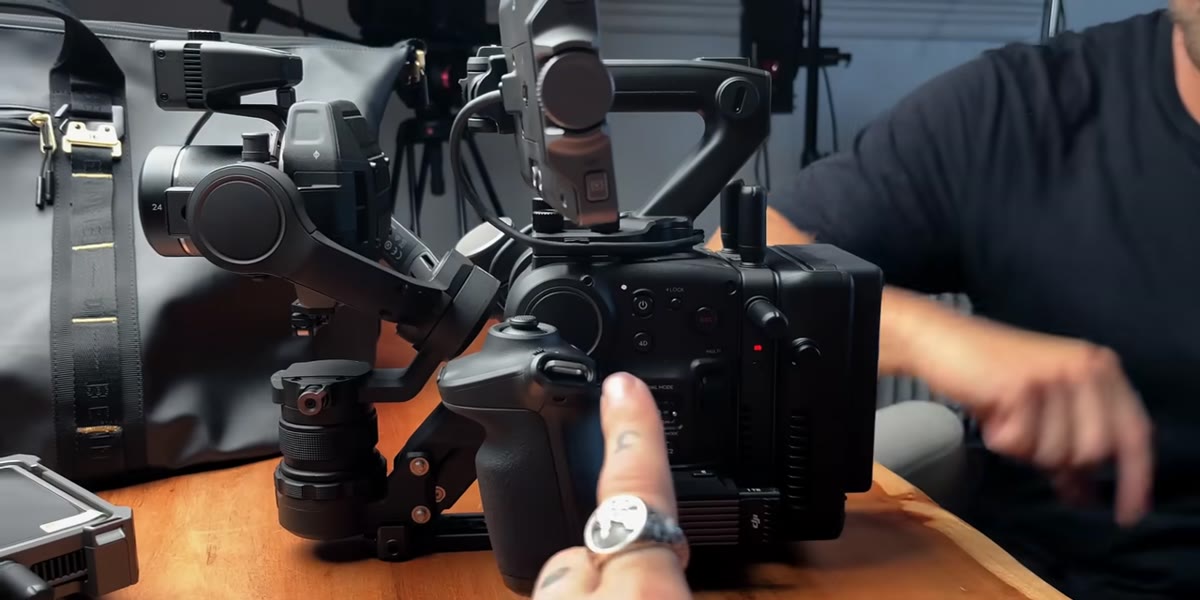
Before you assess any spec, you need to understand the core design decision that separates the Ronin 4D from everything else on the market. The camera body itself has a built-in four-axis gimbal arm. This isn’t a camera you mount onto a separate gimbal. The stabilization is part of the camera. That’s the entire premise, and once it clicks, everything else about the form factor starts to make sense. For photographers moving into video, this matters because it removes one of the most expensive and cumbersome steps in a typical cinema workflow.
Peter holding the Ronin 4D body, pointing to the gimbal arm
Before you assess any spec, you need to understand the core design decision that separates the Ronin 4D from everything else on the market. The camera body itself has a built-in four-axis gimbal arm. This isn’t a camera you mount onto a separate gimbal. The stabilization is part of the camera. That’s the entire premise, and once it clicks, everything else about the form factor starts to make sense. For photographers moving into video, this matters because it removes one of the most expensive and cumbersome steps in a typical cinema workflow.
Step 2: Identify the Battery and Storage System
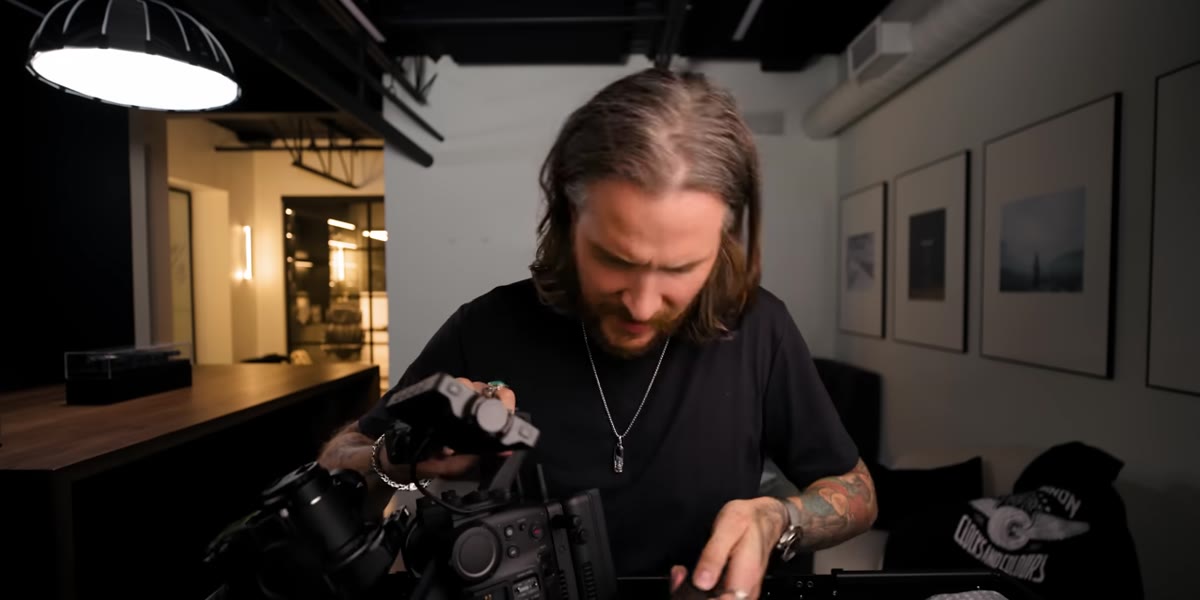 Close-up of the 1TB memory card slot and battery compartment
McKinnon notes early on that the Ronin 4D appears to use the same battery system as DJI’s existing Ronin gimbals. If you’re already working within the DJI ecosystem, that compatibility is a real-world cost and logistics win. You’re not buying an entirely new power infrastructure. On the storage side, the camera slots a one-terabyte card directly into the body. No fussing with external recorders. For anyone who’s spent time untangling a recording setup on a run-and-gun shoot, that single-body simplicity is worth paying attention to.
Close-up of the 1TB memory card slot and battery compartment
McKinnon notes early on that the Ronin 4D appears to use the same battery system as DJI’s existing Ronin gimbals. If you’re already working within the DJI ecosystem, that compatibility is a real-world cost and logistics win. You’re not buying an entirely new power infrastructure. On the storage side, the camera slots a one-terabyte card directly into the body. No fussing with external recorders. For anyone who’s spent time untangling a recording setup on a run-and-gun shoot, that single-body simplicity is worth paying attention to.
Step 3: Learn the Handle and Control Layout
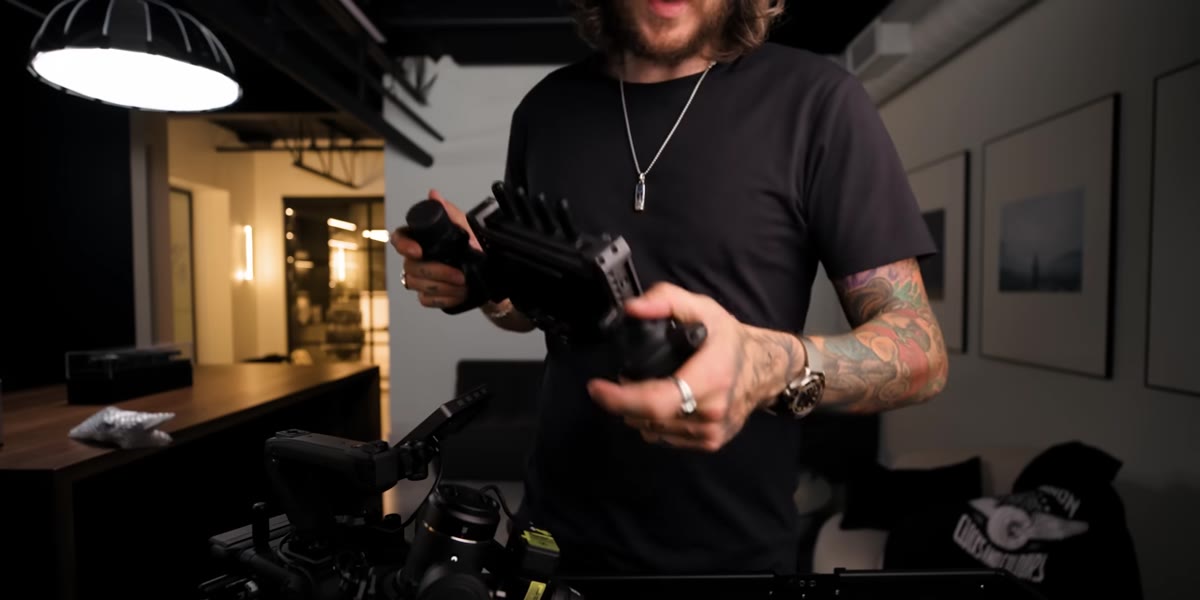 Dual handle configuration attached to camera body
The Ronin 4D ships with a dual-handle grip system that attaches to the sides of the camera. Each handle does specific work: one side manages gimbal control, and the other gives you access to focus pulling. The handles lock on and off with a release button, which means your configuration can change depending on the shoot. Wireless antennas sit at the top of the rig, keeping your signal clean without extra cabling. For anyone used to building out a camera rig piece by piece, seeing all of this integrated at the hardware level is a bit of a mental shift.
Dual handle configuration attached to camera body
The Ronin 4D ships with a dual-handle grip system that attaches to the sides of the camera. Each handle does specific work: one side manages gimbal control, and the other gives you access to focus pulling. The handles lock on and off with a release button, which means your configuration can change depending on the shoot. Wireless antennas sit at the top of the rig, keeping your signal clean without extra cabling. For anyone used to building out a camera rig piece by piece, seeing all of this integrated at the hardware level is a bit of a mental shift.
Step 4: Understand the Chest-Mount Workflow
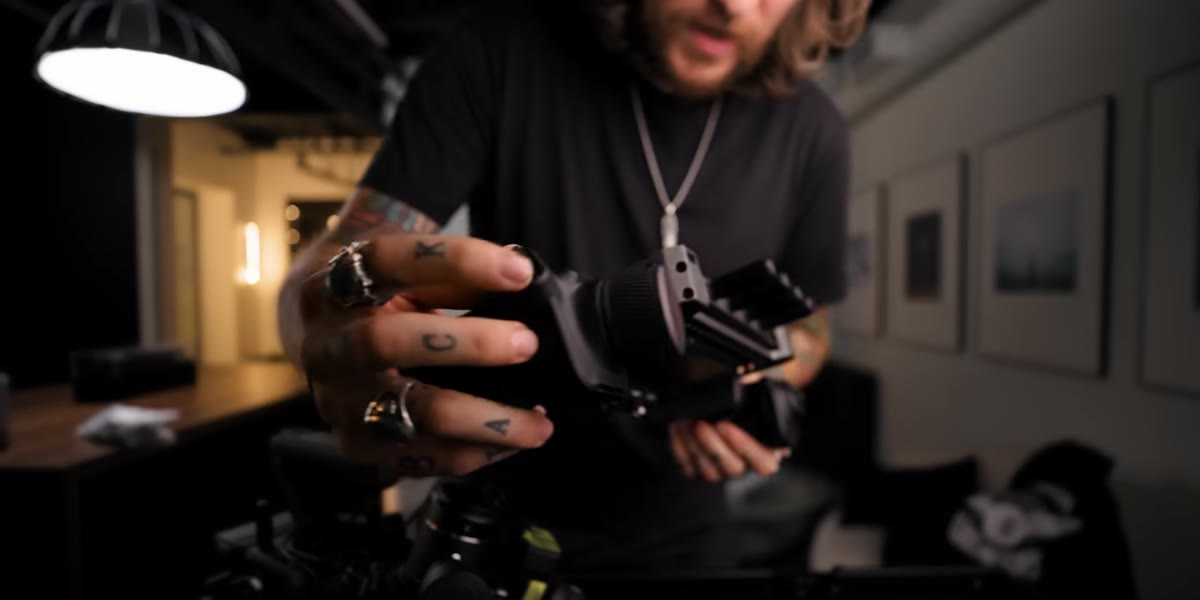 Strap mounts visible on handle ends, camera hanging from chest
Once the handles are attached, the camera is designed to hang from a chest strap using mounts built into the ends of the grips. This means when you’re between shots, you lower the camera to your chest, keep your hands free, and then raise it back into position when you’re ready to shoot. It sounds simple, but on a working set that kind of ergonomic thoughtfulness reduces fatigue over a long day. McKinnon demonstrates this naturally during his unboxing, and it’s one of those things you don’t appreciate until you’ve spent six hours holding a rig at shoulder height.
Strap mounts visible on handle ends, camera hanging from chest
Once the handles are attached, the camera is designed to hang from a chest strap using mounts built into the ends of the grips. This means when you’re between shots, you lower the camera to your chest, keep your hands free, and then raise it back into position when you’re ready to shoot. It sounds simple, but on a working set that kind of ergonomic thoughtfulness reduces fatigue over a long day. McKinnon demonstrates this naturally during his unboxing, and it’s one of those things you don’t appreciate until you’ve spent six hours holding a rig at shoulder height.
Step 5: Clock the Imaging Specs - 6K, ProRes RAW, Full Frame
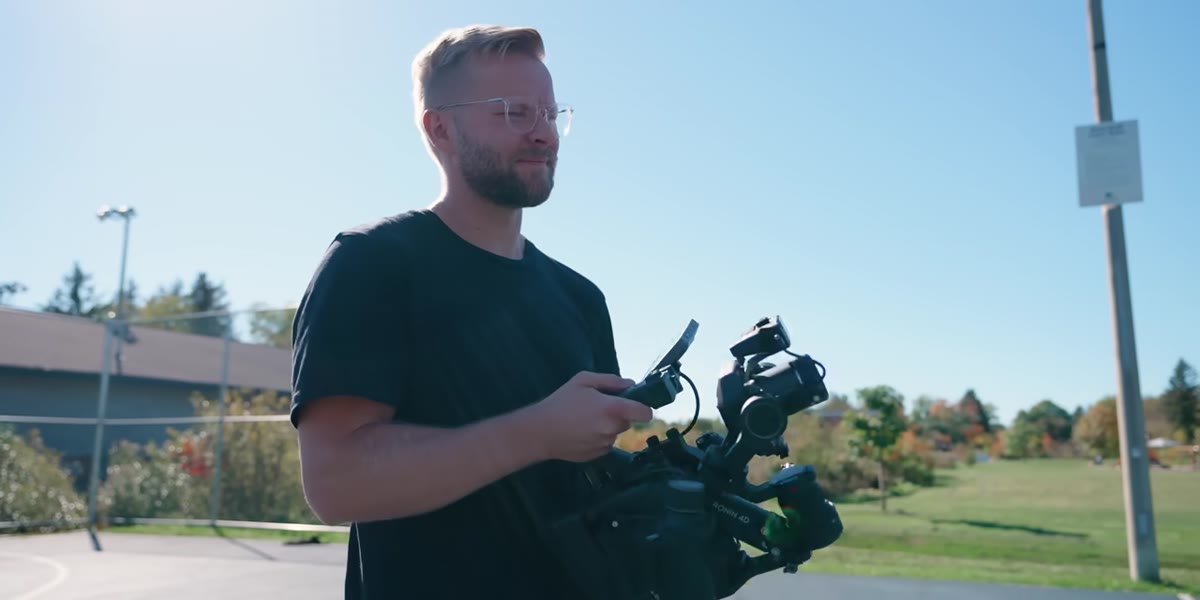 McKinnon listing specs to Maddie off camera
The Ronin 4D shoots 6K ProRes RAW on a full-frame sensor. For context, ProRes RAW is a format that gives you the flexibility of RAW processing combined with the relative ease of a video codec. Full frame means you get that wider, shallower depth-of-field look that cinema shooters chase. These aren’t just marketing numbers. If you’re coming from a mirrorless photography background and thinking about moving into serious video work, this sensor and codec combination sits comfortably alongside dedicated cinema cameras that cost significantly more.
McKinnon listing specs to Maddie off camera
The Ronin 4D shoots 6K ProRes RAW on a full-frame sensor. For context, ProRes RAW is a format that gives you the flexibility of RAW processing combined with the relative ease of a video codec. Full frame means you get that wider, shallower depth-of-field look that cinema shooters chase. These aren’t just marketing numbers. If you’re coming from a mirrorless photography background and thinking about moving into serious video work, this sensor and codec combination sits comfortably alongside dedicated cinema cameras that cost significantly more.
Step 6: Factor In the LiDAR Autofocus System
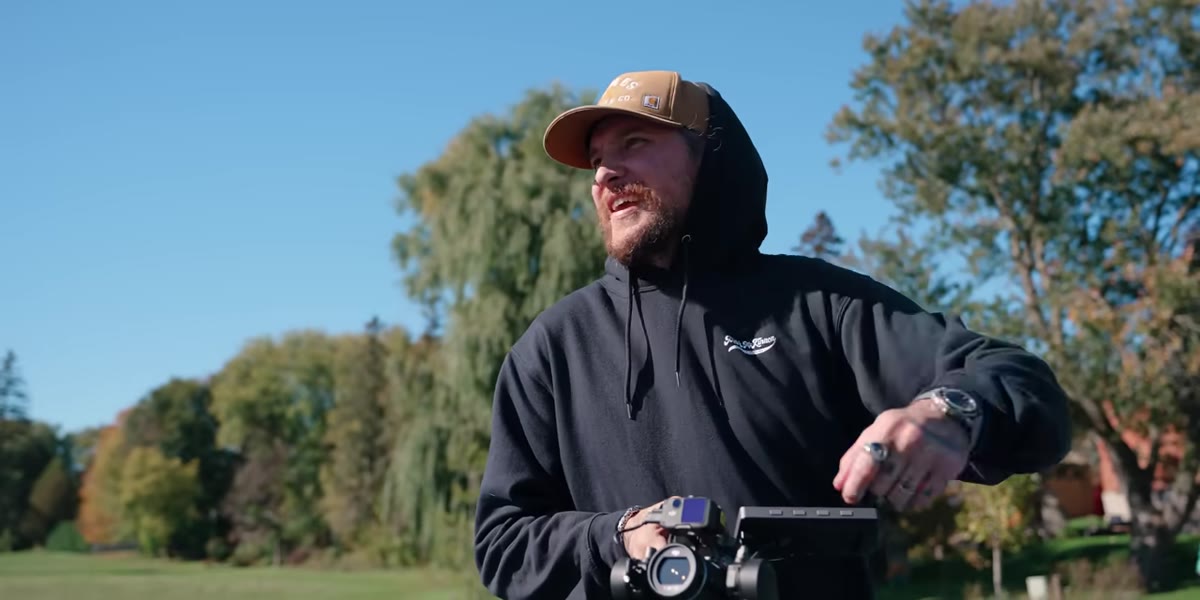 Discussion of LiDAR system capabilities
One of the specs that genuinely surprised McKinnon, and me when I heard it, is the LiDAR autofocus system built into the camera. LiDAR uses laser measurement to calculate distance to your subject, which means autofocus operates even in low light situations where contrast-detection or phase-detection systems struggle. For run-and-gun documentary work, or any situation where you can’t control lighting, this is a meaningful technical advantage. It’s also what makes the built-in focus-pull hardware on the handles actually viable rather than just a gimmick.
Discussion of LiDAR system capabilities
One of the specs that genuinely surprised McKinnon, and me when I heard it, is the LiDAR autofocus system built into the camera. LiDAR uses laser measurement to calculate distance to your subject, which means autofocus operates even in low light situations where contrast-detection or phase-detection systems struggle. For run-and-gun documentary work, or any situation where you can’t control lighting, this is a meaningful technical advantage. It’s also what makes the built-in focus-pull hardware on the handles actually viable rather than just a gimmick.
Step 7: Recalibrate Your Expectations Around Complexity
 McKinnon and Maddie discussing how surprisingly usable the camera feels
Here’s the thing that both McKinnon and his colleague Maddie return to after going through the specs: the camera looks intimidating. The gimbal arm, the handles, the dual-antenna setup, all of it reads as complicated at first glance. But their consistent observation is that operating it feels more intuitive than the form factor suggests. That’s an important signal for anyone evaluating new gear. A camera that looks like a film school thesis project but actually handles like a working tool is worth taking seriously. Don’t let the aesthetic put you off before you try it.
McKinnon and Maddie discussing how surprisingly usable the camera feels
Here’s the thing that both McKinnon and his colleague Maddie return to after going through the specs: the camera looks intimidating. The gimbal arm, the handles, the dual-antenna setup, all of it reads as complicated at first glance. But their consistent observation is that operating it feels more intuitive than the form factor suggests. That’s an important signal for anyone evaluating new gear. A camera that looks like a film school thesis project but actually handles like a working tool is worth taking seriously. Don’t let the aesthetic put you off before you try it.
What I’d Add From My Own Shooting Experience
I don’t work in cinema, and I probably won’t be adding the Ronin 4D to my kit anytime soon. But the design philosophy here applies to decisions I make all the time. Integrated systems almost always beat assembled ones for real-world use. My most-liked Instagram photo was taken on a $200 phone, but that wasn’t about the phone’s specs. It was about removing friction between the moment and the capture. That’s what DJI is solving at a much higher level with this camera. When your stabilization, your storage, your focus system, and your controls all live in one body, you spend less time managing gear and more time actually shooting. That principle scales down to every level of photography.
The Ronin 4D isn’t a camera most of us will ever hold in our hands. But watching someone encounter genuinely new technology in real time is a useful exercise regardless. It reminds you what innovation actually looks like, and it’s worth an hour of your Sunday.
If you’re curious about the full unboxing and hands-on first look, Watch the full tutorial on YouTube. The moment McKinnon calls Maddie over to confirm he isn’t imagining what he’s looking at is worth the watch alone.
Comments
Leave a Comment