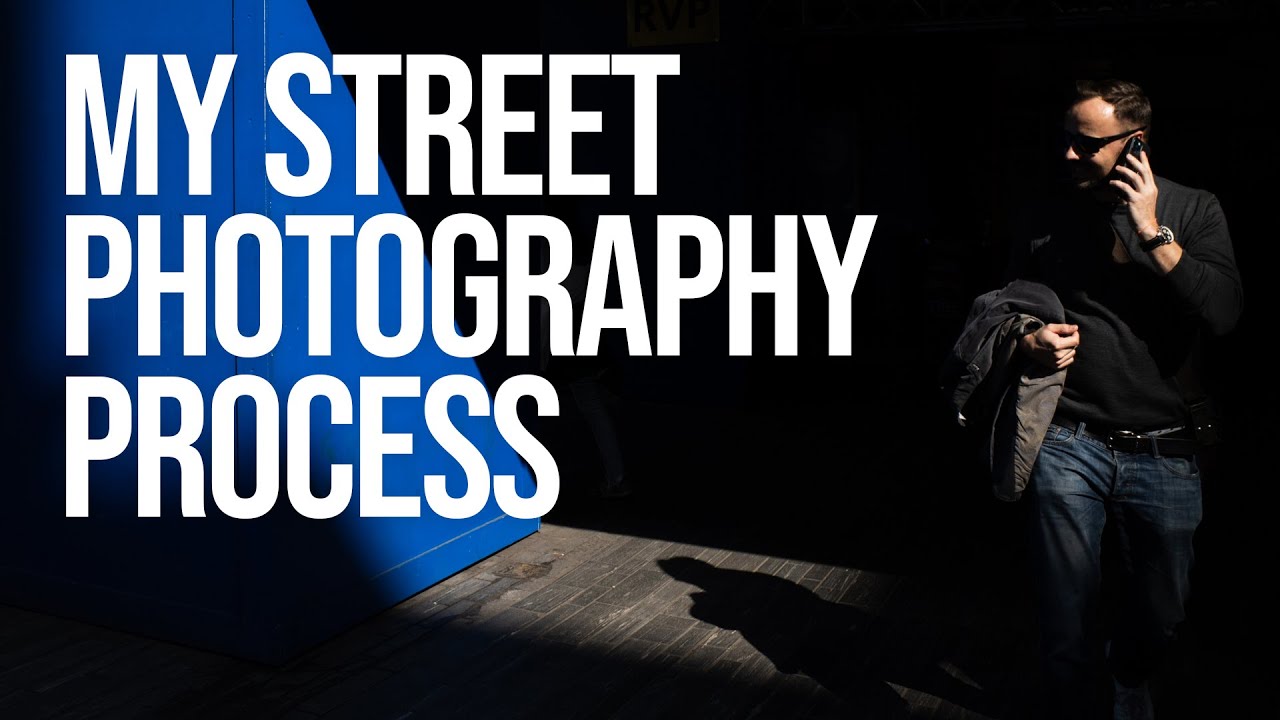
Every Sunday morning I take a photo walk through whatever neighborhood I happen to wake up in. I’ve been doing it for years. And for most of those early years, I came home frustrated. I’d shoot for two hours, import everything, and feel like I had nothing. Not because I wasn’t trying hard enough, but because I had this completely wrong idea of what a productive shoot actually looks like. I thought the photographers I admired were just… better at seeing. That they lifted the camera, clicked once, and walked away with gold. It turns out that story is mostly fiction.
In this Sean Tucker tutorial, he walks through his own contact sheets from a real afternoon of street shooting, showing every frame in sequence, including the ones that absolutely did not work. Watch the full tutorial on YouTube. It’s one of the most honest looks at a working photographer’s process I’ve come across, and it reframed something I wish someone had told me when I was starting out: the messy middle is not a sign you’re failing. It IS the process.
What I’m breaking down here is both the mental framework Tucker lays out and the practical habits you can take directly into your next shoot. This applies whether you’re shooting street, travel, or anything else where you’re moving through a scene in real time.
Step 1: Release Yourself from the “One Great Shot” Pressure
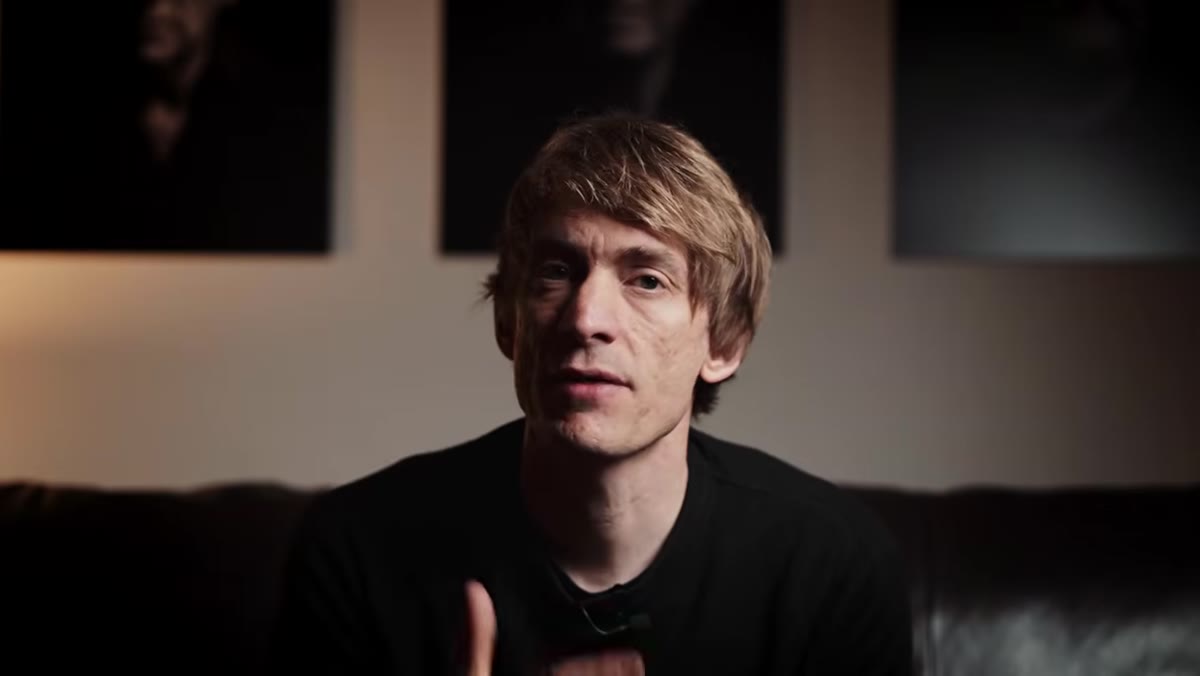 Tucker describing his typical two-hour shoot yielding one or two keepers
Before you even pick up the camera, adjust your expectations for what a successful outing looks like. Tucker is direct about this: on a two-hour street shoot, he might take 50 to 100 frames and walk away with one or two keepers. That’s not failure. That’s his normal ratio, and he’s been doing this professionally for years.
Tucker describing his typical two-hour shoot yielding one or two keepers
Before you even pick up the camera, adjust your expectations for what a successful outing looks like. Tucker is direct about this: on a two-hour street shoot, he might take 50 to 100 frames and walk away with one or two keepers. That’s not failure. That’s his normal ratio, and he’s been doing this professionally for years.
If you go out expecting every frame to be a winner, you’ll either stop shooting too soon or you’ll start forcing shots that aren’t there. Instead, give yourself permission to take “scouting frames,” exploratory angles, and rough attempts. They aren’t wasted shots. They’re the scaffolding that holds up the one frame you’ll actually keep.
Step 2: Study Contact Sheets from Photographers You Admire
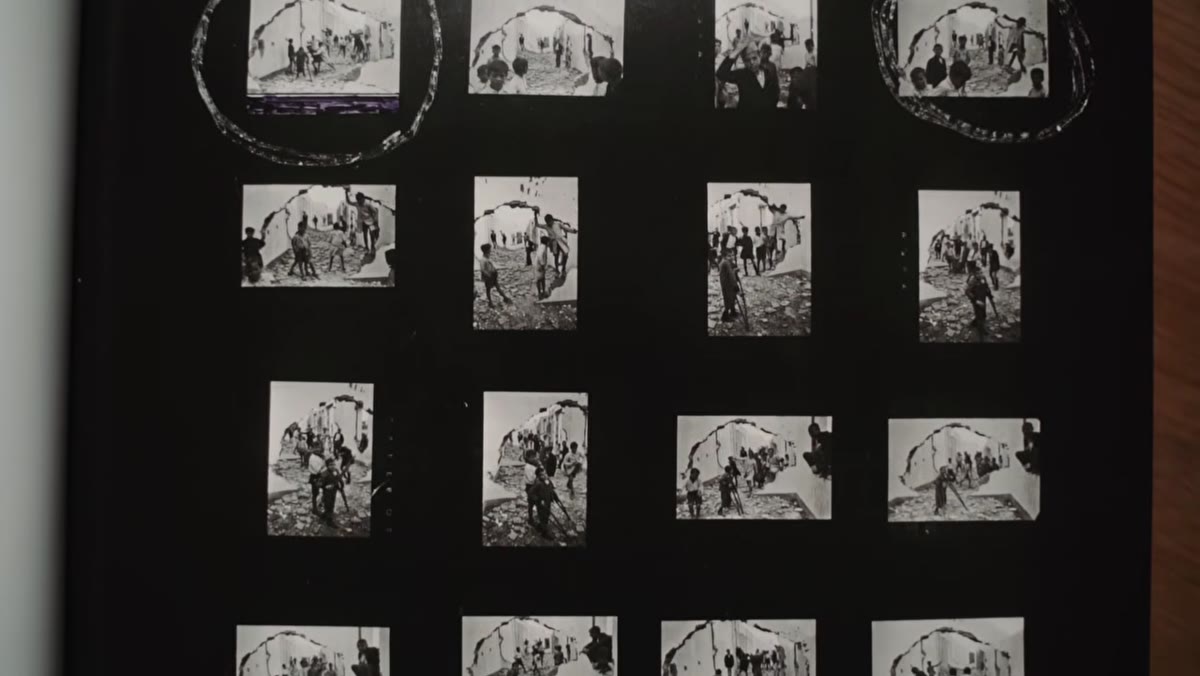
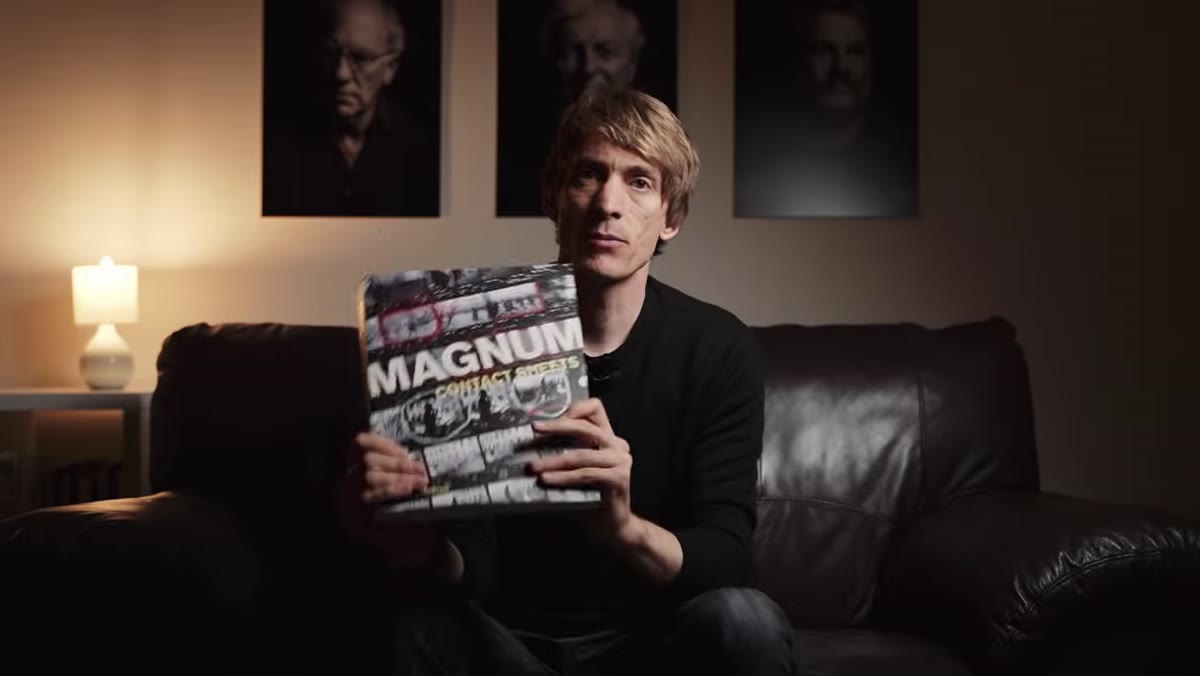 Tucker holding the Magnum Contact Sheets book open to Cartier-Bresson’s Seville sequence
Tucker references the Magnum Contact Sheets book as a turning point in how he understood the masters’ process. The value isn’t just inspiration. It’s seeing the raw sequence of decisions a photographer made before arriving at the famous frame. Cartier-Bresson’s iconic Seville shot, for example, sits in a strip of frames where he was clearly working the scene, repositioning, waiting for subjects to move into the right arrangement.
Tucker holding the Magnum Contact Sheets book open to Cartier-Bresson’s Seville sequence
Tucker references the Magnum Contact Sheets book as a turning point in how he understood the masters’ process. The value isn’t just inspiration. It’s seeing the raw sequence of decisions a photographer made before arriving at the famous frame. Cartier-Bresson’s iconic Seville shot, for example, sits in a strip of frames where he was clearly working the scene, repositioning, waiting for subjects to move into the right arrangement.
You don’t need to buy the book to start this practice, though it’s worth it. Look for contact sheet posts from photographers you follow. Many will share them on their websites or in interviews. The goal is to normalize the gap between a photographer’s first frame at a location and their final image. That gap is where the actual craft lives.
Step 3: Work a Scene Horizontally, Not Just Vertically
 Steve McCurry’s contact sheet showing multiple attempts before the final seven-women frame
Tucker walks through Steve McCurry’s 1983 shoot in Rajasthan, where the famous image of seven women emerged not from a single decisive moment but from a sustained, exploratory session. McCurry was even shooting something unrelated nearby before he noticed the group and began narrowing in. The sequence shows him adjusting his position, changing the relationship between the women and the large pots in the scene, and gradually locking in the composition.
Steve McCurry’s contact sheet showing multiple attempts before the final seven-women frame
Tucker walks through Steve McCurry’s 1983 shoot in Rajasthan, where the famous image of seven women emerged not from a single decisive moment but from a sustained, exploratory session. McCurry was even shooting something unrelated nearby before he noticed the group and began narrowing in. The sequence shows him adjusting his position, changing the relationship between the women and the large pots in the scene, and gradually locking in the composition.
When you find a scene that interests you, resist the urge to take one shot and move on. Instead, work it like a sculptor: walk around it, try it from lower, try it from the side, wait for the light to shift slightly, wait for a person to move. Take frames you know won’t be keepers just to help yourself see what’s not working. Those “elimination shots” sharpen your eye for the one that will work.
Step 4: Let Bad Frames Move You Toward Better Ones
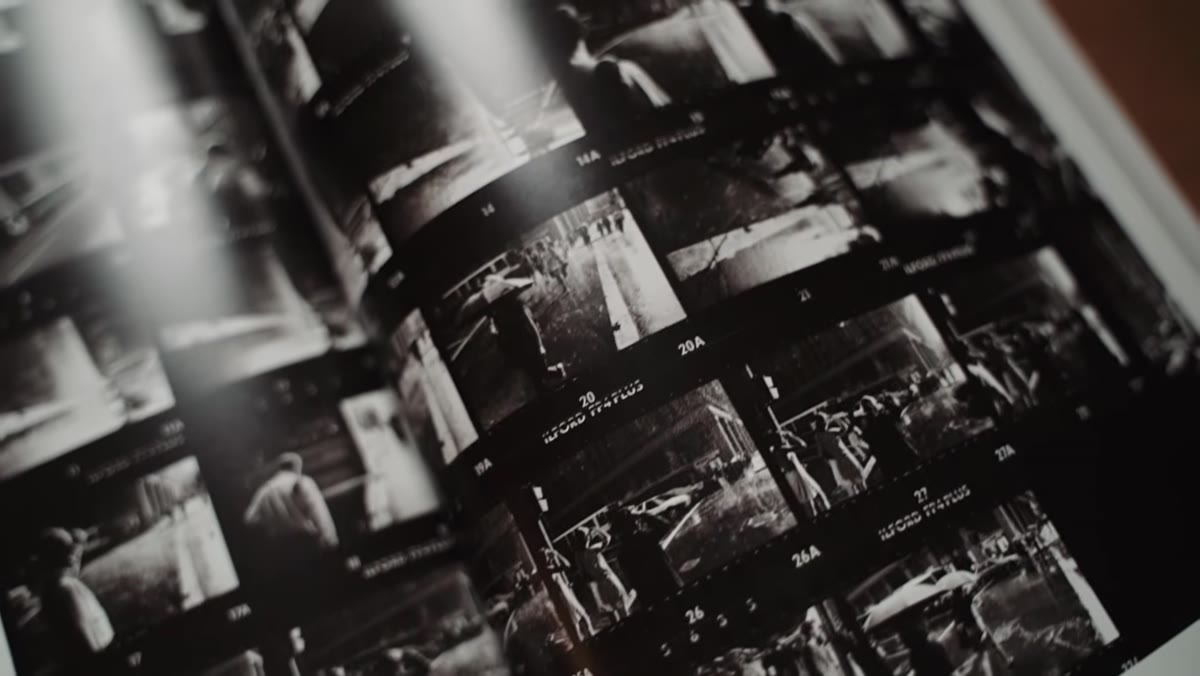 Trent Parke contact sheet showing failed reflection attempts before the final Sydney image
Tucker’s breakdown of Trent Parke’s Sydney contact sheet is particularly useful here. Parke’s famous black-and-white image of light in Sydney didn’t appear on the first frame. His contact sheet shows attempts that clearly didn’t pan out, including some experiments with floor reflections that went nowhere. But each failed frame was moving him physically and creatively toward the version that worked.
Trent Parke contact sheet showing failed reflection attempts before the final Sydney image
Tucker’s breakdown of Trent Parke’s Sydney contact sheet is particularly useful here. Parke’s famous black-and-white image of light in Sydney didn’t appear on the first frame. His contact sheet shows attempts that clearly didn’t pan out, including some experiments with floor reflections that went nowhere. But each failed frame was moving him physically and creatively toward the version that worked.
Think of your shoot as a conversation with the scene, not a transaction. A bad frame tells you something. It tells you the angle is off, the light isn’t doing what you hoped, or a person walked into the wrong part of the frame. Instead of deleting the idea entirely, use that information. Adjust one variable and try again. Small pivots, repeated, compound into something genuinely interesting.
Step 5: Review Your Contact Sheets After Every Shoot (Not Just the Keepers)
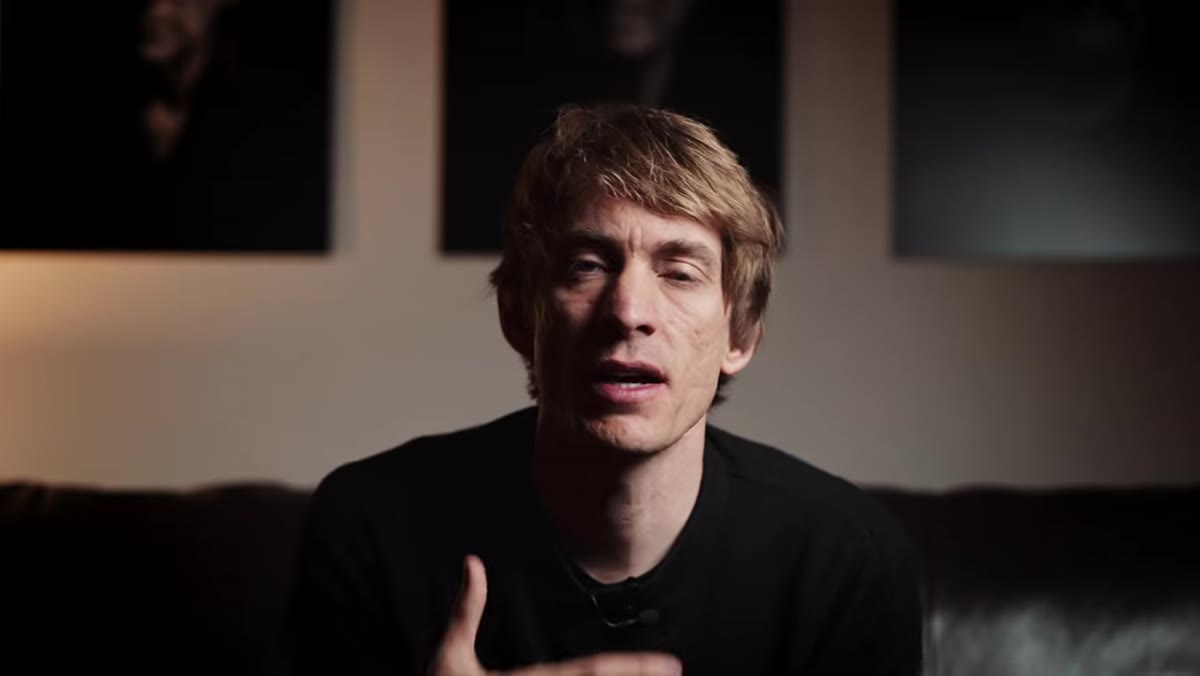 Tucker introducing his own contact sheet walkthrough for the afternoon session
This is the practical habit that ties everything together. After a shoot, most of us go straight to the selects. Tucker’s approach is to look at the full sequence in order, almost like watching a film of your own decision-making. The contact sheet shows you not just what you got, but how you got there, and where you gave up too early.
Tucker introducing his own contact sheet walkthrough for the afternoon session
This is the practical habit that ties everything together. After a shoot, most of us go straight to the selects. Tucker’s approach is to look at the full sequence in order, almost like watching a film of your own decision-making. The contact sheet shows you not just what you got, but how you got there, and where you gave up too early.
When you review this way, you start to notice patterns. Maybe you consistently take two or three frames of something interesting and then move on before the scene develops. Maybe you avoid certain light conditions entirely. Seeing the full strip is the closest thing to a feedback loop this kind of photography has. Do it after every shoot, even the frustrating ones, especially the frustrating ones.
What I’d Add from My Own Shooting
I started keeping a simple notes app entry after each Sunday walk. Not long, just a couple of lines: what I was drawn to, what I avoided, one frame I almost didn’t take. It sounds fussy but it changed how quickly I improved. The contact sheet shows you the sequence of frames. The notes show you the sequence of instincts. Together they give you an honest picture of how you actually shoot versus how you think you shoot. Tucker doesn’t mention this specifically, but it’s the natural extension of everything he’s describing. You’re building a feedback system for your own eye, and that compounds fast.
The single most important thing Tucker demonstrates in this tutorial is that volume and quality are not opposites in street photography. You don’t get fewer bad frames as you get better. You get better at using them. Every photographer you admire has a contact sheet full of near-misses, wrong angles, and experiments that went nowhere. The keepers you love were surrounded by shots that never made it anywhere.
Watch the full tutorial on YouTube to see Tucker walk through his own contact sheet in real time. Seeing his actual sequence, frame by frame, is worth more than any general advice about “working the scene.”
Comments
Leave a Comment