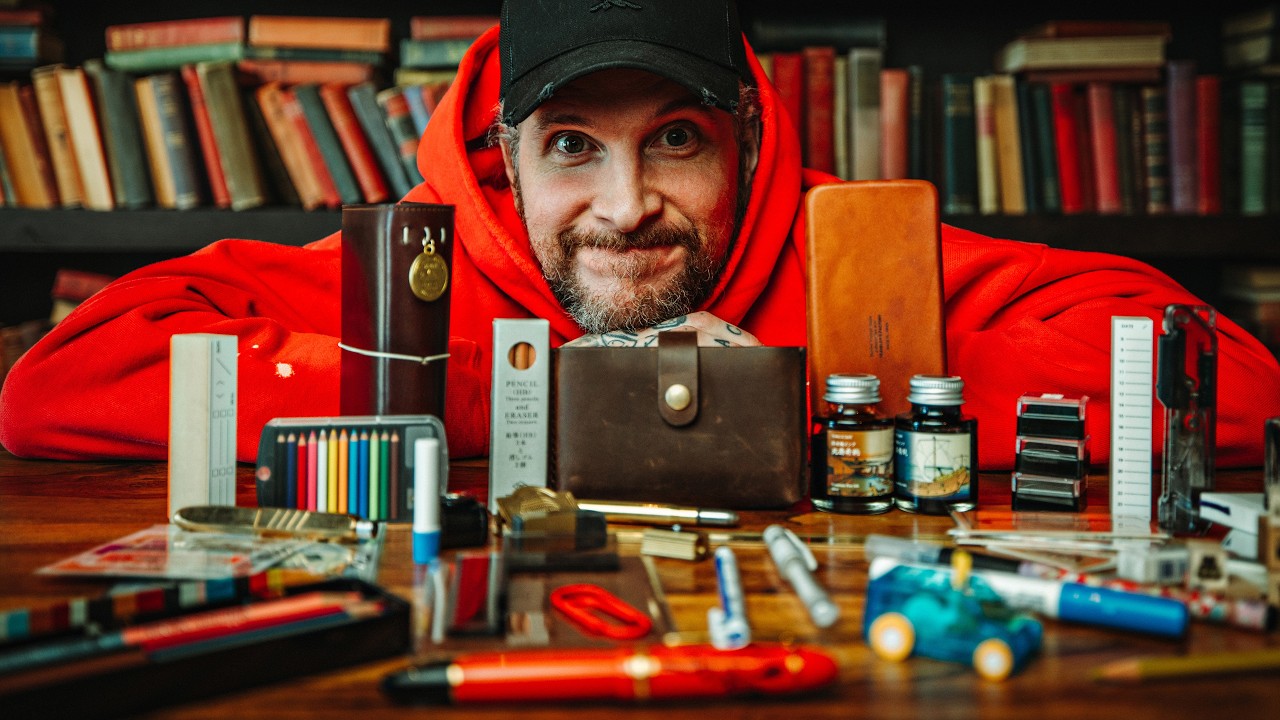
I’ll be honest with you: I didn’t expect a stationery haul video to teach me anything useful about my creative practice. I clicked on it because I was procrastinating on editing a shoot from my Sunday morning photo walk, and Peter McKinnon’s thumbnail caught my eye. Twenty minutes later I had four tabs open on Amazon and a renewed appreciation for tools that make the act of creating feel genuinely good. That matters more than people admit. The right pen, the right notebook, the right eraser – they lower the friction between having an idea and putting it somewhere real. For photographers especially, analog tools keep us thinking visually even when we’re not behind a camera.
In this Peter McKinnon tutorial, Watch the full tutorial on YouTube, Peter walks through the stationery he brought back from his first trip to Japan, and the finds are genuinely worth knowing about. This isn’t a sponsored product dump. It reads more like a creative person discovering an entire culture built around the pleasure of writing, drawing, and making marks on paper – and getting a little overwhelmed by all of it in the best possible way. Here’s a breakdown of what he found, why each item is worth your attention, and how I’d use these in my own workflow.
Step 1: Start With Precision – The Tombow Mono Zero Eraser
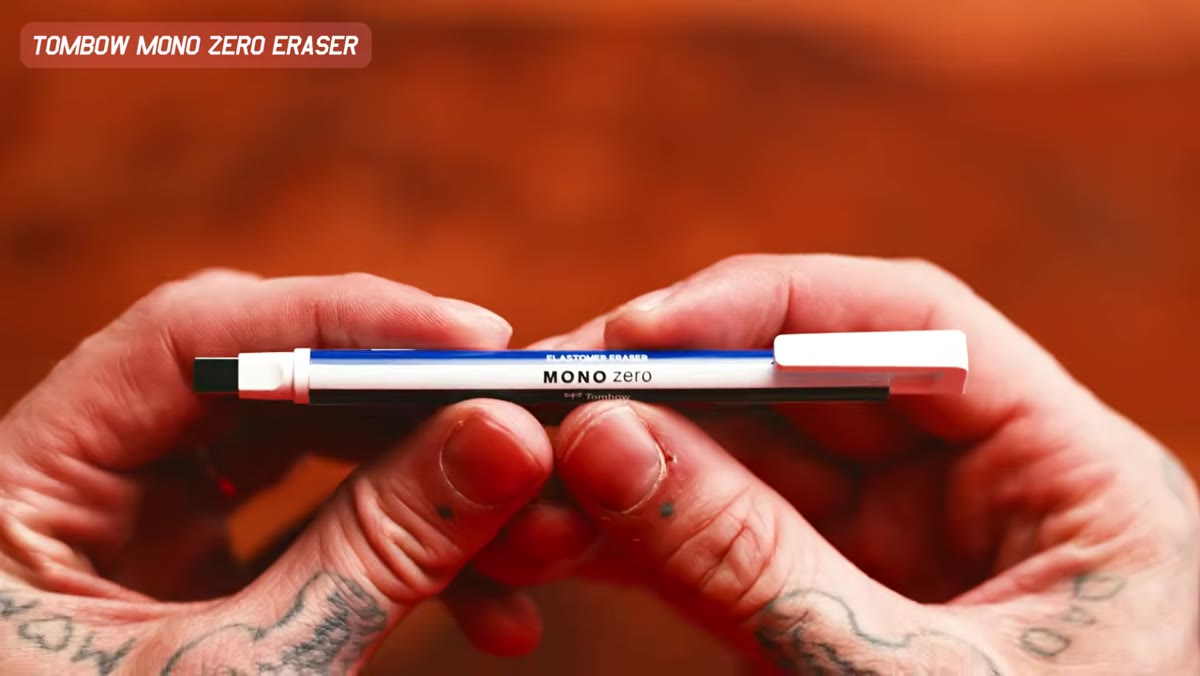 Mechanical-style eraser being clicked and demonstrated close-up
Think of this eraser the way you’d think of a fine-tip brush in Photoshop. The Tombow Mono Zero is shaped like a mechanical pencil and dispenses a rectangular eraser tip that lets you erase in tight, controlled areas without touching the lines around them. If you sketch compositions before shooting, or use a bullet journal to plan your photo projects, the ability to correct one small word or one small mark without wrecking everything around it is genuinely useful. Click to advance the tip, erase, repeat. The feel is satisfying in the same way a good shutter click is satisfying – tactile, precise, deliberate.
Step 2: Rethink Your Carry Kit – The Kokuyo Hako-Ake 2-Way Tool
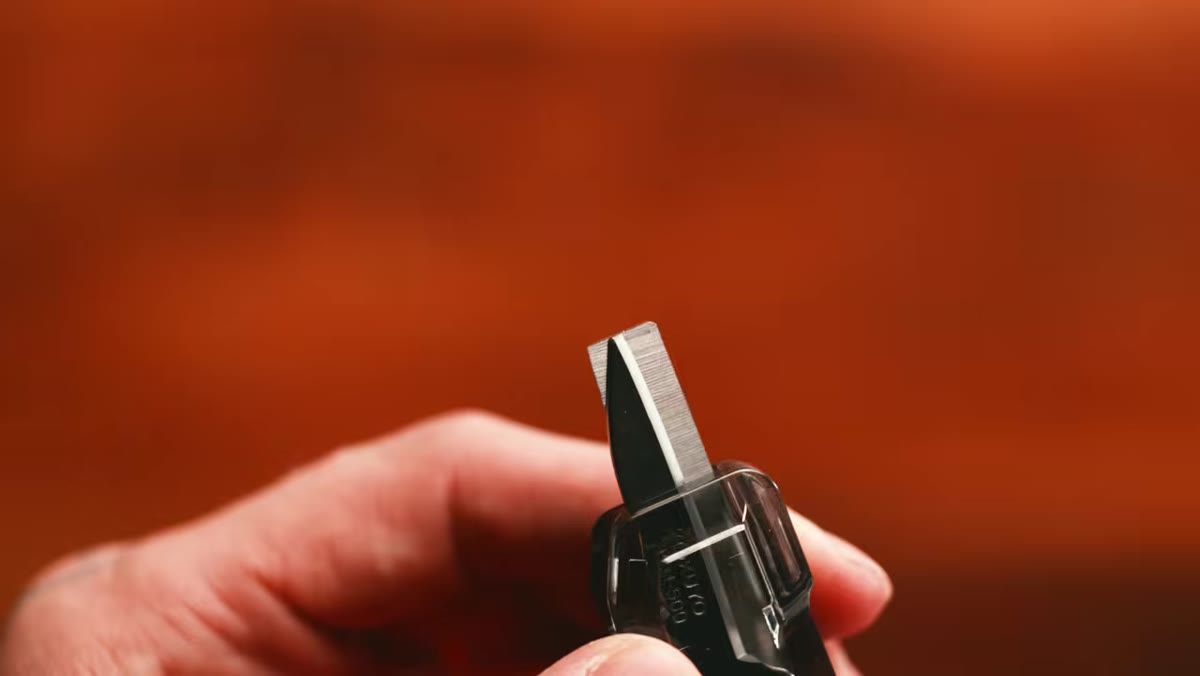 Sliding the tool from box-cutter position into scissors position
This is the item that made me sit up straight. The Kokuyo Hako-Ake looks like a small, translucent plastic case – nothing dramatic. Slide it to the first position and you get a box cutter. Slide it to the second position and scissors fold out. That’s it. That’s the whole trick, and it’s brilliant. For photographers who do any kind of print work, packaging, or studio prep, having both tools in one pocket-sized object removes a small but real annoyance from the day. Peter was enthusiastic enough about this one to tell people to pause the video and go buy it immediately. I’m inclined to agree.
Step 3: Upgrade Your Adhesive – Japanese Glue Sticks With Replaceable Cartridges
 Glue stick being twisted out, showing lipstick-style applicator
This one hit differently than expected. The Japanese glue stick Peter shows applies blue so you can see where you’ve covered, then dries completely clear. More importantly, the cartridge is replaceable – so the outer casing is a keeper, not trash. For photographers who maintain physical mood boards, print contact sheets, or put together client lookbooks by hand, this is a small upgrade that pays off quickly. The twist-up applicator is clean and controlled, which means less mess and more precision compared to the squeeze bottles most of us grew up destroying our school projects with.
Step 4: Look at the Hotel Pens – Japanese Brush Markers
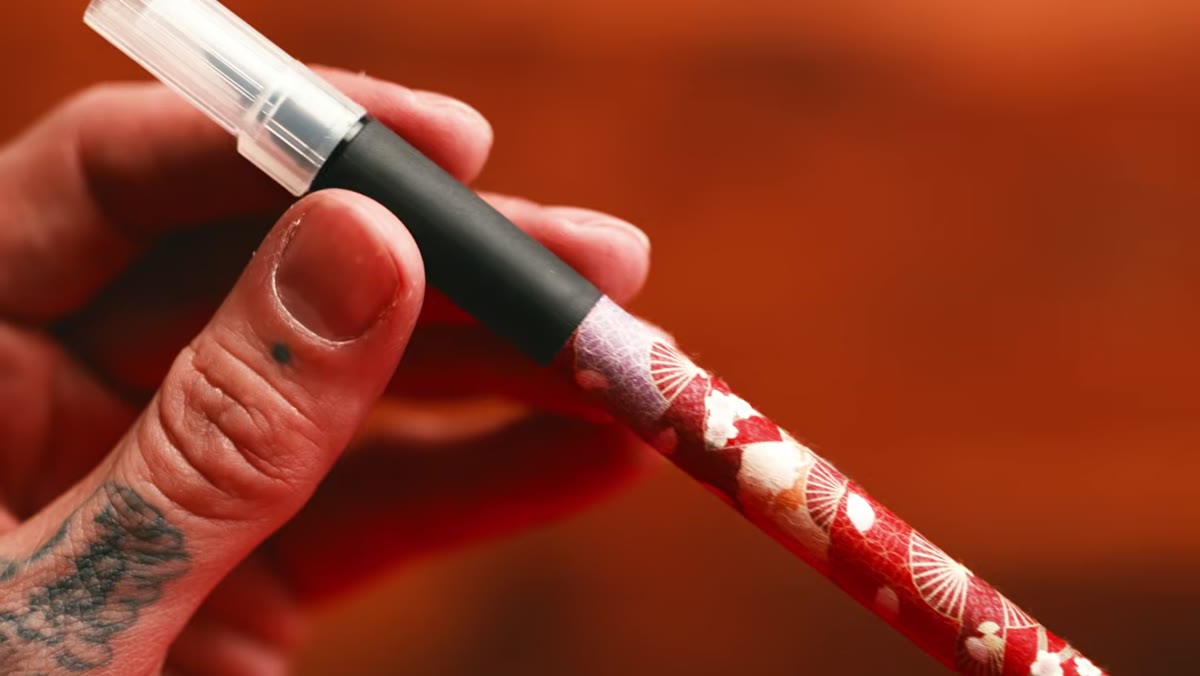 Brush marker from hotel room shown with its paper wrapping
Peter noticed that even the complimentary pens in his hotel rooms in Osaka and Kyoto were wrapped in beautiful paper. The brush markers he picked up along the way draw both very fine and very thick lines depending on the pressure and angle you use, similar to how a wide-angle lens gives you entirely different results depending on how close you get to your subject. He also noticed a small loop at the end of several Japanese brushes he encountered and genuinely didn’t know what it was for – and that curiosity is contagious. If you’re someone who annotates your photos, keeps a visual diary, or sketches locations before you shoot them, a good brush marker changes the experience entirely.
Step 5: Add White to Your Drawing Kit – Uni-ball Signo White Pen
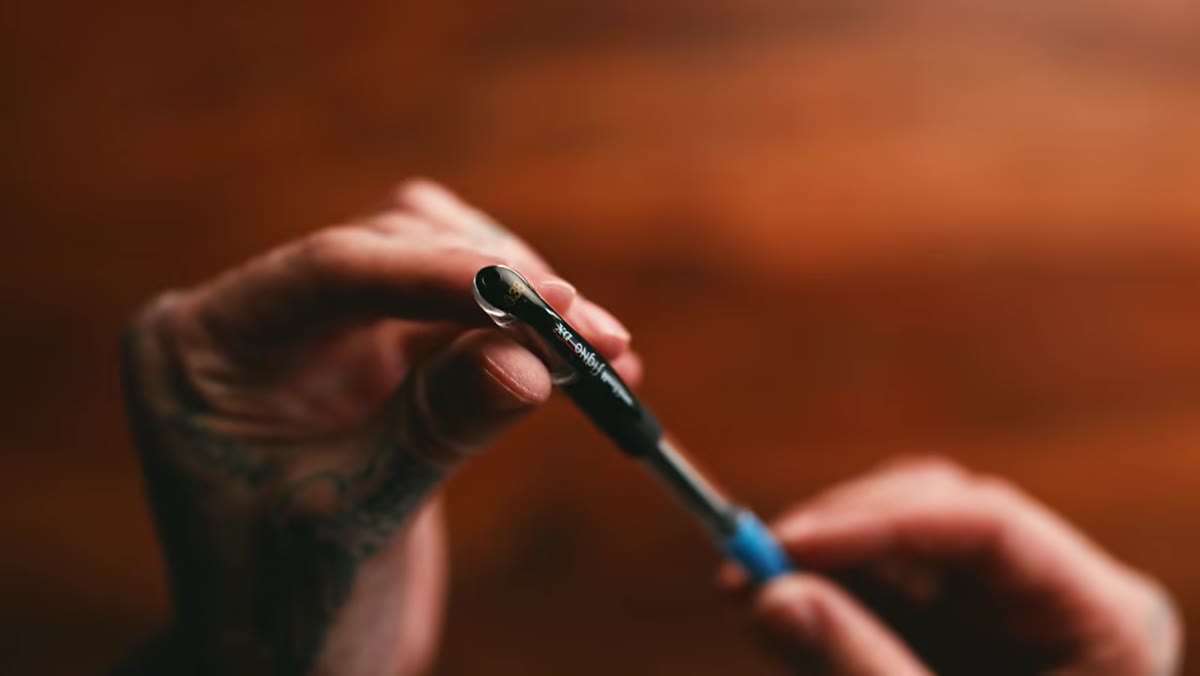 White pen used to draw snow highlights on mountain sketch
Peter mentions that the Uni-ball Signo DX is already his favorite pen, so finding a white version was a genuine discovery. He uses it specifically for accents – drawing snow on mountain peaks in his sketchbook, adding highlights and small details that would otherwise require a totally different medium. For photographers who also sketch or who keep illustrated travel journals, a white gel pen is one of those tools that feels almost like cheating because it makes everything look more finished with very little effort. Use it on dark paper or over ink to pull out light the way you’d bring up highlights in a Lightroom edit.
Step 6: Collect Stamps – Japan’s Public Stamp Stations
 Description of stamp stations found at temples, train stations, and public spaces
This one is more of a travel tip than a product, but it belongs in any creative’s Japan itinerary. All over Japan – at temples, train stations, subway stops, and public pavilions – there are small stamp stations with unique rubber stamps tied to that specific location. You press them into your notebook as a record of where you’ve been. It’s a physical, tactile alternative to the Instagram geotag, and the impressions are genuinely beautiful. Peter’s son found one on Mount Fuji and lost his mind about it, which tracks completely. If you’re a photographer who travels, bringing a dedicated notebook just for stamp collecting adds a whole layer to your trip documentation that photos alone can’t capture.
My Take: Analog Tools Are Part of the Creative Process, Not Separate From It
I started using a small notebook to sketch shot compositions after a workshop a few years back, and it completely changed how I approach a location before I ever lift my camera. The sketches aren’t good. That’s not the point. The point is that the act of drawing forces me to look longer and think harder about light, framing, and what I actually want to say with an image. Japanese stationery takes that analog habit and makes it feel worth doing. When your tools feel considered and well-made, you use them more. And the more you use them, the better your eye gets – even when you’re not shooting.
The single most important thing I took from this video is simpler than any specific product: Japan treats everyday tools as things worth caring about, and that mindset belongs in every creative’s workflow. Whether it’s an eraser, a glue stick, or a stamp in a mountain pavilion, the quality of your tools shapes how often you reach for them.
Watch the full tutorial on YouTube to see everything Peter unpacked and hear his commentary on each find firsthand. It’s a fun watch, and you’ll probably end up with a few tabs open by the end.
Comments
Leave a Comment