I avoided buying a flash for an embarrassingly long time. I told myself I was a natural light photographer, that flashes were complicated, that I’d figure it out eventually. The truth? I was intimidated. Then I started shooting events for extra income and realized pretty quickly that “available light” stops being romantic at 8pm inside a dim reception hall. I needed a flash, and I needed to actually understand how to use one.
If you’re in that same spot right now, uncertain whether a flash is worth the investment or worried you’ll buy the wrong thing, this breakdown of a Peter McKinnon tutorial is exactly where I’d point you. Watch the full tutorial on YouTube when you’re done here, because his delivery makes it feel low-stakes and approachable. What I want to do is slow it down even further and give you the practical steps you can follow the first time you pick up a speedlight.
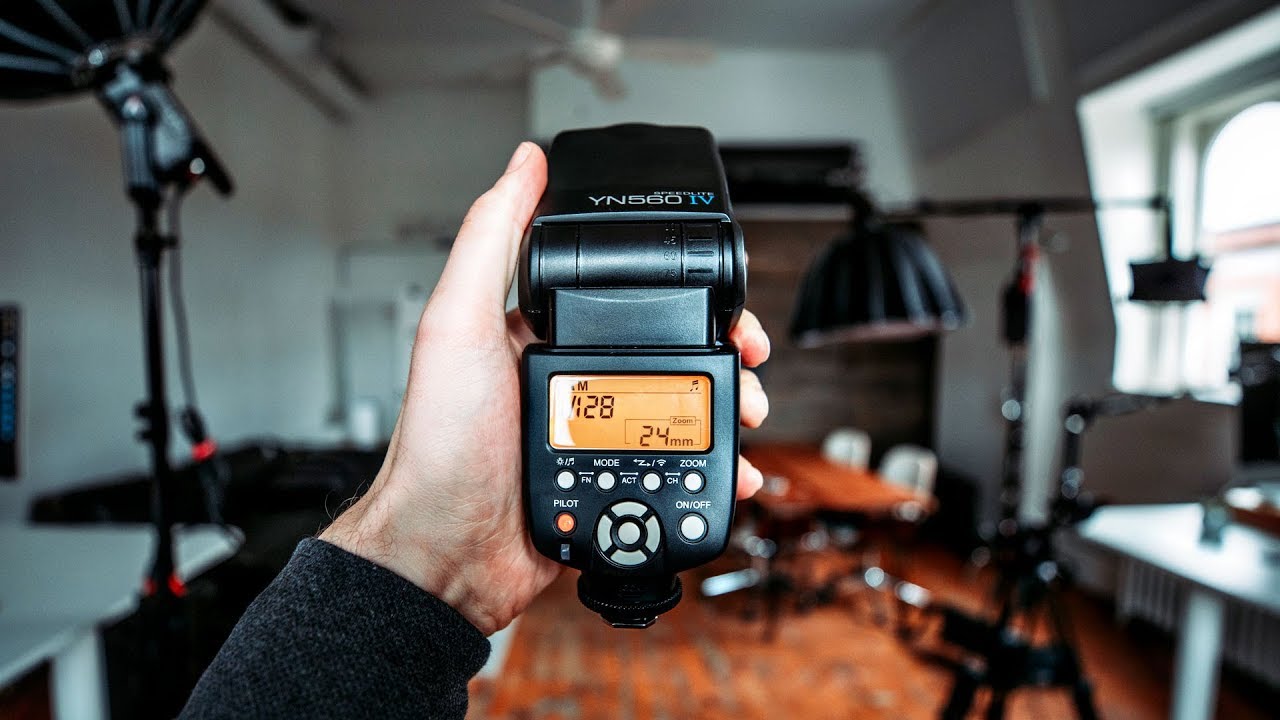
The flash he covers is the Yongnuo YN560, currently sitting around $99 on Amazon. Not a Canon. Not a Nikon. A third-party flash with thousands of positive reviews and real results. If that sounds too good to be true, keep reading.
Step 1: Understand Why You Need an External Flash at All
 Flash being introduced as an important photography skill for any level
Before you buy anything, it helps to know what problem a flash actually solves. Your camera’s built-in pop-up flash fires directly at your subject from the same angle as your lens. The result is flat, harsh light that wipes out facial contour, creates red-eye, and generally makes portraits look like a driver’s license photo. An external speedlight gives you control over the direction, angle, and quality of light, which changes everything about how your subject looks.
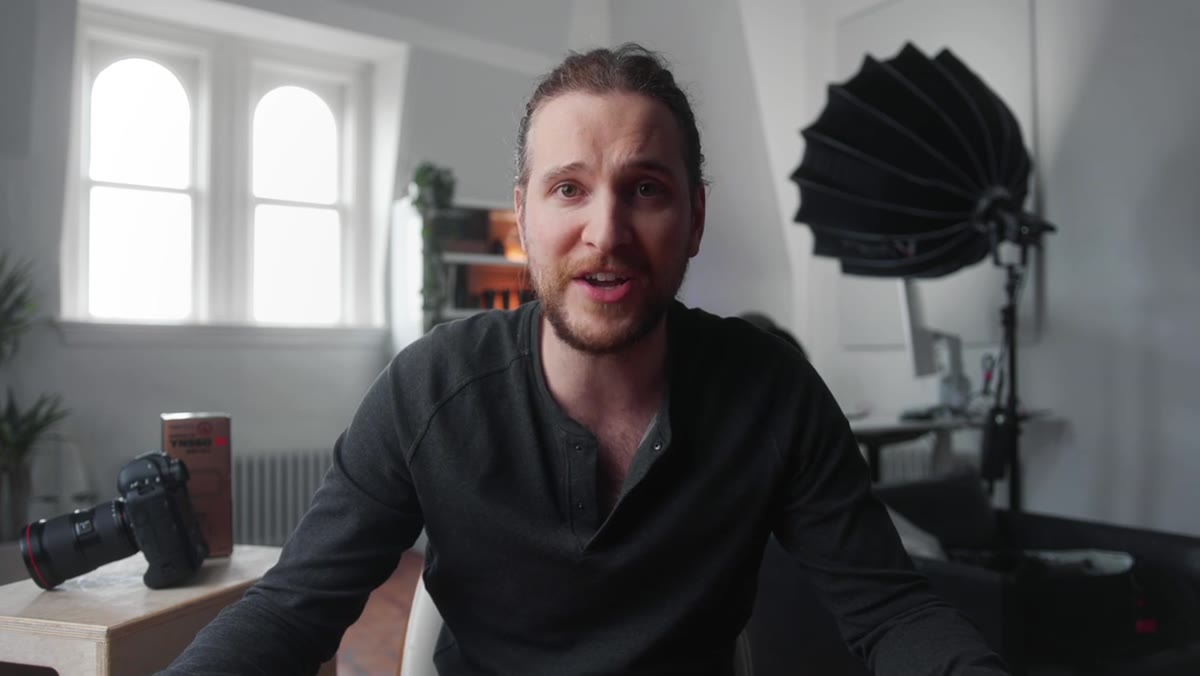
Flash being introduced as an important photography skill for any level
Before you buy anything, it helps to know what problem a flash actually solves. Your camera’s built-in pop-up flash fires directly at your subject from the same angle as your lens. The result is flat, harsh light that wipes out facial contour, creates red-eye, and generally makes portraits look like a driver’s license photo. An external speedlight gives you control over the direction, angle, and quality of light, which changes everything about how your subject looks.
Peter makes the point that no matter where you are in your photography journey, understanding flash is a skill worth having. Even if you mostly shoot with natural light (guilty), knowing how artificial light behaves makes you better at reading and shaping all light. Think of it as expanding your vocabulary.
Step 2: Unbox and Familiarize Yourself With the Yongnuo YN560
 Yongnuo YN560 flash unboxed showing included soft case and unit
The YN560 comes in a small soft case, which is a nice touch at this price point. On the back you’ll find a screen and a set of buttons for adjusting settings. The front face is where the flash tube and sensors sit. On the side is the battery compartment, which takes standard AA batteries. Two batteries go in, and you’re basically ready to mount it.
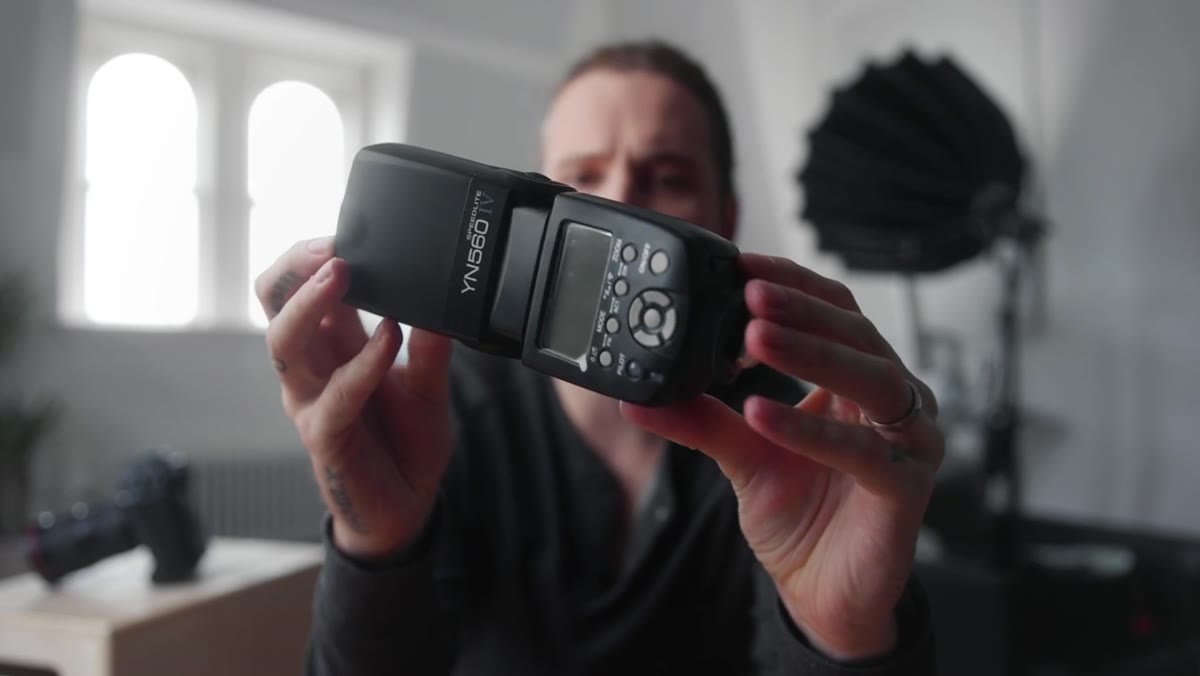
Yongnuo YN560 flash unboxed showing included soft case and unit
The YN560 comes in a small soft case, which is a nice touch at this price point. On the back you’ll find a screen and a set of buttons for adjusting settings. The front face is where the flash tube and sensors sit. On the side is the battery compartment, which takes standard AA batteries. Two batteries go in, and you’re basically ready to mount it.
The hot shoe at the base of the flash clicks directly onto the hot shoe on top of your camera and locks into place. One thing worth noting right away: this flash has full rotation, meaning you can swivel it left, right, and all the way up. You’ll use that rotation constantly, and it’s one of the most important physical features to understand before you fire a single shot.
Step 3: Learn Why Pros Point the Flash Upward
 Flash head tilted straight up to demonstrate bounce flash technique
This is the thing that confused me for years when I watched photographers at events. They’d have a flash mounted on their camera, pointed straight up at the ceiling, and I kept thinking: what is that lighting? The subject is in front of them, not above.
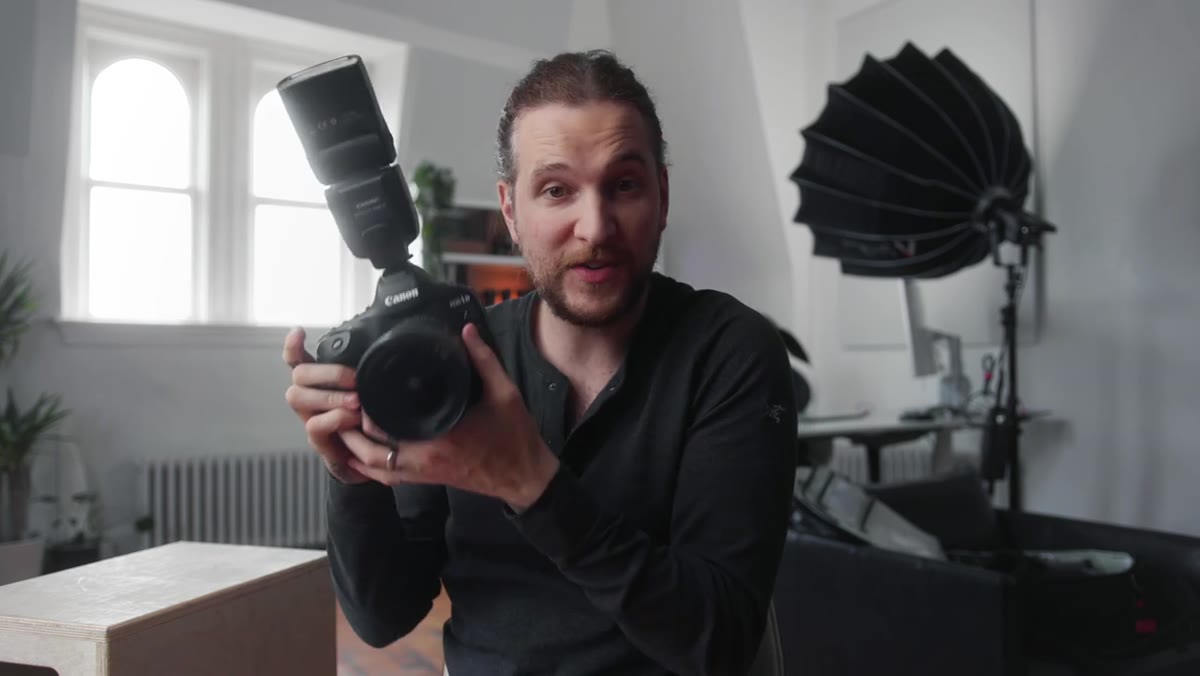
Flash head tilted straight up to demonstrate bounce flash technique
This is the thing that confused me for years when I watched photographers at events. They’d have a flash mounted on their camera, pointed straight up at the ceiling, and I kept thinking: what is that lighting? The subject is in front of them, not above.
The answer is bounce flash. When you point the flash head upward, the light fires toward the ceiling, spreads out across a wide surface area, and then falls down onto your subject from above and all around. That bounced light is softer, more diffused, and far more flattering than a direct blast from the front. It wraps around faces, preserves dimension, and looks much closer to natural window light than any direct flash ever will. If you’re at an event and the ceilings are reasonably low and light-colored, bouncing is almost always the move.
Step 4: Know When Direct Flash Works and How to Soften It
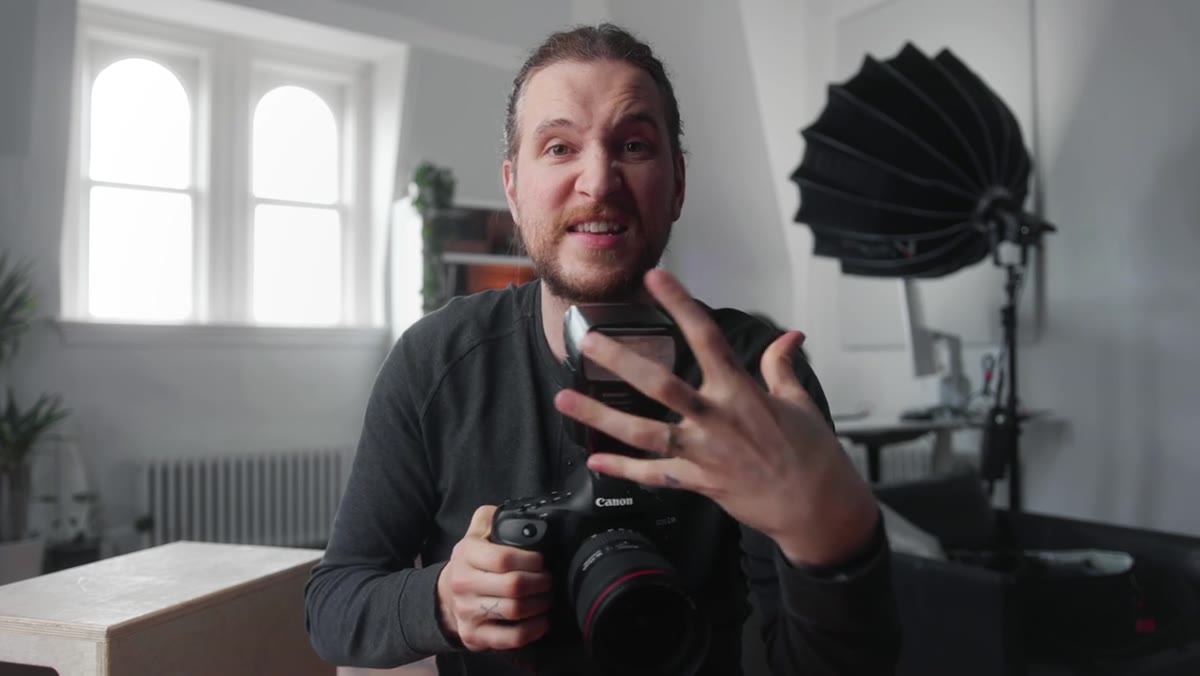 Small white bounce card on flash shown as diffusion tool for direct shooting
There are situations where you can’t bounce, maybe you’re outside with no ceiling, or the ceiling is too high and too dark to reflect anything useful. In those cases, you can still shoot with the flash pointing forward, but you’ll want to diffuse it. The YN560 has a small built-in bounce card that flips out from the top of the flash head. When the head is pointed straight up, this little white card kicks a small amount of light forward toward your subject while the rest bounces off the ceiling. It’s subtle, but it adds a catchlight in the eyes and a bit of fill.
Small white bounce card on flash shown as diffusion tool for direct shooting
There are situations where you can’t bounce, maybe you’re outside with no ceiling, or the ceiling is too high and too dark to reflect anything useful. In those cases, you can still shoot with the flash pointing forward, but you’ll want to diffuse it. The YN560 has a small built-in bounce card that flips out from the top of the flash head. When the head is pointed straight up, this little white card kicks a small amount of light forward toward your subject while the rest bounces off the ceiling. It’s subtle, but it adds a catchlight in the eyes and a bit of fill.
For more serious diffusion when shooting direct, you can attach a small softbox or light dome accessory over the flash head. This spreads the light before it ever reaches your subject and takes the edge off that harsh, flat look. It’s not as good as a full bounce, but it’s a workable solution when bouncing isn’t an option.
Step 5: Set Your Camera to Work With the Flash
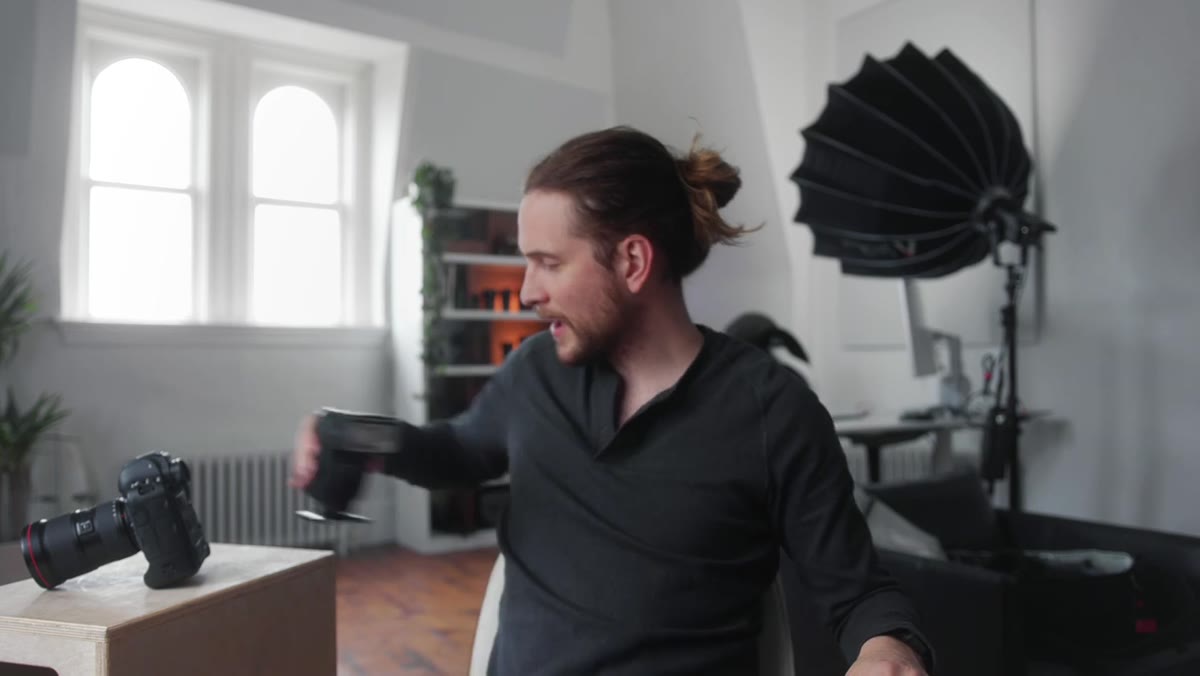 Flash mounted on camera hot shoe ready for shooting
The YN560 in its base configuration fires when your camera fires, triggered through the hot shoe connection. You don’t need any special settings to get started. Put your camera in manual mode, set your shutter speed to your camera’s sync speed (typically 1/200s or 1/250s, check your manual), choose an aperture based on your desired depth of field, and let the flash handle the exposure for your subject.
Flash mounted on camera hot shoe ready for shooting
The YN560 in its base configuration fires when your camera fires, triggered through the hot shoe connection. You don’t need any special settings to get started. Put your camera in manual mode, set your shutter speed to your camera’s sync speed (typically 1/200s or 1/250s, check your manual), choose an aperture based on your desired depth of field, and let the flash handle the exposure for your subject.
Your ISO should stay low, around 100-400, because the flash is doing the heavy lifting on exposure. Adjust the flash power using the buttons on the back of the YN560. Start at half power and work from there. If the subject is overexposed, bring the power down. If they’re underexposed, bring it up. It’s genuinely that straightforward for your first session.
What I’d Add From My Own Experience
The first thing I wish someone had told me when I started using a speedlight is that the color of the ceiling matters. Bounce flash off a warm yellow ceiling, and your subject gets an unflattering color cast. Bounce off a white or neutral gray ceiling, and the light comes back clean. I learned this the hard way at a venue with deep wood-paneled walls and spent twenty minutes in Lightroom trying to fix what should have been a setup decision.
I’d also say: don’t wait until you’re at an actual event to try this. Practice at home. Point it at a willing subject (or a still life setup), experiment with different angles, and get comfortable with the controls before anything is on the line. My Sunday photo walks have included a flash more than once, just to keep that muscle memory active.
The single most important thing Peter drives home in this tutorial, and the thing I fully agree with, is that a $99 flash used with technique will outperform a $600 flash used badly every single time. Gear matters far less than understanding light.
Watch the full tutorial on YouTube to see the flash in action and hear Peter walk through his reasoning in real time. It’s worth 10 minutes of your Sunday.
Comments
Leave a Comment