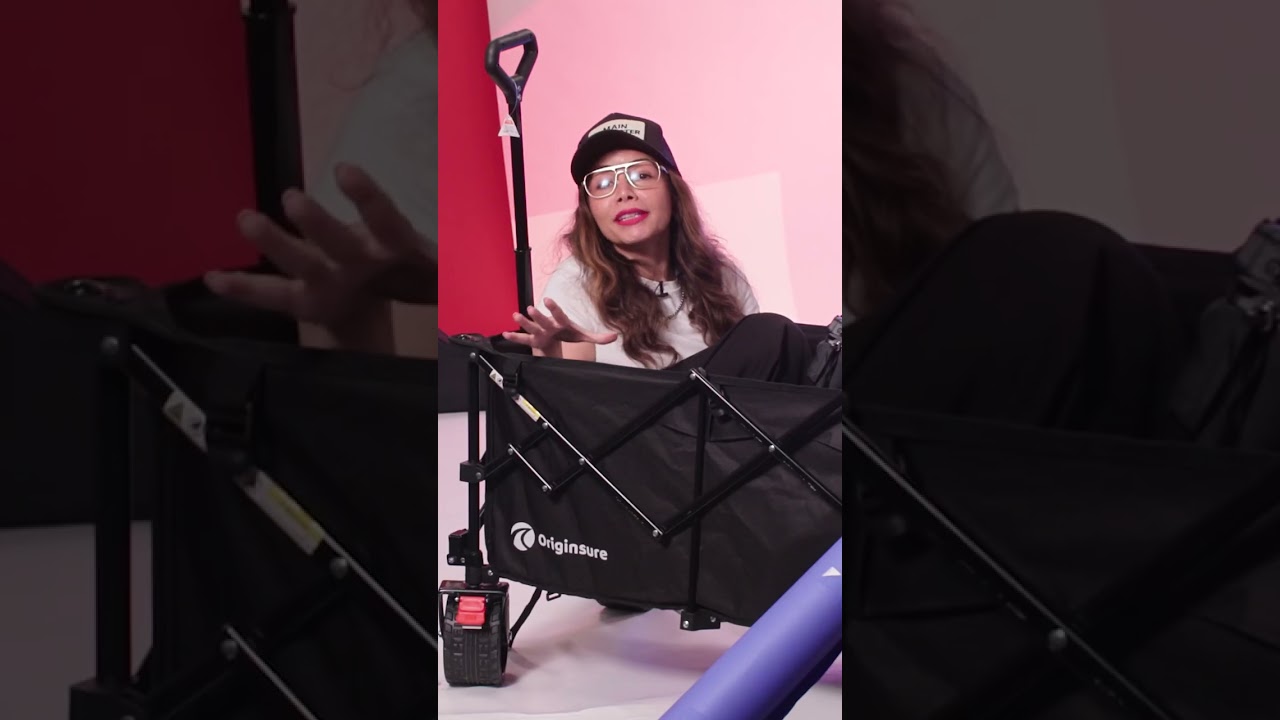
There’s a specific kind of exhaustion that comes from shooting alone on location. You park the car, look at the pile of gear in your trunk, and do the math: how many trips back and forth can I make before my energy is gone before I’ve even fired a single frame? I’ve been that person, hauling a camera bag on one shoulder, a light stand under one arm, and a reflector tucked awkwardly under the other, half-waddling toward a shoot location like a very stressed pack mule. If you shoot portraits without a crew, you already know this feeling.
That’s exactly what drew me to this KelbyOne tutorial featuring Gilmar Smith, a portrait photographer who shoots everything solo and has clearly thought hard about what actually makes that workflow sustainable. Watch the full tutorial on YouTube - it’s short, direct, and the kind of tip you’ll act on the same day you watch it. Her recommendation is almost embarrassingly simple: get a large utility wagon. Not a fancy photography cart, not a custom gear trolley with a logo on it. A wagon. The kind you might see at a farmer’s market or a kid’s soccer game.
Simple as it sounds, the reasoning behind it is genuinely smart, and once she lays it out, you realize this is the kind of tip that only comes from someone who has actually done the work.
Step 1: Recognize the real problem you’re solving
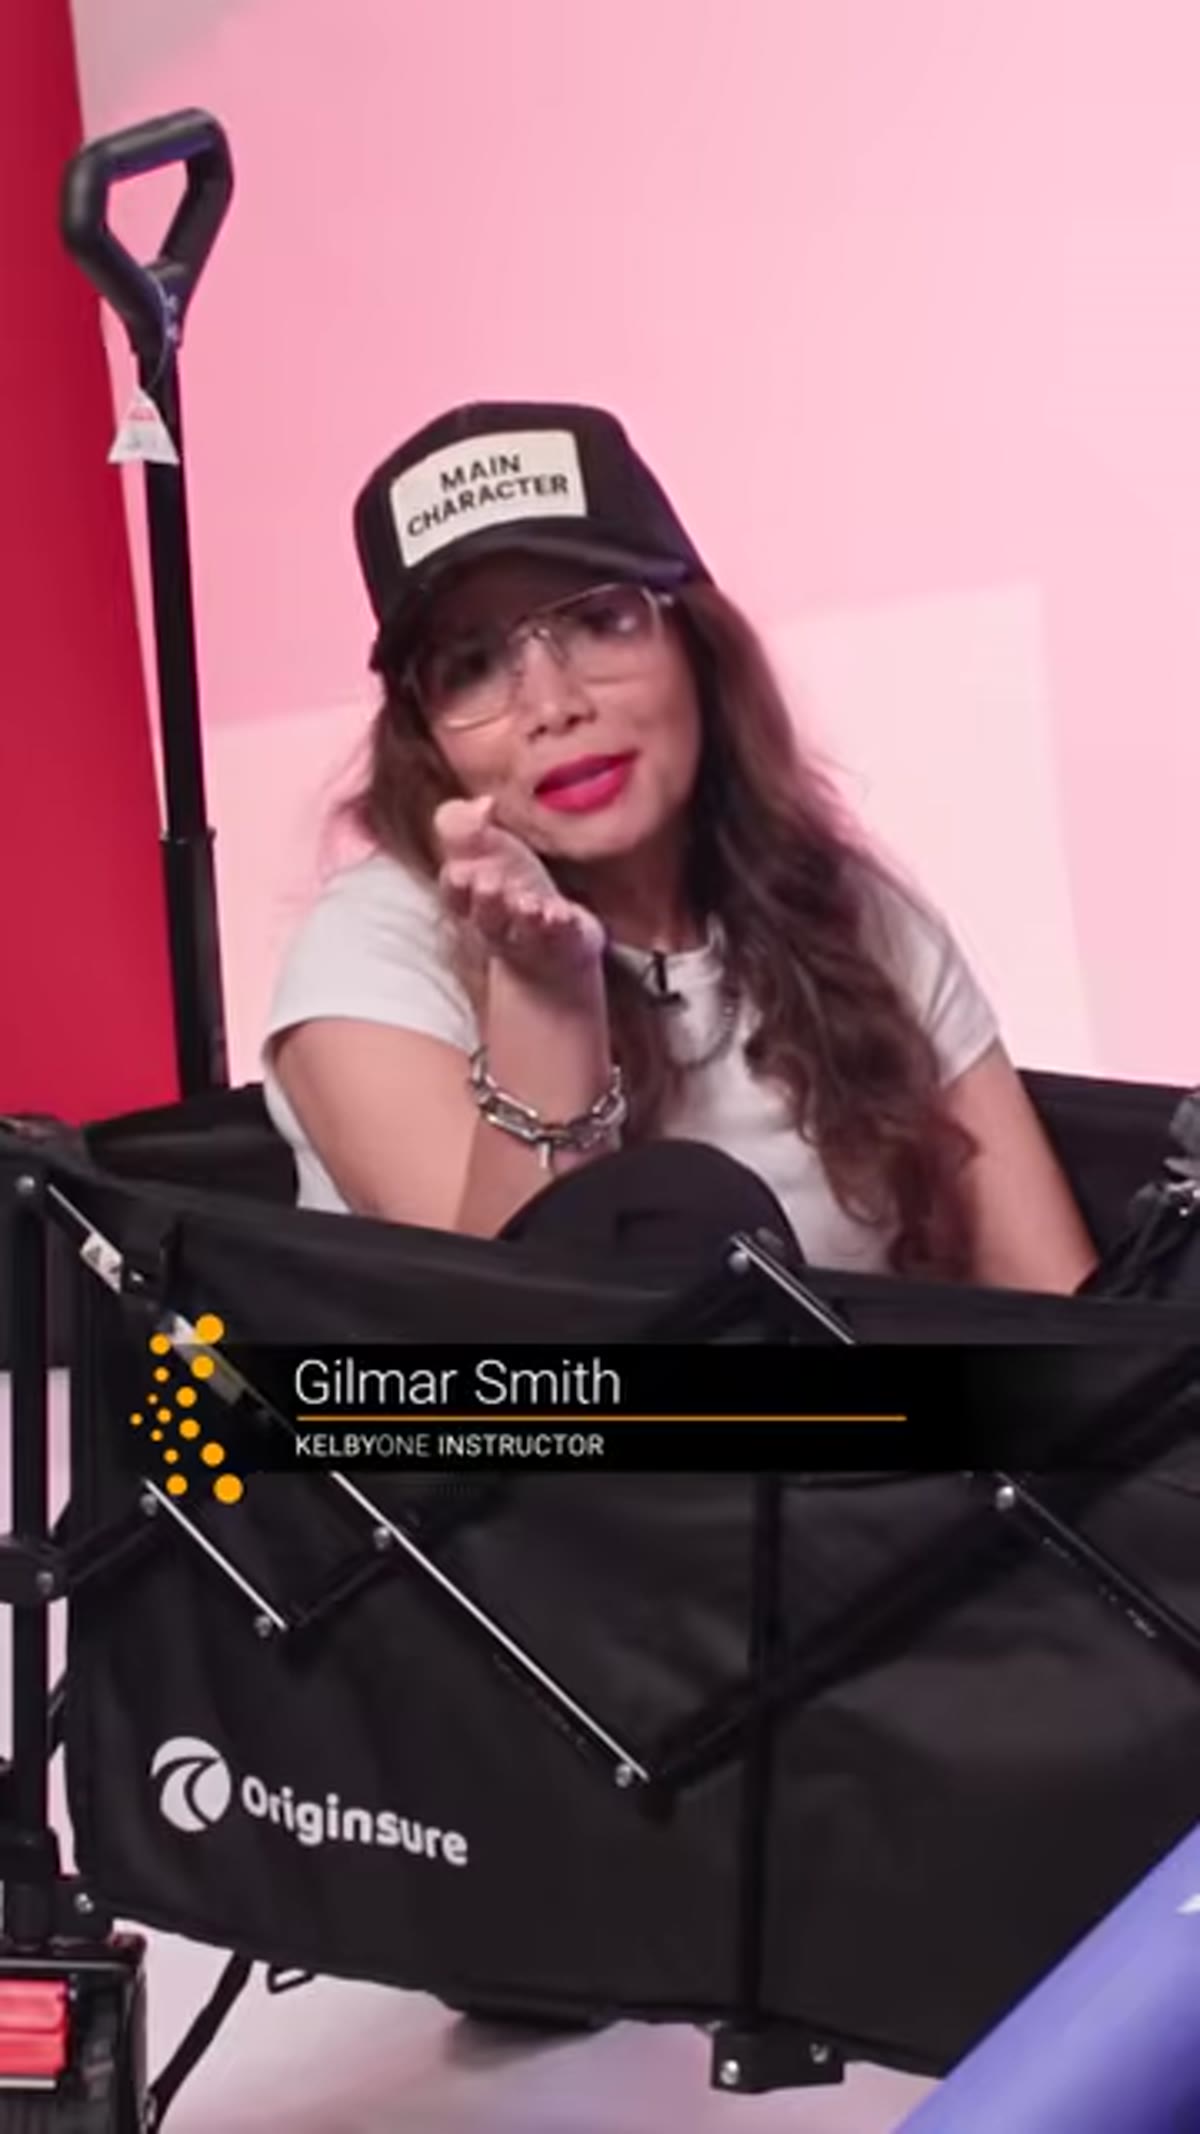 Gilmar Smith addressing camera, speaking about gear recommendation
Before you buy anything, it helps to understand what the wagon is actually solving. This isn’t just about carrying more gear. It’s about reducing the number of trips you make, protecting your energy for the actual shoot, and keeping your equipment organized in transit. When you’re a one-person operation, every logistical inefficiency costs you something - usually time, focus, or your back. Smith frames this as a quality-of-life issue for working photographers, not a luxury add-on.
Gilmar Smith addressing camera, speaking about gear recommendation
Before you buy anything, it helps to understand what the wagon is actually solving. This isn’t just about carrying more gear. It’s about reducing the number of trips you make, protecting your energy for the actual shoot, and keeping your equipment organized in transit. When you’re a one-person operation, every logistical inefficiency costs you something - usually time, focus, or your back. Smith frames this as a quality-of-life issue for working photographers, not a luxury add-on.
Think about your current location workflow. How many separate bags are you managing? Where do things get disorganized? The wagon doesn’t replace your existing bags; it becomes the hub that holds all of them together so you’re moving one thing instead of five.
Step 2: Choose a large, inexpensive utility wagon
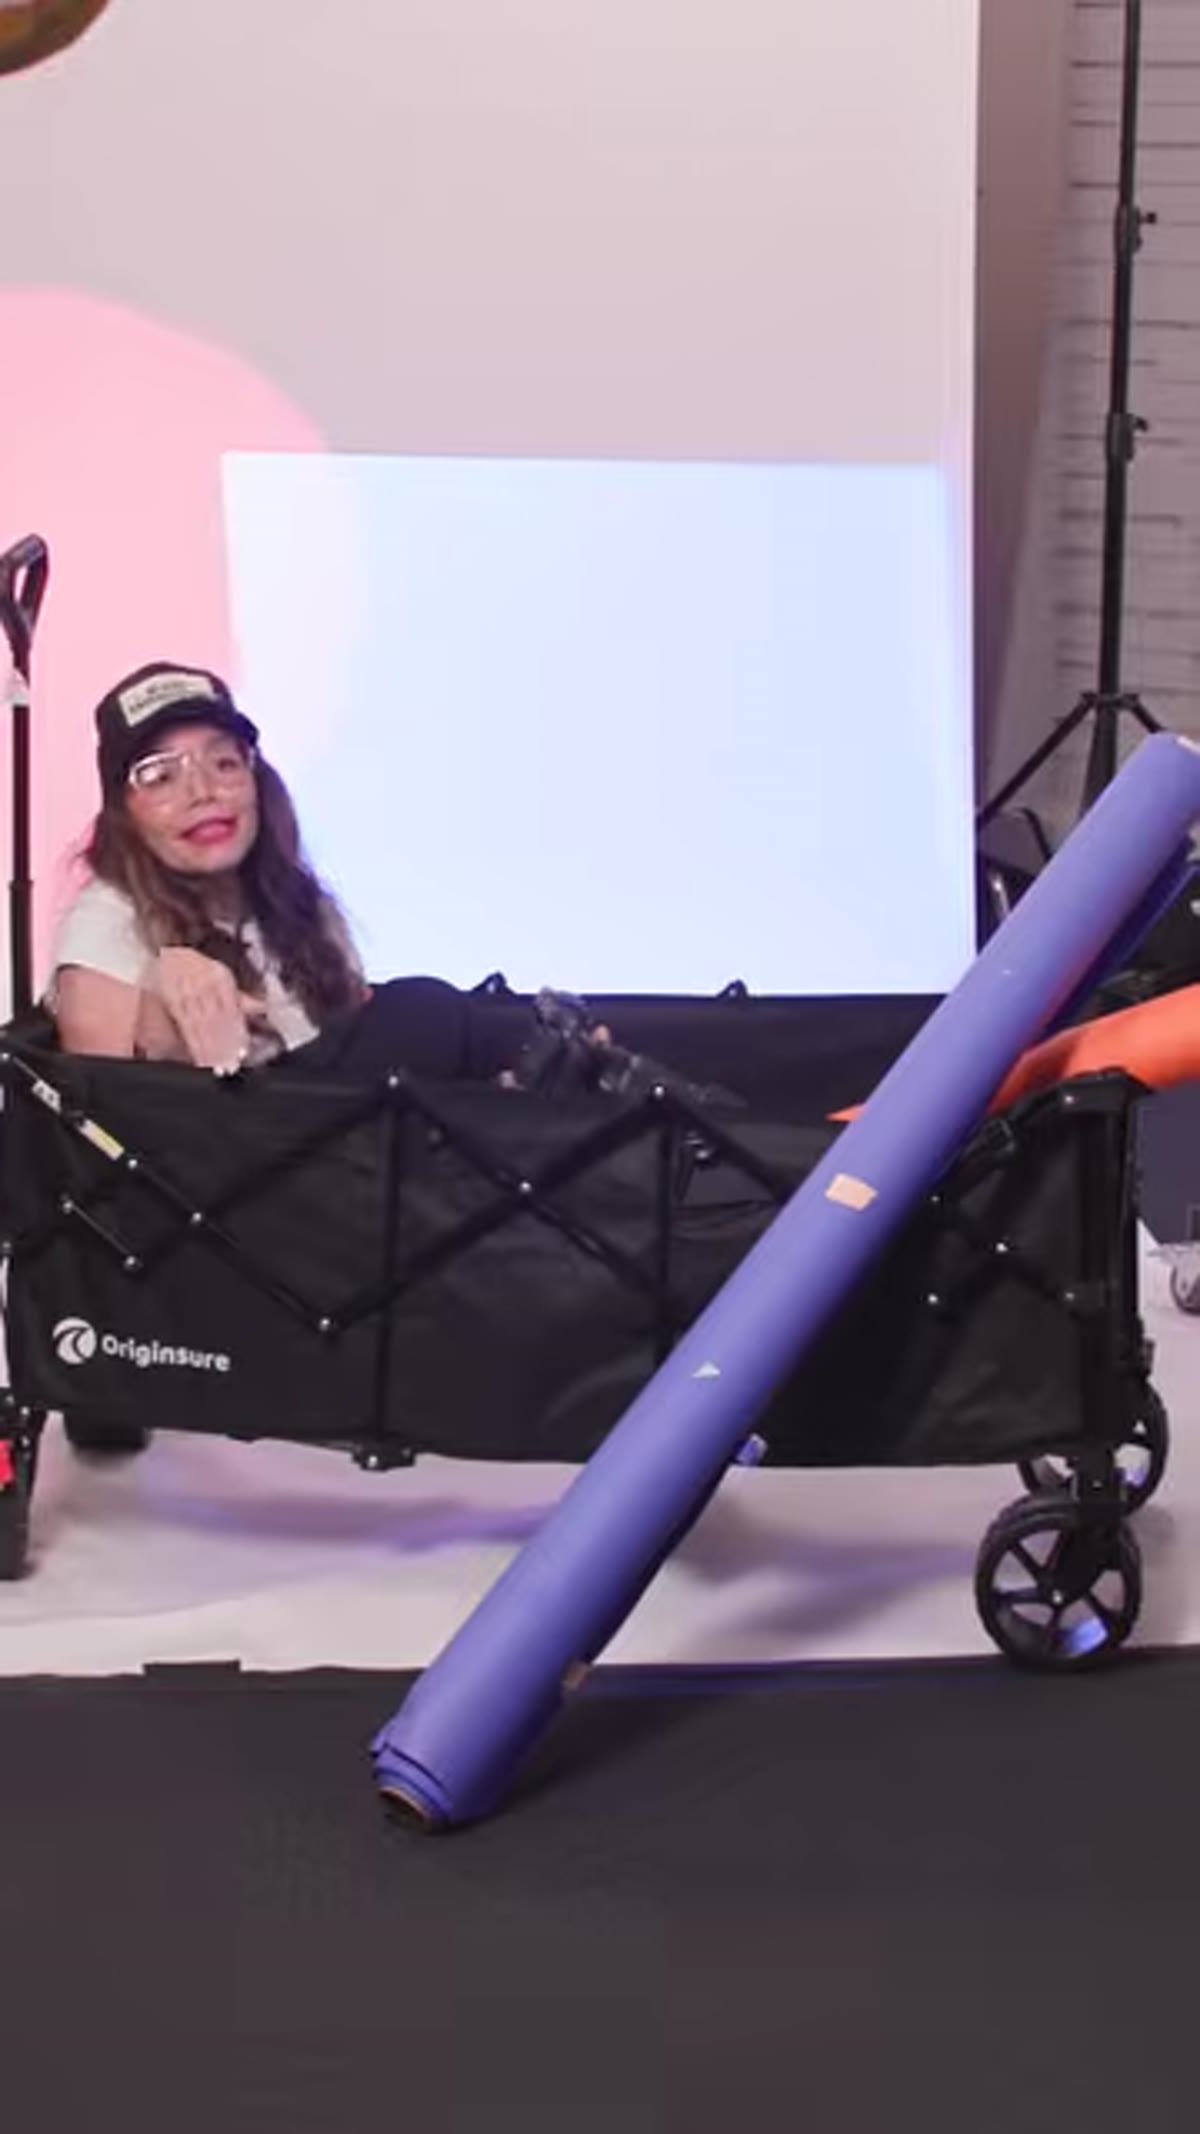 Large utility wagon shown on screen, gear loaded inside
Smith is intentionally unspecific about brand, and that’s actually useful information. You don’t need to spend a lot of money here. The wagons she’s describing are the kind you find at hardware stores, big-box retailers, or online for anywhere from $40 to $80. Look for one with a collapsible frame, decent-sized wheels that can handle uneven ground, and enough interior space to fit multiple camera bags or cases side by side.
Large utility wagon shown on screen, gear loaded inside
Smith is intentionally unspecific about brand, and that’s actually useful information. You don’t need to spend a lot of money here. The wagons she’s describing are the kind you find at hardware stores, big-box retailers, or online for anywhere from $40 to $80. Look for one with a collapsible frame, decent-sized wheels that can handle uneven ground, and enough interior space to fit multiple camera bags or cases side by side.
The key feature to prioritize is capacity over everything else. You want a wagon that feels almost too big for everyday errands - because on a portrait shoot, you’ll fill it. Deep sides are a bonus because they help keep gear from shifting or tipping while you’re rolling across a parking lot or down a path.
Step 3: Load your gear as a single consolidated unit
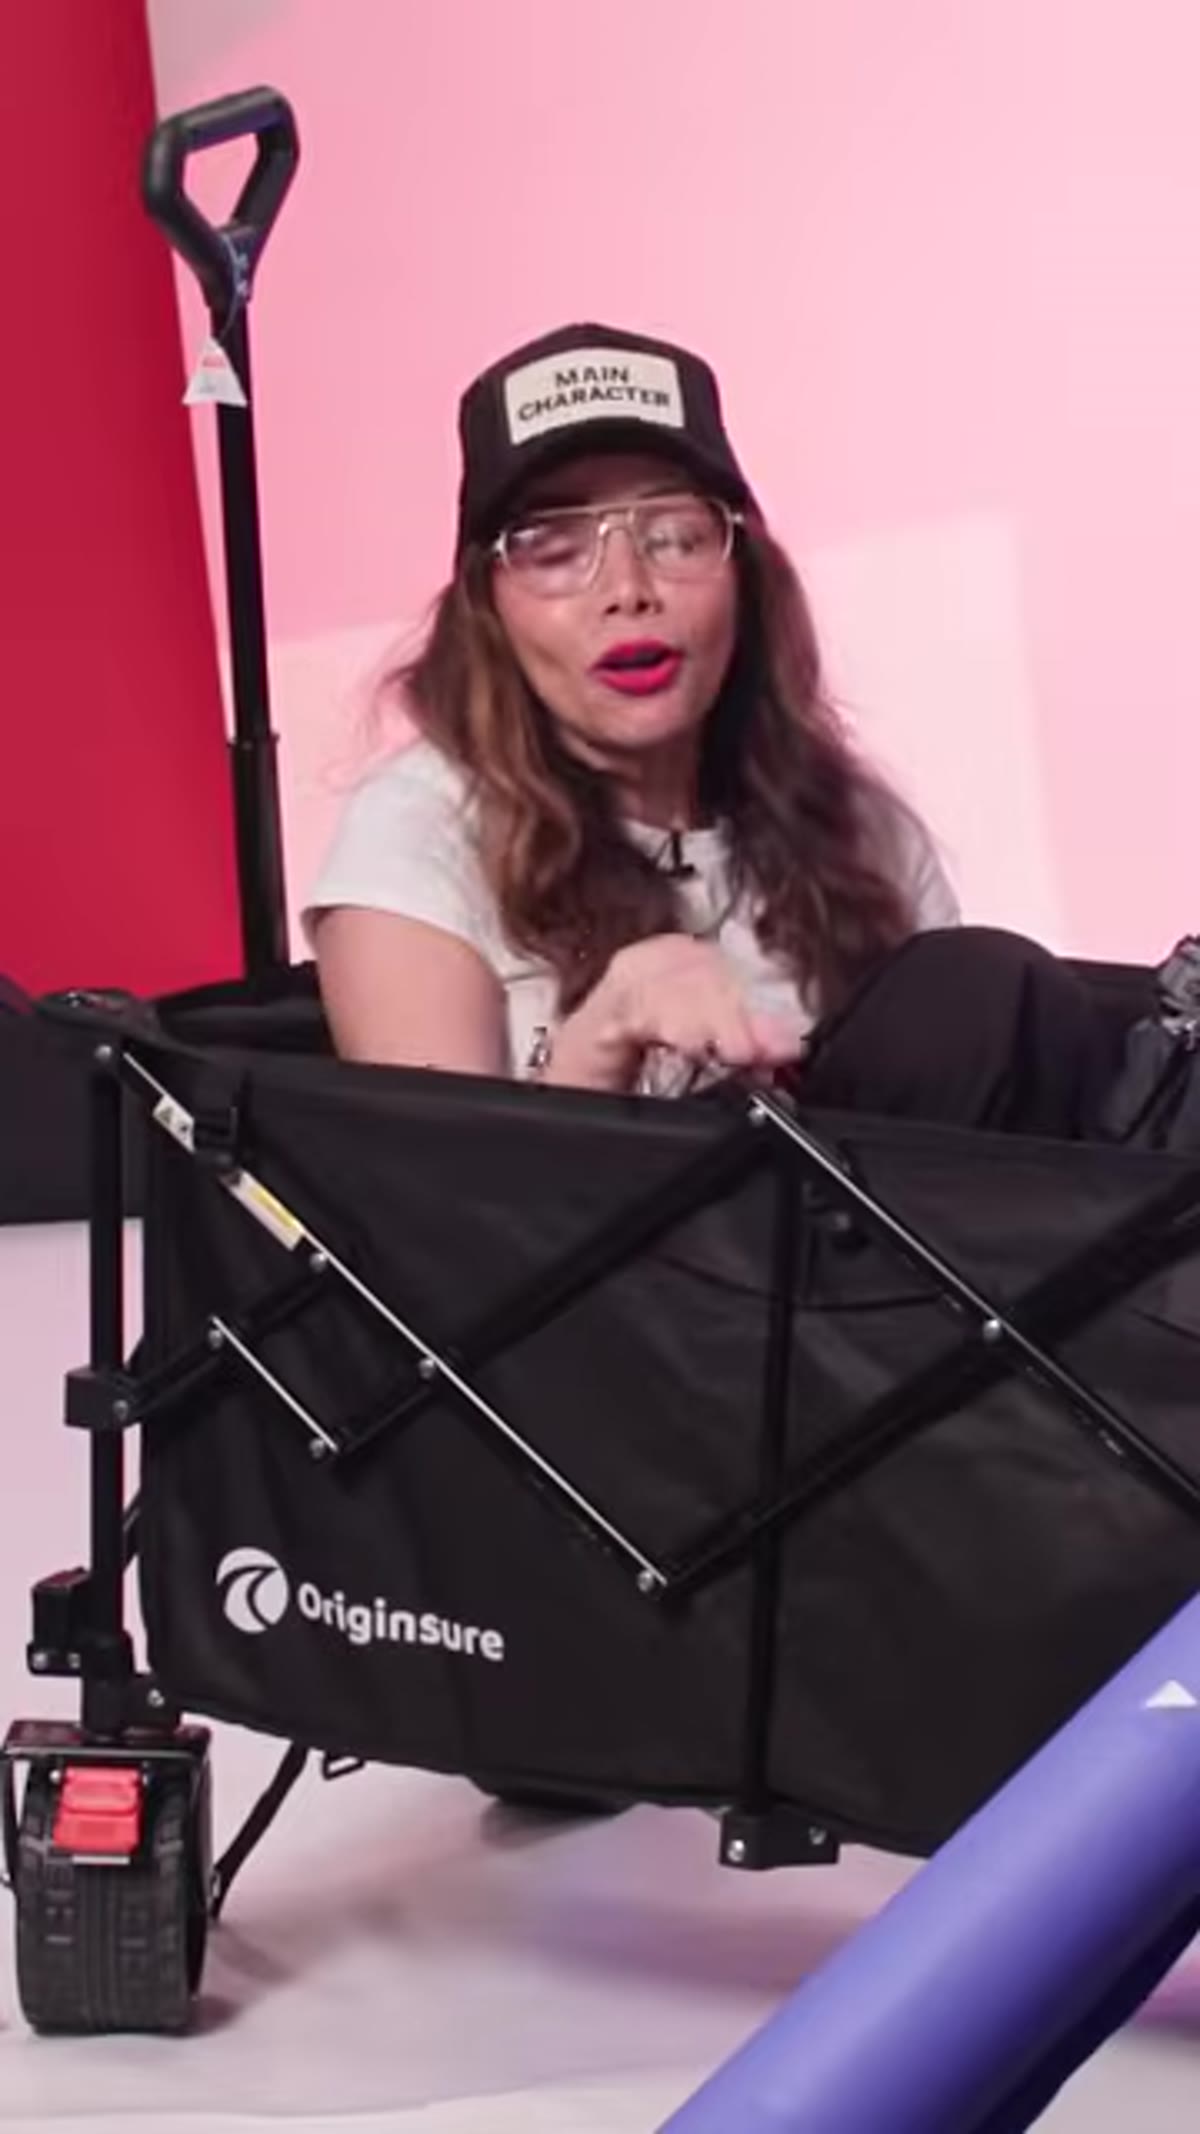 Gear being packed into wagon, multiple items visible
The way you pack the wagon matters. Treat it the way you’d treat a well-organized camera bag - heaviest items on the bottom, fragile things cushioned and toward the top. Camera bags, lighting equipment, modifier cases, and accessory pouches can all coexist in one wagon bed. If you already use bags with handles, they’ll stack and lean naturally without much extra organizing.
Gear being packed into wagon, multiple items visible
The way you pack the wagon matters. Treat it the way you’d treat a well-organized camera bag - heaviest items on the bottom, fragile things cushioned and toward the top. Camera bags, lighting equipment, modifier cases, and accessory pouches can all coexist in one wagon bed. If you already use bags with handles, they’ll stack and lean naturally without much extra organizing.
The goal is that when you arrive on location, you pull one thing out of your car. Not four trips, not a juggling act - one pull. From there, everything wheels to your shooting spot together, and setup becomes a question of unpacking rather than hunting through the backseat.
Step 4: Use it as your on-location base station
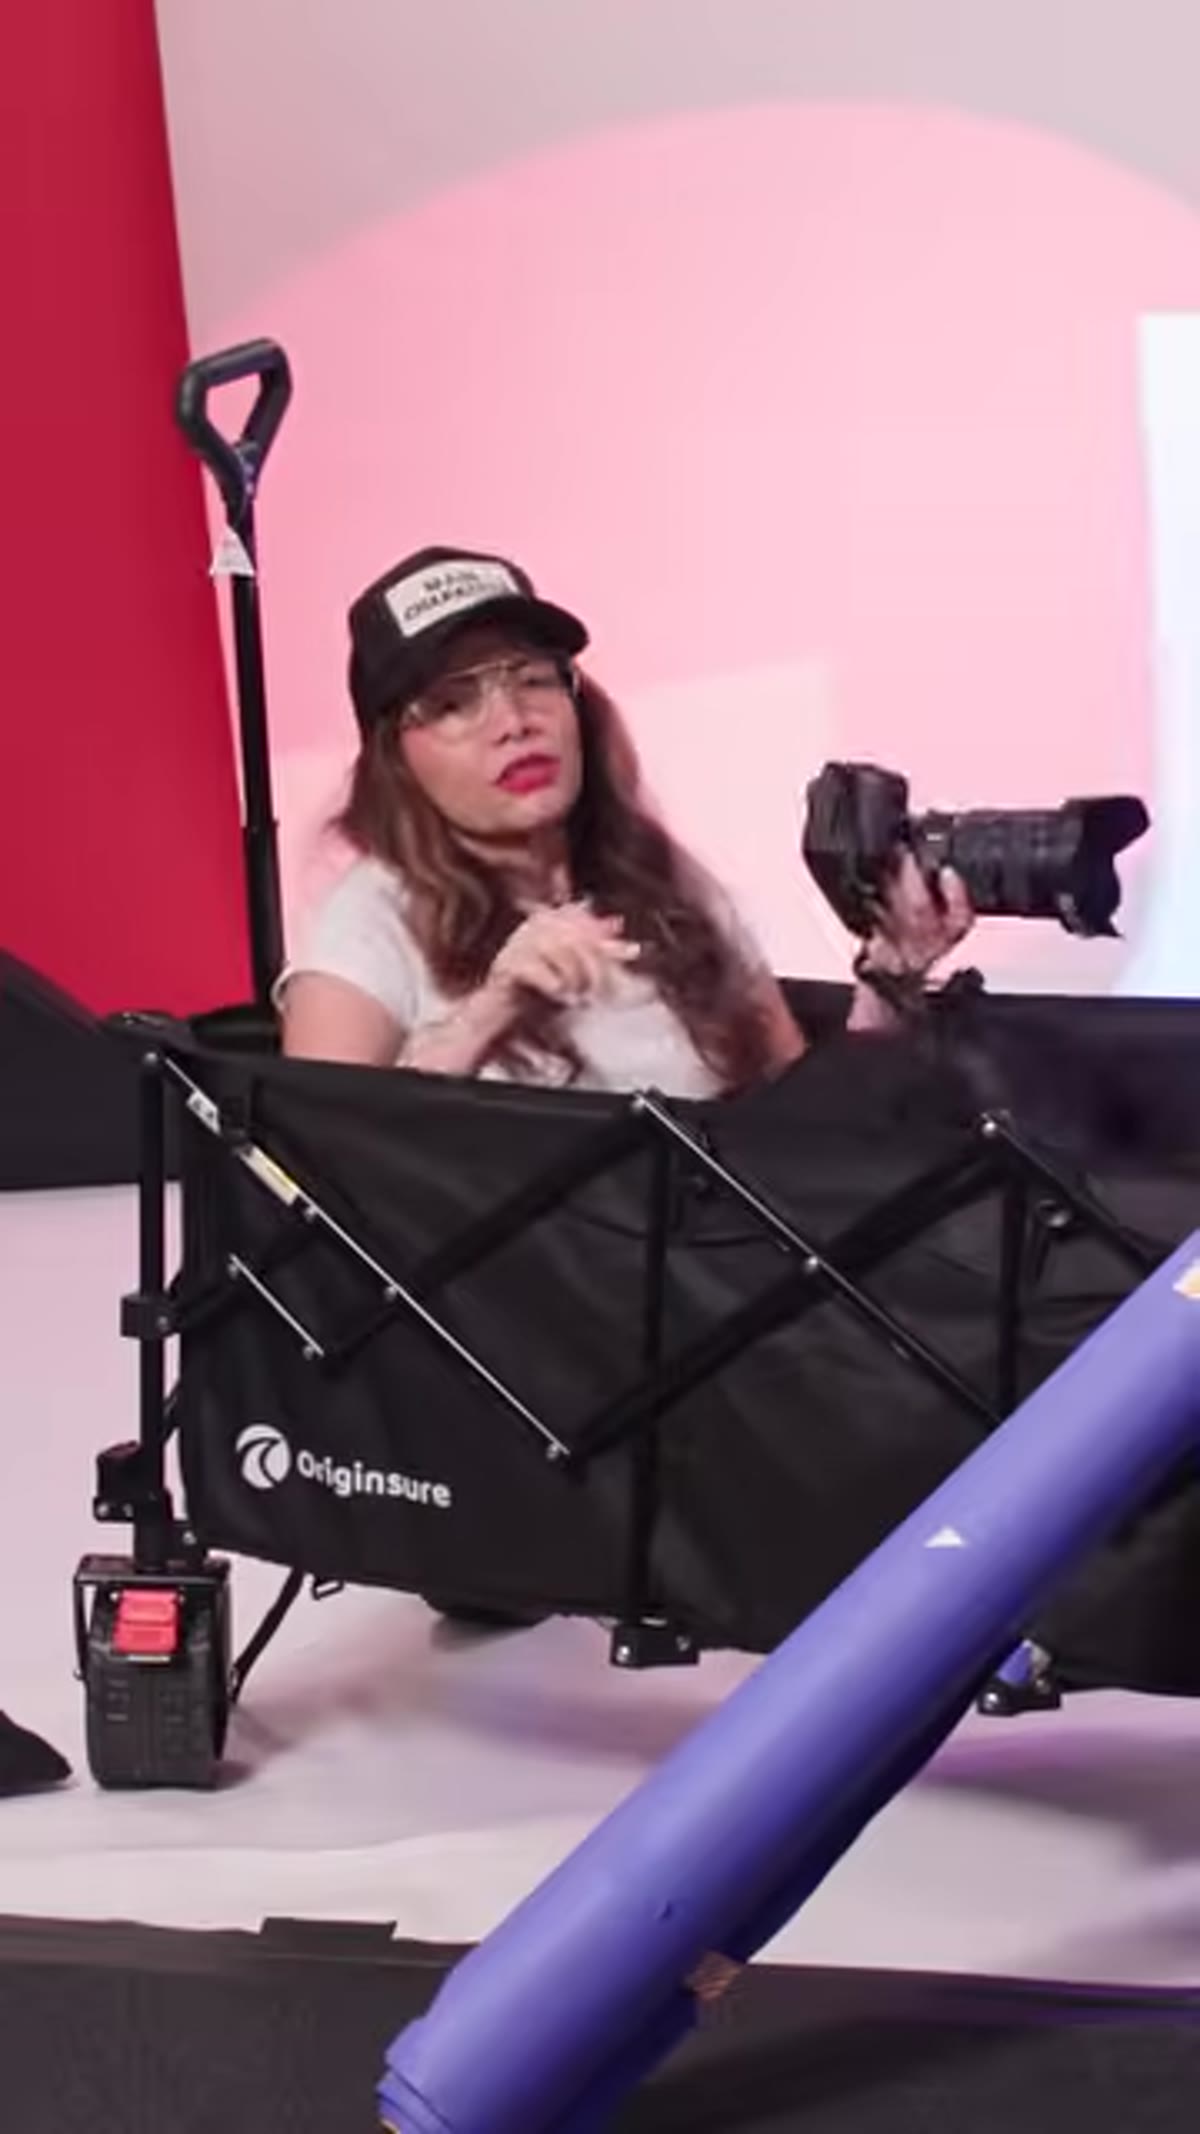 Wagon positioned at shoot location, functioning as gear hub
Once you’re on location, the wagon earns its place as a base station between shots. Instead of setting bags on the ground (where they get dirty, wet, or kicked) or leaning equipment against a wall, everything stays in the wagon. It keeps your shooting area cleaner and your workflow faster because you always know exactly where to reach when you need a lens swap, a fresh battery, or a different modifier.
Wagon positioned at shoot location, functioning as gear hub
Once you’re on location, the wagon earns its place as a base station between shots. Instead of setting bags on the ground (where they get dirty, wet, or kicked) or leaning equipment against a wall, everything stays in the wagon. It keeps your shooting area cleaner and your workflow faster because you always know exactly where to reach when you need a lens swap, a fresh battery, or a different modifier.
This is especially useful if you’re shooting in a place with no table or surface to work from - an outdoor park, a rooftop, a beach. The wagon becomes your portable staging area, and that consistency across different locations is something you only appreciate once you’ve had it.
Step 5: Let it give you a moment to rest
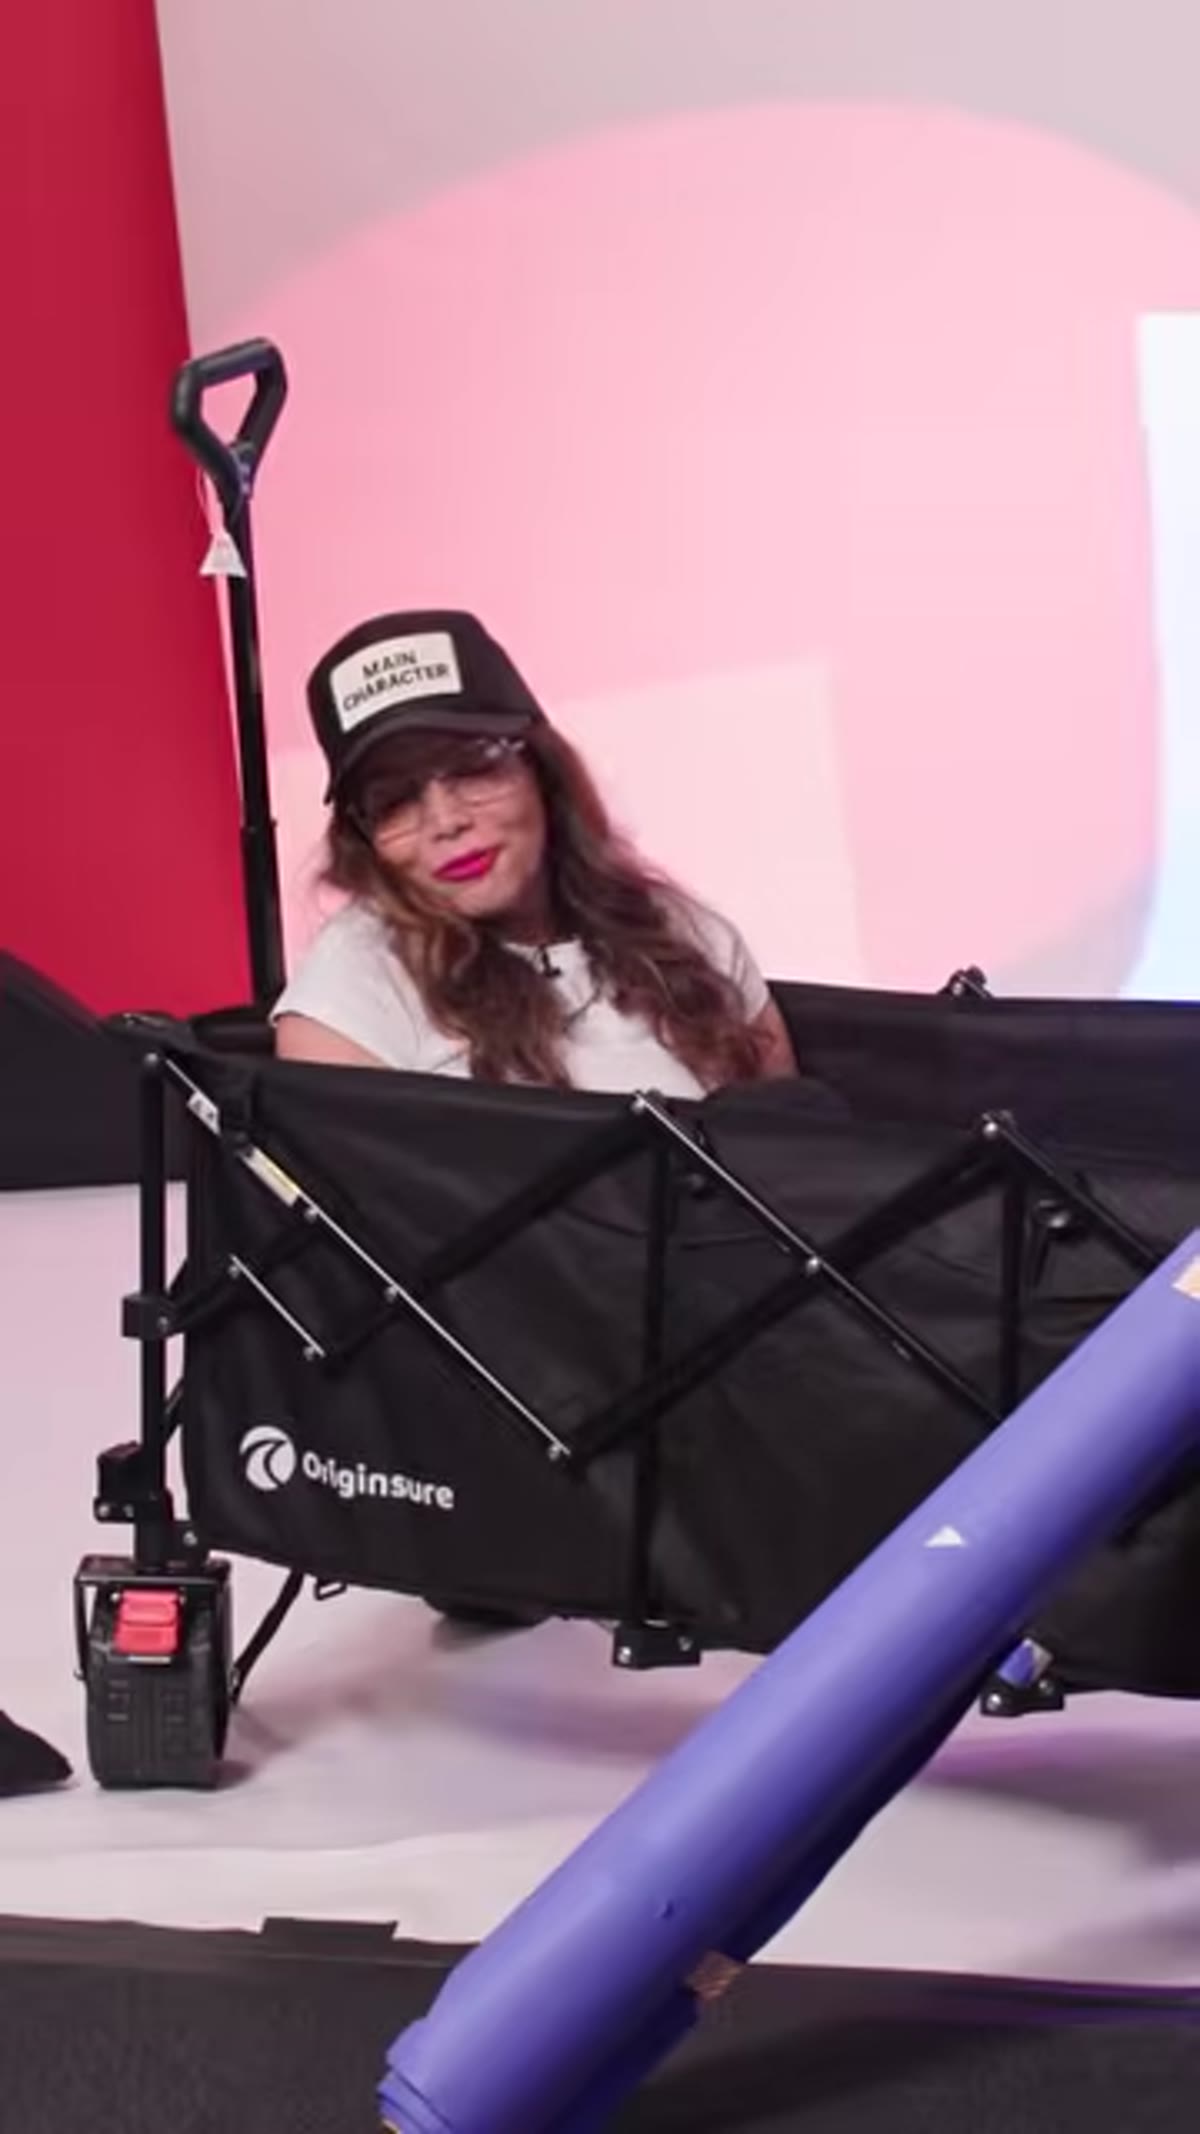 Photographer sitting or leaning on wagon between setups
This one made me smile when Smith mentioned it, because it’s so practical and so rarely talked about in photography gear discussions. A large, sturdy wagon can double as a seat between setups. When you’ve been on your feet for two hours adjusting lights and directing a subject, having somewhere to sit down for two minutes without going back to the car is not a small thing.
Photographer sitting or leaning on wagon between setups
This one made me smile when Smith mentioned it, because it’s so practical and so rarely talked about in photography gear discussions. A large, sturdy wagon can double as a seat between setups. When you’ve been on your feet for two hours adjusting lights and directing a subject, having somewhere to sit down for two minutes without going back to the car is not a small thing.
Solo shooting is physically demanding, and pacing yourself matters for the quality of the work you produce in the second half of a session. Anything that helps you reset briefly - even just sitting for a moment - pays off in focus and patience during the shoot.
What I’d add from my own experience
The wagon tip translates directly to something I’ve noticed on my Sunday morning photo walks around Seattle: the gear you actually bring is determined by what you can comfortably carry, and that limits your options more than you’d think. For shorter walks I’ll shoot with just my phone - which, yes, has produced some of my favorite shots - but for longer setups, having a way to bring more without paying a physical price changes what’s possible.
If you’re shooting in an urban environment with curbs and stairs, look for a wagon with larger wheels rather than small casters. The difference on uneven pavement is significant, and a tipped wagon on a busy sidewalk is exactly the kind of chaos you don’t want mid-shoot. Some photographers also add a mesh organizer or a small bin inside the wagon bed for smaller accessories - memory cards, gaff tape, a mini tripod - so the interior doesn’t become a catch-all jumble by the end of the day.
The single biggest takeaway here is that professional-quality solo shoots are mostly an organization and logistics problem, and a good wagon solves a surprising chunk of it before you’ve even touched your camera. Gilmar Smith’s tip is a reminder that smart gear choices aren’t always expensive ones - sometimes they’re just obvious once someone says them out loud.
Watch the full tutorial on YouTube and check out Smith’s full course on running a one-person portrait studio through KelbyOne at kel.by/gsmith1portrait if you want the complete system behind this approach.
Comments (2)
Finally someone explains this in a way that actually makes sense.
Quality content like this is rare. Keep it up.
Leave a Comment