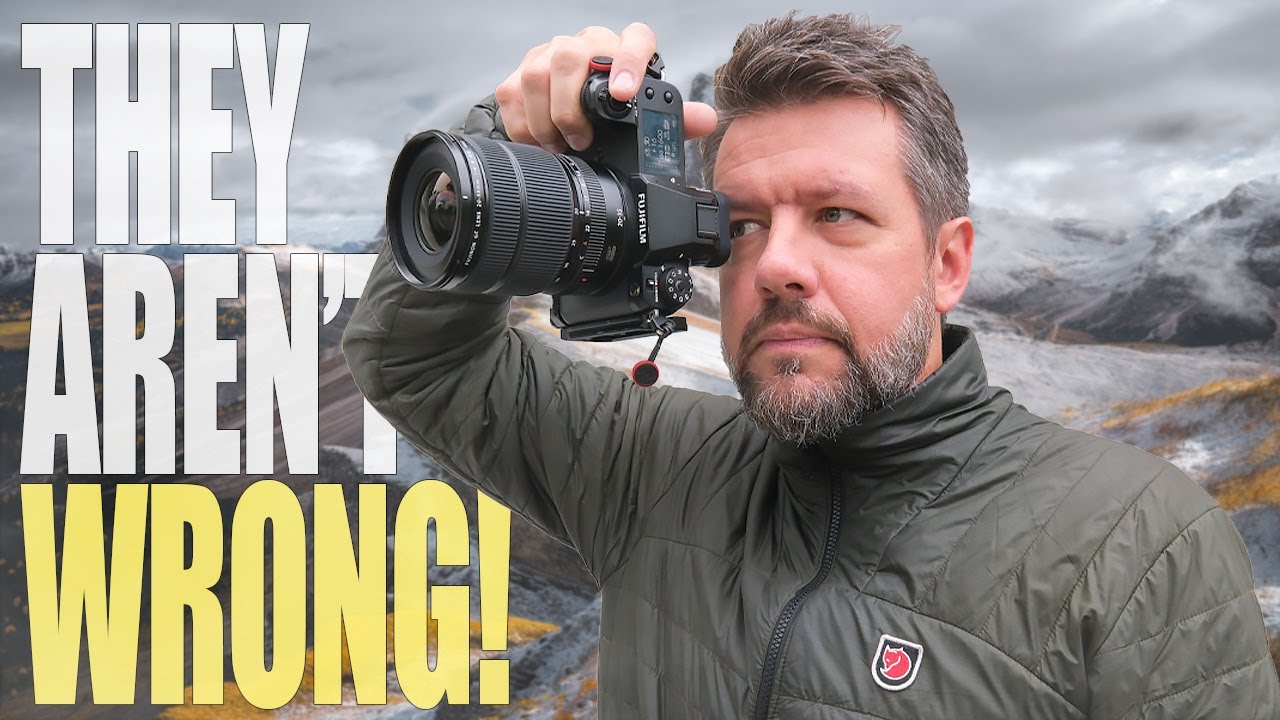
Every Sunday morning I do a photo walk. No agenda, no client, no pressure. Just me, whatever camera I feel like grabbing, and whatever Seattle decides to look like that day. And for years, I would show up to a location, pull out my camera within about 30 seconds, and start shooting. I thought I was being efficient. What I was actually doing was skipping the most important part.
I came across a tutorial by landscape photographer Mark Denney where he breaks down his four-step process for finding and building a strong composition on location. He surveyed photographers about what they consider the most important element of a great landscape photo, and 87% landed on composition. That tracks with my experience. But what stopped me in my tracks was how he approaches composition, because it starts before you ever lift the camera. Watch the full tutorial on YouTube
This framework is not about the rule of thirds or leading lines. It is about a mental process you run through every single time you arrive somewhere new. Here is how it works.
Step 1: Stop and Stare
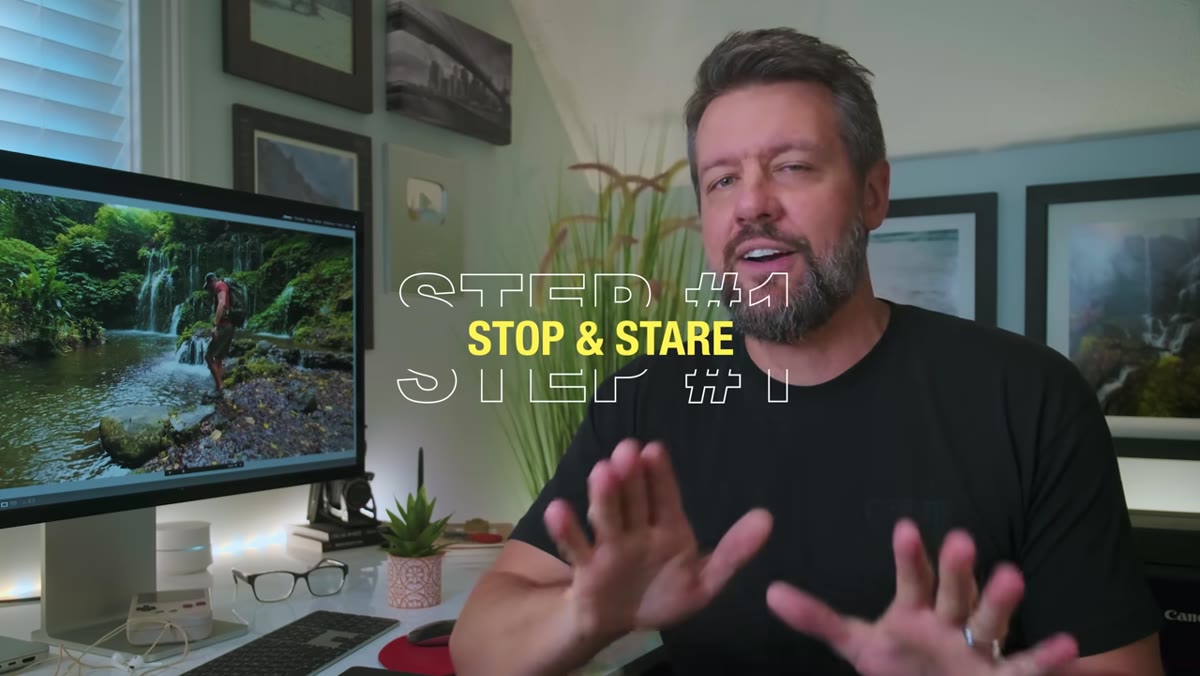 Mark sets down his bag and observes a scene without camera
When you arrive at a location, put your bag down. Get some water. And do not touch your camera yet.
Mark sets down his bag and observes a scene without camera
When you arrive at a location, put your bag down. Get some water. And do not touch your camera yet.
Denney calls this “stop and stare,” and it is the step most photographers, myself included, consistently skip. The idea is to spend somewhere between 10 and 30 minutes simply watching the scene unfold. If something is moving, watch how it moves. Notice where the light is hitting, where the shadows are falling, what small details keep pulling your eye. You are not composing yet. You are just observing. This step is about training your attention before you train your lens. When I started doing this on my Sunday walks, I noticed things I had been walking right past for months, a particular way morning light rakes across a brick wall, the rhythm of how pigeons move through a square. None of it is dramatic. All of it is useful.
Step 2: Ask Yourself What You Love About the Scene
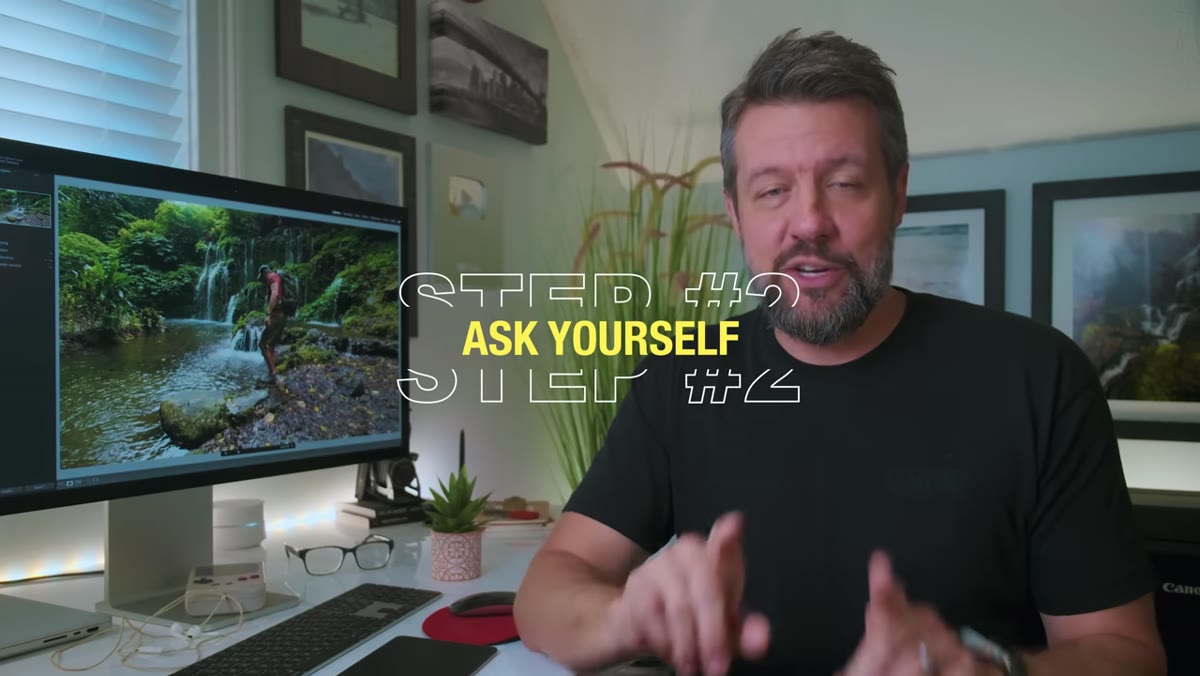 Wide handheld footage of a Bali waterfall, mist and light visible
Once you have spent real time with a location, Denney says the next move is to ask yourself a specific question: what do you love most about what you are seeing right now?
Wide handheld footage of a Bali waterfall, mist and light visible
Once you have spent real time with a location, Denney says the next move is to ask yourself a specific question: what do you love most about what you are seeing right now?
Not “what would make a good photo.” Not “what have I seen other photographers shoot here.” What do you actually love about this moment. He demonstrates this using footage from a waterfall in Bali, pointing out small details like the way light filters through the upper corner of the frame, a faint layer of mist, a flash of warm color tucked into the rocks. These are not headline features of the scene. They are the things you only notice if you have been standing there long enough to actually look. Your answer to this question becomes the anchor of your composition. Everything else is built around it.
Step 3: Identify Your Subject
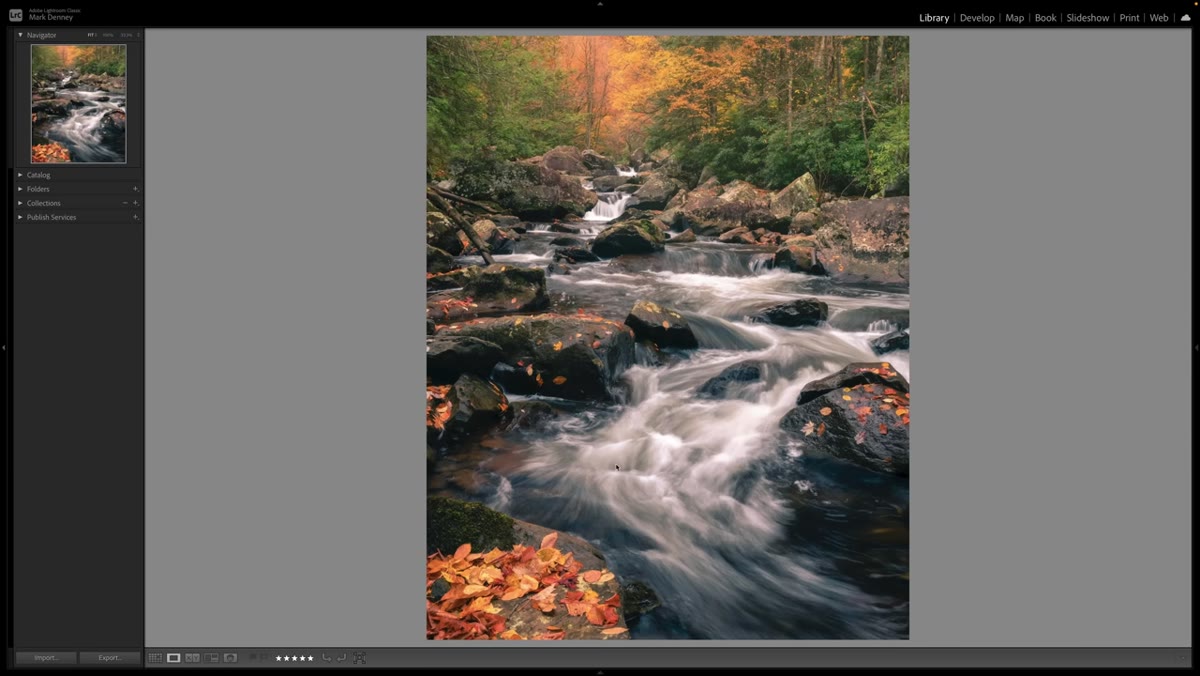 Autumn forest scene in West Virginia, camera moving through trees
Once you know what you love about the scene, you can name your subject. This sounds obvious, but it is surprisingly easy to show up somewhere beautiful and try to photograph all of it at once, which usually means you end up with a photo that is about nothing.
Autumn forest scene in West Virginia, camera moving through trees
Once you know what you love about the scene, you can name your subject. This sounds obvious, but it is surprisingly easy to show up somewhere beautiful and try to photograph all of it at once, which usually means you end up with a photo that is about nothing.
Denney is clear that your subject does not have to be a single object. It can be a quality of light, a texture, a relationship between two elements in the frame. But you need to be able to name it. If you cannot say “I am photographing this specific thing,” you are not ready to start composing yet. On a recent trip to the coast, I spent 20 minutes thinking my subject was “the beach at sunset.” When I pushed myself to be more specific, I realized what I actually wanted was the way the wet sand was mirroring the pink sky during the few seconds before each wave came in. That specificity changed where I stood, how low I got, and what focal length I reached for.
Step 4: Build the Composition Around That Subject
 Mark crouching low, adjusting camera angle near forest floor
This is where the technical work begins. Once you have a subject you are committed to, you start making compositional decisions in service of it rather than in the abstract.
Mark crouching low, adjusting camera angle near forest floor
This is where the technical work begins. Once you have a subject you are committed to, you start making compositional decisions in service of it rather than in the abstract.
Denney’s approach here is purposeful and physical. He moves. He crouches, steps left, steps right, changes his height. The goal is to find the position where your subject looks most like what you love about it. Foreground elements, framing, depth, all of those classic composition tools get applied here, but they are being used to support a specific intention rather than checked off a list. This is the difference between a technically correct composition and one that actually feels like something. If you have done the first three steps honestly, this part gets much easier because you already know what you are trying to say.
My Own Addition: Give Yourself a “Why” Before You Hike In
One thing I would add from my own practice is to do a version of step two before you even arrive. If I know I am heading somewhere specific, I spend five minutes the night before asking myself what I am most curious about at that location. Not what the famous shot is. What am I personally drawn to. It could be the quality of light at that time of year, a geological feature, the human activity in the area. Having even a loose answer means my “stop and stare” time on location is more focused. I am not starting from zero. I am checking my hypothesis against reality.
This also prevents the trap I fell into for years, chasing the composition I had already seen in someone else’s photo rather than finding my own. I once spent three evenings at a waterfall trying to recreate a shot I had bookmarked on Instagram. I missed dinner every night. The photo was fine. It looked exactly like the reference image, which meant it looked exactly like someone else’s vision of that place. Denney’s process is the antidote to that. It keeps pulling you back to your own eye.
The single biggest thing I took from this tutorial is that composition is not a visual puzzle you solve at the camera. It is a question you answer first with your full attention, then with your feet, and finally with your settings. Getting that order right changes everything.
Watch the full tutorial on YouTube to see Denney walk through real location footage and demonstrate how each step plays out in practice.
Comments
Leave a Comment