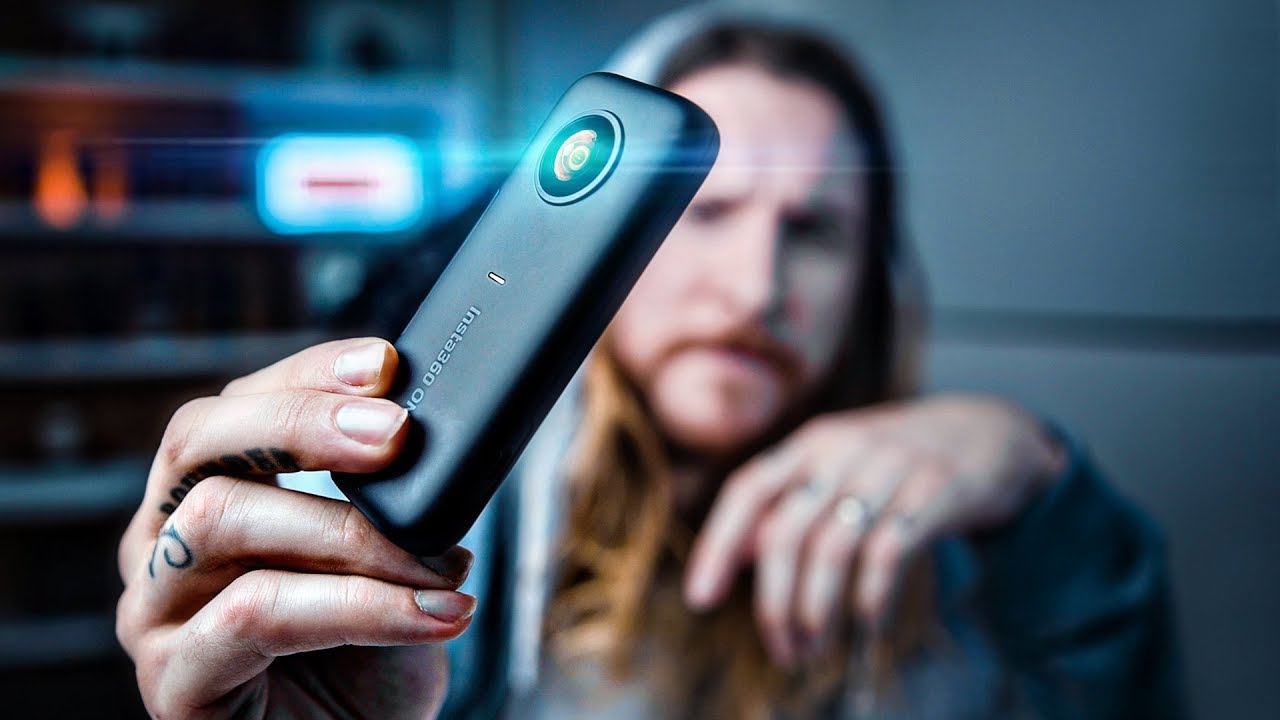
I’ll be honest with you. For years I ignored 360 cameras the same way I ignore lens caps that don’t have a leash – irritating in theory, fine until they become a problem. I shoot travel and lifestyle work, and the idea of capturing everything around me at once always sounded more like a gimmick than a genuine creative tool. Then I watched Peter McKinnon work through his first experience with the Insta360 ONE X, and something clicked. Not because he was a convert who drank the Kool-Aid, but because he went in skeptical and came out genuinely surprised. That felt trustworthy.
Watch the full tutorial on YouTube
In this Peter McKinnon tutorial, he walks through the Insta360 ONE X from unboxing through real outdoor use, and what he surfaces along the way isn’t just a product review – it’s a reframe of what 360 video is actually useful for. The technique that got me was the invisible selfie stick effect. As someone who has spent entire Sunday morning photo walks awkwardly asking strangers to hold my camera, the idea of a rig that removes itself from the footage in post felt like finding a shortcut I didn’t know existed.
Step 1: Understand What 360 Video Actually Gives You
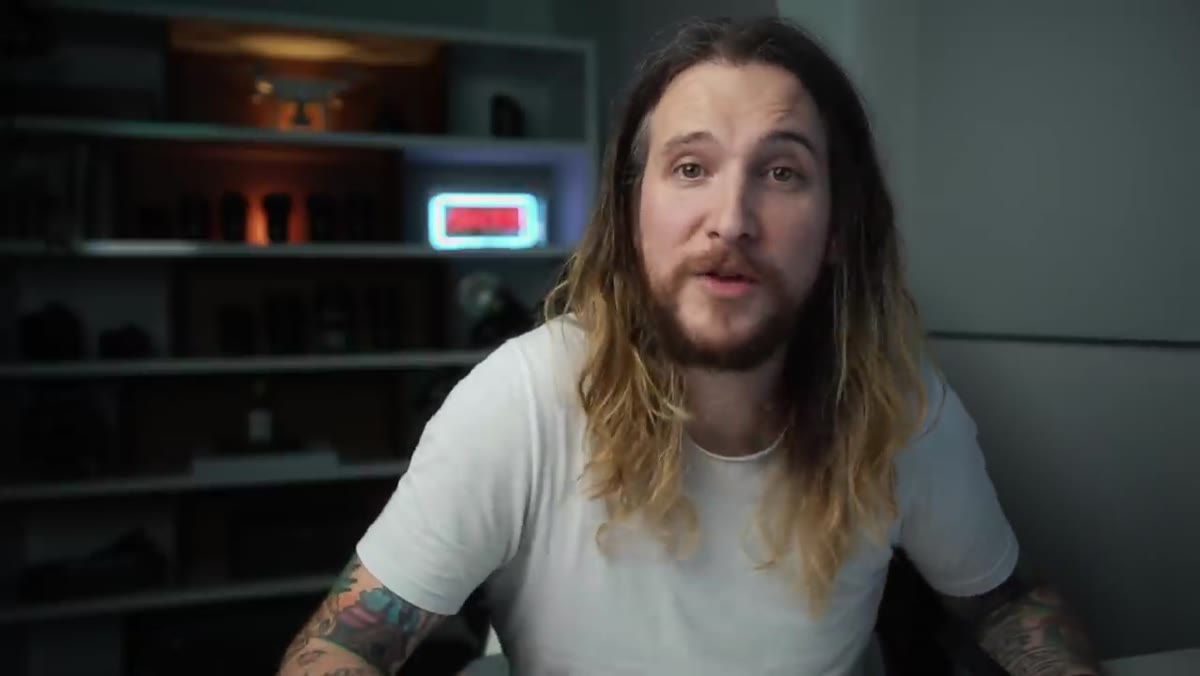
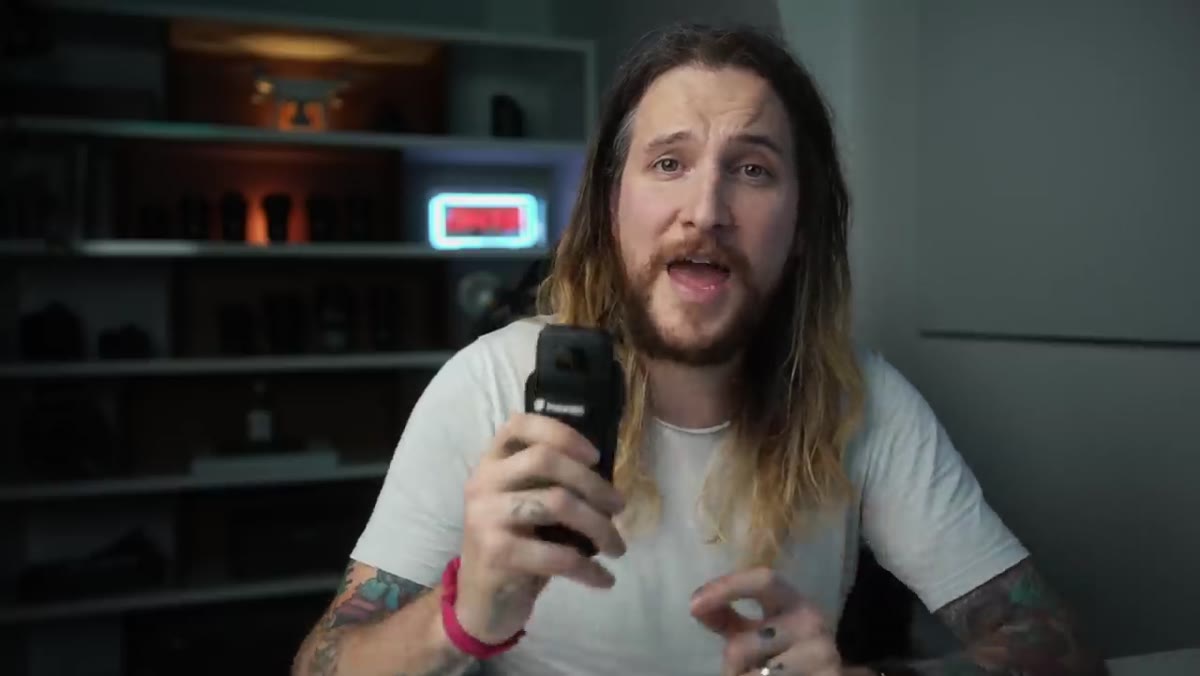 Peter explaining how 360 captures everything around you
Before you touch any settings, you need to shift how you think about framing. With a traditional camera, you choose your frame before you press record. With 360 video, the camera captures everything in every direction simultaneously, and you choose your frame afterward in editing. Think of it less like shooting and more like placing a recording device inside a moment and then deciding later what story to pull out of it.
Peter explaining how 360 captures everything around you
Before you touch any settings, you need to shift how you think about framing. With a traditional camera, you choose your frame before you press record. With 360 video, the camera captures everything in every direction simultaneously, and you choose your frame afterward in editing. Think of it less like shooting and more like placing a recording device inside a moment and then deciding later what story to pull out of it.
This is genuinely useful in unpredictable situations – events, travel, sports, anything where you can’t predict where the action will come from. If something happens behind you, it’s still in your footage. That mental shift from “I must frame this correctly now” to “I’ll direct this in post” is the whole foundation of working with a 360 camera well.
Step 2: Get Familiar With the Physical Camera
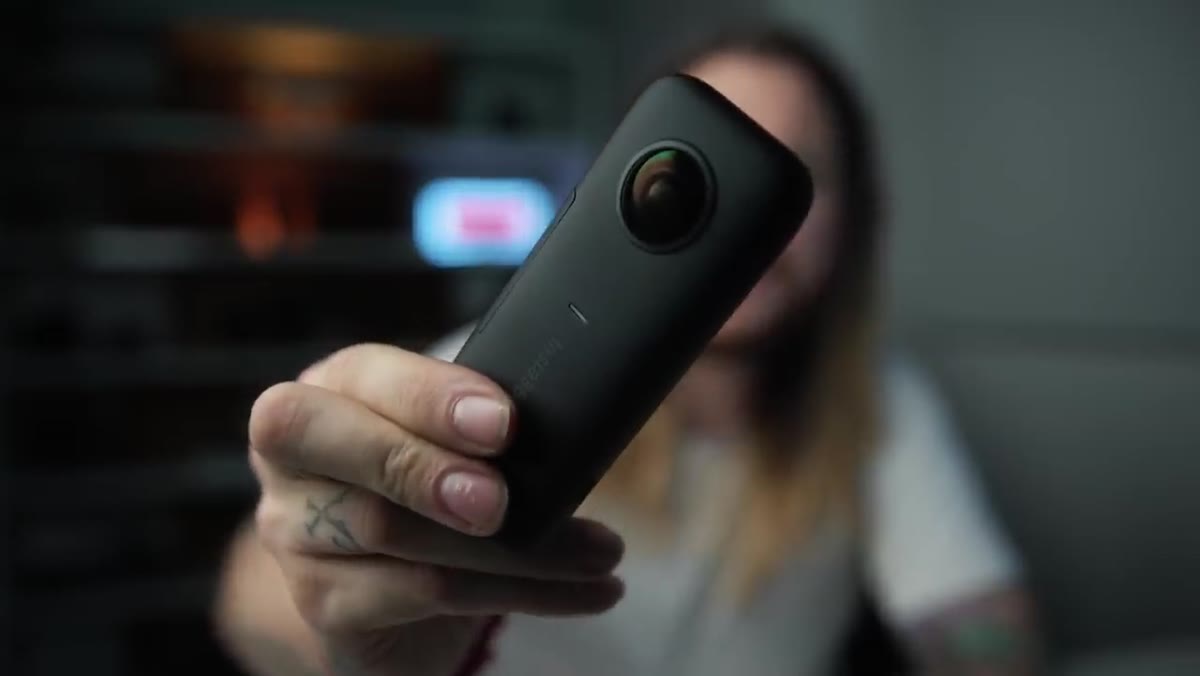 Close-up of the Insta360 ONE X camera body
The Insta360 ONE X is slim and light enough to hold in one hand without it feeling like a liability. Two wide lenses sit on opposite sides of the body, and each one captures a full hemisphere. The camera stitches those two halves together automatically, either in-camera or through the companion app. Out of the box, you get the camera, a soft neoprene case (which Peter notes still lets you press buttons through the fabric), and the selfie stick – which is central to the most interesting technique in this whole tutorial.
Close-up of the Insta360 ONE X camera body
The Insta360 ONE X is slim and light enough to hold in one hand without it feeling like a liability. Two wide lenses sit on opposite sides of the body, and each one captures a full hemisphere. The camera stitches those two halves together automatically, either in-camera or through the companion app. Out of the box, you get the camera, a soft neoprene case (which Peter notes still lets you press buttons through the fabric), and the selfie stick – which is central to the most interesting technique in this whole tutorial.
Take a few minutes to just hold it and get comfortable with the grip before you shoot anything meaningful. The lenses are exposed and easy to scratch, so form the habit of keeping the case on until you’re actively filming.
Step 3: Mount It on the Selfie Stick Correctly
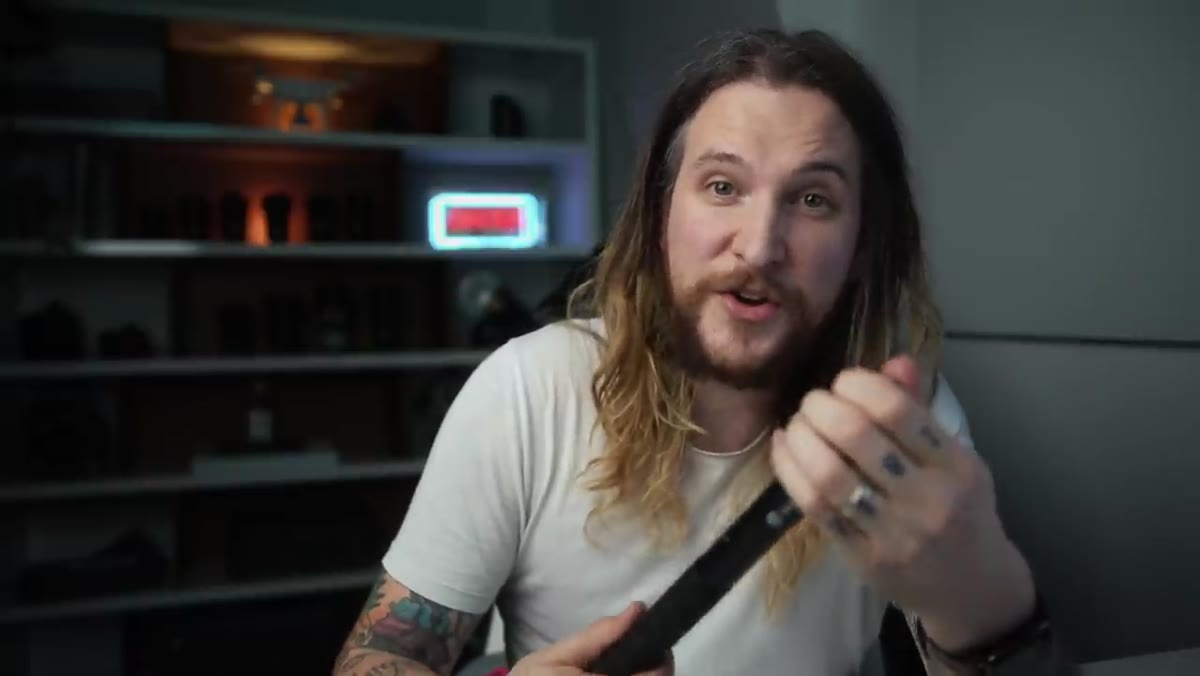 Selfie stick fully extended with camera mounted on top
The selfie stick that ships with the ONE X isn’t just a convenience accessory – it’s integral to the camera’s signature visual trick. When the stick is mounted and the software processes your footage, it removes the stick entirely from the final image. What’s left looks like a camera floating in space, following you around at arm’s length. Peter describes watching people react to his snowmobile footage with genuine confusion, because it doesn’t look like any rig they recognize.
Selfie stick fully extended with camera mounted on top
The selfie stick that ships with the ONE X isn’t just a convenience accessory – it’s integral to the camera’s signature visual trick. When the stick is mounted and the software processes your footage, it removes the stick entirely from the final image. What’s left looks like a camera floating in space, following you around at arm’s length. Peter describes watching people react to his snowmobile footage with genuine confusion, because it doesn’t look like any rig they recognize.
The key to making this work is holding the stick vertically and keeping your grip relaxed. If you’re walking, let your arm hang naturally rather than extending it out like a torch. The more casual the hold, the more the final footage reads like an autonomous floating camera rather than someone clearly gripping a pole.
Step 4: Shoot in the Right Mode for Your Intended Output
 Camera settings menu showing time-lapse and frame rate options
The Insta360 ONE X shoots 3K video at up to 100 frames per second, which gives you genuine slow motion at a resolution that holds up well for most web and social delivery. It also has a time-lapse mode built in. Before you hit record, decide what you’re actually making. For slow motion sports or action, lock in the high frame rate and accept that you’ll be shooting at 3K rather than the full resolution. For standard footage, you can drop the frame rate and get better image quality in low light.
Camera settings menu showing time-lapse and frame rate options
The Insta360 ONE X shoots 3K video at up to 100 frames per second, which gives you genuine slow motion at a resolution that holds up well for most web and social delivery. It also has a time-lapse mode built in. Before you hit record, decide what you’re actually making. For slow motion sports or action, lock in the high frame rate and accept that you’ll be shooting at 3K rather than the full resolution. For standard footage, you can drop the frame rate and get better image quality in low light.
The time-lapse mode is worth experimenting with early. Because the camera captures everything around you, a 360 time-lapse lets viewers look in any direction during playback – which is a completely different experience from a standard locked-off time-lapse clip.
Step 5: Edit and Frame Your Shot in the App
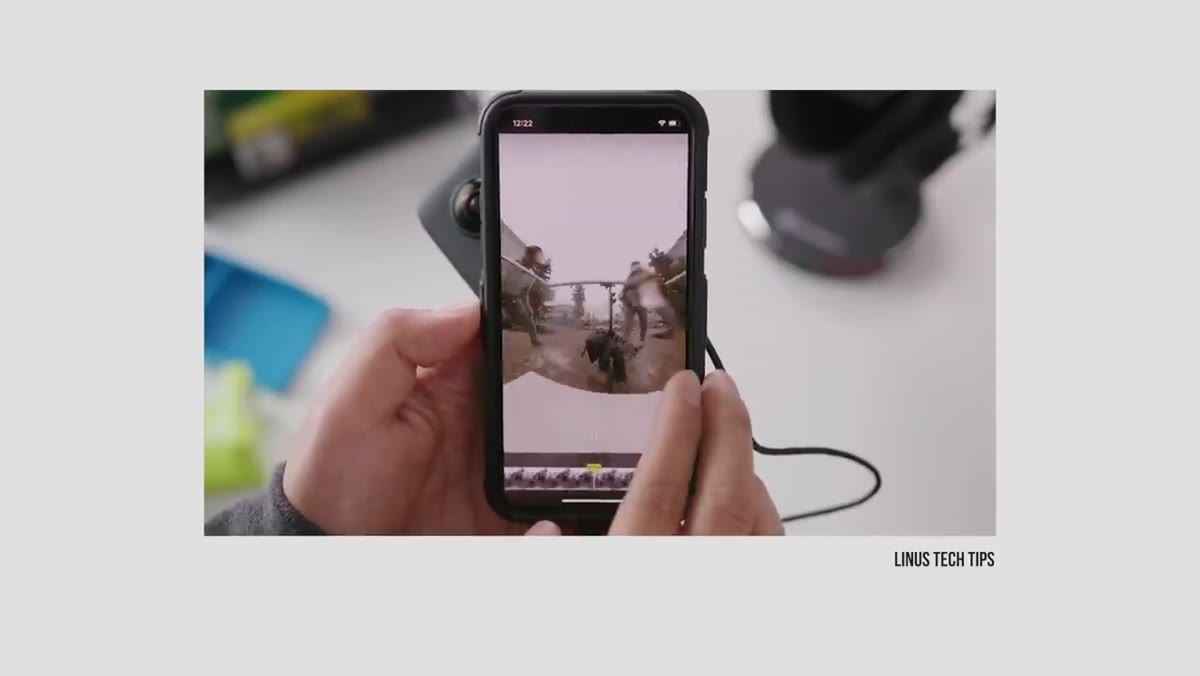
 Software interface removing the selfie stick from footage
After you shoot, the real creative work starts in the Insta360 app. This is where you choose your frame, just like a director choosing coverage from multiple camera angles – except all your angles came from one device. You can pan, tilt, and lock a virtual camera position, and the app will stabilize and render that as a standard flat video clip. Nobody watching the final export needs to know it came from a 360 camera.
Software interface removing the selfie stick from footage
After you shoot, the real creative work starts in the Insta360 app. This is where you choose your frame, just like a director choosing coverage from multiple camera angles – except all your angles came from one device. You can pan, tilt, and lock a virtual camera position, and the app will stabilize and render that as a standard flat video clip. Nobody watching the final export needs to know it came from a 360 camera.
The stick removal happens automatically when the app detects the Insta360 stick in the frame. It uses the surrounding pixels to reconstruct what was behind the stick, and in most conditions the result is seamless. If you’re using a third-party pole or a different grip, the removal won’t work the same way, so stick with the included accessory until you understand the system’s limits.
A Note From My Own Experience: Start With One Use Case
The temptation with a new tool like this is to use it for everything at once. I’d push back on that. Pick one scenario where the floating camera effect or the reframe-in-post workflow actually solves a problem you’ve had. For me that was walking tour videos where I always struggled to capture both the environment and myself in the same shot without a tripod or a helper. The ONE X handled that in a single take.
Once you’ve nailed that one use case, you’ll have an intuitive sense of the camera’s strengths and you’ll find the second and third use cases naturally. Trying to learn everything simultaneously usually means you learn nothing deeply.
The single most important thing Peter McKinnon demonstrates here is that 360 video isn’t about the 360-degree format itself. It’s about giving yourself options you didn’t have at the moment of capture. That’s a principle that applies to almost every tool in photography and video – the best gear is the gear that extends your creative choices, not the gear that impresses people at a camera store.
Watch the full tutorial on YouTube to see the actual footage examples, including the snowmobile clips that make the floating camera effect make sense immediately.
Comments (4)
This is the kind of content that keeps me coming back.
Clear and practical. No fluff. Appreciate that.
I've been looking for exactly this kind of tutorial. Perfect timing.
This is going in my reference folder. Incredibly useful.
Leave a Comment