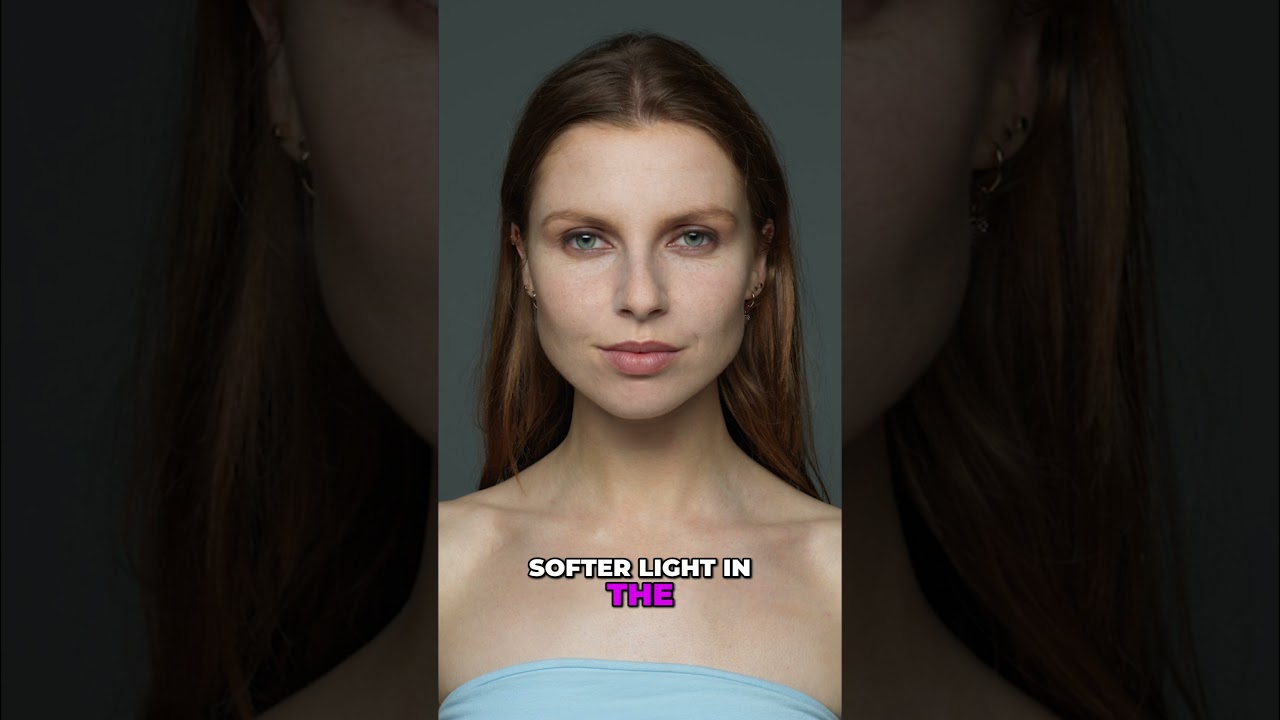
I used to own three round softboxes and thought I had my lighting covered. Same shape, different sizes — how much variation did I really need? It wasn’t until I started experimenting with strip-style and rectangular modifiers that I realized how much I’d been leaving on the table. The shape of your modifier isn’t just an aesthetic choice. It determines how light wraps, where it hardens, and what shows up in your subject’s eyes. That’s three completely different variables packed into one piece of gear.
In this Visual Education tutorial on favorite light modifiers, the presenter walks through the 120x30 softbox in a way that finally clicked for me. Watch the full tutorial on YouTube — but if you want a breakdown you can reference while you shoot, keep reading. I’ve unpacked each point below with the kind of context I wish someone had given me when I first picked one of these up.
Step 1: Understand What Makes the 120x30 Shape Unique
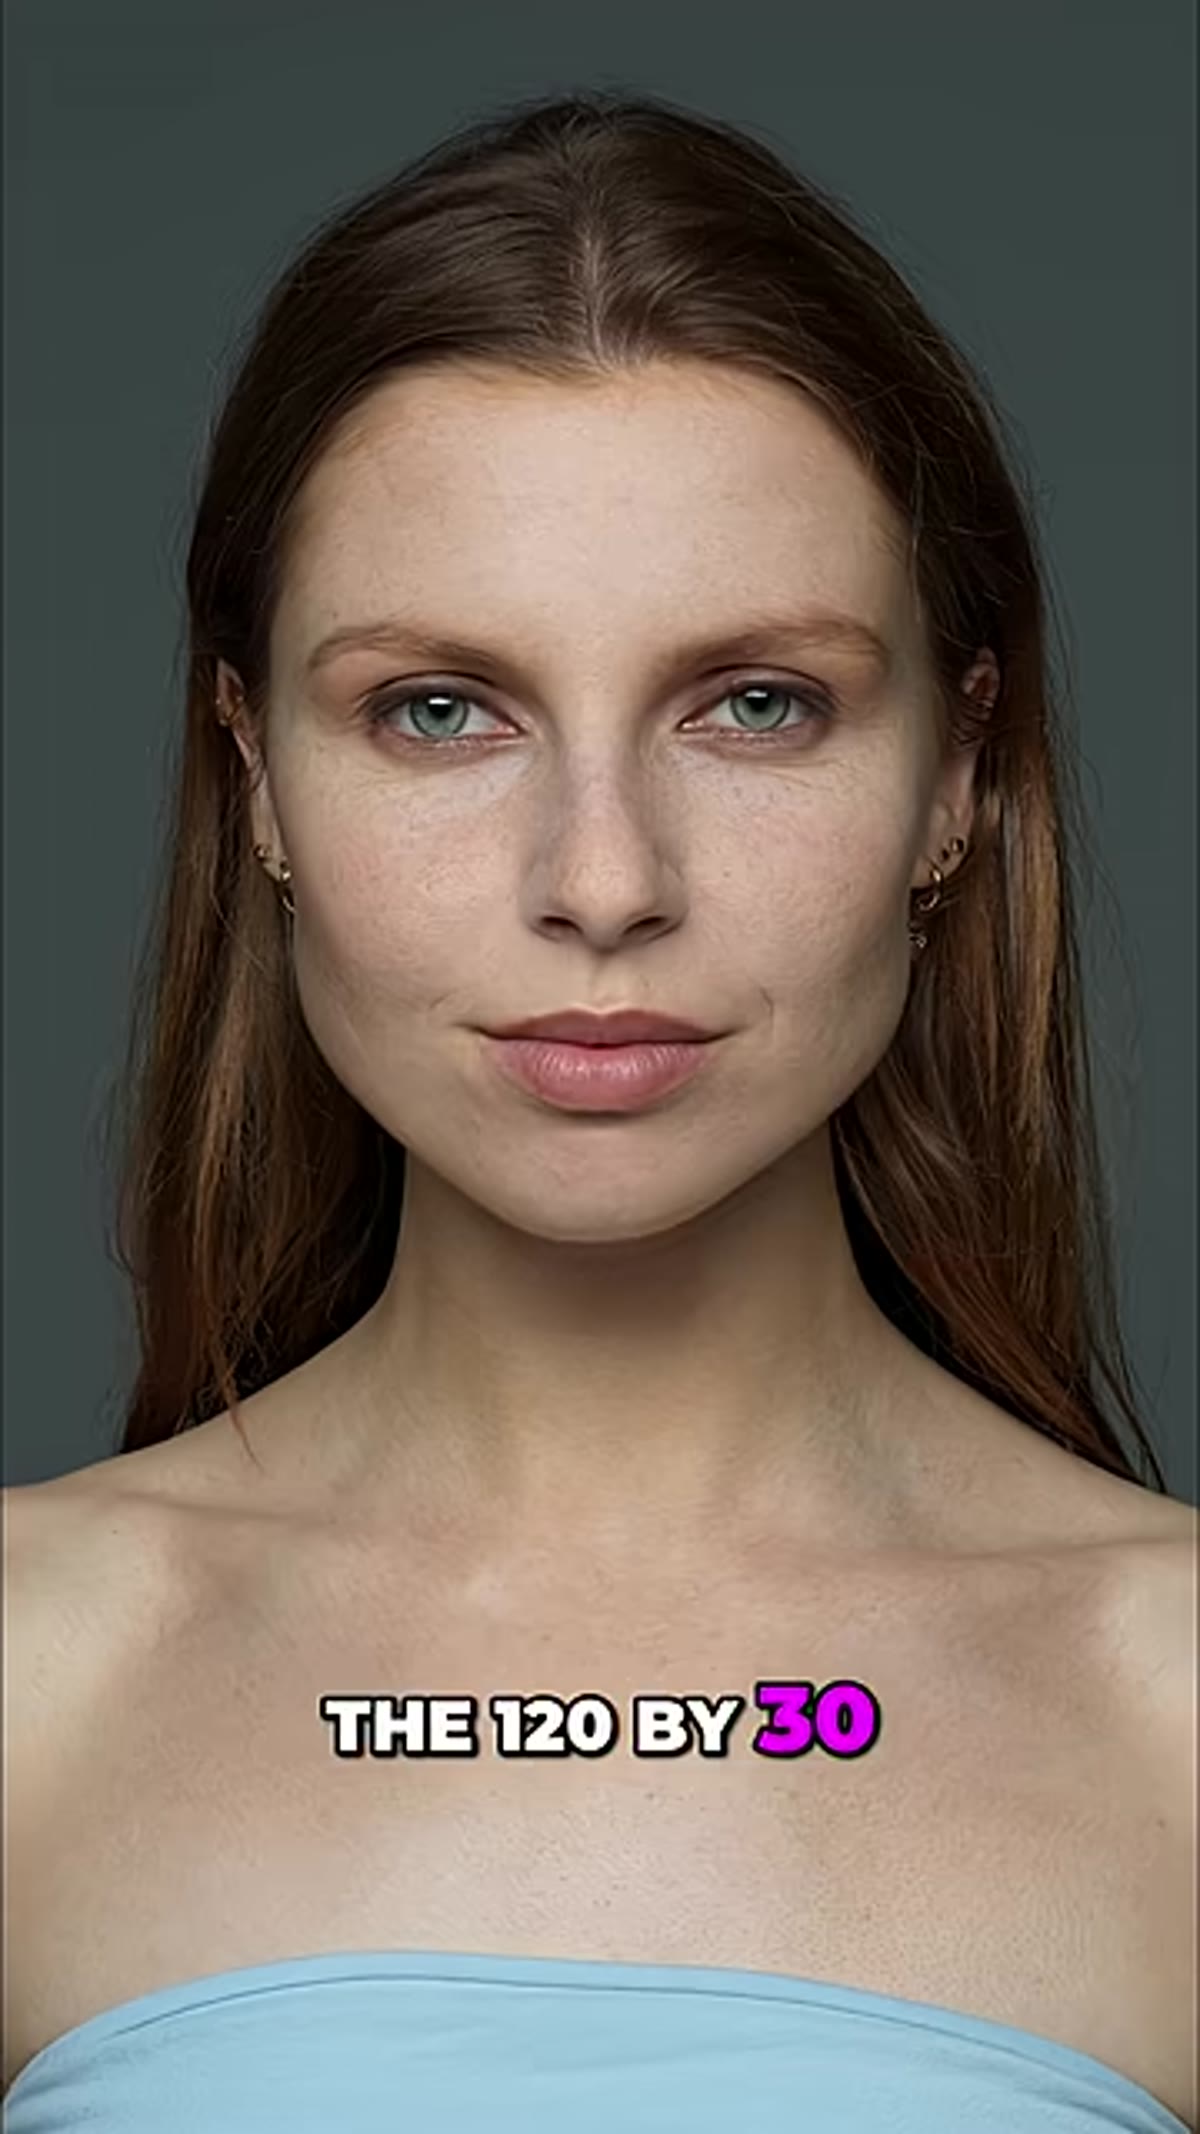 Rectangular 120x30 softbox shown against plain background
Most photographers think of a softbox as a soft-light machine, full stop. But a 120x30 softbox behaves differently depending on which axis you’re looking at. The long dimension (120cm) produces softer, more gradual light falloff. The short dimension (30cm) produces comparatively harder, more directional light. That contrast between the two axes is the whole point of this modifier, and it’s what makes it so useful for beauty and portrait work.
Rectangular 120x30 softbox shown against plain background
Most photographers think of a softbox as a soft-light machine, full stop. But a 120x30 softbox behaves differently depending on which axis you’re looking at. The long dimension (120cm) produces softer, more gradual light falloff. The short dimension (30cm) produces comparatively harder, more directional light. That contrast between the two axes is the whole point of this modifier, and it’s what makes it so useful for beauty and portrait work.
When you orient the box horizontally, the soft light wraps across the width of your subject’s face while the harder vertical quality adds definition along the cheekbones and jawline. You get sculpting and softness in the same shot, without needing to add a second light or a reflector to compensate.
Step 2: Orient the Softbox Horizontally for Beauty Work
 Softbox positioned horizontally in front of subject
Orientation changes everything with this modifier. Place it horizontally and you’re using that long, soft axis to spread light across the face. This is the setup the tutorial highlights for beauty photography specifically, and it’s become my go-to for any shoot where I want clean, flattering skin rendering without completely flat, featureless light.
Softbox positioned horizontally in front of subject
Orientation changes everything with this modifier. Place it horizontally and you’re using that long, soft axis to spread light across the face. This is the setup the tutorial highlights for beauty photography specifically, and it’s become my go-to for any shoot where I want clean, flattering skin rendering without completely flat, featureless light.
Think of it this way: horizontal placement gives you the glow of a large source with the structure of a smaller one. You’re not choosing between soft and sculpted. You’re getting both at once, which is a harder result to achieve with a square or octagonal modifier.
Step 3: Use the Light Quality Contrast for Contouring
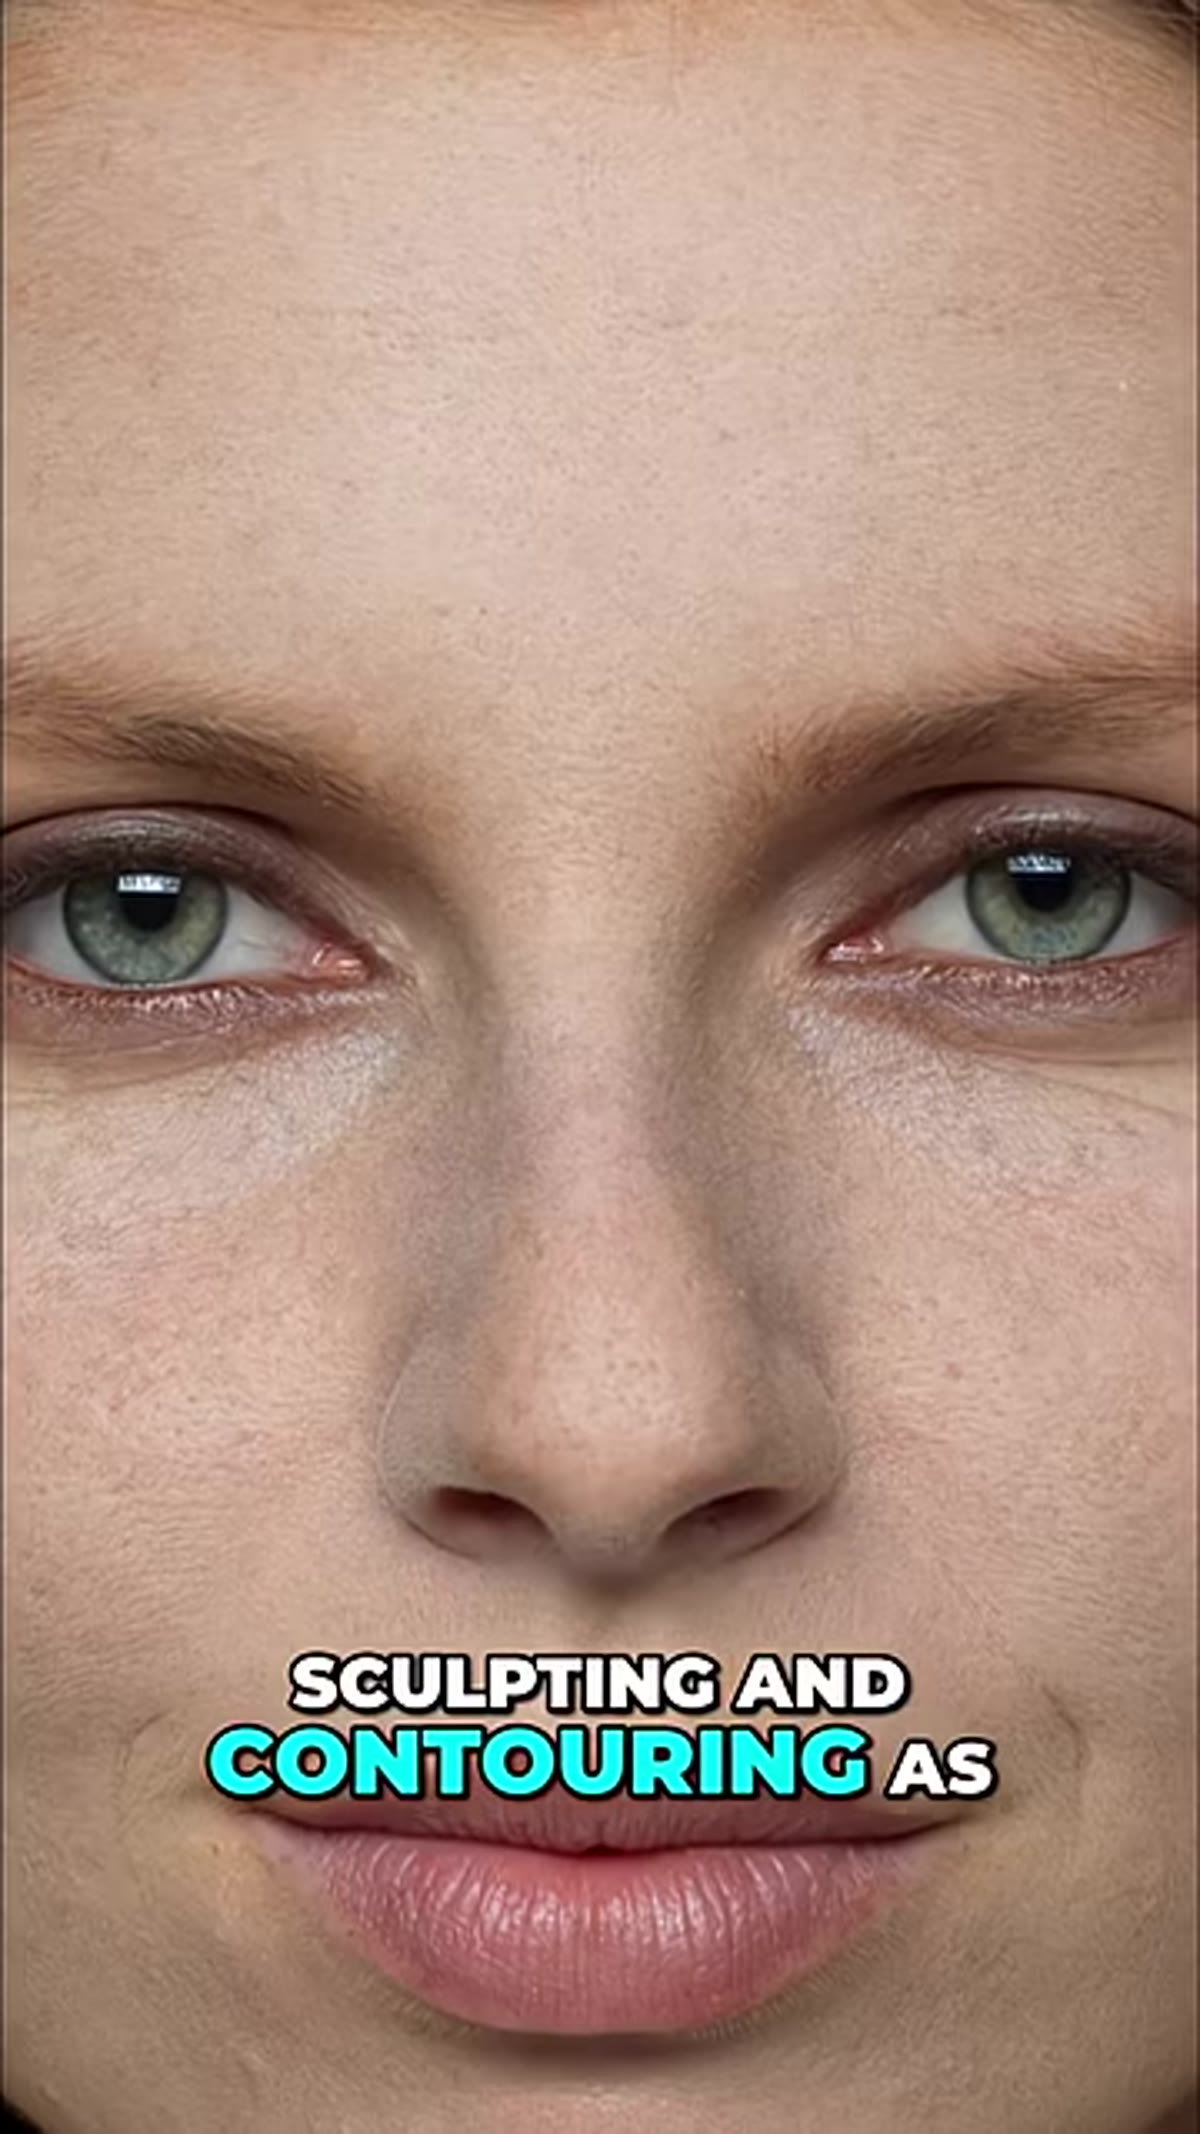 Side-by-side portrait showing sculpting effect on face
The harder light in the short direction does the contouring work here. When the softbox is oriented horizontally and placed at a slight angle to your subject rather than dead-on, that harder top-to-bottom quality skims across the face and catches the raised planes: cheekbones, brow ridge, the bridge of the nose. The softer horizontal spread fills in without washing those shadows out entirely.
Side-by-side portrait showing sculpting effect on face
The harder light in the short direction does the contouring work here. When the softbox is oriented horizontally and placed at a slight angle to your subject rather than dead-on, that harder top-to-bottom quality skims across the face and catches the raised planes: cheekbones, brow ridge, the bridge of the nose. The softer horizontal spread fills in without washing those shadows out entirely.
This is the kind of effect that used to take me two light sources to pull off. A key light for sculpting, a fill for softening. With a 120x30 oriented correctly, you can get a version of that from a single head. That matters on location shoots where you’re working fast or hauling your own gear up three flights of stairs.
Step 4: Pay Attention to the Catchlights
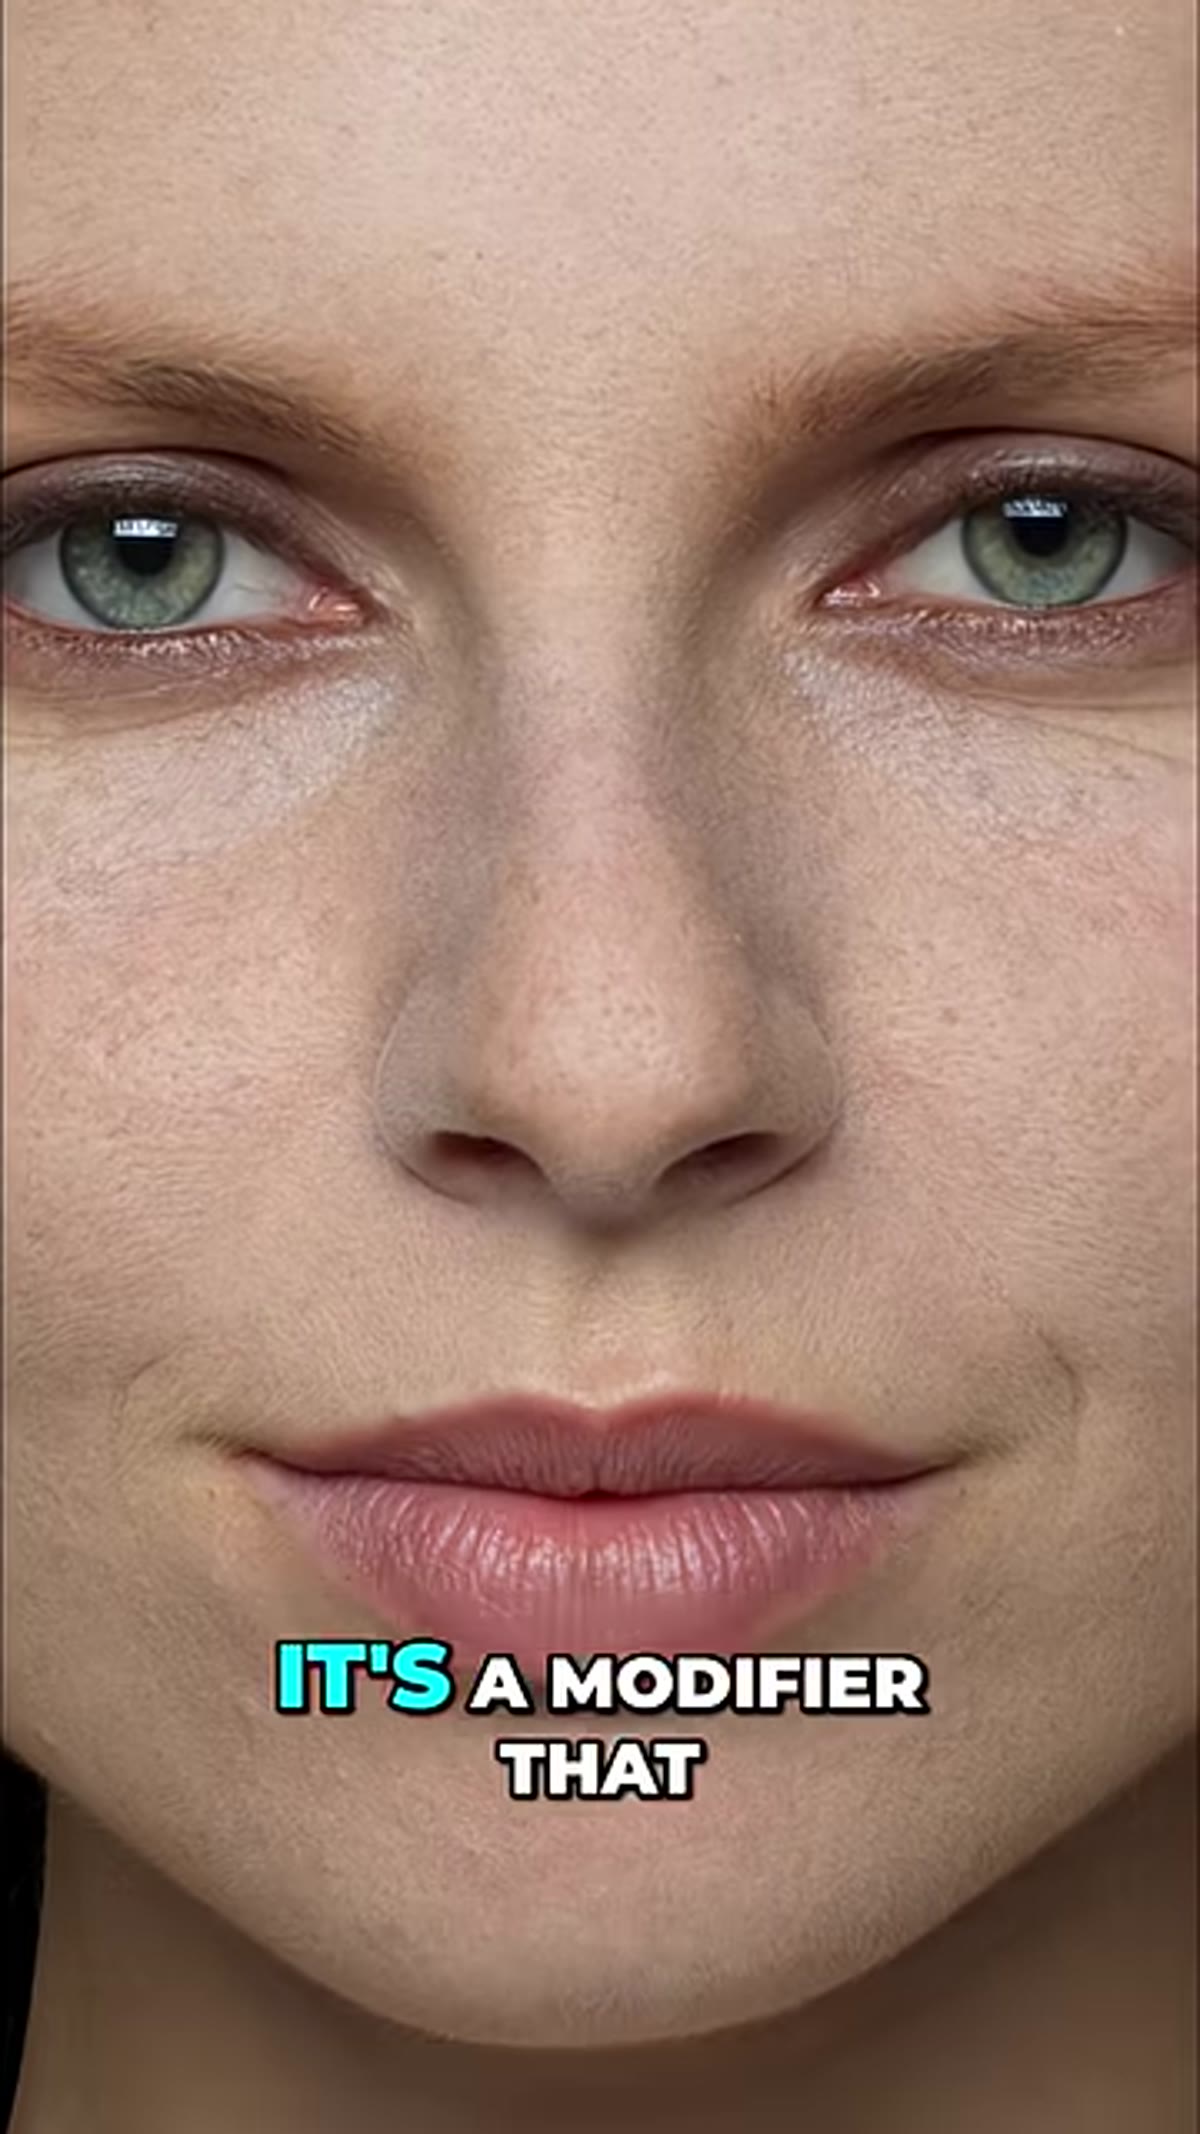 Close-up of subject’s eye showing rectangular catchlight
Catchlights are one of those details that separate a portrait that feels alive from one that feels flat. The 120x30 produces a distinctive rectangular catchlight that sits naturally in the eye without dominating it. Round softboxes give you a circular catchlight. Octaboxes give you a stop-sign shape. The long rectangle from this modifier reads as natural, almost like a window reflection, which is part of why it works so well for beauty and editorial work.
Close-up of subject’s eye showing rectangular catchlight
Catchlights are one of those details that separate a portrait that feels alive from one that feels flat. The 120x30 produces a distinctive rectangular catchlight that sits naturally in the eye without dominating it. Round softboxes give you a circular catchlight. Octaboxes give you a stop-sign shape. The long rectangle from this modifier reads as natural, almost like a window reflection, which is part of why it works so well for beauty and editorial work.
If catchlights matter to your style (and they should), factor this into your modifier selection before you buy. The shape of the light source is the shape you’ll see reflected in every pair of eyes you photograph with it.
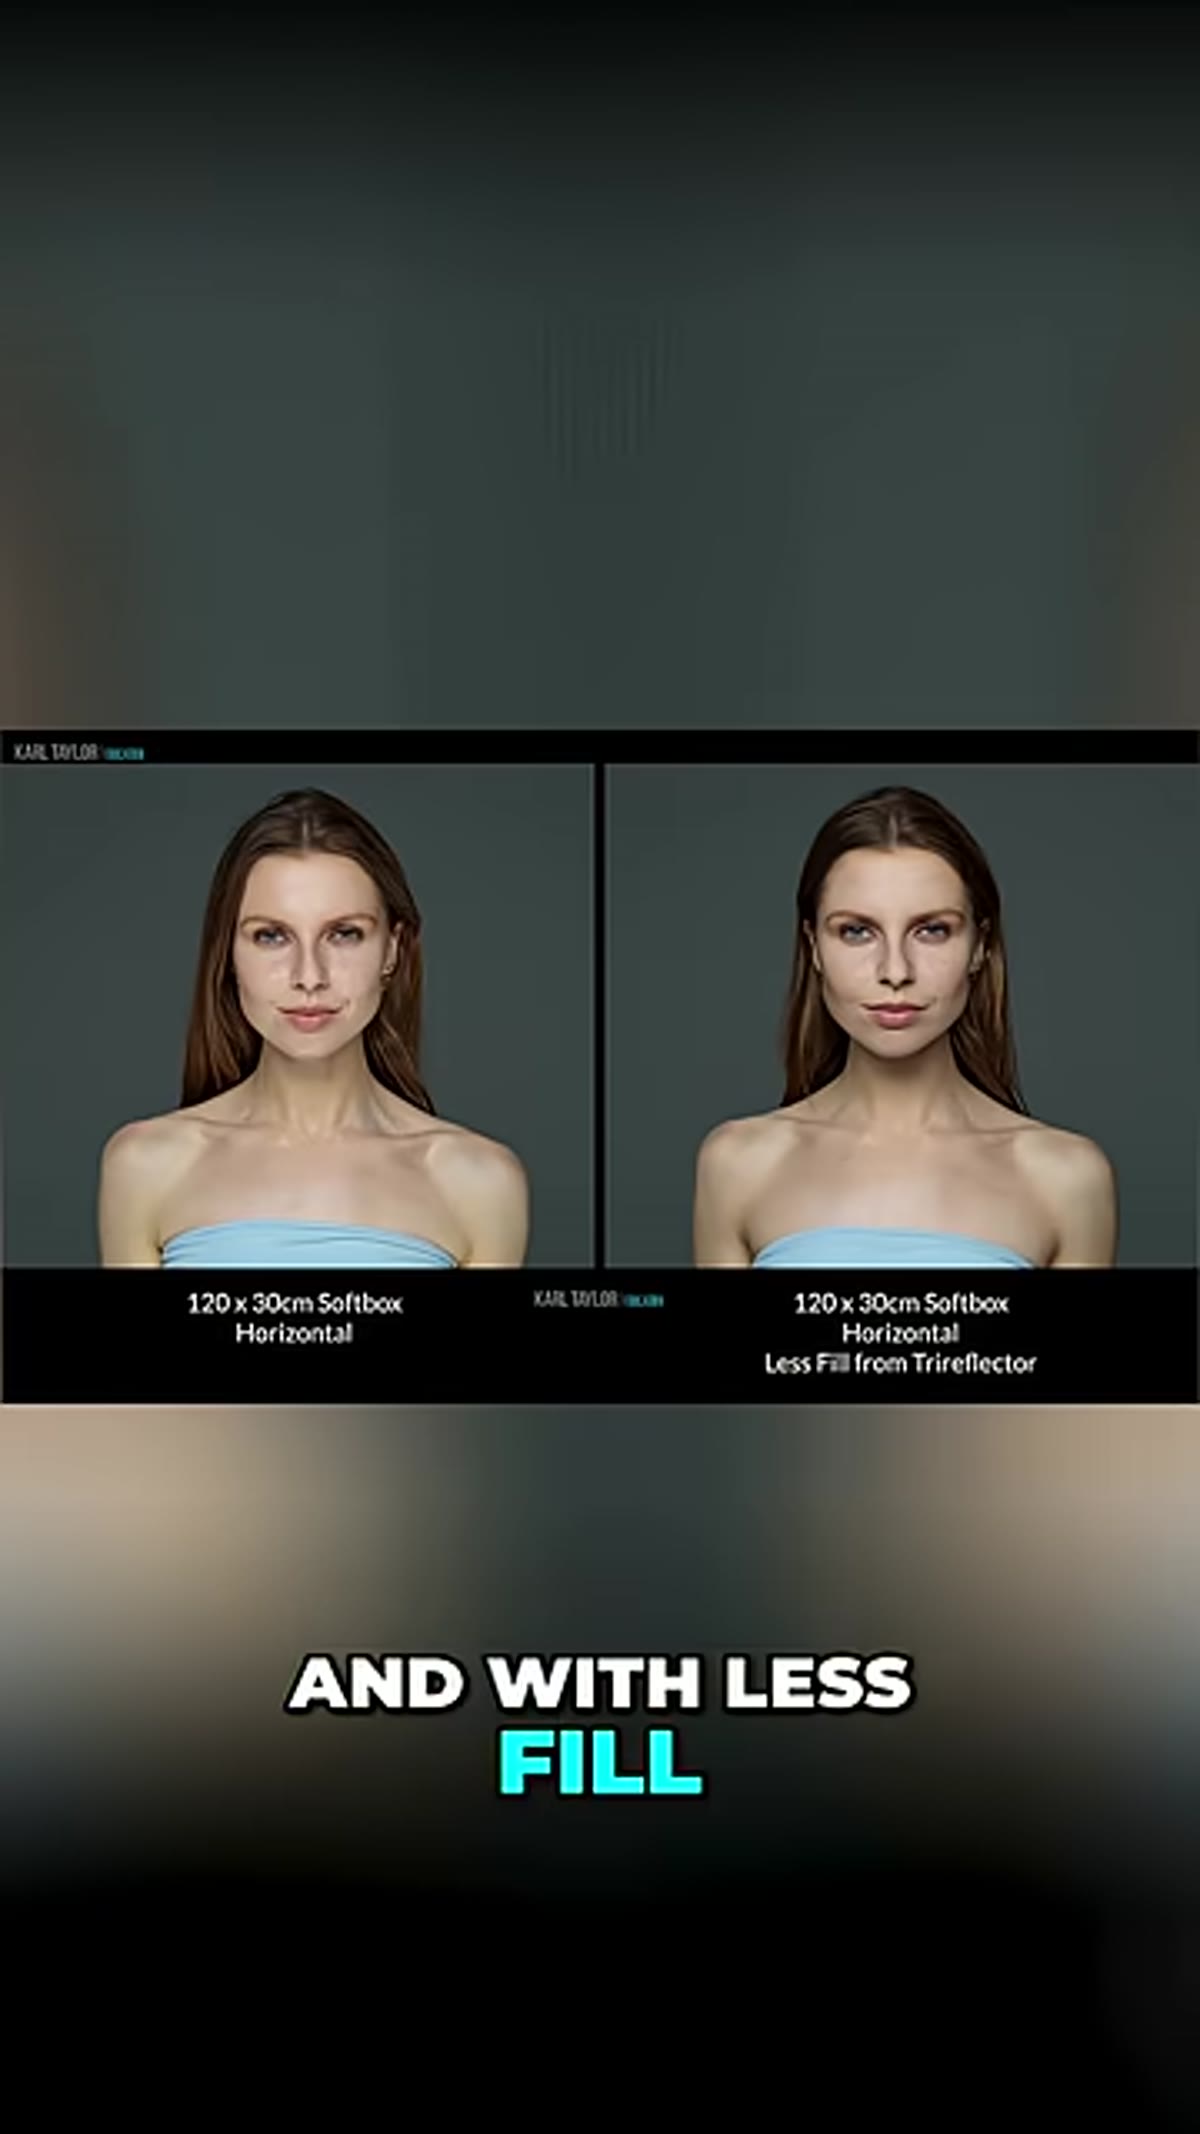
Step 5: Test With More and Less Fill to Find Your Look
 Two portraits side by side showing different fill levels
The tutorial shows the same setup with varying amounts of fill light, and this is worth replicating in your own practice. More fill reduces the shadow depth and produces an even, polished result that works well for commercial beauty. Less fill deepens the contrast and gives you something moodier and more editorial.
Two portraits side by side showing different fill levels
The tutorial shows the same setup with varying amounts of fill light, and this is worth replicating in your own practice. More fill reduces the shadow depth and produces an even, polished result that works well for commercial beauty. Less fill deepens the contrast and gives you something moodier and more editorial.
Neither is wrong. But you need to see both on your own subjects, in your own space, before you’ll know which version fits the brief you’re shooting toward. I keep a small reflector on a stand specifically for this kind of testing. I can add fill, pull it back, and compare frames without touching my key light setup at all.
My Own Caveat: Space Matters More Than You’d Think
I’ve recommended the 120x30 to students before and had them come back frustrated. Nine times out of ten, the issue isn’t technique. It’s distance. This modifier needs room to breathe. If you’re working in a tight space and you push the softbox too close trying to maximize softness, you’ll lose the balanced behavior between the two axes and end up with a muddier result than you expected.
My rule of thumb: keep the modifier at least one full softbox-length away from your subject as a starting point, then creep closer if you want more softness and contrast. Move it back if the light starts to feel formless. Distance is a dial you’re always turning with modifiers like this, not a setting you fix once and forget.
I also want to mention that this isn’t a beginner modifier in the sense that you can just point it at someone and call it done. It rewards deliberate placement. I’d suggest spending a full Sunday just moving it around a single subject and photographing the same pose from the same camera position. Let the light do the changing. You’ll learn more in two hours that way than you will reading about it for a week.
The single most important thing I took from this tutorial is that the 120x30 softbox isn’t a one-note tool. Its value comes from the tension between its two different light qualities, and learning to use both intentionally is what separates a nice portrait from a really considered one. If you’ve been sleeping on rectangular modifiers, this is your reason to try one.
Watch the full tutorial on YouTube to see the Visual Education breakdown with the actual before-and-after portrait comparisons — seeing the fill variations side by side is especially useful.
Comments
Leave a Comment