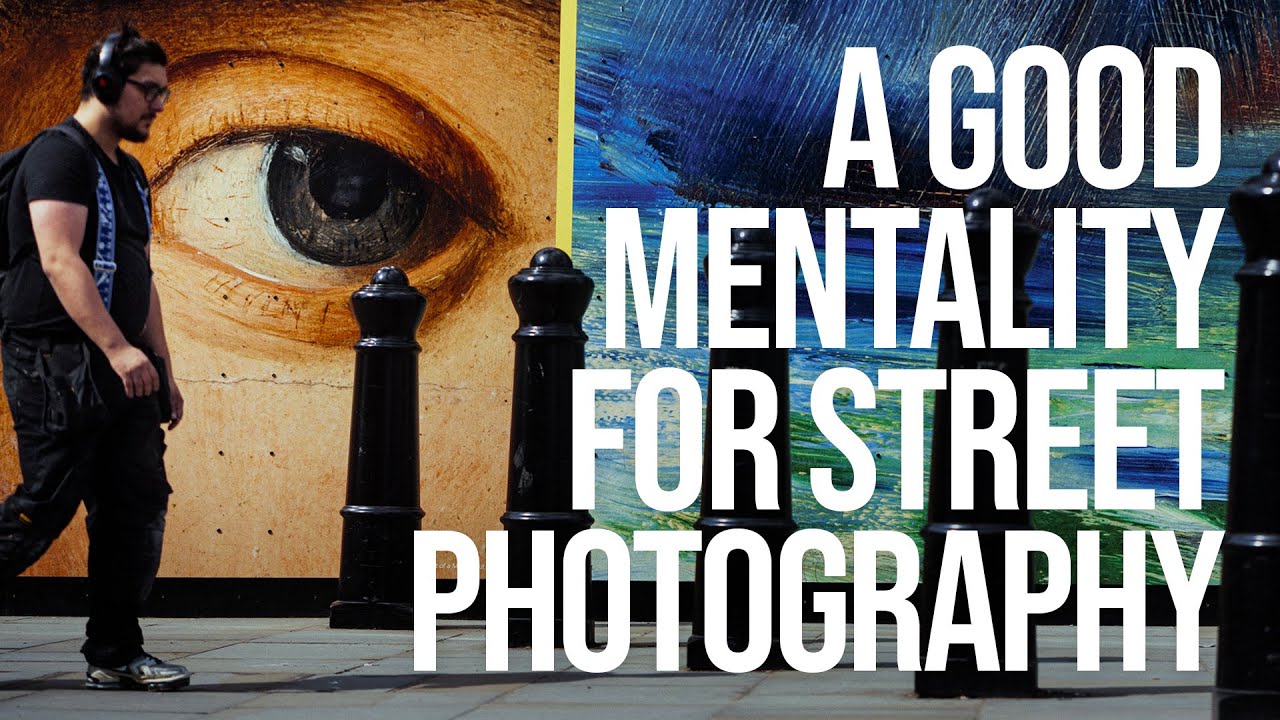
Every Sunday morning I do a photo walk. No agenda, no client, no shot list. Just me, my camera, and whatever Seattle decides to look like that week. It sounds peaceful, and it is now. But for a long time, those walks felt like a grind. I’d come home with a memory card full of mediocre frames and a nagging feeling that I was doing something wrong. The problem wasn’t technical. My exposure was fine. My focus was fine. The problem was everything happening before I even lifted the camera.
That’s exactly what Sean Tucker addresses in this tutorial, which he put together after speaking at a street photography festival in Oslo. It’s not a video about camera settings or compositional rules. It’s about the mental and physical conditions that allow good street photography to actually happen. And watching it, I kept thinking: this is the stuff nobody talks about in gear reviews. Watch the full tutorial on YouTube
If you’ve ever cut a photo walk short because you were tired, frustrated, or just felt “off,” this breakdown is for you. Here’s what Tucker covers and how I’d apply it.
Step 1: Wear the Right Shoes (Yes, Really)
 Tucker walking through city street in comfortable shoes
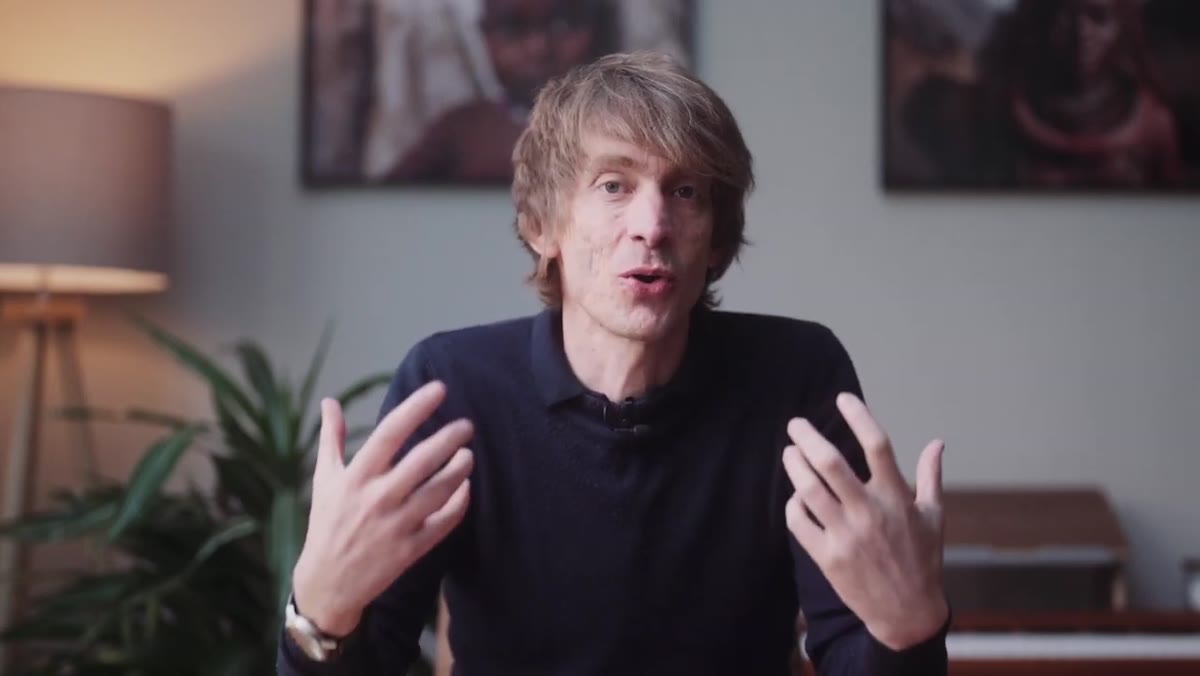
This sounds almost embarrassingly basic, but Tucker makes a convincing case that physical comfort is one of the biggest hidden factors in creative output. He regularly walks 20,000 to 30,000 steps during a single shooting day, with some sessions pushing double that. At that volume, uncomfortable shoes stop being a minor annoyance and start being a reason to go home early.
Tucker walking through city street in comfortable shoes
This sounds almost embarrassingly basic, but Tucker makes a convincing case that physical comfort is one of the biggest hidden factors in creative output. He regularly walks 20,000 to 30,000 steps during a single shooting day, with some sessions pushing double that. At that volume, uncomfortable shoes stop being a minor annoyance and start being a reason to go home early.
His point is subtle but important: every physical discomfort becomes a mental excuse. If your feet hurt and your shots aren’t landing, your brain will manufacture a very reasonable argument for quitting. Protect your ability to keep going by removing that escape hatch before you leave the house. Tucker personally uses Hoka shoes for their light weight and arch support. I’ve been shooting in Brooks running shoes for two years and the difference compared to my old canvas sneakers is not small.
Step 2: Lighten Your Bag Significantly
 Compact Sony camera and small prime lens laid out on table
Tucker describes his early days hauling two full-frame DSLRs and four heavy lenses in a backpack, driven by the fear of leaving the “wrong” lens at home. He eventually ditched that whole system in favor of a light mirrorless body with a couple of compact primes, or just his Ricoh GR in his pocket.
Compact Sony camera and small prime lens laid out on table
Tucker describes his early days hauling two full-frame DSLRs and four heavy lenses in a backpack, driven by the fear of leaving the “wrong” lens at home. He eventually ditched that whole system in favor of a light mirrorless body with a couple of compact primes, or just his Ricoh GR in his pocket.
The logic connects directly to Step 1. A heavy bag kills endurance and creates the same excuse loop as bad shoes. But there’s a creative benefit too: when you commit to one or two focal lengths, you stop constantly second-guessing your lens choice and start actually seeing. For street work especially, decision fatigue is real. A simpler kit forces faster, more instinctive reactions, which is exactly what the genre rewards.
Step 3: Change Your Focal Length When You Feel Stuck
 Photographer switching between two prime lenses on a city corner
Tucker’s third piece of advice is one I’ve come back to repeatedly. When your street photography starts feeling repetitive or flat, the instinct is to find a better location. But sometimes the problem is that you’ve become so fluent in one focal length that you’re no longer actually looking. You’re anticipating.
Photographer switching between two prime lenses on a city corner
Tucker’s third piece of advice is one I’ve come back to repeatedly. When your street photography starts feeling repetitive or flat, the instinct is to find a better location. But sometimes the problem is that you’ve become so fluent in one focal length that you’re no longer actually looking. You’re anticipating.
Switching to a different focal length forces a complete reset. A 28mm sees relationships between subjects and their environment. A 50mm flattens that relationship slightly and isolates differently. An 85mm compresses the scene entirely. Each one isn’t just a different crop. It’s a different way of thinking about what a photograph is. Tucker suggests treating the focal length change as a deliberate creative experiment rather than a quick fix, and spending meaningful time with the new perspective before judging the results.
Step 4: Manage Your Emotional State Consciously
 Tucker speaking to camera about mood and mindset while shooting
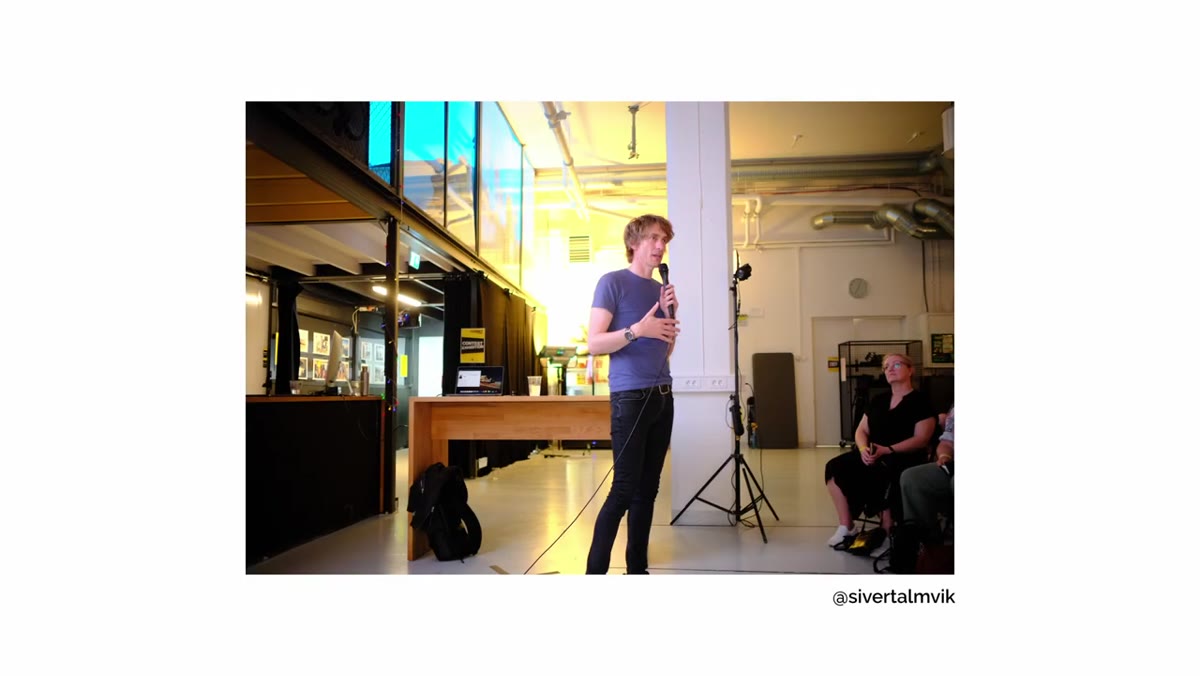
This is the section of the tutorial that I think separates Tucker’s advice from most street photography content online. He talks openly about the importance of monitoring your own mood while shooting, not just your camera settings. Street photography is vulnerable work. You’re in public, you’re making quick decisions, and rejection or bad frames hit differently than they do in a controlled studio environment.
Tucker speaking to camera about mood and mindset while shooting
This is the section of the tutorial that I think separates Tucker’s advice from most street photography content online. He talks openly about the importance of monitoring your own mood while shooting, not just your camera settings. Street photography is vulnerable work. You’re in public, you’re making quick decisions, and rejection or bad frames hit differently than they do in a controlled studio environment.
Tucker’s framework is essentially this: know your emotional baseline before you go out, and have a plan for when the session stops feeling good. That might mean taking a break, switching locations, changing your focal length (which loops back to Step 3), or simply calling it a day without self-judgment. The goal is to protect your relationship with the craft, not to grind through every session on willpower alone.
Step 5: Push Through Creative Crises With a System, Not Motivation
 Tucker addressing audience at Oslo street photography festival
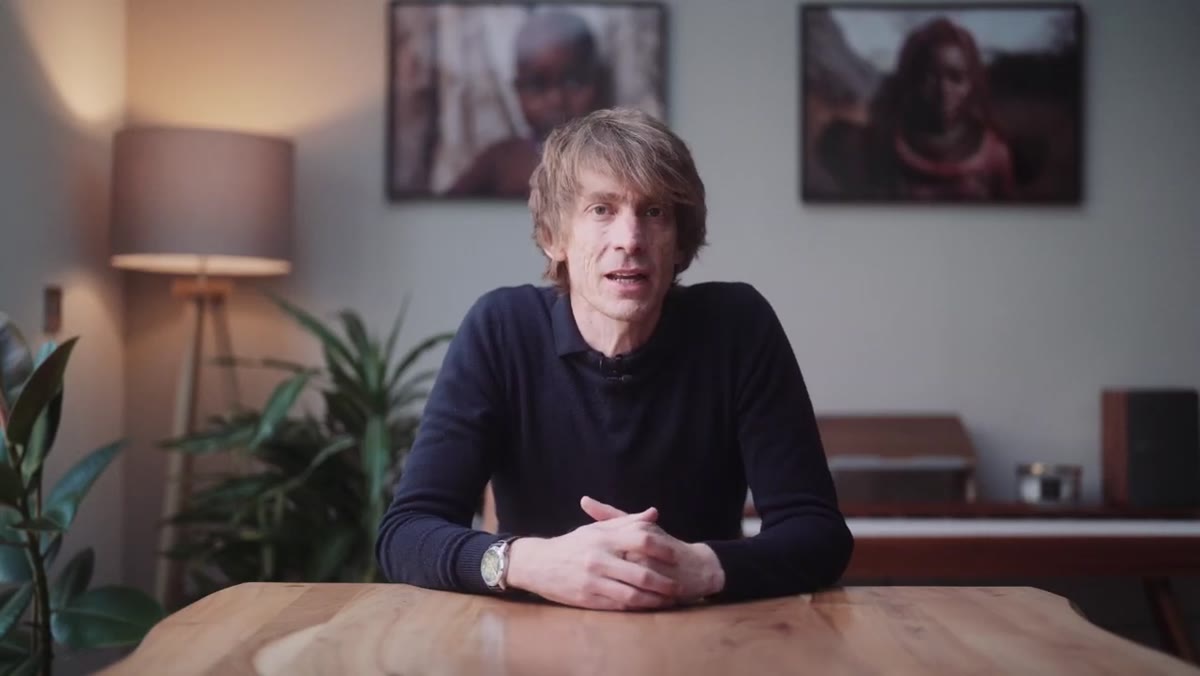
Motivation is unreliable. Tucker is honest about this. There will be shooting days where nothing clicks, where you feel invisible to interesting moments, where you wonder why you brought a camera at all. His advice is to have a repeatable process to fall back on when inspiration disappears.
Tucker addressing audience at Oslo street photography festival
Motivation is unreliable. Tucker is honest about this. There will be shooting days where nothing clicks, where you feel invisible to interesting moments, where you wonder why you brought a camera at all. His advice is to have a repeatable process to fall back on when inspiration disappears.
That process looks different for everyone, but the core idea is that you keep moving, you keep your kit light enough to sustain momentum, and you resist the urge to declare the day a failure at hour two. Some of his best images, he notes, came from sessions that started terribly. The breakthrough often comes after you’ve pushed through the slump rather than before.
What I’d Add From My Own Experience
I’d layer one thing onto Tucker’s framework: make the physical logistics a ritual, not a checklist. I prep my bag the night before every Sunday walk, same way every time. Shoes by the door, camera charged, one lens decided in advance. That ritual does something psychological. By the time I’m out the door, my brain has already shifted into shooting mode. The resistance to going is lowest when the friction of preparing is already gone.
I also keep a playlist specifically for street shooting. Something mid-tempo and instrumental. It sounds small, but controlling your auditory environment is a real lever on your mental state, especially in noisy urban settings where the chaos can feel overwhelming rather than inspiring.
The single most important idea in Tucker’s tutorial is this: the conditions you create before you shoot determine the quality of the work you’ll make. Gear, shoes, bag weight, emotional state, creative strategy, all of it is preparation. The camera is just the last step.
Street photography rewards the photographer who can stay out longer, stay present longer, and recover faster from a bad hour. Everything Tucker talks about in this video is in service of that endurance.
Watch the full tutorial on YouTube and hear Tucker walk through these ideas in his own words. The Oslo festival context he opens with gives the whole thing a useful frame, and he covers additional nuance around creative crises that’s worth your time.
Comments
Leave a Comment