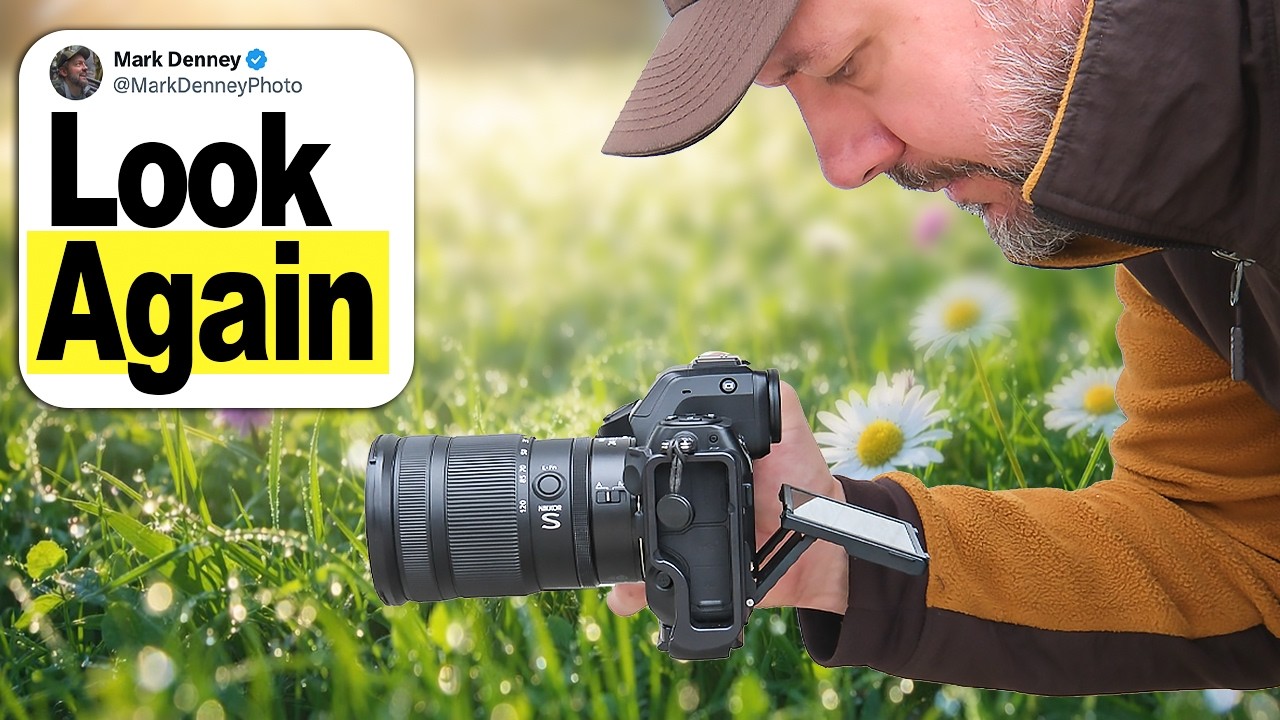
Every Sunday morning I take a photo walk around Seattle, and for an embarrassing stretch of time, I came home with the same kinds of shots week after week. Same angles, same horizon placement, same feeling of “this is fine, but it’s not exciting.” I wasn’t doing anything wrong technically. The exposures were solid, the focus was clean. But something was missing, and I couldn’t name it until I watched a tutorial that finally put words to the problem.
In this Mark Denney tutorial, Watch the full tutorial on YouTube, Mark makes an argument that stopped me mid-coffee: the reason so many landscape photos from the same location look identical isn’t that the location is overshot. It’s that photographers stop exploring the moment they find something that works. You find a foreground, you drop the tripod, you polish the shot. But polishing your first idea doesn’t make it your best idea.
What follows are three purely physical shifts. No new gear, no new settings. Just movement. Mark walks through each one with side-by-side comparisons that make the difference impossible to ignore, and I’ve broken them out below into steps you can take into the field this weekend.
Step 1: Recognize That Eye Level Is a Habit, Not a Decision
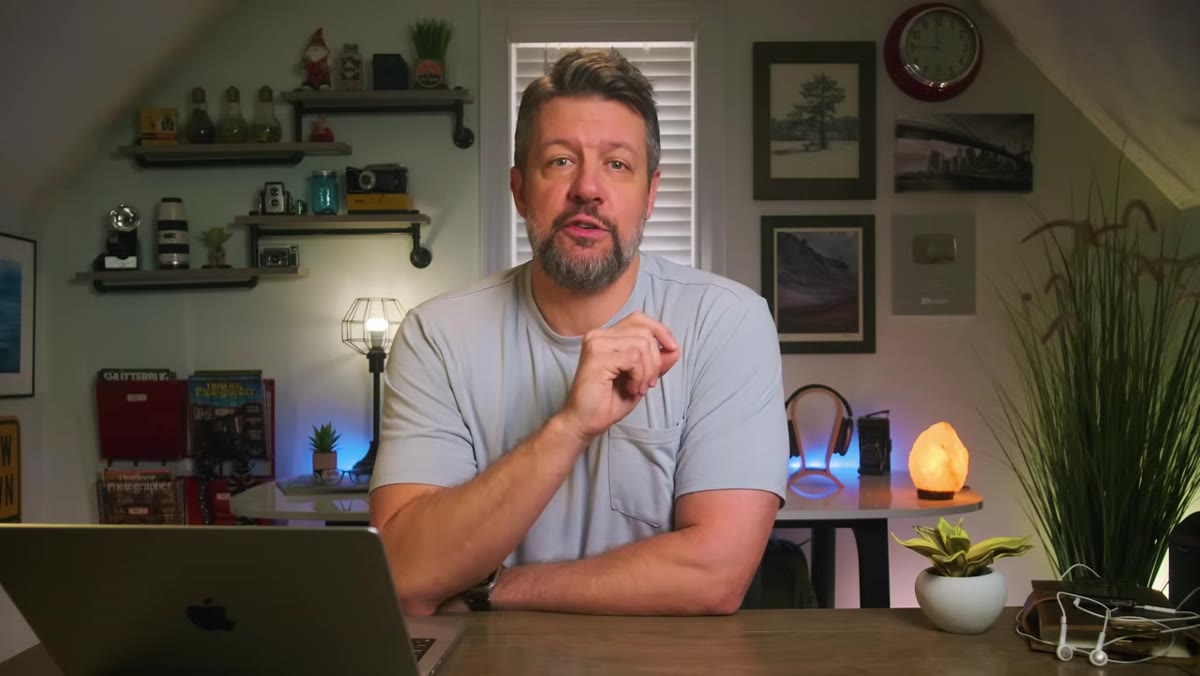 Photographer standing at default eye-level height at a canyon edge
Most of us shoot from standing height because that’s where our eyes happen to be. It feels natural, so it never gets questioned. But eye level is a default, not a creative choice, and that distinction matters. Before you even think about settings or focal length, notice where your camera is sitting in space. Ask yourself honestly: did you choose this height, or did you just stop walking and shoot?
Photographer standing at default eye-level height at a canyon edge
Most of us shoot from standing height because that’s where our eyes happen to be. It feels natural, so it never gets questioned. But eye level is a default, not a creative choice, and that distinction matters. Before you even think about settings or focal length, notice where your camera is sitting in space. Ask yourself honestly: did you choose this height, or did you just stop walking and shoot?
That pause alone starts to break the autopilot. Once you’re aware that height is a variable, you can start treating it like one.
Step 2: Lower Your Camera to Add Depth and Weight to the Foreground
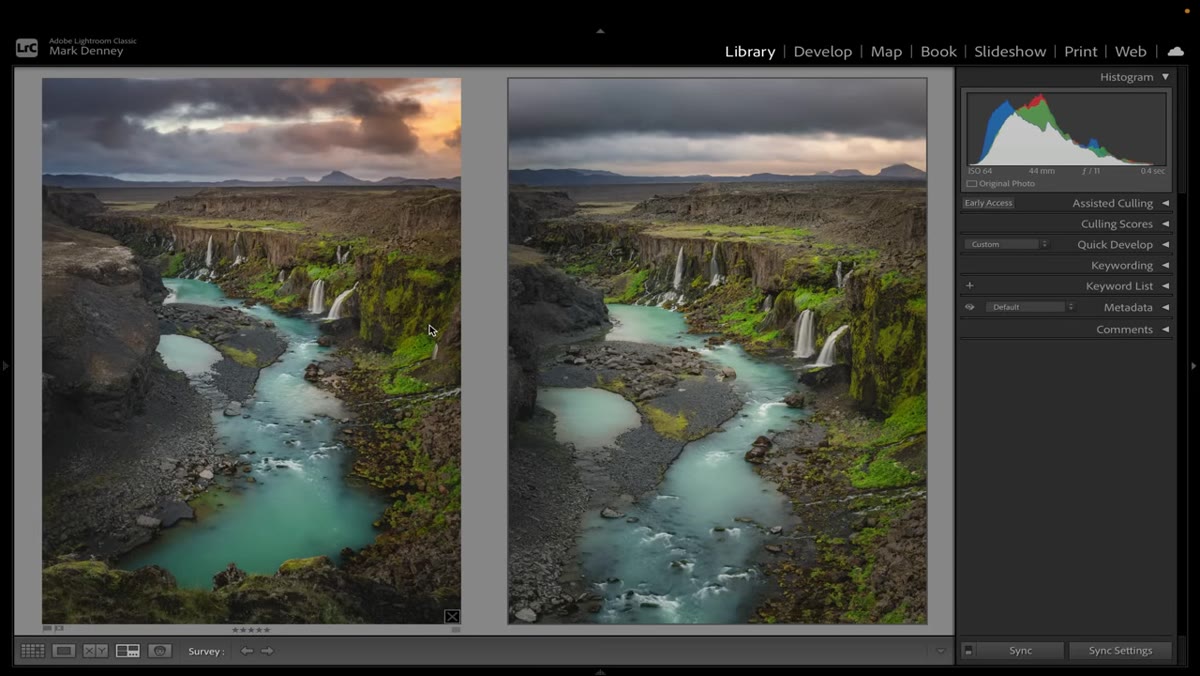 Side-by-side canyon shots showing camera lowered closer to the ground
When you drop your camera closer to the ground, even by a few inches, the relationship between your foreground and background shifts significantly. Foreground elements get larger and more prominent, leading lines appear to stretch further into the frame, and the whole scene starts to feel more three-dimensional. The viewer feels pulled into the image rather than just looking at it.
Side-by-side canyon shots showing camera lowered closer to the ground
When you drop your camera closer to the ground, even by a few inches, the relationship between your foreground and background shifts significantly. Foreground elements get larger and more prominent, leading lines appear to stretch further into the frame, and the whole scene starts to feel more three-dimensional. The viewer feels pulled into the image rather than just looking at it.
Mark shows this with a canyon shot where lowering the camera turns a soft foreground edge into a strong anchoring element at the bottom of the frame. He shows it again with a boardwalk leading to a lighthouse, where getting low makes the planks seem to rush toward the lens. The lighthouse didn’t move. The light didn’t change. Only the camera height changed, and the image went from flat to dynamic. Try getting your lens 12 to 18 inches off the ground and see what happens to your foreground. You might be surprised how little movement produces how much change.
Step 3: Raise Your Camera to Compress Space and Simplify
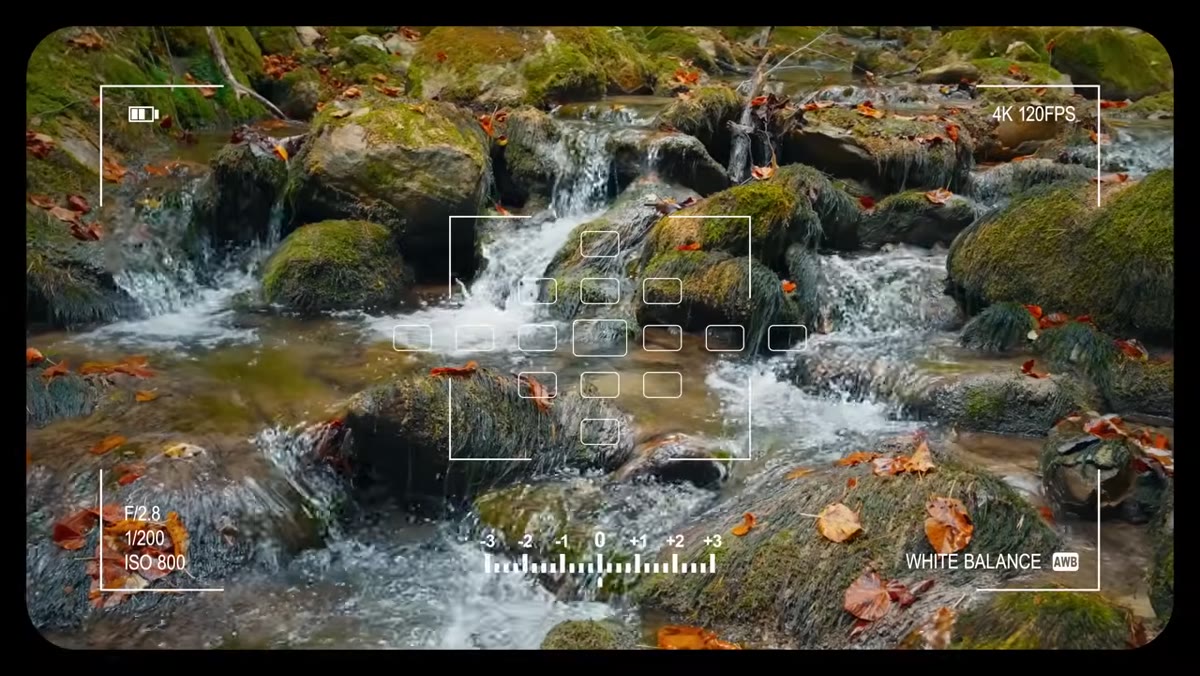 Camera raised higher, showing compressed depth in a landscape scene
The opposite move works just as usefully in different situations. Raising your camera compresses the sense of depth, brings background elements into more visual balance with the foreground, and can simplify a scene that has too much competing for attention. If your foreground is cluttered or distracting, getting higher can reduce its presence and let the background breathe.
Camera raised higher, showing compressed depth in a landscape scene
The opposite move works just as usefully in different situations. Raising your camera compresses the sense of depth, brings background elements into more visual balance with the foreground, and can simplify a scene that has too much competing for attention. If your foreground is cluttered or distracting, getting higher can reduce its presence and let the background breathe.
Think of high and low as two ends of a dial you can turn before you ever touch your shutter. The key is to try both deliberately rather than defaulting to neither. Mark’s side-by-side comparisons make this feel obvious in retrospect, which is exactly the kind of thing that’s easy to miss when you’re cold and rushing to catch golden hour.
Step 4: Change Your Distance to the Foreground Subject
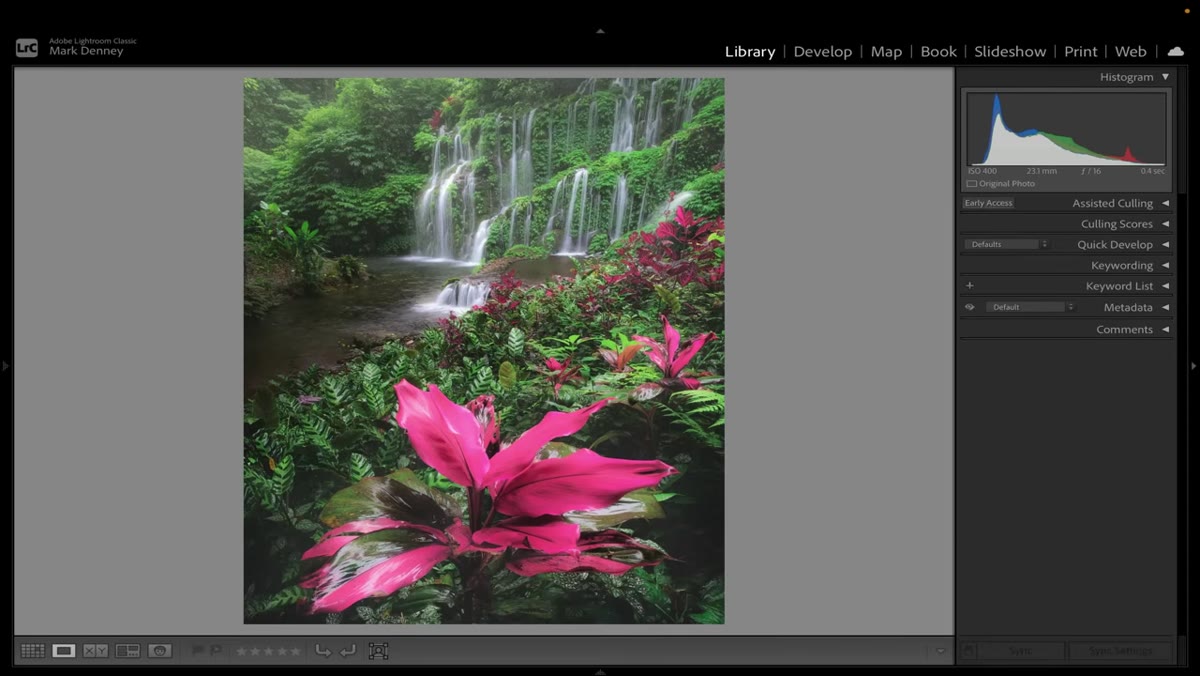 Pink plant in foreground with waterfall behind, photographer stepping forward
The second major shift Mark covers is your physical distance from your foreground element. When you move closer to something in the foreground, it grows relative to the background. Move a few steps back, and it shrinks. This sounds basic, but it changes the entire relationship between what’s close and what’s far. It affects how much of the background is visible, how compressed or expansive the scene feels, and which element becomes the anchor of the composition.
Pink plant in foreground with waterfall behind, photographer stepping forward
The second major shift Mark covers is your physical distance from your foreground element. When you move closer to something in the foreground, it grows relative to the background. Move a few steps back, and it shrinks. This sounds basic, but it changes the entire relationship between what’s close and what’s far. It affects how much of the background is visible, how compressed or expansive the scene feels, and which element becomes the anchor of the composition.
Mark demonstrates this with a bright pink plant in front of a waterfall. Stepping toward the plant pushes the background further away visually, making the plant dominate. Stepping back lets the waterfall reassert itself. Neither version is wrong. But only one of them might be right for the story you’re trying to tell. Before you lock the tripod, try walking toward your foreground and then away from it, and notice which distance creates the tension or the calm that serves the image.
Step 5: Explore Multiple Positions Before Committing to Any of Them
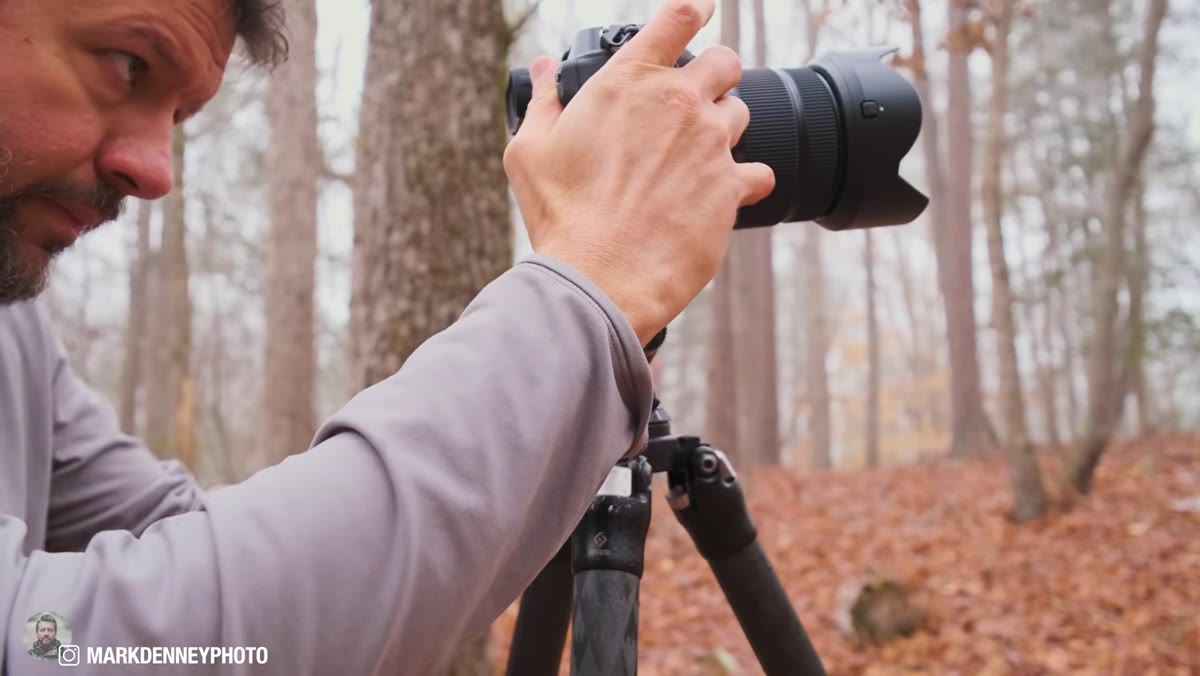 Tripod being set down, representing the moment exploration stops
Mark’s central point is that the moment the tripod hits the ground, you stop exploring. You shift into refining mode, and refining is seductive because progress feels like improvement. But you might be improving a version of the shot that was never the best option.
Tripod being set down, representing the moment exploration stops
Mark’s central point is that the moment the tripod hits the ground, you stop exploring. You shift into refining mode, and refining is seductive because progress feels like improvement. But you might be improving a version of the shot that was never the best option.
His practical suggestion is to walk the scene first without the tripod. Take your camera handheld, move through the different heights and distances, and look at what each position does to the composition. Think of it as scouting that happens in real time. Once you’ve moved through a handful of positions and identified which one actually has the strongest structure, then set up. You’ll work faster and leave with a better image.
What I’d Add From My Own Experience
There’s a fourth variable Mark doesn’t explicitly name but demonstrates throughout the video: time. Every position shift takes maybe 30 seconds. But most of us don’t take those seconds because we’re afraid the light will change, or we’re cold, or we’ve already mentally committed to the first frame we liked. I’ve missed better shots that way more times than I want to count. Once I started treating the first five minutes at any location as exploration-only time, my keeper rate genuinely improved. Give yourself a rule: no tripod for the first five minutes. Just move.
The single most transferable idea from this tutorial is that composition is not something you find once and then lock in. It’s something you actively build by moving through space before the tripod comes out. The next time you arrive at a scene and feel that pull to just set up and shoot, take three minutes first. Get low. Get high. Step forward. Step back. See what changes. The light might not be as precious as the habit of stopping too early.
Watch the full tutorial on YouTube to see Mark’s side-by-side comparisons in action. They’re the clearest illustration of how much a few inches of movement can change an image.
Comments (2)
Shared this with my photography group. Everyone loved it.
Bookmarked. Coming back to this one for sure.
Leave a Comment