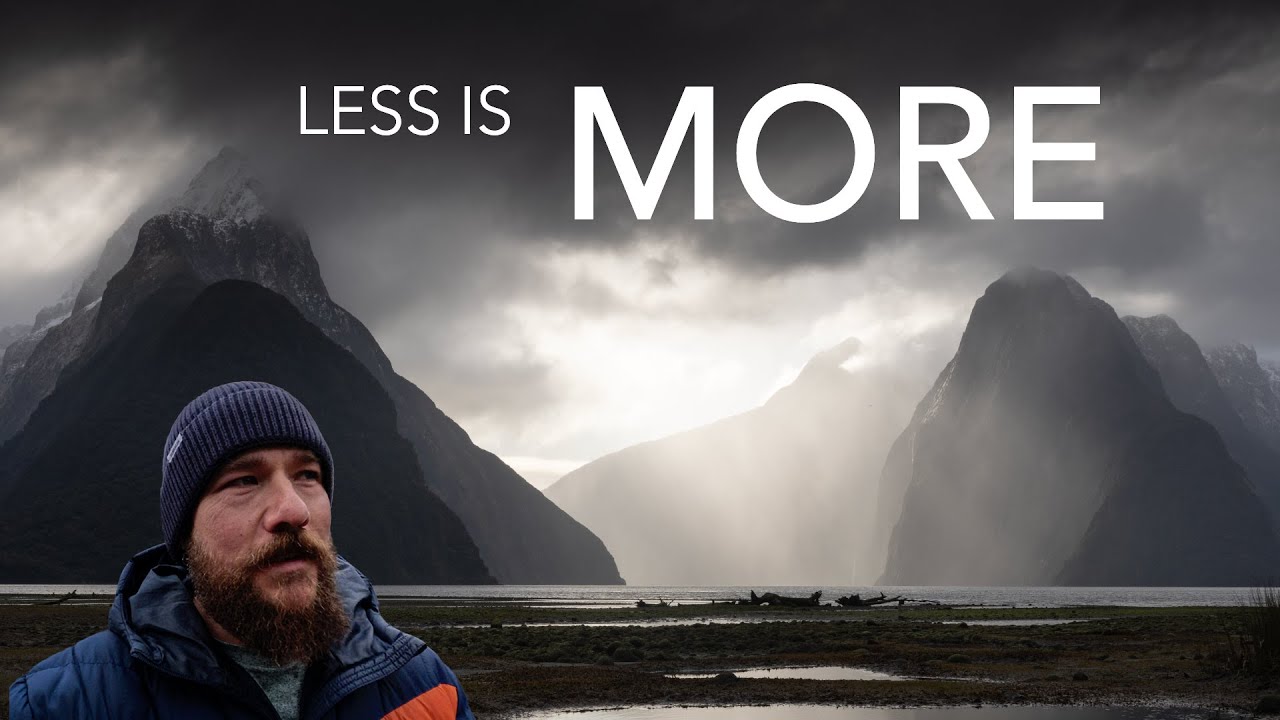
Forest photography is one of those situations that can absolutely paralyze you. There’s too much going on, the light changes every thirty seconds, and every direction you point the camera feels like both a great idea and a terrible one simultaneously. I know that feeling well. I once spent four days in Olympic National Park circling the same grove of trees, convinced that if I just waited long enough, everything would click into place. It mostly didn’t. What I was missing wasn’t patience or better gear. I was missing a framework for working spontaneously, for letting conditions lead instead of fighting them.
In this William Patino tutorial, Patino takes us out into a snow-dusted rainforest during a private workshop, and what he demonstrates across the shoot and into post-processing is something deceptively simple: the best images often come from reacting quickly, composing with layered depth, and editing with restraint. Whether you’re shooting a stormy forest or a busy city street, the principles he works through transfer immediately.
Step 1: Read the Conditions Before You Reach for a Lens
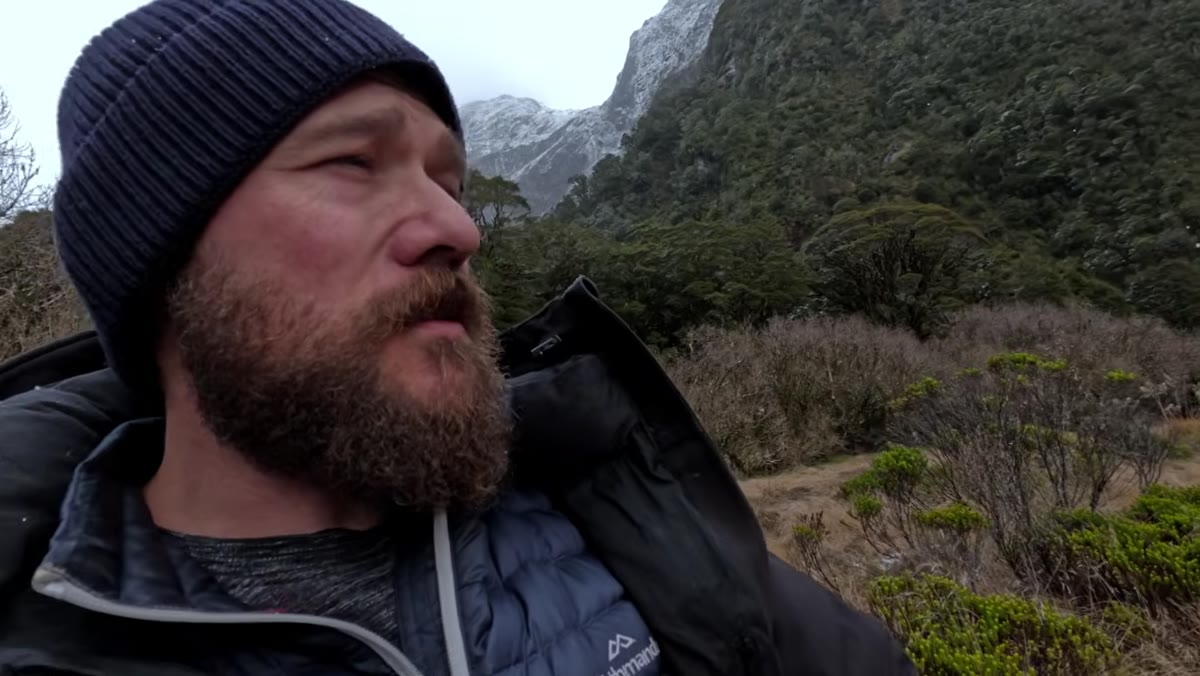 Telephoto lens pointed at snow-dusted forest trees
When Patino heads into a snow-covered rainforest, his first instinct isn’t to set up a tripod and plan a shot. He reads the environment first. He notes that snowy days in dense forest create visual overload, too many competing elements, too much texture, no natural anchor for the eye. His solution is to reach for a telephoto lens specifically to compress that chaos, pulling in the dusting on distant tree branches and isolating details that would disappear in a wide shot.
Telephoto lens pointed at snow-dusted forest trees
When Patino heads into a snow-covered rainforest, his first instinct isn’t to set up a tripod and plan a shot. He reads the environment first. He notes that snowy days in dense forest create visual overload, too many competing elements, too much texture, no natural anchor for the eye. His solution is to reach for a telephoto lens specifically to compress that chaos, pulling in the dusting on distant tree branches and isolating details that would disappear in a wide shot.
The practical takeaway here is to match your lens to the problem the scene is giving you, not to the lens you’re most comfortable with. If a wide angle is making the frame feel cluttered, step up to a 70-200mm or even longer and look for smaller stories inside the bigger scene. Patino also mentions keeping himself flexible to swap when conditions shift, something worth building into your own kit habits.
Step 2: Let the Weather Dictate Your Shooting Style
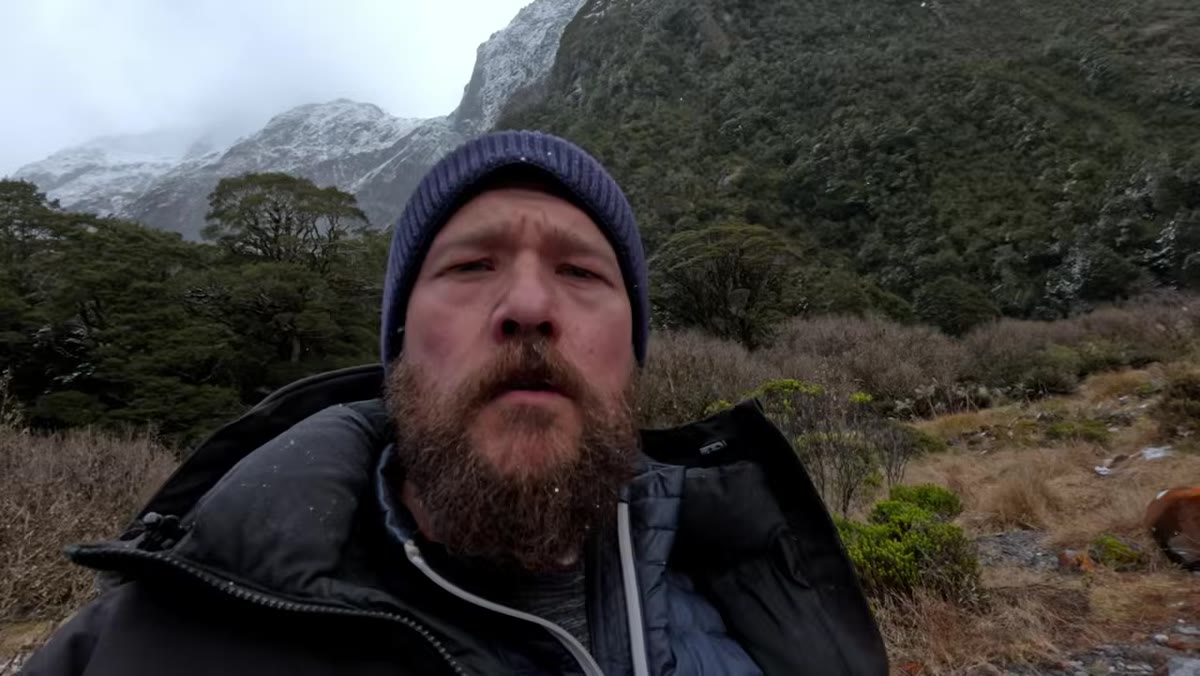 Snow squall moving through trees, light shifting rapidly
One of the most freeing ideas in this tutorial is Patino’s attitude toward unpredictable weather. Rather than treating a sudden snow squall as a disruption, he treats it as a creative prompt. When the light flips and snow starts falling hard, he doesn’t retreat or wait. He reacts, shooting quickly and letting the spontaneity show in the work.
Snow squall moving through trees, light shifting rapidly
One of the most freeing ideas in this tutorial is Patino’s attitude toward unpredictable weather. Rather than treating a sudden snow squall as a disruption, he treats it as a creative prompt. When the light flips and snow starts falling hard, he doesn’t retreat or wait. He reacts, shooting quickly and letting the spontaneity show in the work.
This is genuinely a skill you can practice deliberately. On your next shoot, pick one ten-minute window where you commit to working fast, not reviewing shots obsessively between frames, not repositioning the tripod three times. Trust your eye and move. The images you get might surprise you, and even if they don’t, you’ll start building the muscle of reading a scene quickly rather than overthinking it.
Step 3: Build Depth Through Deliberate Layering
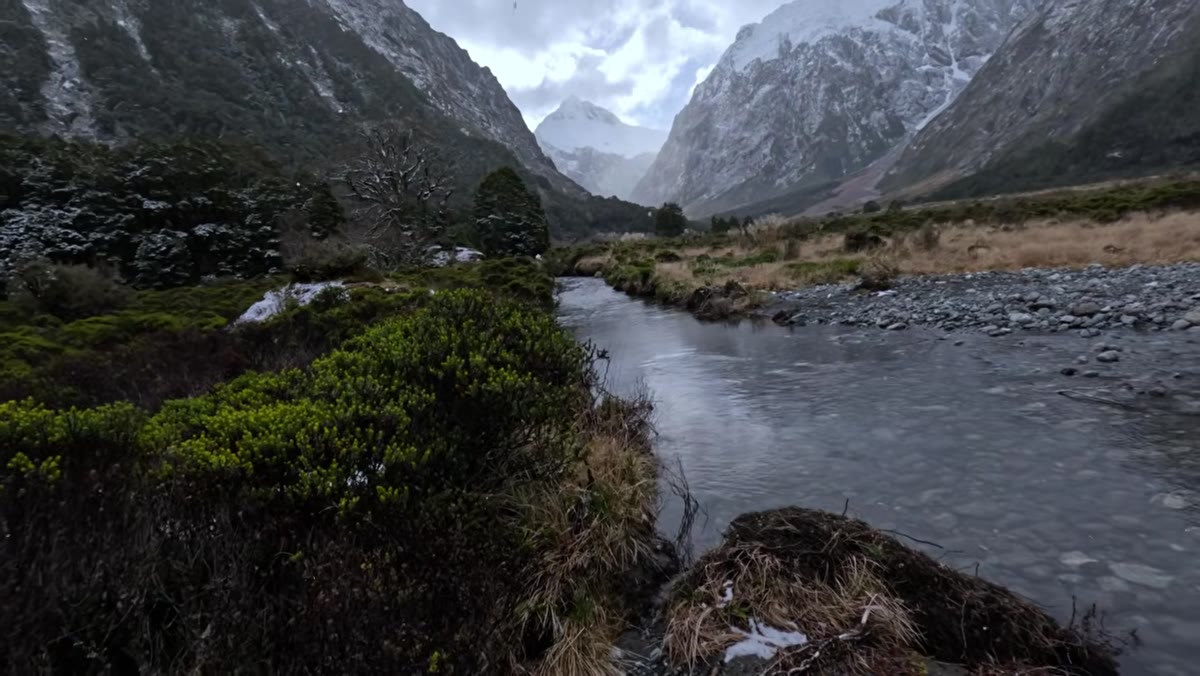 Stream in foreground, green trees mid-frame, snow-capped peak behind
Patino pauses at one point to explain the composition he’s looking at: green foliage on the left edge of the frame, a stream cutting through the middle ground, and a snowy peak anchoring the background. He points out that positioning yourself close to a foreground element is what creates that three-dimensional feel, that sense that the viewer could step into the image.
Stream in foreground, green trees mid-frame, snow-capped peak behind
Patino pauses at one point to explain the composition he’s looking at: green foliage on the left edge of the frame, a stream cutting through the middle ground, and a snowy peak anchoring the background. He points out that positioning yourself close to a foreground element is what creates that three-dimensional feel, that sense that the viewer could step into the image.
This is classic foreground-midground-background layering, but what Patino adds is the emphasis on physical position. Move your feet. Get lower. Get closer to that mossy rock or that patch of ferns. The layers already exist in most natural landscapes. Your job is to find the angle where they stack cleanly in the frame. A wide angle lens rewards this approach particularly well, which is exactly why Patino mentions wishing he had his wide angle with him at that moment.
Step 4: Manage Backlight by Using Shade Strategically
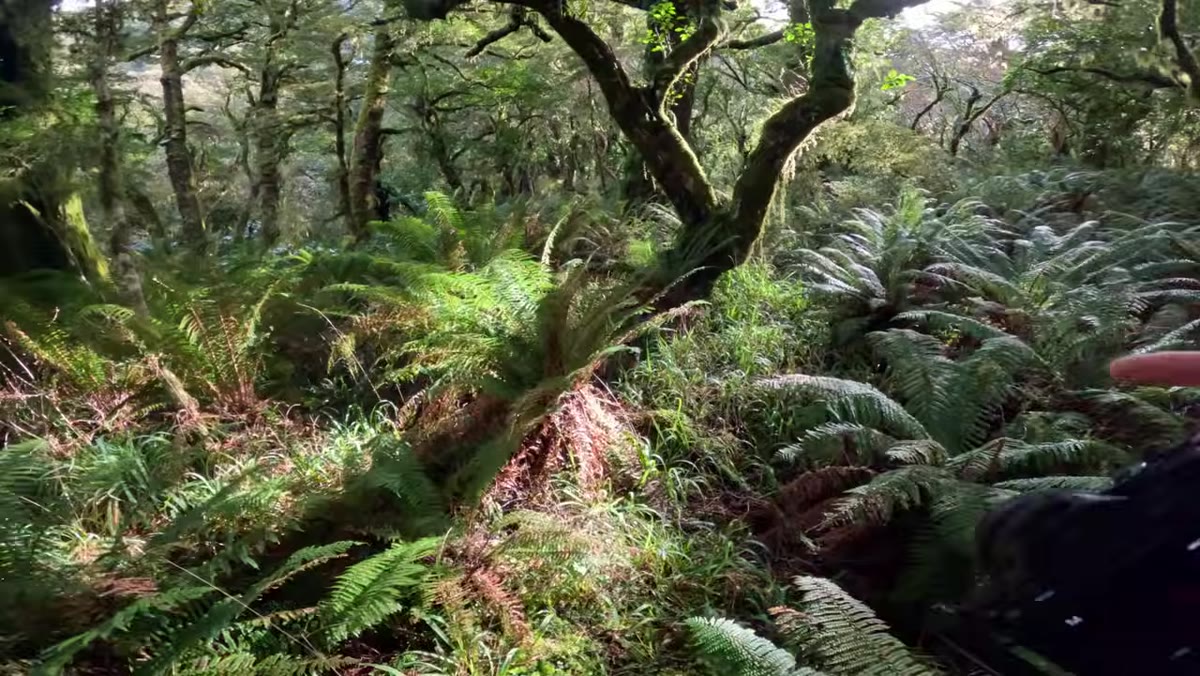 Bright foreground versus shaded tree formation in dappled light
When the sun starts breaking through the clouds, Patino runs into a common problem: the foreground is blown out, too bright to lead the viewer’s eye toward the background. His fix isn’t to wait for clouds or underexpose the whole frame. Instead, he repositions so that part of the foreground falls into shadow, which balances the exposure and lets the interesting tree formation read clearly as the main subject.
Bright foreground versus shaded tree formation in dappled light
When the sun starts breaking through the clouds, Patino runs into a common problem: the foreground is blown out, too bright to lead the viewer’s eye toward the background. His fix isn’t to wait for clouds or underexpose the whole frame. Instead, he repositions so that part of the foreground falls into shadow, which balances the exposure and lets the interesting tree formation read clearly as the main subject.
The camera setting side of this is worth spelling out. When you’re shooting into or toward a strong light source, expose for the highlights first. Let the shadows go dark in-camera, because you can recover shadow detail in post far more easily than you can recover blown highlights. Patino applies this philosophy consistently, and it’s one of the reasons his raw files have room to work with in editing.
Step 5: Edit Toward a Feeling, Not a Formula
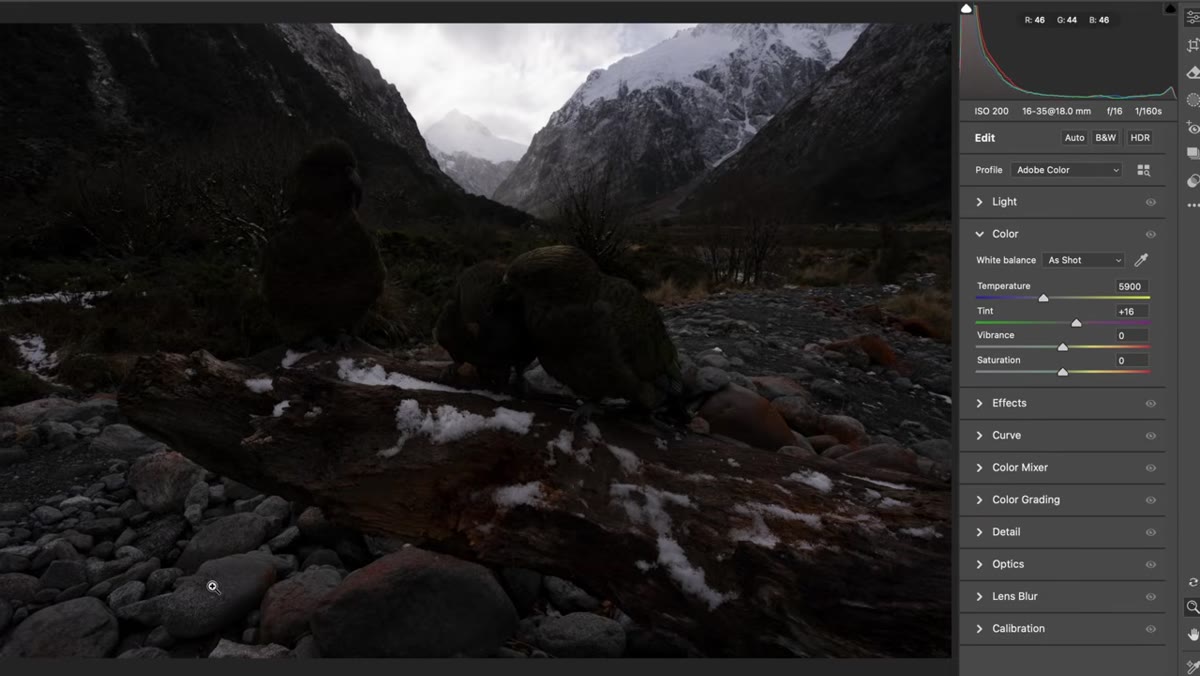 Lightroom panel open, raw file of kea bird being adjusted
Back at the editing station, Patino opens a raw file of a kea, a New Zealand parrot, and walks through what he calls going with gut instinct. The raw file is dark, intentionally so, because he exposed to protect the highlights in the field. From there, he lifts exposure, pulls back the highlights, and uses a local brush to recover the sky area without affecting the rest of the frame.
Lightroom panel open, raw file of kea bird being adjusted
Back at the editing station, Patino opens a raw file of a kea, a New Zealand parrot, and walks through what he calls going with gut instinct. The raw file is dark, intentionally so, because he exposed to protect the highlights in the field. From there, he lifts exposure, pulls back the highlights, and uses a local brush to recover the sky area without affecting the rest of the frame.
The steps he takes aren’t complicated: overall exposure lift, highlight recovery, a localized brush adjustment at the top of the frame, a landscape profile applied, a slight cooling of the white balance to complement the greens, and a small vibrance nudge. That’s roughly seven to eight moves total. What makes the result feel professional isn’t the number of steps, it’s that each one has a clear purpose. Before you add any adjustment, ask yourself what it’s doing for the image. If you can’t answer that, skip it.
Step 6: Use a Reverse Vignette to Direct the Eye
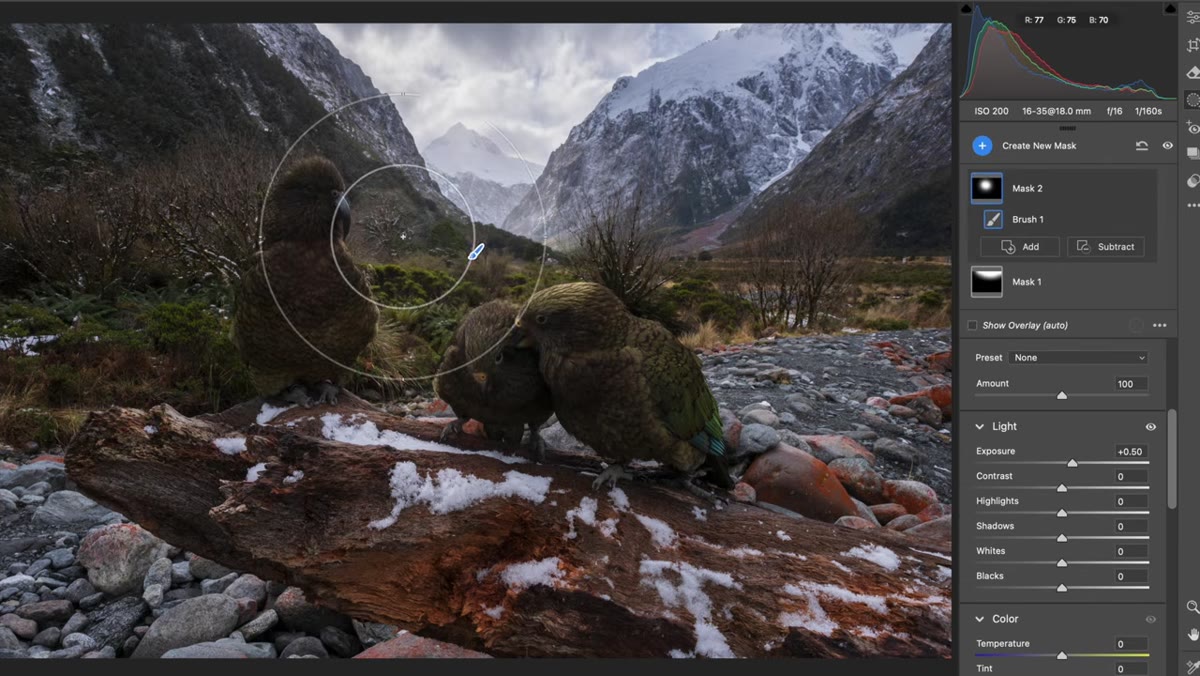 Brightening brush applied to center of bird frame in Lightroom
The most interesting post-processing move Patino demonstrates is what he calls a reverse vignette. Instead of darkening the edges to push focus toward the center (the traditional vignette), he brightens the center of the frame. The effect is subtle but effective: it mimics how natural light falls on a subject and pulls the eye exactly where he wants it.
Brightening brush applied to center of bird frame in Lightroom
The most interesting post-processing move Patino demonstrates is what he calls a reverse vignette. Instead of darkening the edges to push focus toward the center (the traditional vignette), he brightens the center of the frame. The effect is subtle but effective: it mimics how natural light falls on a subject and pulls the eye exactly where he wants it.
To try this yourself, grab the radial filter or masking brush in Lightroom, invert the selection so you’re affecting only the interior of the frame, and add a small positive exposure bump, somewhere between 0.3 and 0.6 stops, nothing dramatic. The goal is to make it invisible. If someone looks at your edit and thinks “nice vignette,” you’ve gone too far.
My Own Caveat: Simplicity Requires Trust
I think the hardest part of what Patino demonstrates isn’t the technique. It’s the confidence to stop early. My instinct in Lightroom is always to keep going, to add one more adjustment, refine one more area. Patino’s editing runs maybe eight steps and then stops. That restraint is practiced, not accidental.
Something that’s helped me is setting a personal rule: once I think an edit is done, I close the file, go make tea, and look again in ten minutes. About half the time I reopen it and immediately undo my last two moves. The image was better before I “finished” it.
The single biggest thing I took from this tutorial is that simplicity in photography, both in the field and in post, isn’t laziness. It’s confidence. It means you trust your eye enough not to over-correct it.
Watch the full tutorial on YouTube to see Patino work in real time. Watching someone edit with this kind of calm efficiency is genuinely useful in a way that reading about it only gets you partway to.
Comments
Leave a Comment