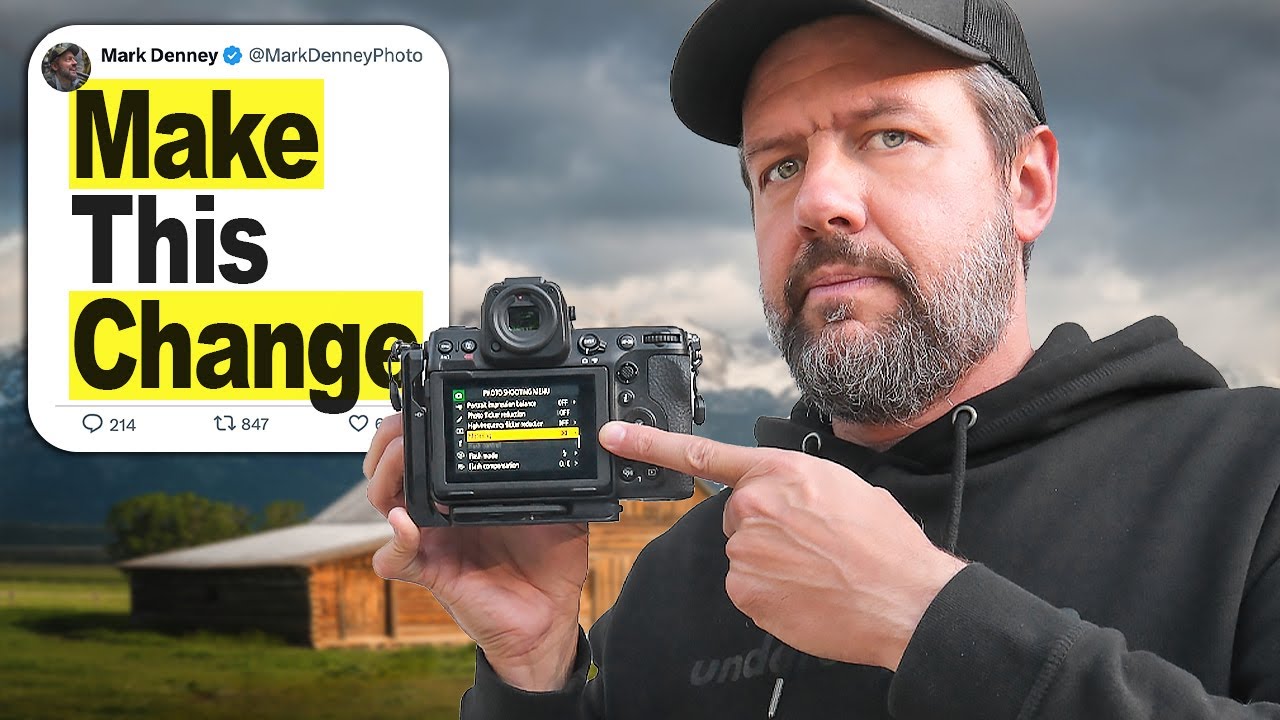
I used to blame my lens whenever I came home with blown-out skies or murky, underexposed foregrounds. Spoiler: it was never the lens. It took me an embarrassingly long time to realize I had been leaving one of my camera’s most powerful tools completely on autopilot, without actually understanding what it was doing. Exposure metering, the system your camera uses to decide how bright or dark your image should be, is one of those features that most of us skip past in the menu and never revisit. That was a mistake I kept paying for, one flat, lifeless photo at a time.
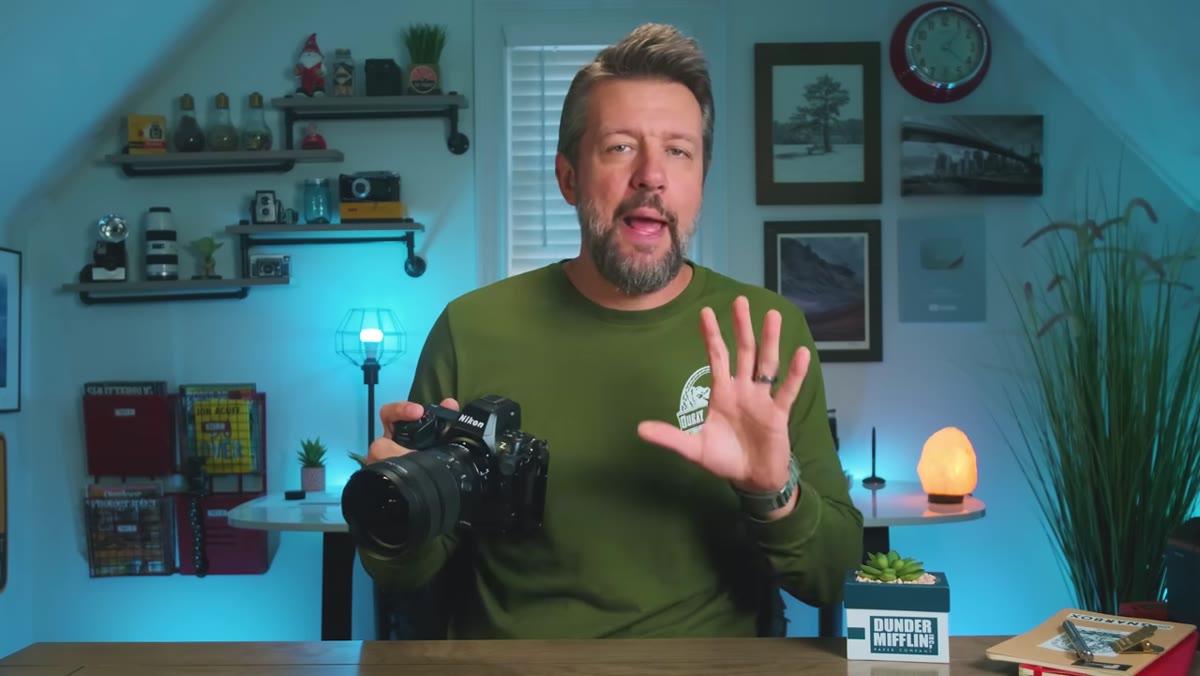
In this Mark Denney tutorial, Watch the full tutorial on YouTube, Mark skips the dry textbook definitions and takes a genuinely hands-on approach to showing you what each metering mode actually does in the real world. What I love about his method is that he wants you to have your camera in hand while you watch, testing each setting as he explains it. That is exactly the kind of learning that sticks. Here is my step-by-step breakdown so you can follow along, even if you are sitting somewhere without a great Wi-Fi connection.
Step 1: Understand What Your Camera Is Actually Measuring
 Camera graphic showing scene evaluation and 18% gray target
Before touching any settings, it helps to know what your camera is trying to do. When it meters a scene, it is not trying to make everything look the way your eye sees it. It is trying to render the scene as 18% gray, also called mid-gray. That is its idea of a “correct” exposure. Everything your camera does when it adjusts shutter speed, aperture, or ISO in an automatic mode is in service of hitting that target. Once you internalize that, the behavior of different metering modes starts to make a lot more sense.
Step 2: Open Your Camera’s Metering Settings
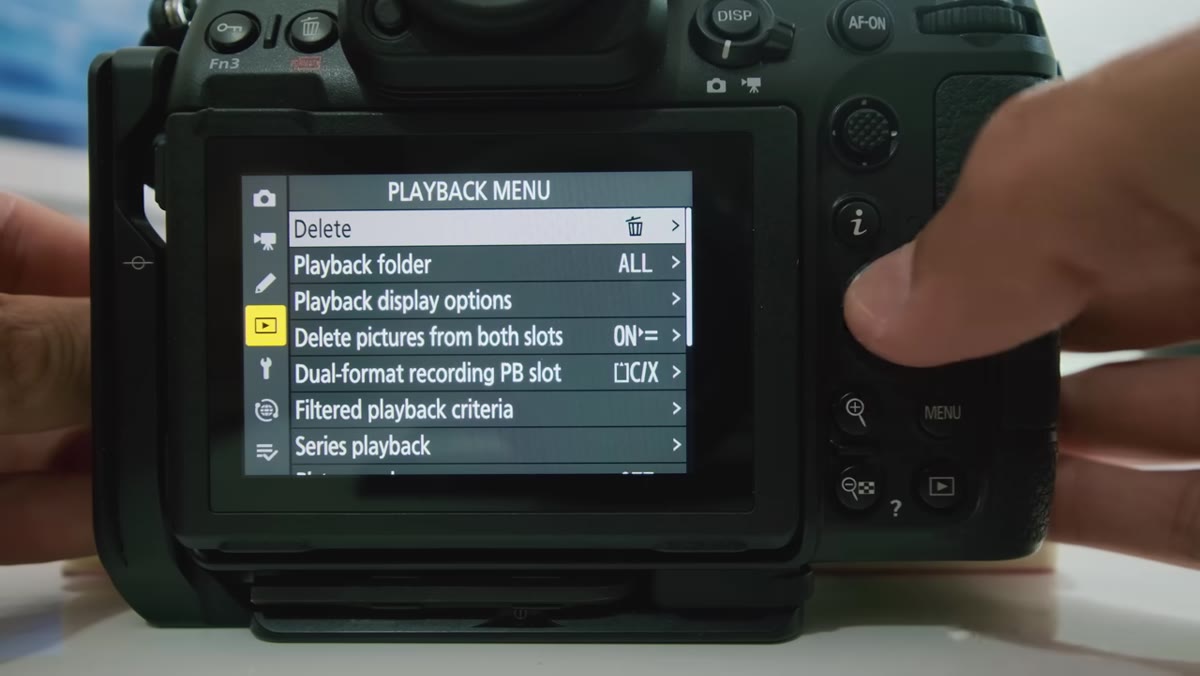 Camera menu open showing exposure metering mode options
Go into your camera’s shooting settings menu and look for an option labeled something like “Metering Mode” or “Exposure Metering.” On most cameras, this lives inside the main shooting menu rather than a quick-access button. You will likely find four or five options listed. Do not close out yet. Just take a look at what is available on your specific camera. The names vary by brand, but the underlying functions are consistent across manufacturers.
Set your camera to Aperture Priority mode while you are here if it is not already. This lets the camera adjust only the shutter speed in response to the metering, which makes it much easier to see how each mode is influencing your exposure as you experiment.
Step 3: Select Center-Weighted Metering and Watch What Happens
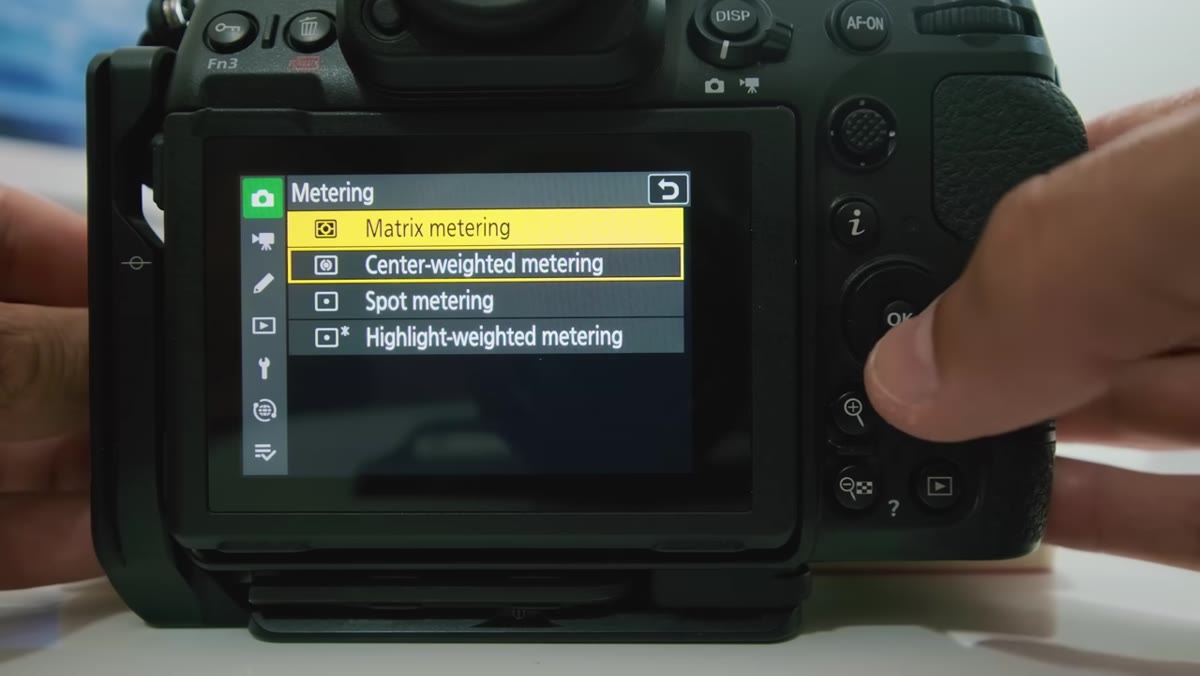 Center-weighted metering selected, large circle visible in viewfinder
Find the option called Center-Weighted metering (sometimes labeled Center-Weighted Average). Select it. On most cameras, you will immediately see a large circle appear in the center of your live view or viewfinder display. That circle is your camera telling you, “this zone is what I am prioritizing when I calculate exposure.”
Now point your camera at something bright, like a window or an overhead light. Watch the shutter speed in your display. Then slowly tilt down toward a darker surface, like a shadowed wall or the floor. Notice how the shutter speed shifts to compensate. The camera is reading the light in that central zone and adjusting everything around it. Aim at several different areas of your room, and you will see the exposure value responding to whatever lands in that center circle. This is center-weighted metering doing its job: it considers the whole frame, but it weights its decision heavily toward the center.
Step 4: Switch to Spot Metering and Notice the Difference
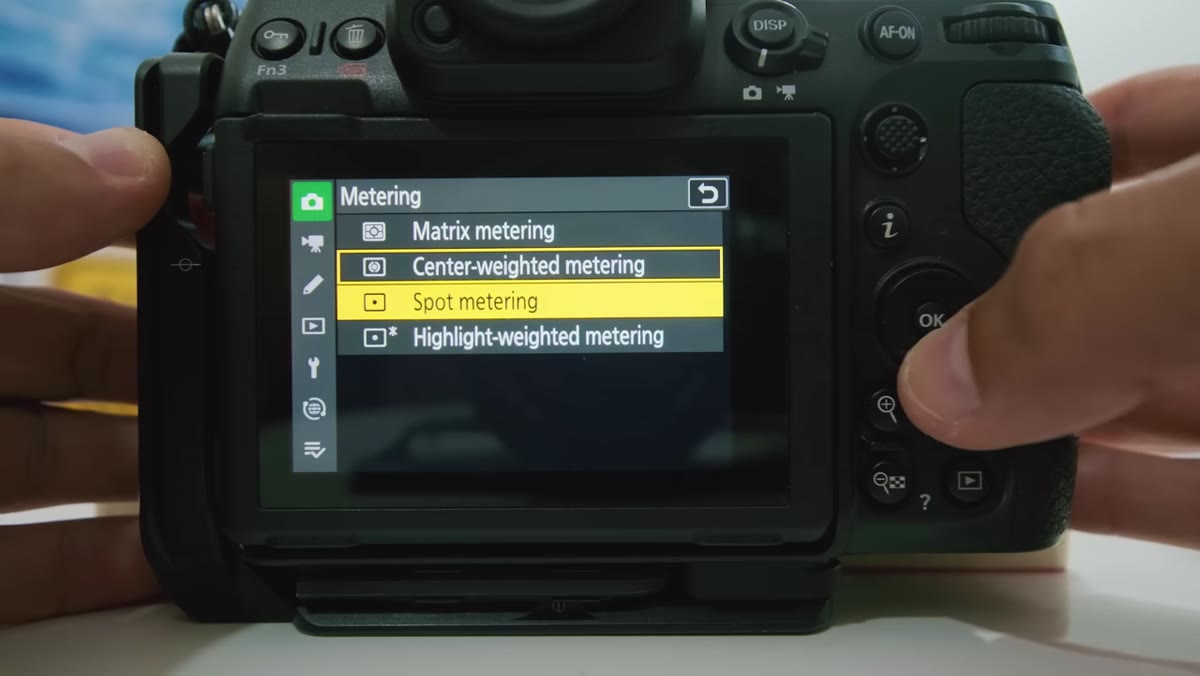 Spot metering selected, small dot indicator visible on screen
Go back into your metering menu and select Spot Metering. This mode is the most precise of the group. Instead of a large central zone, your camera is now reading from an extremely small area, often just one to five percent of the total frame. On some cameras, this spot is fixed to the center. On others, it is linked to wherever your autofocus point is sitting.
Try the same experiment as before. Point at something bright, then something dark. The exposure swings will feel more dramatic now because the camera is making its entire decision based on that tiny sample point. This makes spot metering incredibly powerful for specific situations, like photographing a subject against a very bright or very dark background, but it also means small errors in where you point the camera can throw off your exposure significantly.
Step 5: Test Evaluative (Matrix) Metering as Your Baseline
 Menu showing multiple metering mode icons including evaluative/matrix option
Most cameras also offer a mode called Evaluative metering (Canon) or Matrix metering (Nikon/Sony). This is the default mode most cameras ship with, and for good reason. It analyzes light across the entire frame, often combining data from dozens or hundreds of individual zones, and uses scene recognition algorithms to arrive at an exposure. For the majority of everyday shooting situations, this mode does a genuinely good job.
The problem, and this is what Mark’s tutorial gets at in the title, is that defaulting to this mode without understanding it means you are handing a critical creative decision entirely to your camera’s algorithm. Sometimes that works out. Sometimes you come home from a gorgeous golden-hour shoot with a batch of photos where the sky is perfect but the foreground is a muddy mess, or vice versa.
What I Do Differently After Understanding This
Knowing what each metering mode is doing changed how I shoot moving from location to location on my Sunday morning photo walks. For flat, overcast light with fairly even tonal distribution, I leave the camera in evaluative metering and let it do the work. But the moment I have a high-contrast scene, strong backlight, or a subject I specifically want to expose for, I switch to spot metering and place that point deliberately. It takes an extra two seconds, and it has saved countless shots.
If you shoot landscapes or any scene where the sky and foreground are fighting each other tonally, center-weighted metering is worth experimenting with because you can control which part of that tug-of-war your camera anchors to. Pair it with exposure compensation (+/- adjustment) and you have a surprisingly flexible system that does not require switching to full manual every time the light gets complicated.
The single most important takeaway here is this: your camera’s metering system is not trying to capture the scene the way you see it. It is trying to hit a mathematical target. Once you know that, you stop fighting your camera and start directing it. Understanding which metering mode to reach for, and why, is one of the fastest ways to take real control of your exposures without having to memorize a page of technical formulas.
Watch the full tutorial on YouTube and go through it with your camera in hand. Mark’s hands-on approach makes this click in a way that reading a manual never quite does.
Comments
Leave a Comment