Some of my worst photography decisions have happened behind the wheel. I’d be driving to a location I’d planned for weeks, eyes fixed on the destination, and completely blow past something glowing and perfect on the side of the road. I told myself I’d come back. I never did. If you shoot landscapes, you know exactly what I’m talking about.
That’s why this tutorial from Thomas Heaton stopped me mid-scroll. In this Thomas Heaton tutorial filmed on the Isle of Mull in Scotland, he’s doing something I want every beginner to watch closely: he pulls over, grabs his camera on instinct, and builds a genuinely lovely image from what most people would dismiss as a roadside tree. His American friend Nick is along for the ride, and their banter keeps things light, but the actual photography decisions Heaton makes are worth unpacking step by step. Watch the full tutorial on YouTube and follow along with this breakdown.
The full session runs from a loch overlook to a coastal sunset goal, but the most instructive moment is the unplanned stop. That’s where the real lesson lives.
Step 1: Recognize the Light Before You Reach for Your Gear
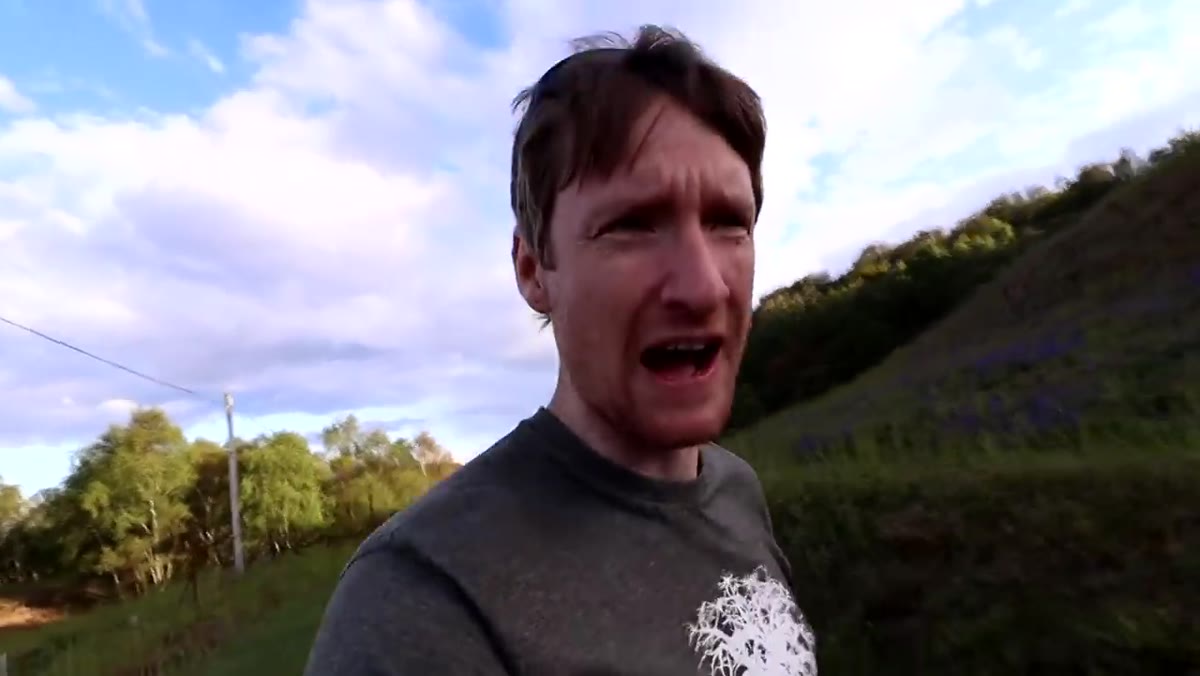 Thomas spotting a backlit tree from the road
Heaton sees the shot from the van window before he even has his camera in hand. What tips him off is the quality of the light hitting the tree specifically. It’s a brief window of direct sun breaking through storm clouds, which creates that high-contrast, dramatic look that’s nearly impossible to replicate in flat midday light.
Thomas spotting a backlit tree from the road
Heaton sees the shot from the van window before he even has his camera in hand. What tips him off is the quality of the light hitting the tree specifically. It’s a brief window of direct sun breaking through storm clouds, which creates that high-contrast, dramatic look that’s nearly impossible to replicate in flat midday light.
Train yourself to notice this before you park. Ask: is the light doing something interesting to a specific subject right now? Not “is it a nice day” but “is light actively shaping something in front of me?” If the answer is yes, move fast. That kind of light rarely sticks around more than a few minutes.
Step 2: Move Fast and Rough-Scout Before You Commit
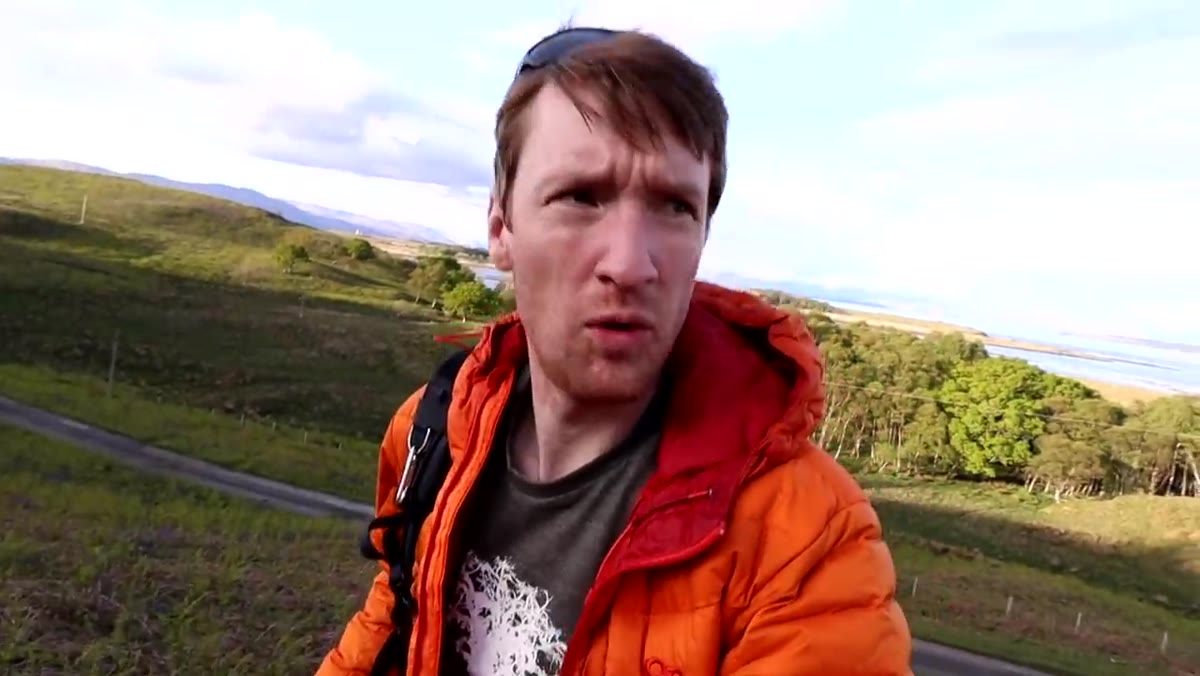 Heaton grabbing his camera from the van quickly
Once he’s out of the van, Heaton doesn’t immediately set up a tripod and start dialing in settings. He walks the hill first to find where the composition actually works. This is a habit worth building deliberately. Spend the first 60-90 seconds just looking, moving your feet, changing your angle relative to the subject.
Heaton grabbing his camera from the van quickly
Once he’s out of the van, Heaton doesn’t immediately set up a tripod and start dialing in settings. He walks the hill first to find where the composition actually works. This is a habit worth building deliberately. Spend the first 60-90 seconds just looking, moving your feet, changing your angle relative to the subject.
In this case, he’s working out where the tree sits cleanly against the cloud backdrop and where the foreground has enough interest to carry the bottom third of the frame. That physical scouting saves you from setting up in a spot that looks fine at eye level but falls apart in the viewfinder.
Step 3: Build the Composition in Layers
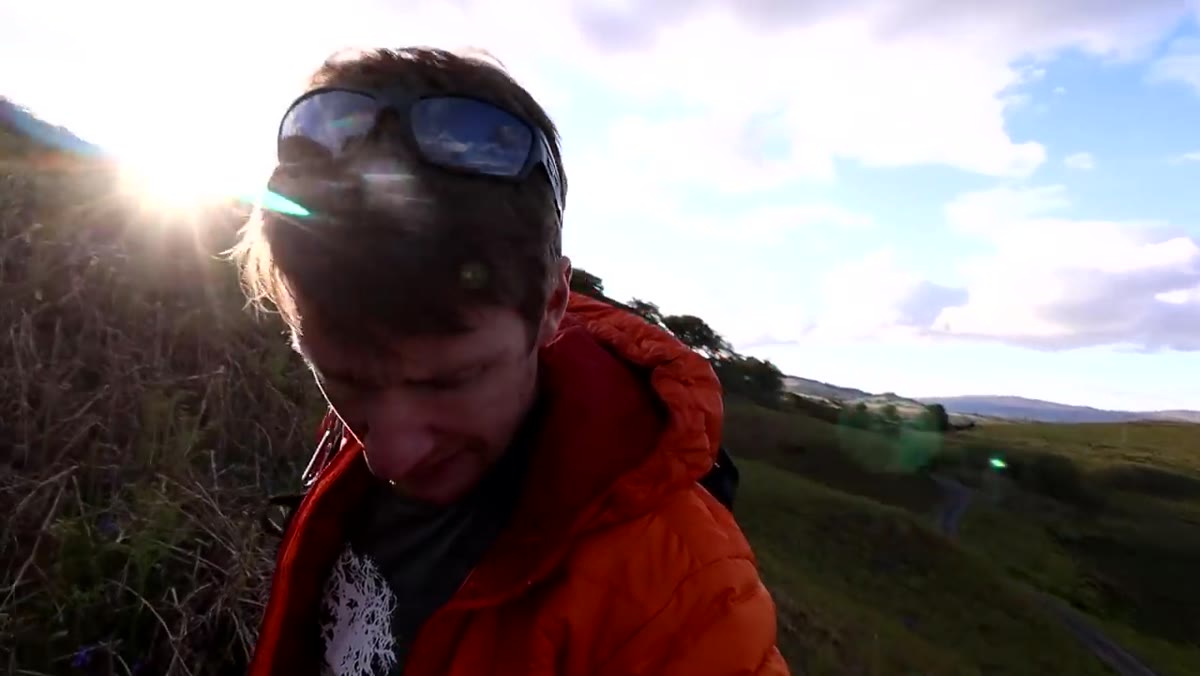 Composing the tree shot with foreground ferns visible
Heaton describes his composition in three distinct layers, and this is the kind of structure that separates a snapshot from a photograph you’d actually print. Bottom layer: unrolling ferns and scattered bluebells. Middle layer: the lit tree trunk and canopy. Top layer: the dramatic storm clouds behind.
Composing the tree shot with foreground ferns visible
Heaton describes his composition in three distinct layers, and this is the kind of structure that separates a snapshot from a photograph you’d actually print. Bottom layer: unrolling ferns and scattered bluebells. Middle layer: the lit tree trunk and canopy. Top layer: the dramatic storm clouds behind.
Each layer does a job. The foreground creates depth and draws the eye in. The tree is the anchor, the thing the light is highlighting. The sky adds scale and mood. When you’re building a landscape shot, ask yourself whether each third of the frame is earning its place. If the foreground is empty, step forward. If the sky is blank and grey with no structure, consider cropping it down.
Step 4: Use a Graduated Filter to Balance a Bright Sky
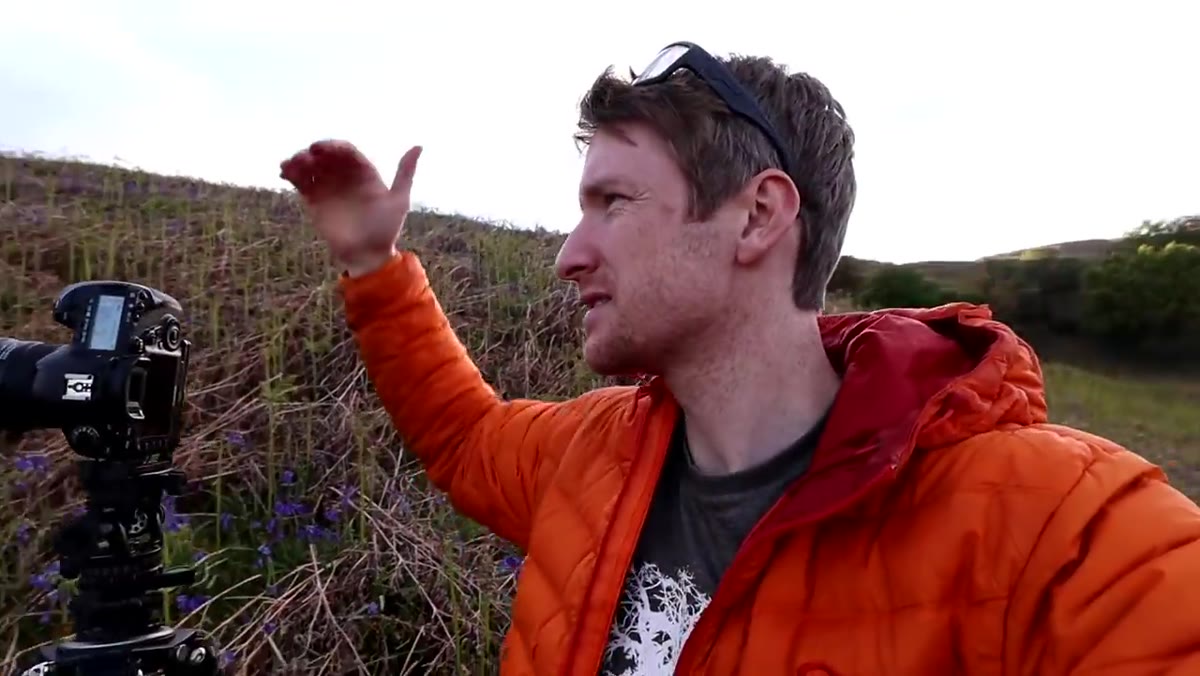 Shooting with graduated ND filter on a bright sky scene
This is the most technically useful moment in the tutorial. The sky is significantly brighter than the foreground, which is a classic landscape problem. Without any correction, you either expose for the tree and blow out the clouds, or protect the sky and lose all detail in the shadows.
Shooting with graduated ND filter on a bright sky scene
This is the most technically useful moment in the tutorial. The sky is significantly brighter than the foreground, which is a classic landscape problem. Without any correction, you either expose for the tree and blow out the clouds, or protect the sky and lose all detail in the shadows.
Heaton’s fix is a physical graduated ND filter, positioned so the dark half of the filter sits over the sky and the clear half covers the foreground. He notes that the clean horizontal horizon makes this easy to use without the transition line becoming obvious in the final image. If your scene has a complicated horizon, like trees breaking into the sky at different heights, a physical grad gets tricky. In that case, bracketing exposures and blending in post is a cleaner solution. But for a simple horizon? A physical grad is fast, easy, and keeps your RAW file closer to final.
Step 5: Lock Down Your Settings for a Clean Single Exposure
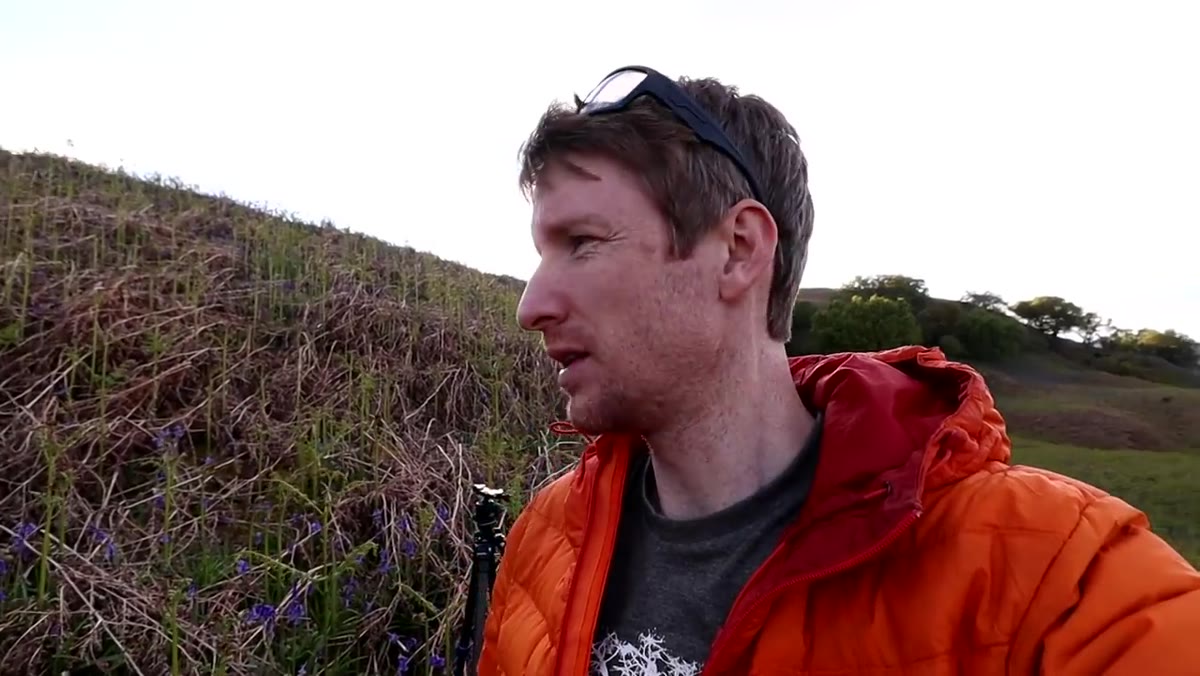 Camera settings at f/11, two-second timer, single exposure
Heaton shoots this at f/11 with a two-second self-timer to avoid camera shake from pressing the shutter button. He focuses on the tree, which is the primary subject, and keeps the shot to a single exposure rather than bracketing.
Camera settings at f/11, two-second timer, single exposure
Heaton shoots this at f/11 with a two-second self-timer to avoid camera shake from pressing the shutter button. He focuses on the tree, which is the primary subject, and keeps the shot to a single exposure rather than bracketing.
F/11 is a strong default for landscape work because it gives you enough depth of field to keep both the foreground and the background sharp without pushing into diffraction territory, which softens the image on most sensors beyond f/16 or so. The two-second timer costs you nothing and eliminates the micro-vibration from your hand hitting the shutter. If you’re not already using this, start today. It’s free sharpness.
Step 6: Know When to Keep Moving
 Overlooking the loch and deciding not to shoot it
Earlier in the drive, Heaton stops at a loch overlook that’s genuinely beautiful but admits he’s not feeling it and decides to move on. This is just as instructive as everything that follows. Not every pretty view is a photograph worth making right now.
Overlooking the loch and deciding not to shoot it
Earlier in the drive, Heaton stops at a loch overlook that’s genuinely beautiful but admits he’s not feeling it and decides to move on. This is just as instructive as everything that follows. Not every pretty view is a photograph worth making right now.
Learning to edit your locations in real time, to trust that pulling over here means you might make the coast by golden hour, is a skill that takes practice. It’s not about being picky for the sake of it. It’s about being honest with yourself about whether the conditions are actually working in your favor. Sometimes they’re not, and the best creative decision is to keep driving.
What I’d Add From My Own Experience
The thing Heaton doesn’t say explicitly but demonstrates throughout is that your best shooting often happens when you let go of the plan you had. I’ve spent entire vacations chasing one specific shot, and some of my favorite images have come from the ten minutes I spent waiting for the tide to shift, when I turned around and the light was doing something completely different behind me.
On my Sunday morning photo walks around Seattle, I give myself one rule: no destination. I pick a direction and respond to whatever is in front of me. It’s made me a faster, more instinctive shooter because I’m not filtering every scene through whether it matches the idea I had at home. Heaton’s roadside tree is exactly that kind of shot. He had a coastal sunset in mind. He stopped for a tree. The tree was the right call.
The single most important thing to take from this tutorial is not the f/11 setting or the grad filter technique, though both are worth knowing. It’s this: interesting light is more important than a planned location. When the light is doing something, stop. Move fast. Build your composition in layers and expose for the balance your eye actually sees.
Watch the full tutorial on YouTube to see Heaton work through the full day, including the drive, the coastal goal, and a very close encounter with an adder that I genuinely was not prepared for.
Comments (2)
I've been looking for exactly this kind of tutorial. Perfect timing.
Love this. I referenced a similar technique in one of my recent posts. Always good to see other perspectives.
Leave a Comment