There is a specific kind of regret that only photographers understand. You are driving, you see something extraordinary out the window, and you hesitate. By the time you have talked yourself into stopping, you have already passed it. I have done this more times than I want to admit, usually on my Sunday morning photo walks when I am moving too fast between locations and not paying enough attention to what is right in front of me.
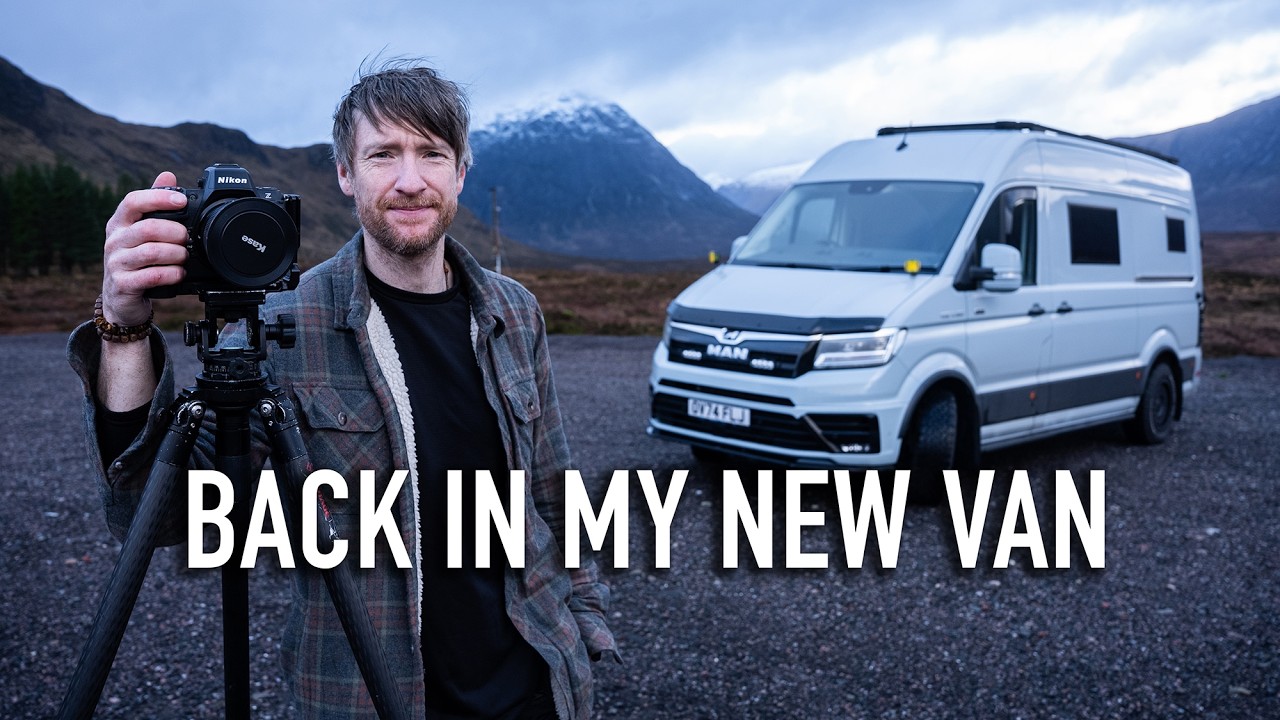
That hesitation is exactly what Thomas Heaton refuses to give in to in this tutorial shot across the Scottish Highlands. Driving north through the country, he spots rivers that have burst their banks, flooded fields swallowed in fog, and submerged road signs poking out of still water. He pulls over immediately. What follows is a genuine masterclass in reading conditions you did not plan for and building a coherent set of images from them on the spot. Watch the full tutorial on YouTube before or after reading through these steps.
The lesson here is not really about Scotland or even about flooding. It is about training yourself to see photographic potential in weather and geography that most people dismiss as inconvenient. Here is how he works through it.
Step 1: Pull Over and Commit Before You Rationalize Your Way Out
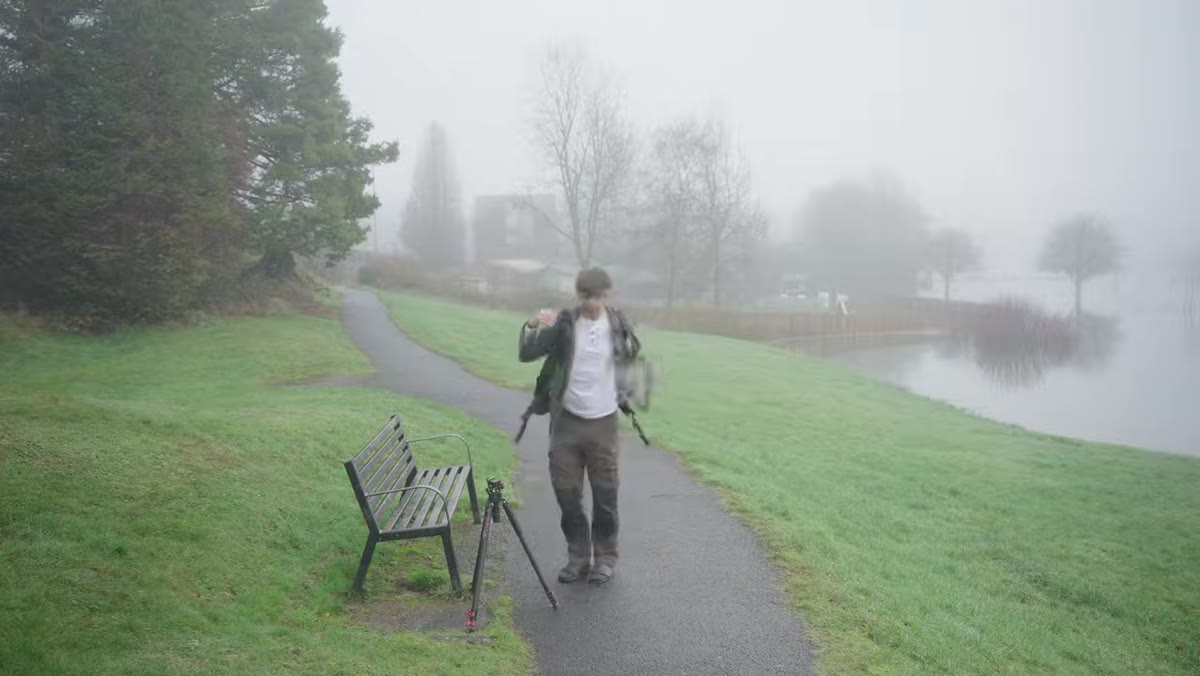 Thomas stopping the van along a road in foggy Scotland
The moment Heaton spots the flooded landscape, he stops the van. No deliberation, no circling back. This sounds obvious, but it requires practice. Our brains are very good at generating excuses - bad parking, wrong gear in the bag, not enough time. The antidote is a simple rule: if you feel that gut-level pull toward a scene, that is data. Trust it and get out of the car. You can always leave after five minutes if nothing works. You almost never will.
Once you stop, do a quick visual scan before touching your bag. Look for the strongest anchor in the scene - in this case, partly submerged trees with fog softening the background. Identify your direction of light and whether the mist is adding depth or just muddying the contrast. That thirty-second assessment shapes every gear decision that follows.
Step 2: Read the Flood as a Compositional Asset, Not an Obstacle
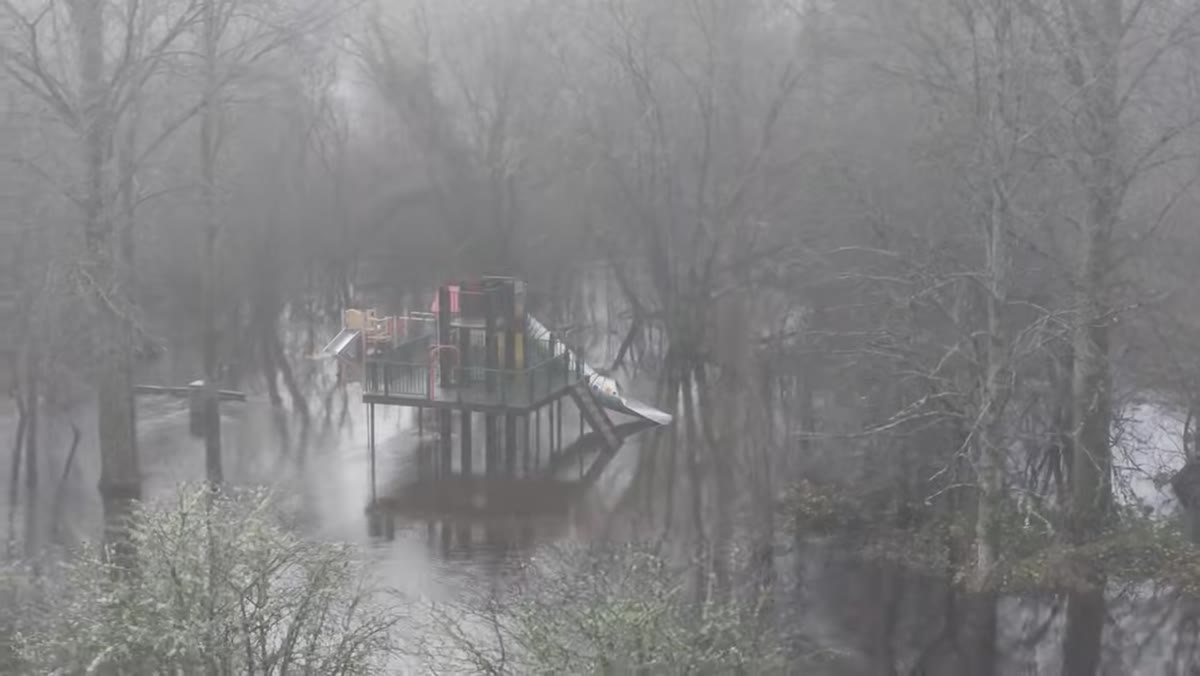 Flooded field with submerged trees and road signs in mist
Flooded landscapes do something a dry field cannot. They create a second sky beneath your subject. That mirror of still, overflowing water flattens the ground plane in a way that makes even ordinary trees look isolated and graphic. Heaton immediately recognizes this. The submerged playground, the half-drowned signposts, the grasses poking through the water surface - these are not distractions. They are compositional elements that tell a story about scale and stillness.
When you encounter flooding or any significant water coverage, look for three things: a clear subject rising above the waterline, a reflective or textured foreground, and a simplified background (which fog, in this case, is handling automatically). Those three ingredients are the core of a strong minimalist landscape frame.
Step 3: Gear Up for the Conditions You Have, Not the Ones You Planned For
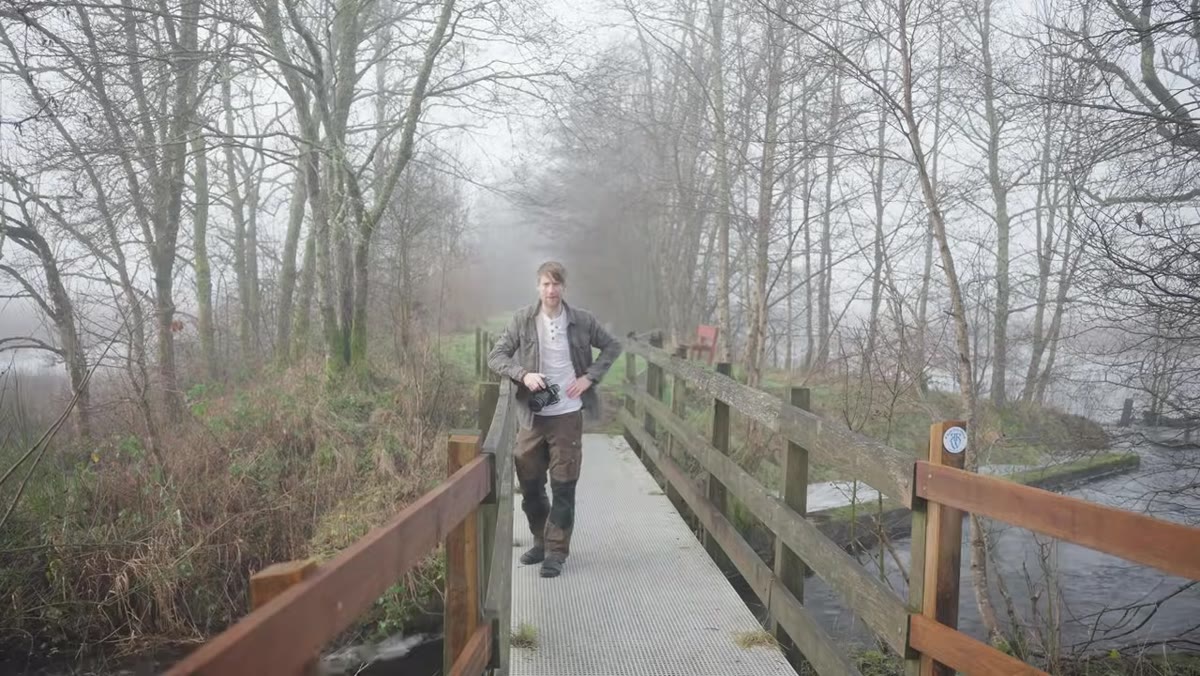 Thomas assembling his camera gear on a bridge over floodwater
Heaton makes an honest admission here that I appreciate: he is wearing flip-flops. He did not plan this stop, so his footwear is completely wrong for the terrain. Rather than turning back, he adapts. He identifies how far he can safely go, keeps to the footpath where possible, and adjusts his approach to the shot based on where he can physically stand.
The gear lesson is equally practical. When you cannot get physically close to your subject - whether because of water, unstable ground, or restricted access - reach for a longer focal length. Heaton switches to a 100-400mm zoom, which lets him compress the scene and isolate individual trees from a safe, dry distance. If you shoot with a kit zoom, dial to your longest end and work from the edge of the accessible area. You will often find this creates a cleaner, more intentional composition than stomping straight into the middle of the scene would.
Step 4: Use Fog as a Natural Graduated Filter
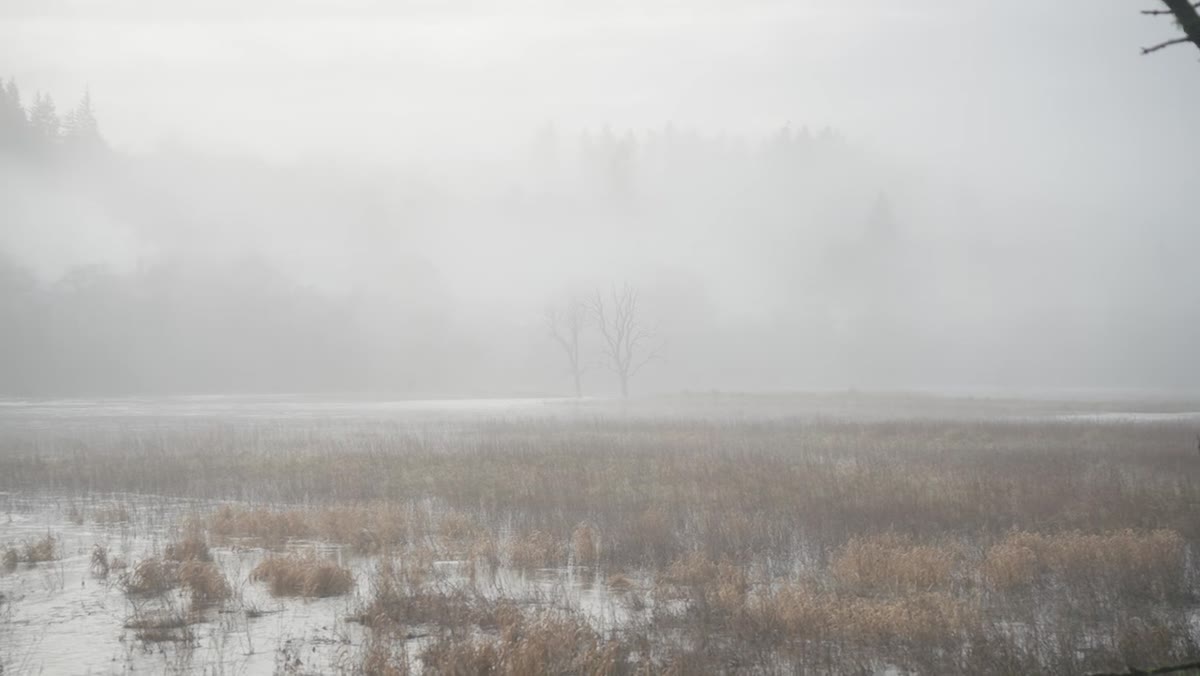 Misty flooded field with isolated trees, long lens compression visible
Fog does the work that a lot of photographers pay good money for in post. It lifts the exposure in the background, reduces competing detail, and ties the whole tonal range of a scene together. Heaton shoots directly into this fog layer rather than trying to find an angle that avoids it. That choice is what gives his frames their quiet, almost monochromatic feel.
In practical terms: expose for the brightest area of fog without blowing it out. Dial your exposure compensation slightly negative if your camera is brightening the scene too aggressively. Shoot in RAW so you have room to bring up shadow detail in the foreground later. And resist the urge to force contrast or punch saturation during editing. Foggy images often look best when you let the muted palette breathe.
Step 5: Build a Series, Not Just a Single Frame
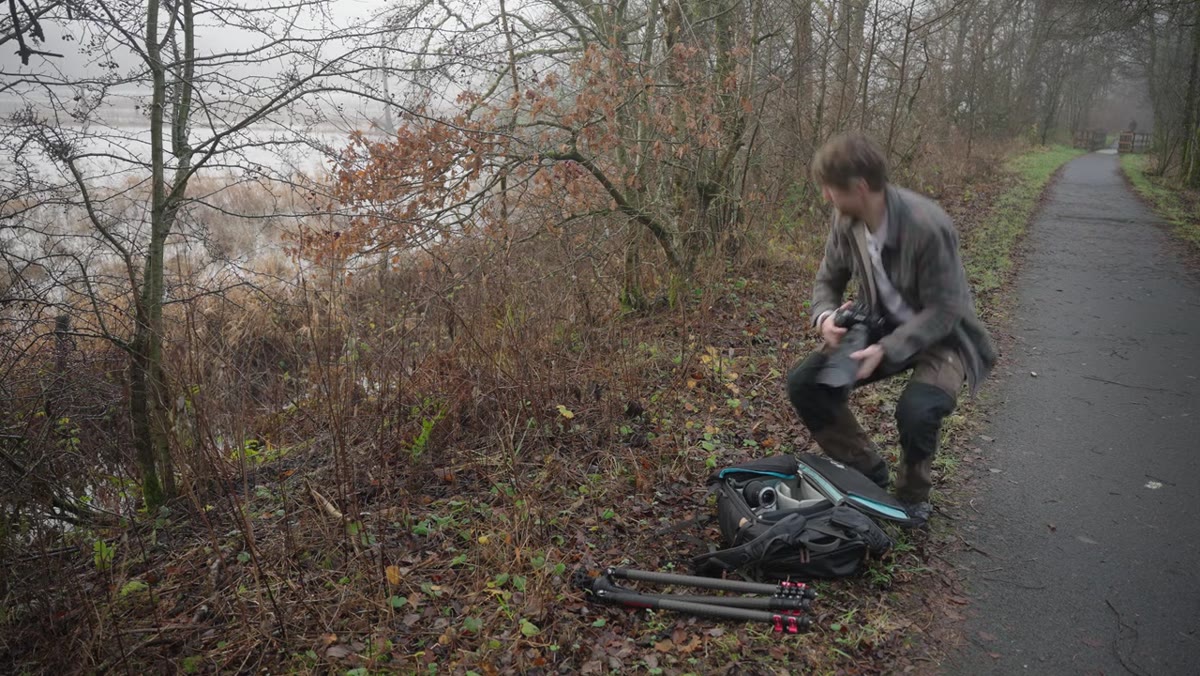 Thomas switching lenses to work a different angle of the same location
Heaton does not shoot one image and move on. He works the location across multiple focal lengths and angles, switching back to a wider lens after using the telephoto, moving along the footpath to find new foreground elements, looking through gaps in the shrubs for natural framing. The result is a series of images that all feel like they belong to the same morning but each holds up as an individual photograph.
When you find a strong location, give yourself permission to stay longer than feels comfortable. Shoot wide, shoot tight, change your height, turn around and see what is behind you. Set a timer for fifteen minutes if you tend to rush. The images you make in the second half of a location visit are almost always stronger than the ones from the first five minutes when you are still orienting yourself.
What I Would Add From My Own Experience
The footwear problem Heaton runs into is funny, but it points to something worth taking seriously. The shots you miss most often are not from bad light or wrong settings. They are from not being physically ready to go when the scene appears.
I now keep a small dry bag in whatever vehicle I am traveling in. Inside it: a spare memory card, a rain cover for my camera, a pair of wool socks, and a lightweight pair of packable shoes. It takes up almost no space and has saved multiple shoots. You will not always be able to predict when a flooded field or a foggy morning is going to demand you get off the pavement.
The single most important takeaway from this tutorial is that compelling conditions are rarely convenient. They show up when you are underprepared, in a hurry, or wearing completely wrong shoes. The photographers who get the shot are the ones who stop anyway, assess quickly, and adapt to what they have. That skill is built through repetition, not gear upgrades.
Watch the full tutorial on YouTube to see how Heaton moves through the landscape in real time - watching his decision-making process unfold is just as instructive as any individual technique he uses.
Comments
Leave a Comment