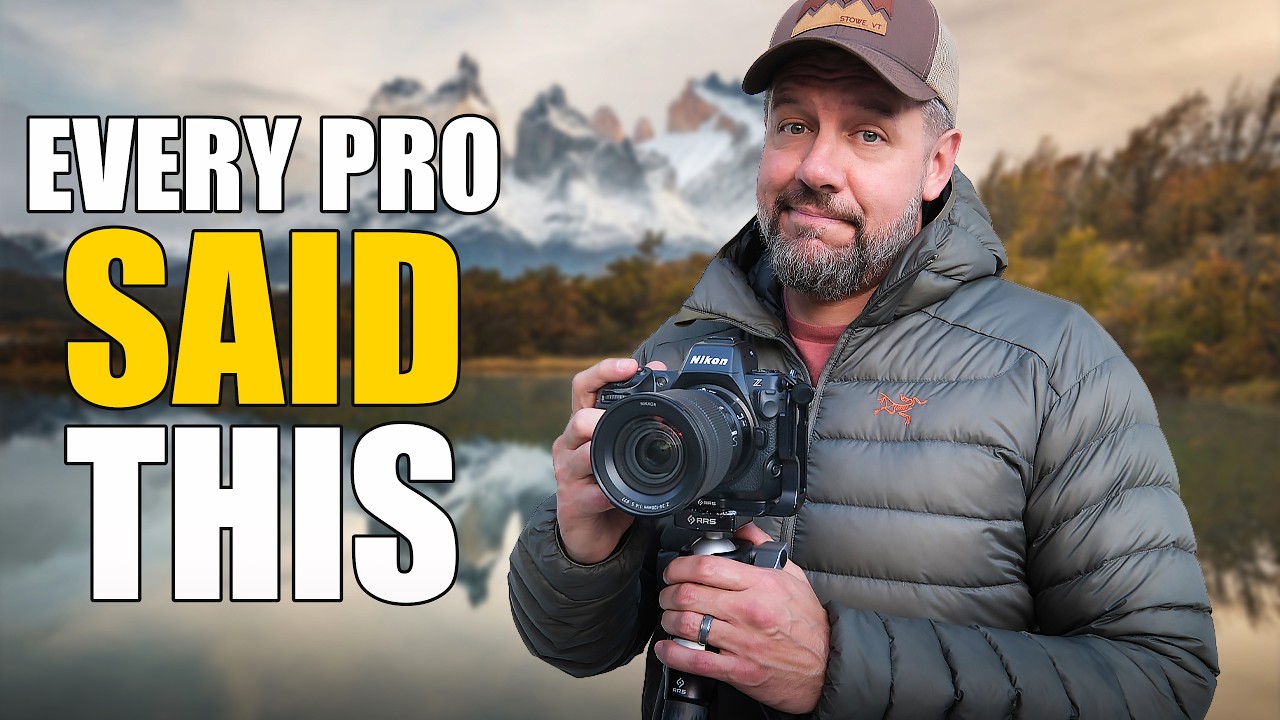
Every Sunday morning I do a photo walk. No agenda, no client, no pressure. Just me, whatever camera I grabbed off the desk, and whatever light Seattle decided to offer that week. For years, those walks meant one thing on my camera: manual mode. Always. Even when the light was shifting every thirty seconds as I moved through tree cover, even when I was more focused on spinning dials than actually looking at the scene. It felt like the right way to shoot.
It took me longer than I’d like to admit to realize the feeling of control and actual control are two very different things. That’s exactly what landscape photographer Mark Denney unpacks in his video, which you can watch here: Watch the full tutorial on YouTube. His argument isn’t that manual mode is bad. It’s that treating it as the only “serious” option is what trips you up.
If you’ve ever missed a shot because you were too busy adjusting settings to notice the light shifting into something beautiful, this walkthrough is for you.
Step 1: Recognize When Manual Mode Becomes a Habit Instead of a Choice
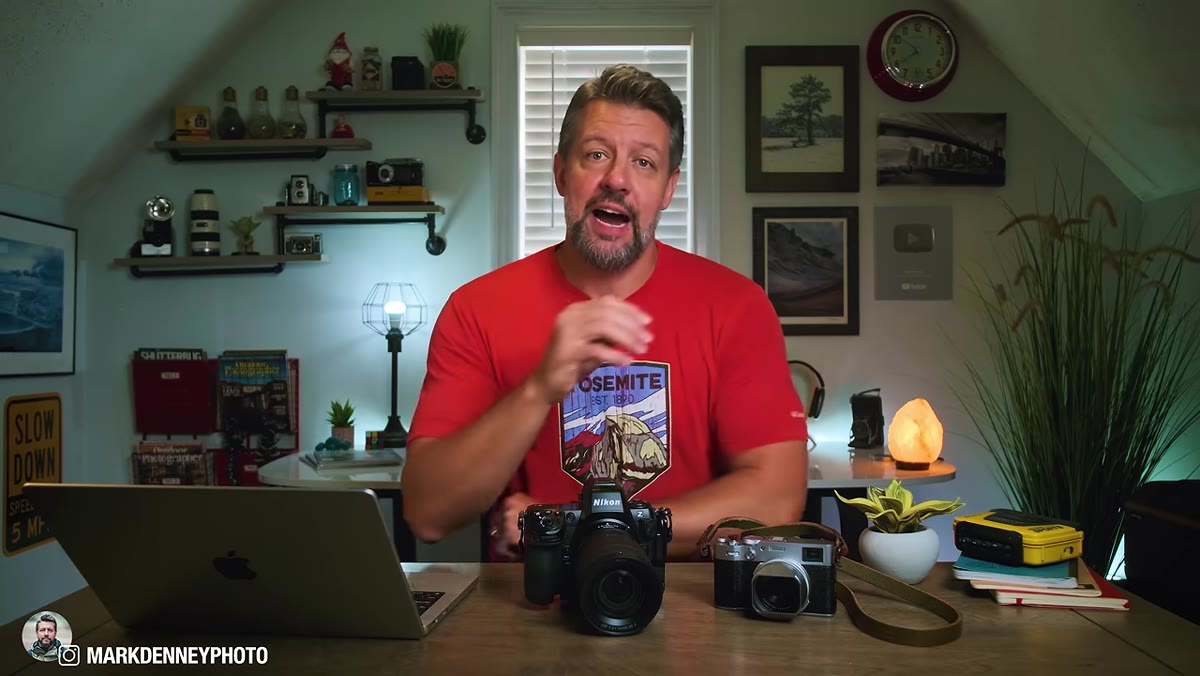 Photographer adjusting dials instead of watching the scene
The first thing Denney does is name the trap clearly. When you learn manual mode early, it teaches you something genuinely valuable: how aperture, shutter speed, and ISO interact. That understanding is real and worth having. But the problem starts when manual mode stops being a decision and becomes a default. You reach for it not because it’s the best tool for the situation, but because it feels familiar and “professional.”
Ask yourself honestly: are you choosing manual mode, or are you just not choosing anything else? That’s the question worth sitting with before you even pick up the camera.
Step 2: Ask One Question Before You Touch the Mode Dial
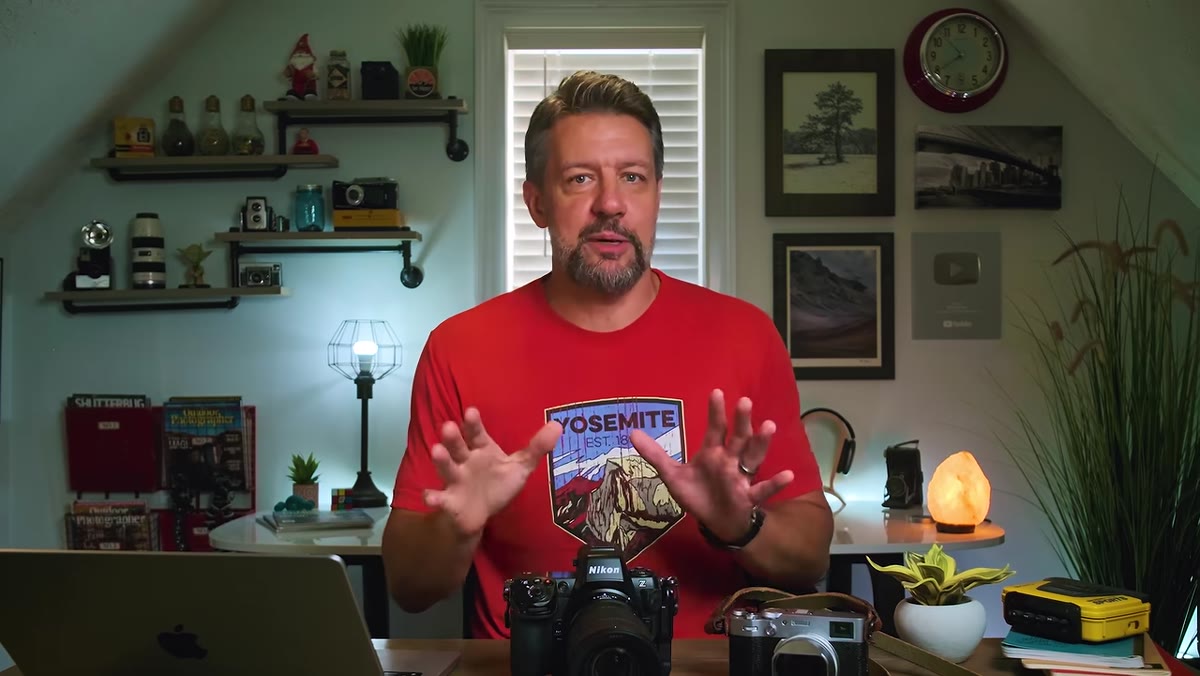 Photographer pausing to assess the scene before adjusting settings
Denney’s reframe here is simple and genuinely useful. Before selecting a camera mode, ask: what do I actually need to control to make this specific shot work? Not what do I always control. What does this shot need.
The answer changes everything. If you’re shooting a static landscape from a tripod with stable light, you probably need control over all three variables. If you’re walking through a forest and the light is bouncing between bright patches and deep shadow, you likely only need to lock in aperture and let shutter speed respond to the changing conditions. The mode you choose should answer that question, not override it.
Step 3: Use Manual Mode When Consistency Across Frames Is Non-Negotiable
 Camera on tripod set up for panorama sequence
There are specific situations where manual mode isn’t just a good choice, it’s the only practical one. Denney lists these clearly: long exposure photography, astrophotography (shooting the Milky Way, Northern Lights, or similar dark-sky subjects), panoramas, focus stacking, and exposure blending.
What all of these have in common is that your camera’s automatic metering would introduce inconsistency between frames, and that inconsistency breaks the final result. If each frame of your panorama has a slightly different exposure because the camera was reacting to different parts of the sky, your stitched image will have visible seams. Same with focus stacks. Manual mode here isn’t about ego, it’s about technical accuracy. Lock everything in, confirm your histogram, and don’t let the camera second-guess you.
Step 4: Switch to Aperture Priority When Light Is Changing and Depth of Field Is Your Priority
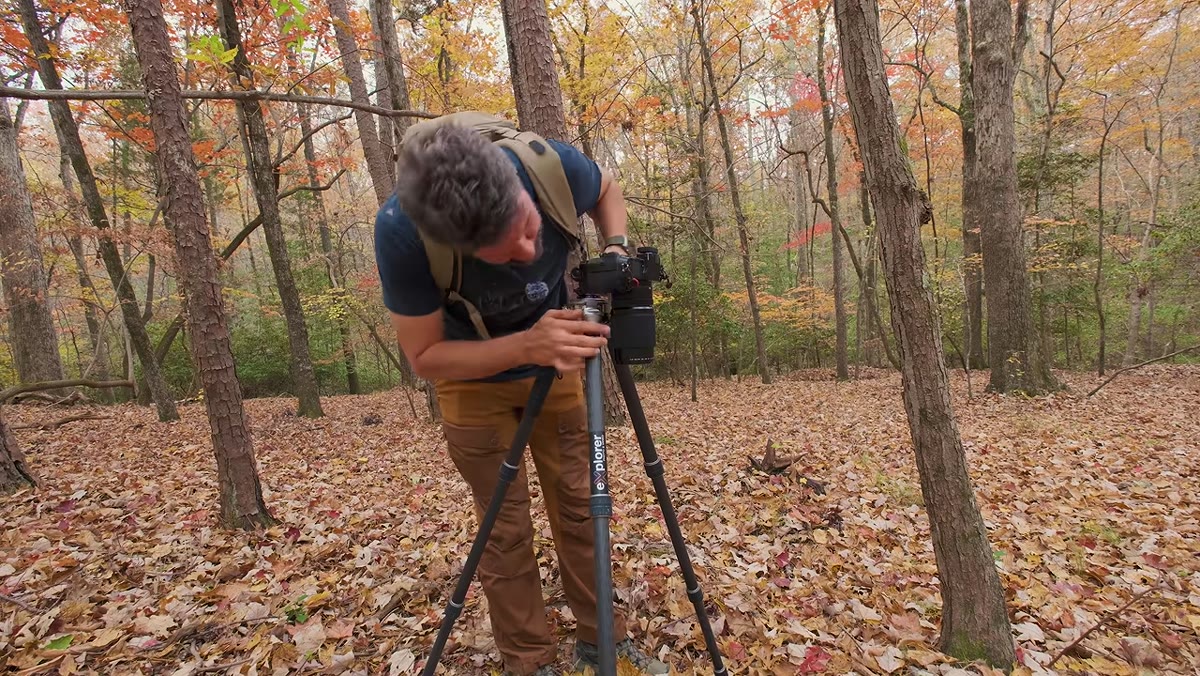 Photographer moving through wooded area with shifting light
This is where Denney’s advice clicked hardest for me. When you’re shooting handheld in changing light, and you already know the depth of field you want, aperture priority does the heavy lifting without costing you anything creatively. You set the aperture. You set a minimum shutter speed (most modern cameras let you set a floor in aperture priority). The camera handles the exposure response as light shifts.
Walking through forest, shooting street scenes, moving through golden hour as it fades fast: these are aperture priority situations. Your creative decision is depth of field. Everything else is logistics. Let the camera handle the logistics.
Step 5: Use Shutter Priority When Motion Is the Variable You Care About
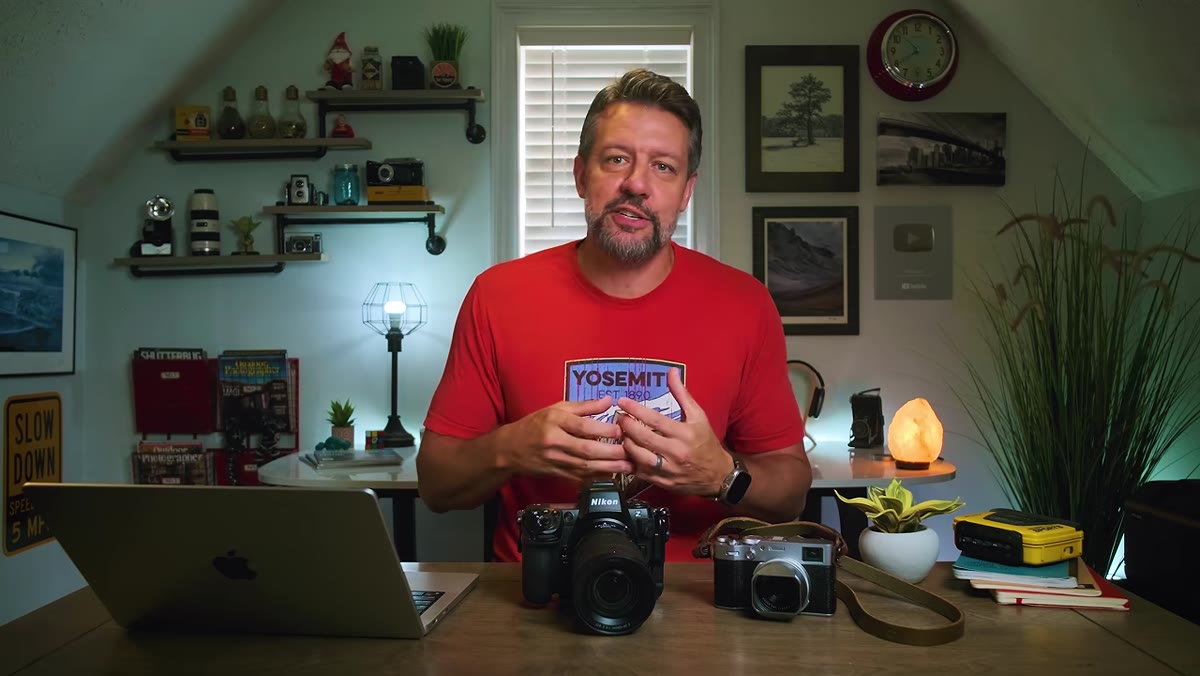 Demonstrating shutter adjustment while moving between bright and shadow areas
Shutter priority makes sense when you have a specific motion goal. Freezing a bird in flight, capturing silky water movement, shooting anything where the relationship between your subject and time is the creative decision. Set the shutter speed you need. Set a maximum ISO. Let aperture respond.
The honest caveat: shutter priority can get you into trouble with exposure in extreme light changes, because aperture has a narrower range to work with than shutter speed does. Watch your exposure compensation dial in these situations and don’t set it and forget it.
Step 6: Stop Treating Auto ISO as Cheating
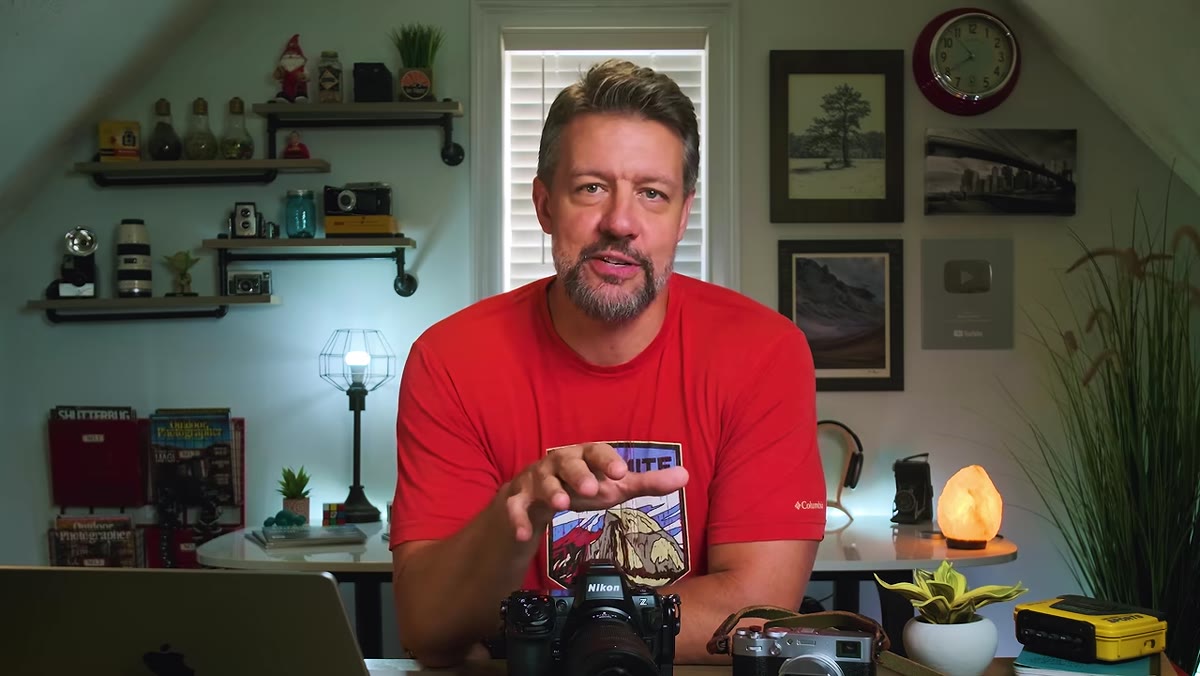 Camera menu showing Auto ISO configuration
Auto ISO might be the most underused setting among photographers who learned the “always shoot manual” rule. Denney uses it deliberately, not as a shortcut but as a tool that keeps ISO from blowing up your image when light drops and you’re focused on composition.
Set a maximum ISO limit that you know your camera handles cleanly. Set a minimum shutter speed. Then let it work. You stay in control of the creative variables. The camera manages the technical one that matters least to your final image. On my camera I keep Auto ISO capped at 3200 for daytime work, higher at night. It’s not a crutch. It’s one less thing competing for my attention when the light is doing something interesting.
What I’d Add From My Own Shooting
Here’s something the video doesn’t cover directly, but I’ve found it makes all of this easier to apply: assign your most-used mode to a custom button or dial position so you can switch without diving into menus. I have aperture priority one click away on my mode dial at all times. Manual is two clicks. When I’m out on a Sunday morning walk and the light shifts, I’m not hunting through settings. I’m already adapted.
Also worth noting: none of this requires an expensive camera. The first time I got genuinely comfortable with aperture priority, I was testing it on my phone. The logic is identical, even if the interface is different. Understand the concept and the tool becomes less important.
The single most important thing Denney’s video gets right is this: the goal of choosing a camera mode is to get the camera out of your way. It’s not to demonstrate technical discipline. It’s not to signal that you’re serious. It’s to spend more time looking at the light and the scene and less time watching a meter and spinning dials.
That shift in thinking changed how I shoot. I spend less time managing exposure and more time actually seeing. If that sounds like something you need, start with Denney’s full breakdown: Watch the full tutorial on YouTube.
Comments
Leave a Comment