There’s a category of photography I’ve always admired from a respectful distance. Not landscape work, not portraiture. I mean the photographers who walk into the hardest places in the world and come back with images that make you stop scrolling and actually feel something. I’ve spent a lot of time on the technical side of photography, teaching exposure triangles and composition rules, but I’ll be honest with you: the “why do you do this” question is one I find far more interesting than the “how do you do this” question. And for a long time, I didn’t have a great answer for it when it came to documentary and conflict work.
That’s why this particular tutorial caught my attention. In this Sean Tucker tutorial, Sean sits down with Ondrej Vachek, a photographer who is at the very beginning of his documentary and conflict photography career. Ondrej has already taken two trips to the front lines in Ukraine and is actively training in survival, triage, and conflict navigation, all while working a day job and saving up on the side. What Sean captures in this conversation isn’t a masterclass from a seasoned veteran. It’s something arguably more useful for beginners: the raw, honest mindset of someone who is figuring this out in real time, one deliberate step at a time.
What follows is a breakdown of the core ideas from that conversation, structured so you can actually put them into practice, whether you’re thinking about street photography, documentary work, or eventually something more serious.
Step 1: Understand Why the Criticism Comes with the Territory
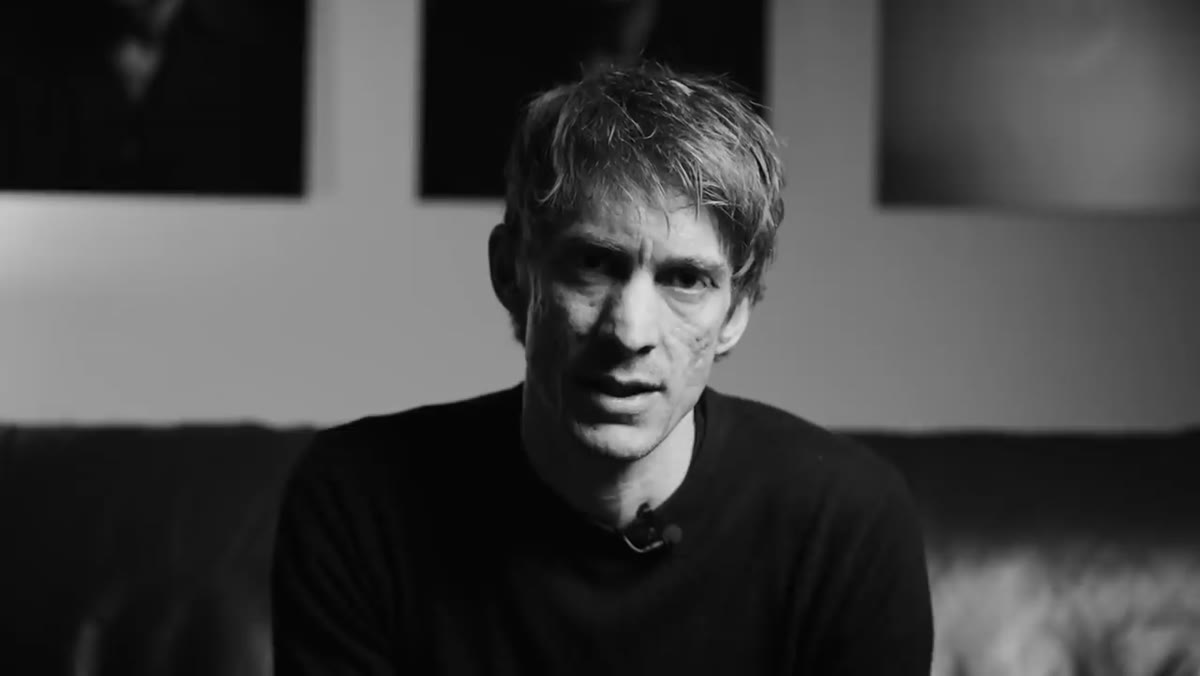 Sean discussing the difficulty of justifying conflict photography work
Before you pick up a camera in any high-stakes environment, you need to make peace with the fact that someone will question you. Why were you there? Why did you take that particular image? Are you exploiting the people in your frame? These aren’t unfair questions. They’re the ones every serious documentary photographer has had to answer, publicly and privately. Sean references Don McCullin’s work at the Tate Museum as a jumping-off point here, noting that even one of the most celebrated photographers in history grappled openly with whether his images actually changed anything.
Sean discussing the difficulty of justifying conflict photography work
Before you pick up a camera in any high-stakes environment, you need to make peace with the fact that someone will question you. Why were you there? Why did you take that particular image? Are you exploiting the people in your frame? These aren’t unfair questions. They’re the ones every serious documentary photographer has had to answer, publicly and privately. Sean references Don McCullin’s work at the Tate Museum as a jumping-off point here, noting that even one of the most celebrated photographers in history grappled openly with whether his images actually changed anything.
Knowing this going in doesn’t make the criticism easier, but it does mean you won’t be blindsided by it. If you can articulate clearly why you’re shooting a story and whose perspective you’re centering, you’ll be more grounded when the questions come. Start practicing that now, even if you’re just shooting a community event or a local protest. Ask yourself: why am I here, and what am I trying to show?
Step 2: Start With Street Photography to Build Your Instincts
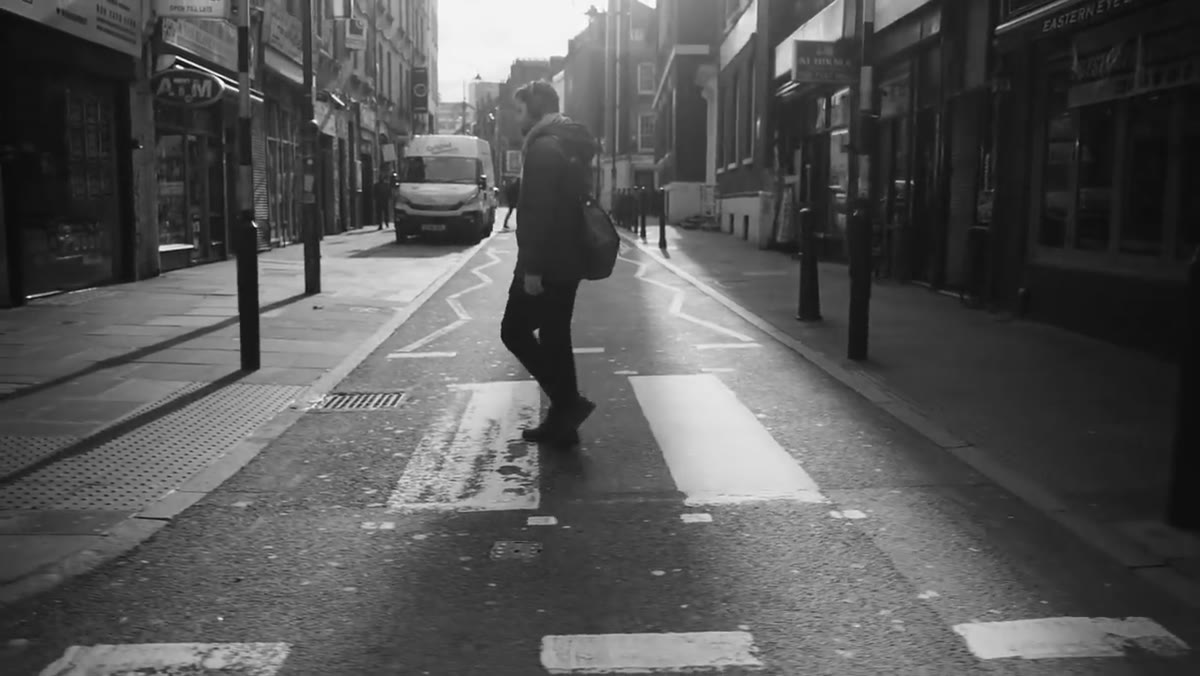 Ondrej describing his early street photography experience
Ondrej’s path into documentary work didn’t start in a war zone. It started on city streets, camera in hand, figuring out how to read a moment before it disappeared. He describes a period of burnout with photography and using street work as a reset, a way to get back to something honest and uncontrolled. That’s actually a really healthy way to think about it.
Ondrej describing his early street photography experience
Ondrej’s path into documentary work didn’t start in a war zone. It started on city streets, camera in hand, figuring out how to read a moment before it disappeared. He describes a period of burnout with photography and using street work as a reset, a way to get back to something honest and uncontrolled. That’s actually a really healthy way to think about it.
Street photography is where you learn to anticipate. You can’t direct a stranger on the pavement the way you might direct a portrait subject. You have to observe, position yourself, and commit. Those instincts, reading light in a moving environment, sensing when something is about to happen, translating a chaotic scene into a single frame, are exactly what documentary and conflict photographers rely on. If you’re not already doing regular street work, start there. I do a photo walk every Sunday morning through my neighborhood in Seattle, and I can tell you: even a familiar block teaches you something new every week.
Step 3: Train Your Eye Around Three Non-Negotiables
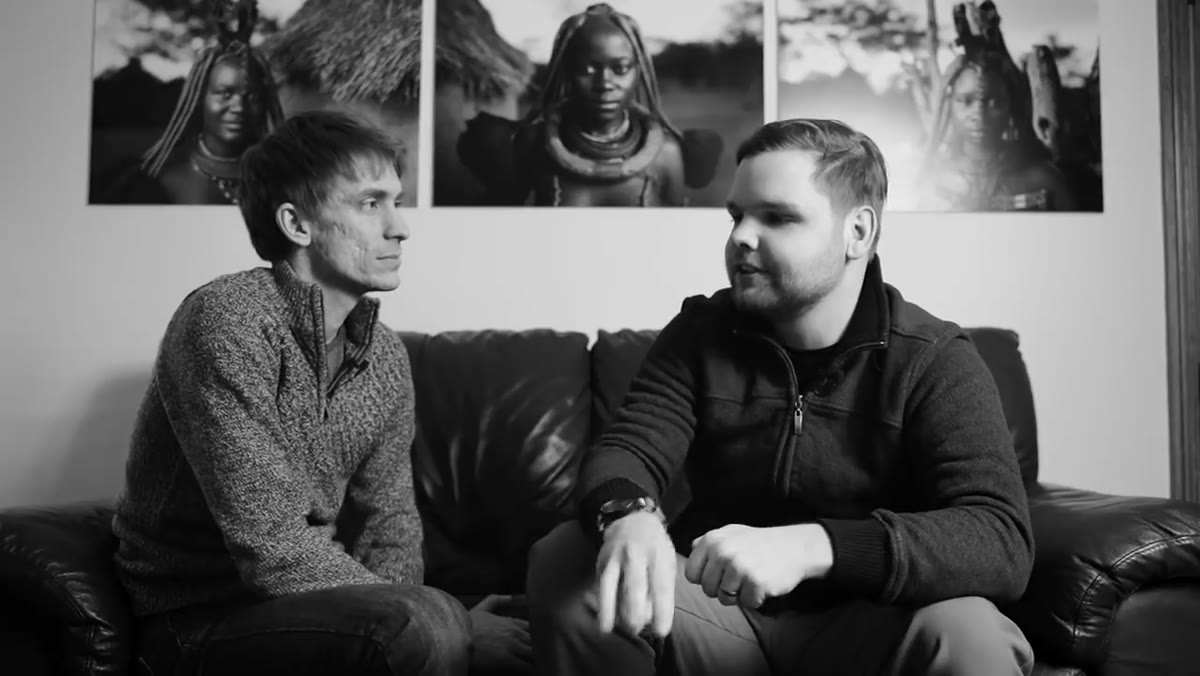 Ondrej explaining his three criteria for taking a shot
This is one of the most practical frameworks in the whole conversation. Ondrej says that when he goes out shooting, he’s looking for three things in every potential image: a strong story or moment, good light, and solid composition. And here’s the part that separates serious photographers from casual ones: he often walks away from a shot because it only has one or two of the three.
Ondrej explaining his three criteria for taking a shot
This is one of the most practical frameworks in the whole conversation. Ondrej says that when he goes out shooting, he’s looking for three things in every potential image: a strong story or moment, good light, and solid composition. And here’s the part that separates serious photographers from casual ones: he often walks away from a shot because it only has one or two of the three.
That discipline is worth building into your own practice right now. Before you press the shutter, run a quick mental check. Does this moment mean something? Is the light working? Is the frame organized? You don’t need all three to be perfect, but you do need to be able to account for all three. If the light is flat and the composition is a mess, a compelling moment alone won’t save the image. Train yourself to see all three elements simultaneously, not sequentially.
Step 4: Invest in Formal Training Before You Go Anywhere Dangerous
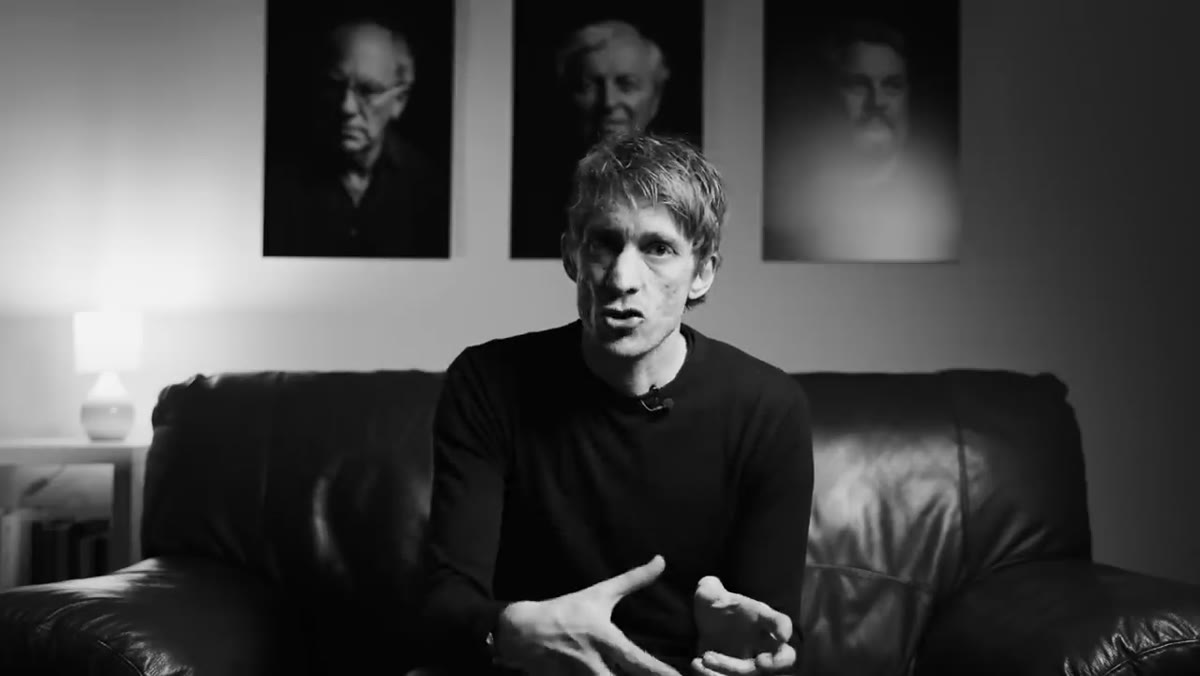 Sean describing Ondrej’s conflict photography training and preparation
This one is non-negotiable, and I want to say it clearly: if you are thinking about working in conflict zones, hostile environments, or any situation where your physical safety is genuinely at risk, you need proper training first. Ondrej isn’t winging it. He’s taken formal courses in conflict photography, hostile environment survival, and first aid and triage. This cost him real money that he saved specifically for this purpose.
Sean describing Ondrej’s conflict photography training and preparation
This one is non-negotiable, and I want to say it clearly: if you are thinking about working in conflict zones, hostile environments, or any situation where your physical safety is genuinely at risk, you need proper training first. Ondrej isn’t winging it. He’s taken formal courses in conflict photography, hostile environment survival, and first aid and triage. This cost him real money that he saved specifically for this purpose.
Organizations like RISC Training and Centurion Safety offer Hostile Environment and First Aid Training (HEFAT) courses that are designed specifically for journalists and documentary workers. These are not optional extras. They cover everything from identifying threats and navigating checkpoints to treating gunshot wounds. If you can’t afford the training yet, you can’t afford the trip. Save first, go later. This is the advice any responsible photojournalist will give you, and it’s the approach Ondrej is modeling.
Step 5: Let Your Purpose Be Bigger Than Your Portfolio
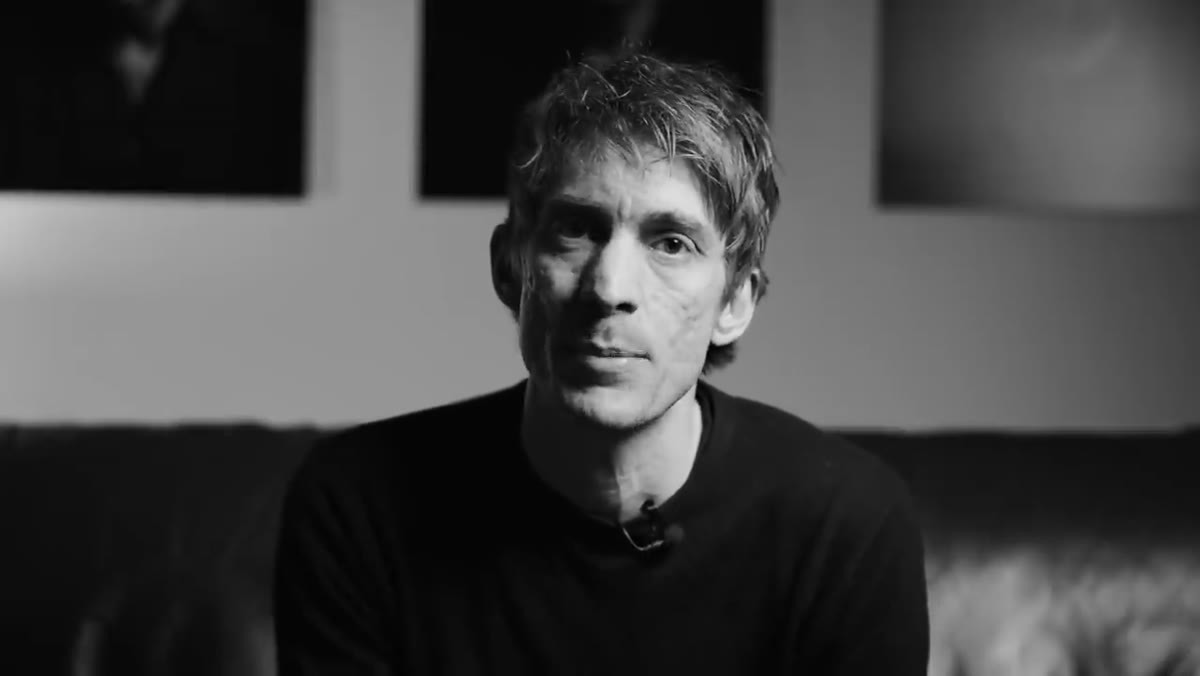 Sean framing Ondrej’s motivations for pursuing conflict work
Something that comes through clearly in this conversation is that Ondrej isn’t pursuing conflict photography for career clout or to fill a portfolio with dramatic images. He’s driven by a genuine desire to document stories that the world needs to see. That distinction matters more than any technical skill you can develop.
Sean framing Ondrej’s motivations for pursuing conflict work
Something that comes through clearly in this conversation is that Ondrej isn’t pursuing conflict photography for career clout or to fill a portfolio with dramatic images. He’s driven by a genuine desire to document stories that the world needs to see. That distinction matters more than any technical skill you can develop.
Audiences and editors can feel the difference between images made with intention and images made with ambition. If your primary motivation is to get a striking shot, it will show in the work. If your motivation is to bear witness to something real and bring it back honestly, that will show too. Before you pursue this kind of work, spend serious time with the photographs and writings of people like Don McCullin, James Nachtwey, or Lynsey Addario. Read their accounts not just of the images but of the decisions behind them. Let that shape your sense of purpose before your sense of style.
From My Own Experience: You Can Practice Documentary Instincts Anywhere
I want to add something here that the tutorial gestures at but doesn’t spell out: you don’t need a war zone to develop a documentary sensibility. Some of my most documentary-feeling work has come from photographing Seattle’s weekly farmers market, or a neighborhood cleanup after a bad winter storm. The skills are the same. You’re observing real life, making quick decisions, and trying to tell a true story in a single frame.
Start in your own community with the same three-part framework Ondrej uses. Look for the moment, the light, and the composition. Practice walking away when you don’t have enough. Practice explaining why you took the shots you did. Build the muscle before you ever need it in a high-pressure situation.
The single most important takeaway from this tutorial is that serious documentary photography starts long before you ever book a flight. It starts with intention, training, and the willingness to ask hard questions about your own motivations. Watch the full tutorial on YouTube and spend some time with Ondrej’s images. They’re worth sitting with.
Comments
Leave a Comment