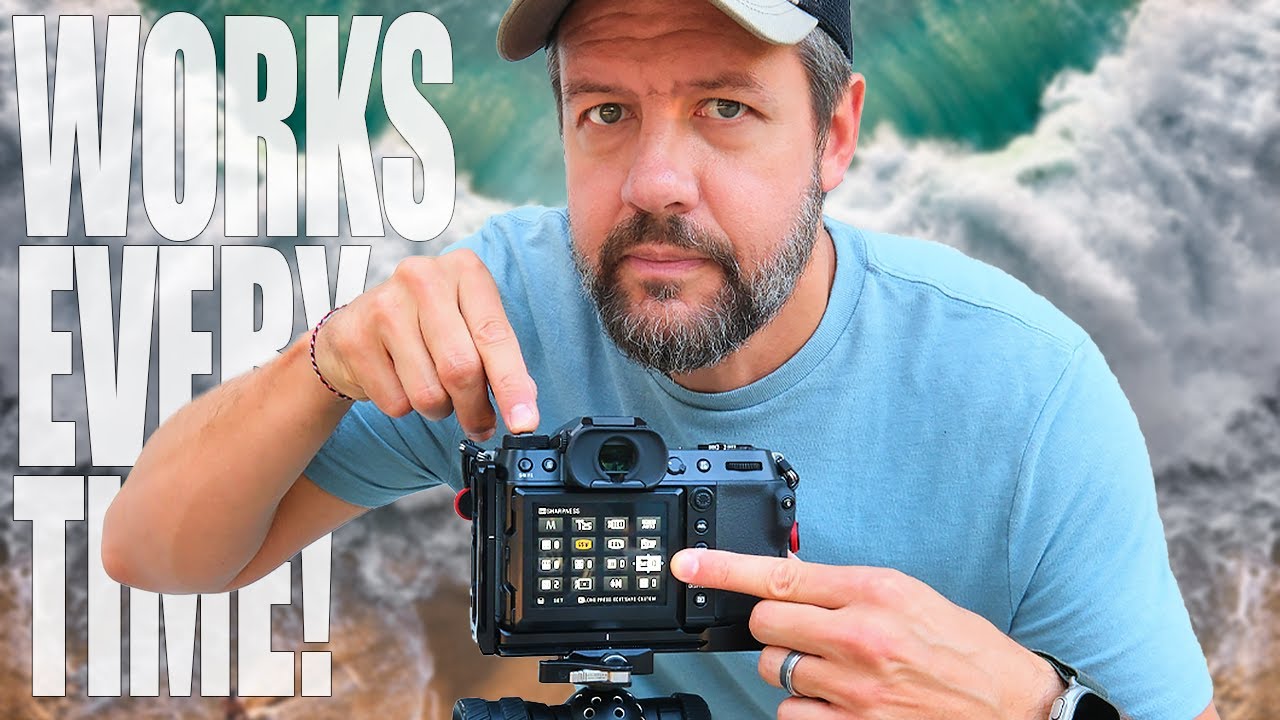
I have a complicated history with waterfalls. I once spent four straight evenings on a trip to Oregon chasing the same shot of a cascade at golden hour, missing dinner each time, until my husband started leaving snacks on the trail for me like I was a feral photographer. What I was chasing, though I couldn’t have articulated it then, was what shutter speed actually does: it lets you show something real that no human eye has ever seen. Not a filter. Not an edit. A true visual fact that only your camera can record.
That realization didn’t fully click for me until I watched this tutorial by landscape photographer Mark Denney. In this Mark Denney tutorial, he reframes shutter speed in a way that I genuinely wish someone had handed me when I was starting out. Watch the full tutorial on YouTube - it’s about 15 minutes and worth every second. What follows is my breakdown of his core ideas, with the concrete steps and settings you can apply immediately.
Step 1: Understand Why Shutter Speed Is Different From the Other Two Settings
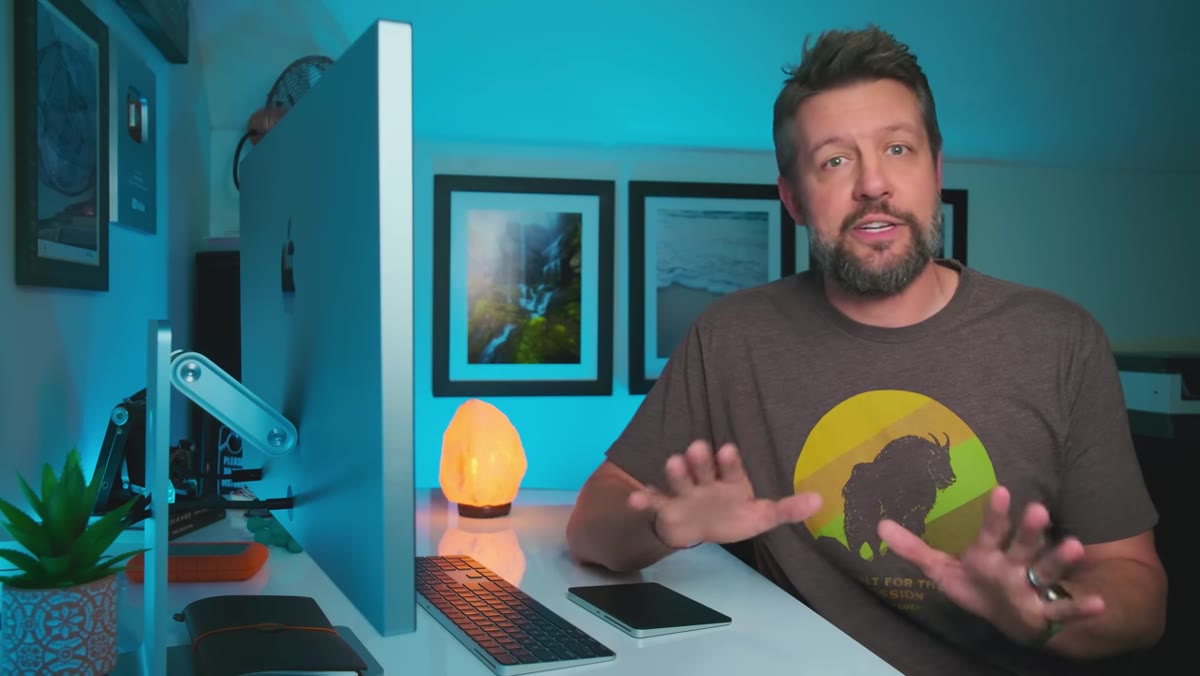 Mark explaining why shutter speed stands apart from ISO and aperture
ISO controls sensitivity, aperture controls light and depth of field, and both of those things have rough equivalents in how the human eye works. Your eye adjusts to dim rooms over time (ISO), and your eye naturally blurs backgrounds when you focus up close (aperture). Shutter speed has no equivalent. The human eye cannot freeze a hummingbird’s wing. It cannot turn a waterfall into silk. It cannot make car headlights trace glowing lines across a dark road. Those are entirely camera-native experiences, and that’s what makes shutter speed the most creatively powerful corner of the exposure triangle.
Mark explaining why shutter speed stands apart from ISO and aperture
ISO controls sensitivity, aperture controls light and depth of field, and both of those things have rough equivalents in how the human eye works. Your eye adjusts to dim rooms over time (ISO), and your eye naturally blurs backgrounds when you focus up close (aperture). Shutter speed has no equivalent. The human eye cannot freeze a hummingbird’s wing. It cannot turn a waterfall into silk. It cannot make car headlights trace glowing lines across a dark road. Those are entirely camera-native experiences, and that’s what makes shutter speed the most creatively powerful corner of the exposure triangle.
The practical takeaway here is about framing your expectations before you even pick up the camera. When you shoot with a slow or fast shutter speed, you’re not “correcting” for light the way you might with ISO. You’re making a choice about time itself, specifically about how much time your sensor is allowed to witness.
Step 2: Use the Hand-Focus Exercise to Internalize How Aperture Works (So You Can Contrast It With Shutter Speed)
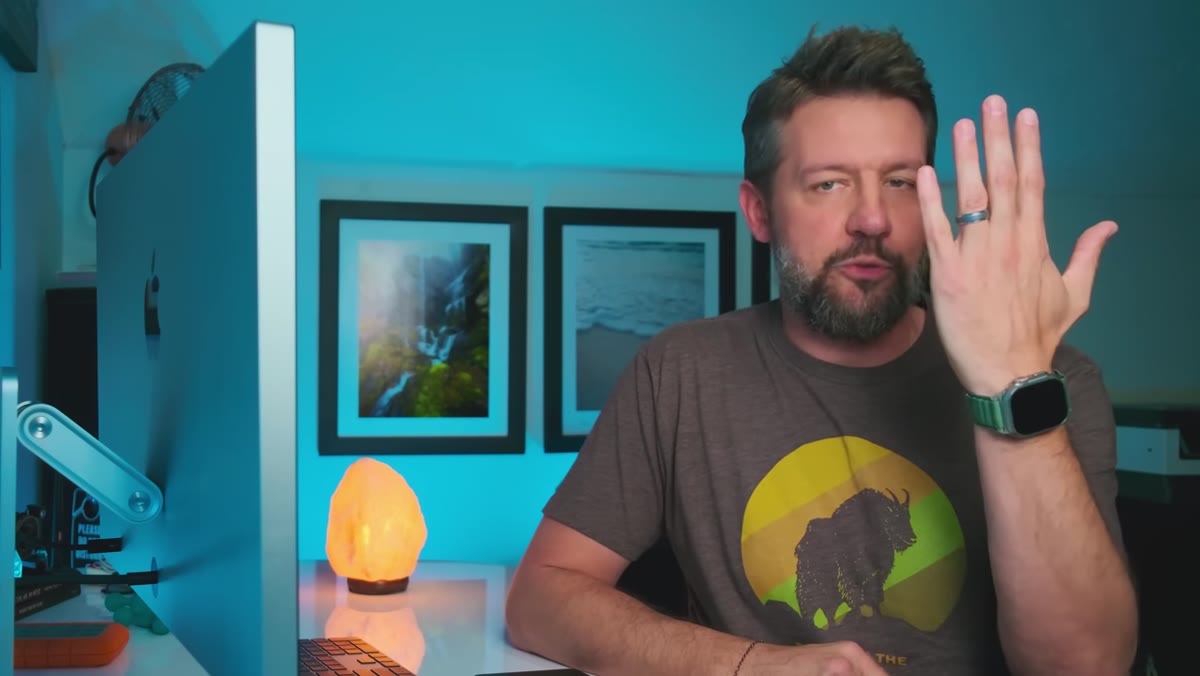 Holding a hand close to the face to demonstrate depth of field
Before going deep on shutter speed, Denney walks through a simple exercise that I actually use when I’m teaching friends: hold your hand at a comfortable distance from your face, stare at the details of your skin, and notice that the room behind your hand blurs out. Drop your hand and the room snaps back into focus. That’s aperture, happening inside your eyeballs in real time.
Holding a hand close to the face to demonstrate depth of field
Before going deep on shutter speed, Denney walks through a simple exercise that I actually use when I’m teaching friends: hold your hand at a comfortable distance from your face, stare at the details of your skin, and notice that the room behind your hand blurs out. Drop your hand and the room snaps back into focus. That’s aperture, happening inside your eyeballs in real time.
The point isn’t to teach you aperture. It’s to show you that your eye already understands aperture because it replicates it naturally. Shutter speed is the thing your eye has no reference for. That contrast makes shutter speed feel special rather than just technical, and that mental shift matters when you’re deciding whether to reach for your tripod at dusk.
Step 3: Watch Moving Water Before You Shoot It
 Video clip of a waterfall in Bali showing natural water movement
Denney shows footage of a waterfall he photographed in Bali, and the instruction here is simple: before setting any shutter speed, watch what’s in front of you. Pay attention to the speed and direction of movement. Is the water crashing hard, or is it a gentle pour? Are there mist layers that would look beautiful as blur, or is there a structural clarity to the falls that deserves to be frozen?
Video clip of a waterfall in Bali showing natural water movement
Denney shows footage of a waterfall he photographed in Bali, and the instruction here is simple: before setting any shutter speed, watch what’s in front of you. Pay attention to the speed and direction of movement. Is the water crashing hard, or is it a gentle pour? Are there mist layers that would look beautiful as blur, or is there a structural clarity to the falls that deserves to be frozen?
This observation step is something I skip when I’m rushing, and I always pay for it later in Lightroom. Thirty seconds of watching before shooting saves you twenty minutes of wondering why your photos feel flat. The movement you observe should inform your shutter speed intention before you touch a single dial.
Step 4: Choose Your Shutter Speed Based on the Story You Want to Tell
 Demonstrating the contrast between frozen and blurred water motion
This is where the tutorial becomes genuinely actionable. Fast shutter speeds (roughly 1/500s and above) freeze motion and give water a crystalline, almost suspended quality. You can see individual droplets. Spray becomes texture. Slow shutter speeds (from about 1/10s down to several seconds) blend water into smooth, flowing ribbons that look nothing like what you actually saw standing there. Both are “correct.” They’re just different stories.
Demonstrating the contrast between frozen and blurred water motion
This is where the tutorial becomes genuinely actionable. Fast shutter speeds (roughly 1/500s and above) freeze motion and give water a crystalline, almost suspended quality. You can see individual droplets. Spray becomes texture. Slow shutter speeds (from about 1/10s down to several seconds) blend water into smooth, flowing ribbons that look nothing like what you actually saw standing there. Both are “correct.” They’re just different stories.
A practical starting point: for silky waterfall effects, begin around 1/4s to 2 seconds and adjust from there depending on how fast the water moves. For frozen motion, start at 1/500s and go faster if you’re still seeing blur in the highlights. These aren’t rules, they’re launch pads. Every waterfall, fountain, and ocean wave will have its own sweet spot.
Step 5: Control Your Exposure to Support Your Shutter Speed Choice
 Shooting a waterfall scene with camera on tripod in natural light
Here’s where beginners often get stuck. You’ve decided you want a two-second exposure, but the image is completely blown out. The fix isn’t to abandon your shutter speed idea. It’s to close down your aperture, drop your ISO to its base value (usually 100 or 64 depending on your camera), and in bright daylight, add a neutral density filter (ND filter) to cut the light entering the lens.
Shooting a waterfall scene with camera on tripod in natural light
Here’s where beginners often get stuck. You’ve decided you want a two-second exposure, but the image is completely blown out. The fix isn’t to abandon your shutter speed idea. It’s to close down your aperture, drop your ISO to its base value (usually 100 or 64 depending on your camera), and in bright daylight, add a neutral density filter (ND filter) to cut the light entering the lens.
An ND filter is essentially sunglasses for your lens. A 6-stop ND gets you into slow-shutter territory on a sunny afternoon without destroying your exposure. If you shoot landscapes regularly and you’re not using ND filters, this is probably the single gear investment that will change your photos the most. I keep a 6-stop and a 10-stop in my bag and reach for one or both almost every Sunday morning on my photo walks around Seattle.
Step 6: Review on Location, Not Just at Home
 Reviewing the resulting waterfall image on camera LCD screen
Chimp freely. That’s a real term in photography, and it means reviewing your shots on your LCD while still in the field. With shutter speed experiments, on-location review is essential because you need to catch blown highlights or unexpected motion blur before you’ve packed up and hiked out. Zoom into the highlights using your histogram or highlight alert, adjust, shoot again.
Reviewing the resulting waterfall image on camera LCD screen
Chimp freely. That’s a real term in photography, and it means reviewing your shots on your LCD while still in the field. With shutter speed experiments, on-location review is essential because you need to catch blown highlights or unexpected motion blur before you’ve packed up and hiked out. Zoom into the highlights using your histogram or highlight alert, adjust, shoot again.
One frame at a slow shutter is never the final answer. Try 1s, try 2s, try 4s, and compare them at the end. The difference between one second and four seconds on a medium-speed waterfall can be the difference between movement that feels alive and a flat white smear.
What I’d Add From My Own Experience
The exercise Denney describes with the waterfall works just as well with traffic, smoke, and even people on a busy sidewalk. Some of my favorite long-exposure shots are from city streets at dusk, where foot traffic turns into ghost-like streaks while the architecture stays razor sharp. If you don’t live near waterfalls (most of us in Seattle are closer to coffee shops than wilderness), practice the exact same skills on urban light and movement. The physics are identical. The magic is the same.
Also worth noting: you don’t need a DSLR or mirrorless camera to start exploring this. I’ve gotten usable long-exposure results from my phone using a third-party slow-shutter app and a small gorillapod. The concept matters more than the gear, at least at first.
Shutter speed is the only tool in your camera bag that genuinely shows viewers something impossible, a version of the world that exists only because you chose to record it over time. Everything else in photography documents. Shutter speed transforms.
Watch the full tutorial on YouTube to hear Mark Denney walk through this with his own footage and examples. His visual comparisons make the before/after effect click in a way that text alone can’t fully deliver.
Comments
Leave a Comment